
Rumah >pembangunan bahagian belakang >tutorial php >Windows下Nginx的安装及配置实例讲解
Windows下Nginx的安装及配置实例讲解

- 小云云asal
- 2018-03-01 15:02:2110123semak imbas
本文主要和大家分享Windows下Nginx的安装及配置实例讲解,希望能帮助到大家。
一、Nginx简介
1.Nginx是什么
Nginx是一款轻量级Web服务器、也是一款反向代理服务器
2.Nginx能干什么
①可直接支持Rails和PHP的程序
②可作为HTTP反向代理服务器
③作为负载均衡服务器
④作为邮件代理服务器
⑤帮助实现前端动静分离
3.Nginx特点
高稳定
高性能
资源占用少
功能丰富
模块化结构
支持热部署
二、Nginx安装
1.下载:http://nginx.org/download/nginx-1.10.2.zip
2.解压缩
3.运行nginx.exe:通过双击图标或者cmd命令行运行
三、Nginx常用命令
1.测试配置文件
安装路径下的 nginx.exe -t
2.启动命令
安装路径下的 nginx.exe
3.停止命令
安装路径下的 nginx.exe -s stop,
或者是:nginx.exe -s quit
4.重启命令
安装路径下的 nginx.exe -s reload
5.查看进程命令
ps -ef |grep nginx
6.平滑重启
kill -HUP 【Nginx主进程号(即查看进程命令查到的PID)】
7.增加防火墙访问权限
①sudo vim /etc/sysconfig/iptables
②-A INPUT -p tcp -m state –state NEW
-m tcp –dport 80 -j ACCEPT
③保存退出
④重启防火墙 sudo service iptables restart
四、Nginx虚拟域名配置及测试验证
配置步骤:
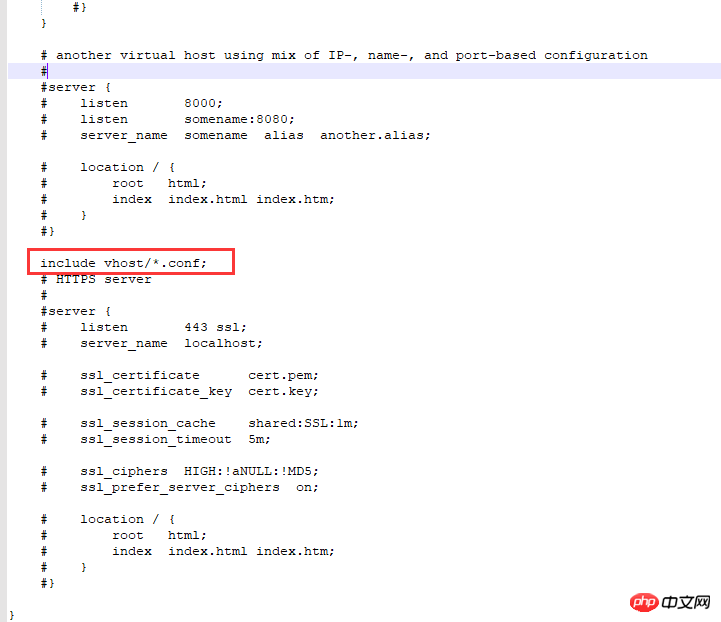
1.编辑sudo vim /usr/local/nginx/conf/nginx.conf
①增加include vhost/*.conf;
②保存退出
2.在/usr/local/nginx/conf/目录新建vhost文件夹:
即:/user/local/nginx/conf/vhost
3.创建域名转发配置文件
image.hcxjingdong.com.conf:转向目录的反向代理:
server {
    listen 80;
    autoindex off;
    server_name image.hcxjingdong.com;
    access_log c: /access.log combined; index index.html index.htm index.jsp index.php; #error_page 404 /
    404. html;
    if ($query_string~ * ".*[\;'\<\>].*") {
        return 404;
    }
    location~/(mmall_fe|mmall_admin_fe)/dist / view /* {
        deny all;
    }
    location / {
        root C:\ftpfile\img;
        add_header Access-Control-Allow-Origin *;
        }
    }


tomcat.hcxjingdong.com.conf:转向端口的反向代理:
server {
    listen 80;
    autoindex on;
    server_name tomcat.hcxjingdong.com;
    access_log c: /access.log combined; index index.html index.htm index.jsp index.php; #error_page 404 /
    404. html;
    if ($query_string~ * ".*[\;'\<\>].*") {
        return 404;
    }
    location / {
            proxy_pass http: //127.0.0.1:8080;
            add_header Access-Control-Allow-Origin *;
            }
    }
4.启动(重启)验证
①启动:
{nginx}/sbin/nginx -s reload
注:${nginx}代表安装在系统中的路径,例如:/usr/local/nginx
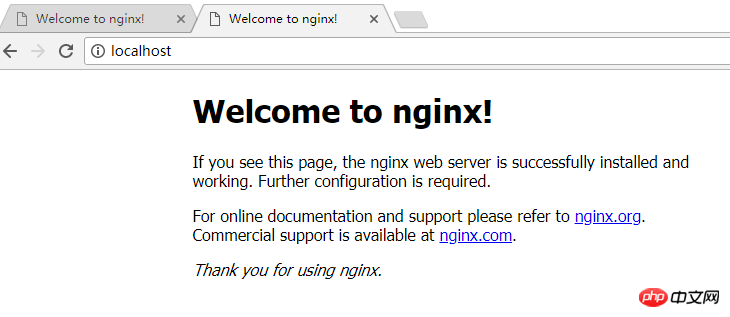
5.访问验证
使用默认80端口访问验证:http://localhost:80或http://127.0.0.1:80
6.指向端口
http转发
server{
    listen 80;
    autoindex off;
    server_name learning.hcxjingdong.com;
    access_log c:/access.log combined;
    index index.html index.htm index.jsp index.php;
    #error_page 404 /404.html;
    if ( $query_string ~* ".*[\;'\<\>].*" ){
        return 404;
    }
    location / {
        proxy_pass http://127.0.0.1:81/learning;
        add_header Access-Control-Allow-Origin *;
    }
}
listen 80:监听80端口;
autoindex off:是否创建首页的索引目录;
当nginx接到image.hcxjingdong.com(二级域名)请求,就转发到:http://127.0.0.1:81/learning目录下
7.指向目录
线上图片服务器,为前端提供的前端部署服务器都是通过指向目录的反向代理
server{
    listen 80;
    autoindex off;
    server_name img.hcxjingdong.com;
    access_log c:/access.log combined;
    index index.html index.htm index.jsp index.php;
    #root /product/front/;
    #error_page 404 /404.html;
    if ( $query_string ~* ".*[\;'\<\>].*" ){
        return 404;
    }
    location ~ /(hcxjingdong_fe|hcxmall_admin_fe)/dist/view/* {
        deny all;
    }
    location / {
        root \product\ftpfile\img;
        add_header Access-Control-Allow-Origin *;
    }
}
root /product/ftpfile/img:
root直接指向硬盘系统目录product文件夹下的ftpfile下的img文件夹;
即在访问img.hcxjingdong.com的时候就直接指向了该文件夹
8.测试验证

五、Nginx注意事项
可以配置域名转发,但请一定要配置host,并且使host生效之后才可以,设置完成之后要重启浏览器
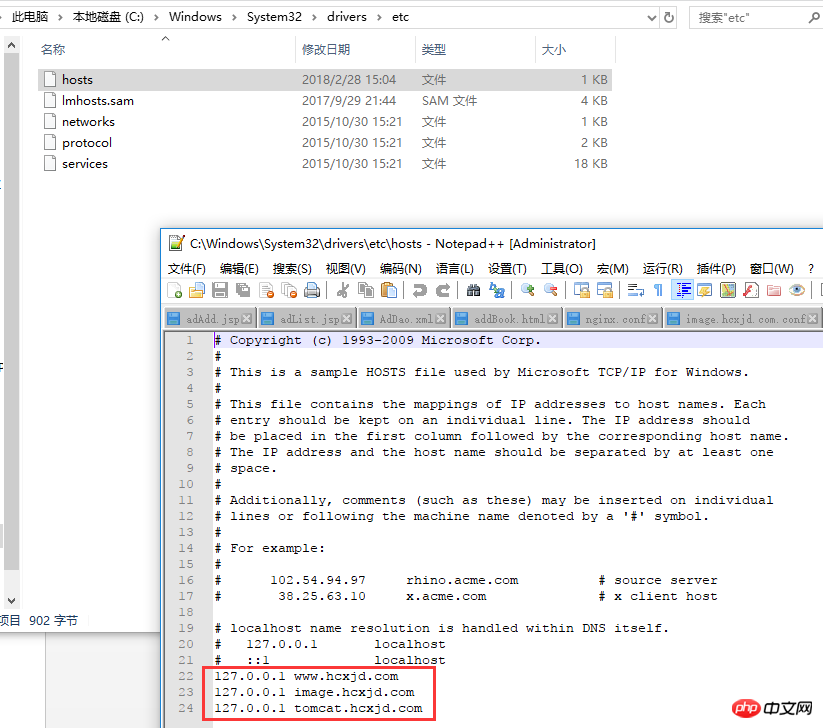
Windows下配置:
①进入c:\Windows\System32\drivers\etc
②用记事本打开hosts文件
③添加好对应的域名及ip
④保存退出
例如:
10.211.55.6 image.hcx.com
10.211.55.6 s.hcx.com
六、配置Windows下的Nginx
配置hosts:
c:\Windows\System32\drivers\etc
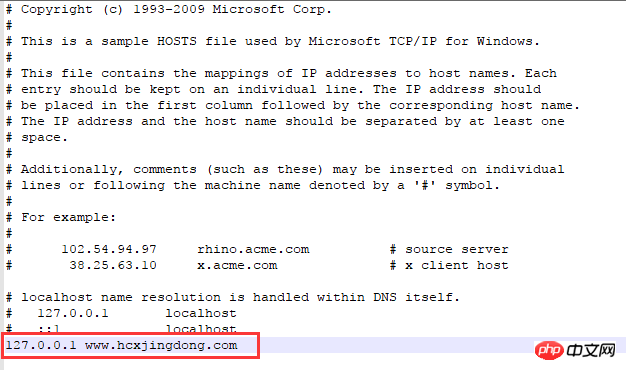
用浏览器访问www.hcxjingdong.com
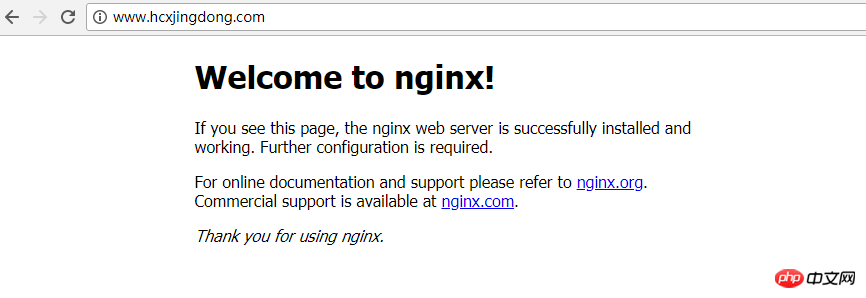
包括本机访问http://localhost:
配置目录的转发
1.进入到nginx.conf(nginx的主配置):
添加:include vhost/*.conf;
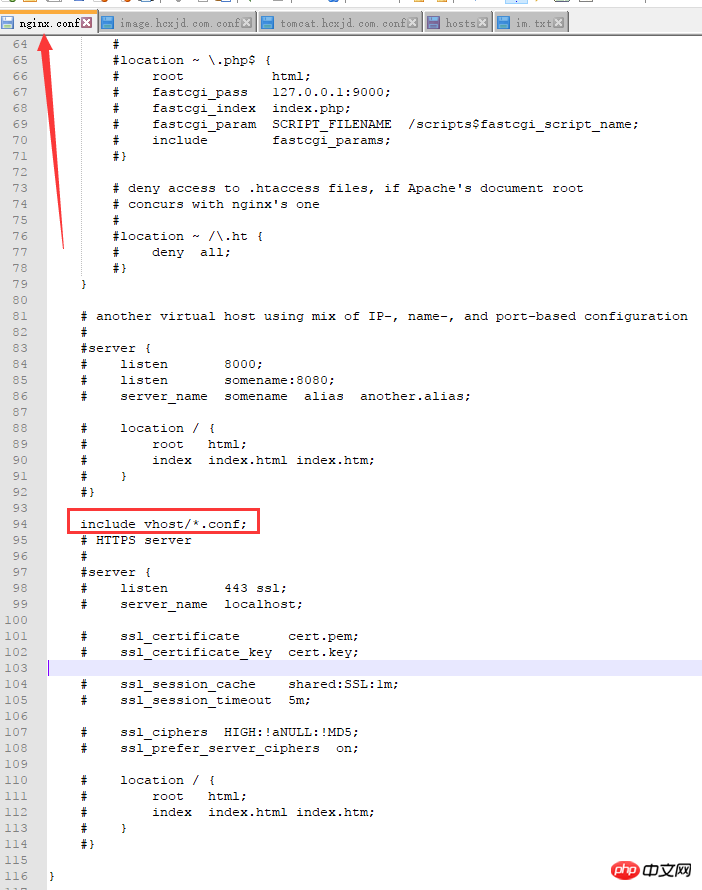
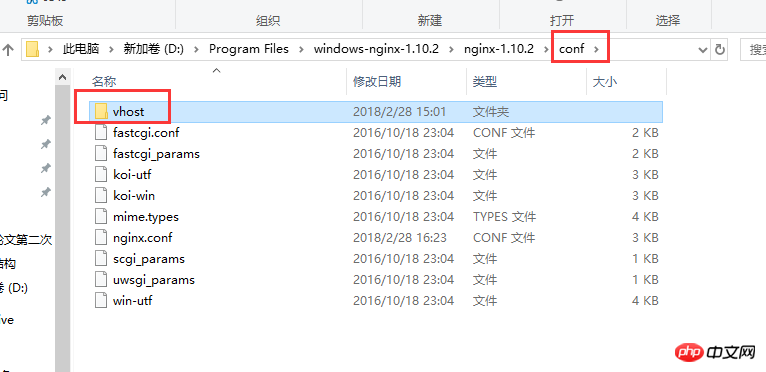
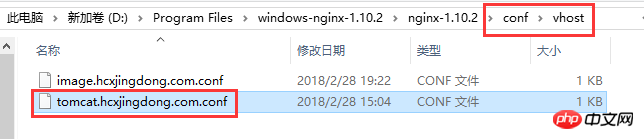
2.按照该路径去创建此文件夹:
在conf文件夹下创建vhost文件夹
3.在vhost文件夹中创建文件:image.hcxjingdong.com.conf

文件内容:
server{
    listen 80;
    autoindex off;
    server_name image.hcxjingdong.com;
    access_log c:/access.log combined;
    index index.html index.htm index.jsp index.php;
    #error_page 404 /404.html;
    if ( $query_string ~* ".*[\;'\<\>].*" ){
        return 404;
    }

    location ~ /(hcxmall_fe|hcxmall_admin_fe)/dist/view/* {
        deny all;
    }

    location / {
        root C:\ftpfile\img;
        add_header Access-Control-Allow-Origin *;
    }
}
到C:\ftpfile\img目录下存放图片以便访问
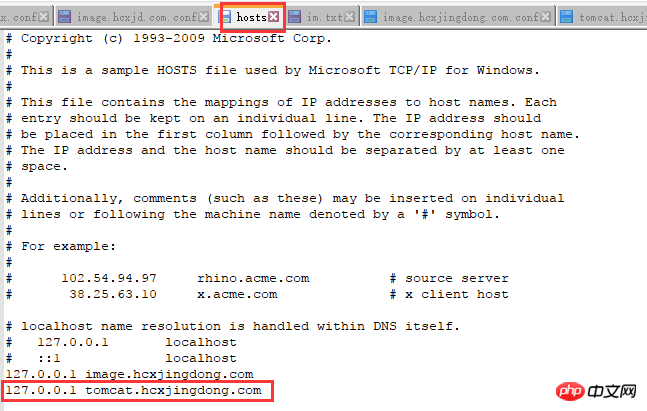
4.修改本机的host,让本机的nginx配合到image.hcxjingdong.com域名
去到C:\Windows\System32\drivers\etc目录下修改hosts文件:
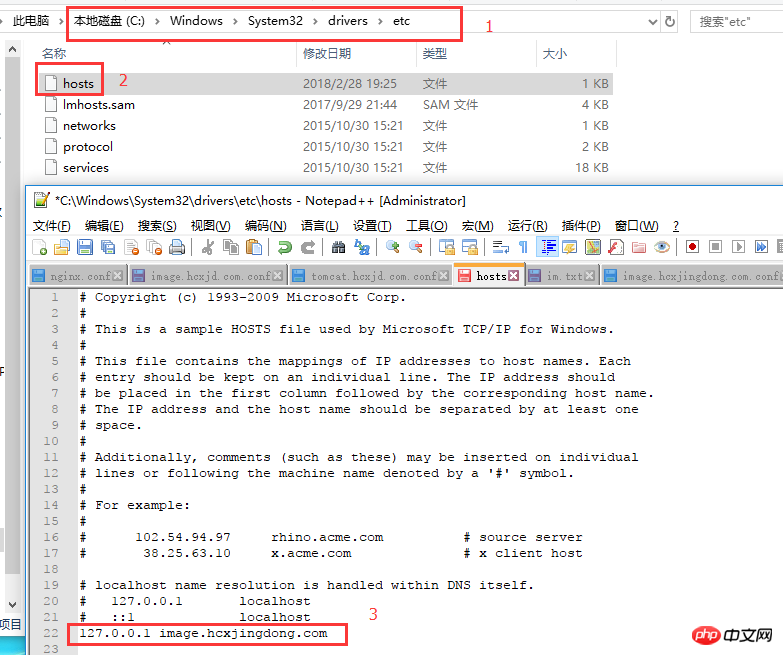
5.重启nginx:
进入到nginx目录执行命令:
①nginx.exe -t:验证配置文件是否正确
②nginx.exe -s reload:重启nginx

6.访问域名(image.hcxjingdong.com)验证图片是否生效:
测试host是否生效:image.hcxjingdong.com
测试图片是否生效:http://image.hcxjingdong.com/hcx.jpg

配置ip端口的转发
1.在conf下的vhost下创建:tomcat.hcxjingdong.com.conf
使用tomcat域名进行ip端口转发,转发到tomcat服务上
tomcat.hcxjingdong.com.conf:
server{
    listen 80;
    autoindex off;
    server_name tomcat.hcxjingdong.com;
    access_log c:/access.log combined;
    index index.html index.htm index.jsp index.php;
    #error_page 404 /404.html;
    if ( $query_string ~* ".*[\;'\<\>].*" ){
        return 404;
    }
    location / {
        proxy_pass http://127.0.0.1:8080;
        add_header Access-Control-Allow-Origin *;
    }
}
2.配置hosts:
3.启动tomcat
4.重启nginx:nginx.exe -s reload
5.访问http://tomcat.hcxjingdong.com
成功显示tomcat启动页,说明http的转发也成功了。
相关推荐:
Atas ialah kandungan terperinci Windows下Nginx的安装及配置实例讲解. Untuk maklumat lanjut, sila ikut artikel berkaitan lain di laman web China PHP!
Artikel berkaitan
Lihat lagi- Cara menggunakan cURL untuk melaksanakan permintaan Dapatkan dan Hantar dalam PHP
- Cara menggunakan cURL untuk melaksanakan permintaan Dapatkan dan Hantar dalam PHP
- Cara menggunakan cURL untuk melaksanakan permintaan Dapatkan dan Hantar dalam PHP
- Cara menggunakan cURL untuk melaksanakan permintaan Dapatkan dan Hantar dalam PHP
- Semua simbol ungkapan dalam ungkapan biasa (ringkasan)