Rumah >hujung hadapan web >tutorial js >nginx 和 node在阿里云部署https方法步骤
nginx 和 node在阿里云部署https方法步骤
- 小云云asal
- 2017-12-20 09:18:022327semak imbas
本文主要给大家介绍了关于利用nginx + node在阿里云部署https的步骤,文中通过图文及示例代码介绍的非常详细,对大家的学习或者工作具有一定的参考学习价值,希望能帮助到大家。
HTTPS和HTTP的区别主要如下:
1、https协议需要到ca申请证书,一般免费证书较少,因而需要一定费用。
2、http是超文本传输协议,信息是明文传输,https则是具有安全性的ssl加密传输协议。
3、http和https使用的是完全不同的连接方式,用的端口也不一样,前者是80,后者是443。
4、http的连接很简单,是无状态的;HTTPS协议是由SSL+HTTP协议构建的可进行加密传输、身份认证的网络协议,比http协议安全。
申请
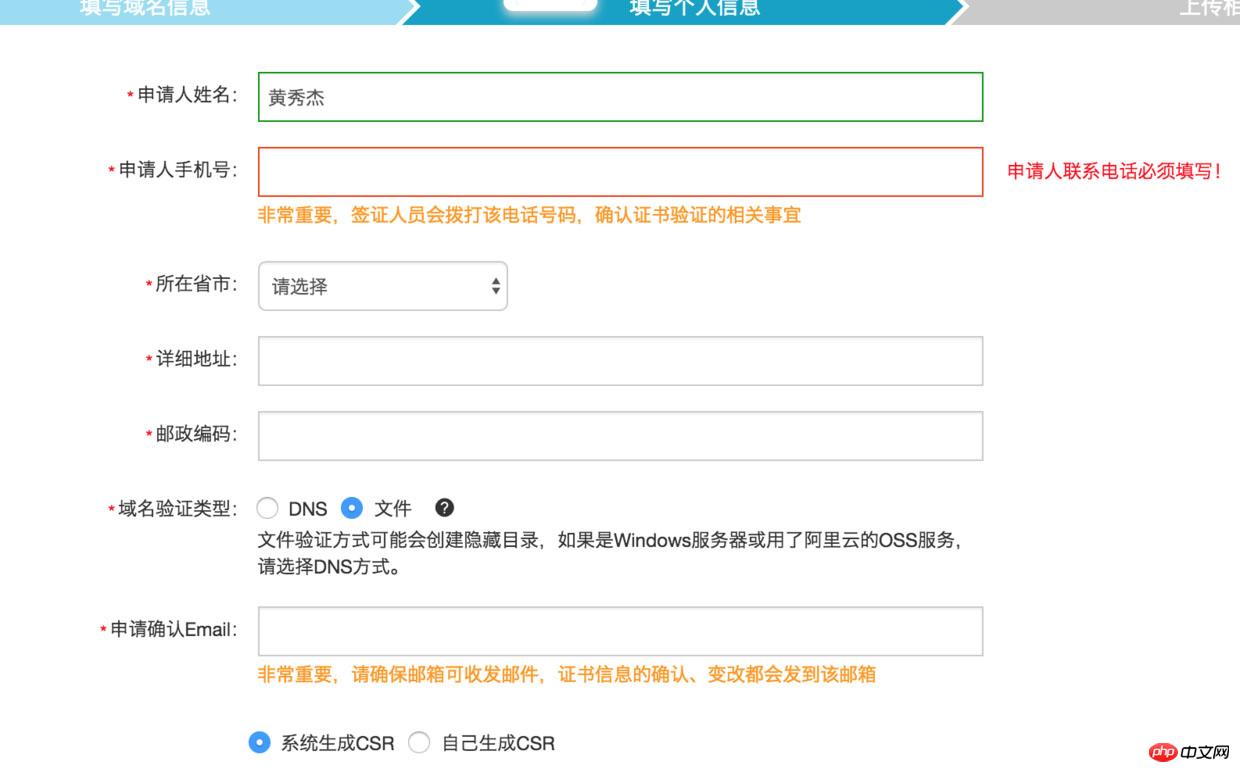
等了2天才拿到免费的https证书,在阿里一直是显示售罄,难道最近https普遍起来导致供不应求了。


部署

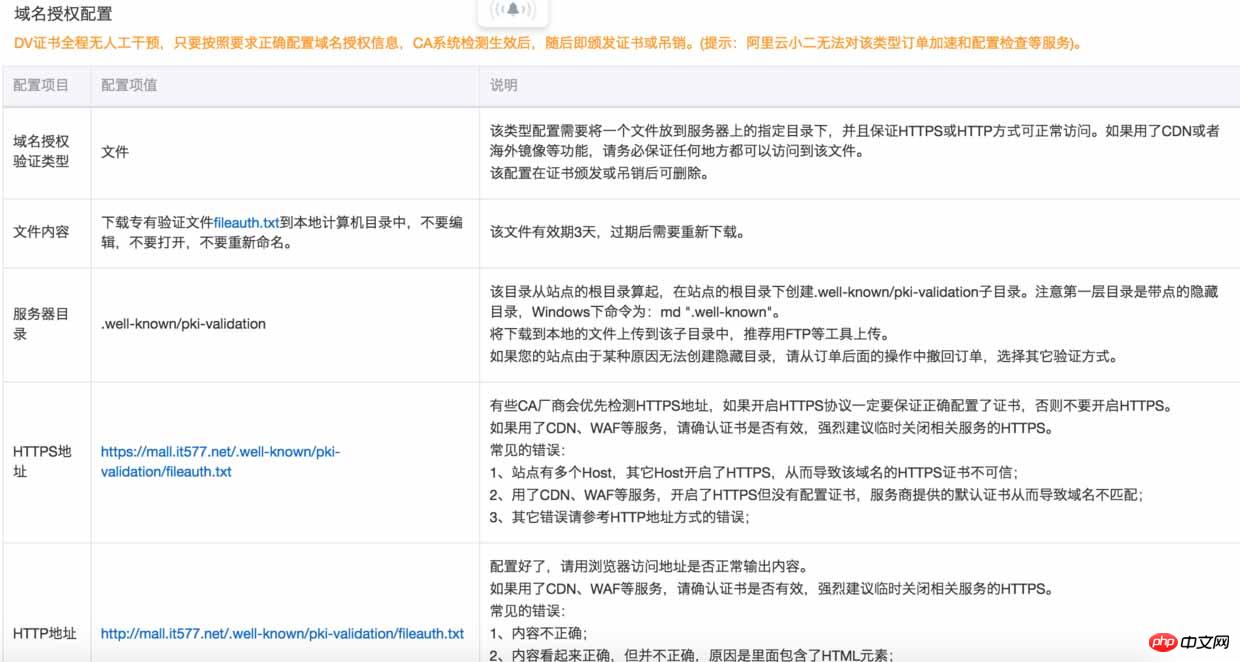
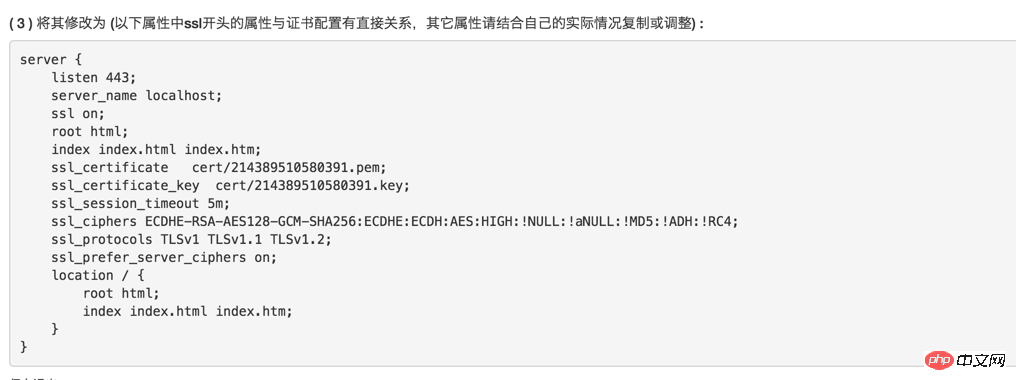
上传了fileauth.txt到指定的目录下,几分钟后,就审核通过了,期间并没有审核电话打进来。操作部署阿里给出很详尽,复制过来就可以,不过要注意要将cert文件夹放在conf下,而不是说明上所说的nginx根目录。当你按阿里原原本本地操作,将看到这个报错,fopen:No such file or directory:fopen('/usr/local/nginx/conf/cert/214389510580391.pem','r') error:2006D080:BIO routines:BIO_new_file:no such file) ,也就明白是cert存在目录的问题。
node反向代理
location / {
   proxy_pass http://127.0.0.1:4001;
   proxy_set_header Host $host;
   proxy_set_header X-Real-IP $remote_addr;
   proxy_set_header X-Forwarded-For $proxy_add_x_forwarded_for;
  }
node还是照旧跑,不关心https还是http,它由nginx完成。第1个proxy_pass是反向代理,后面3个proxy_set_header是将请求完全由mall.it577.net接管,不加上虽然能被前端请求,但是req.originUrl仍然还是会解析为http://127.0.0.1:4001,这就影响到了微信支付回调notify_url的解耦了,于是加上这3行。
结果

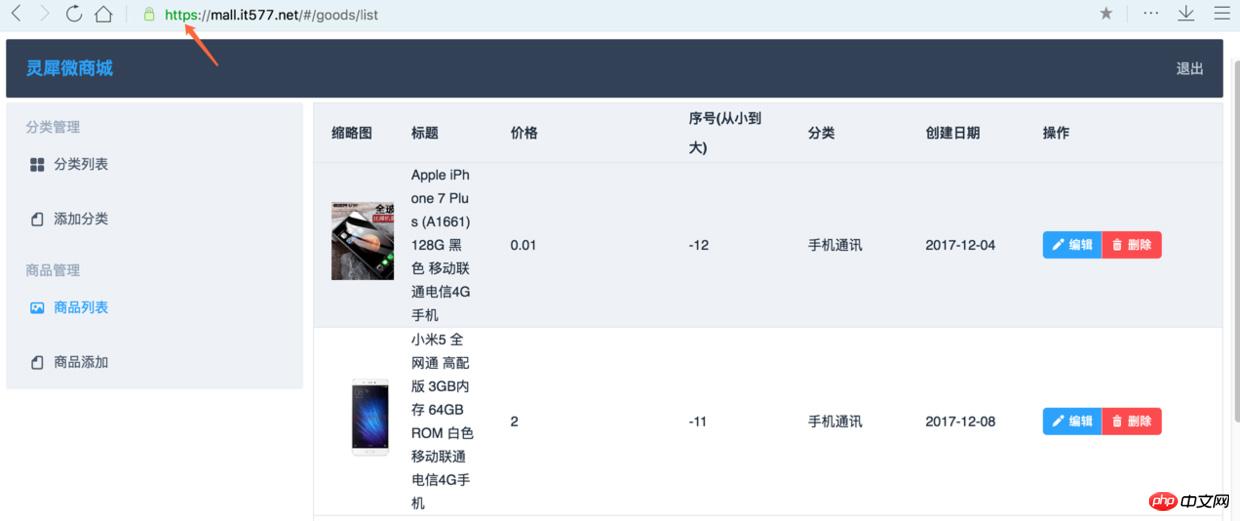
从地址栏看到已经支持https了。
坑
以上的过程是很简单,基本都能配置上,说下我遇到的坑。因为我阿里预装nginx并不带https模块,所以要自己手动下载安装包再重新编译,最后复制新编译出来的nginx执行文件替换并重启服务。
报错,提示找不到ssl模块
nginx: [emerg] unknown directive "ssl" in /usr/local/nginx/conf/nginx.conf:123
下载相应版本的ngix压缩包
wget http://nginx.org/download/nginx-1.12.1.tar.gz
解压
tar zxvf nginx-1.12.1.tar.gz
带参编译得到ssl模块
./configure --with-http_ssl_module

make
停止nginx
/usr/local/nginx/sbin/nginx -s stop
当然可以kill进程,网上搜到的是让kill的3种方法
替换旧nginx
cp /usr/local/nginx/sbin/nginx /usr/local/nginx/sbin/nginx.bak
cp ./objs/nginx /usr/local/nginx/sbin/
重启nginx并重新加载conf配置文件
/usr/local/nginx/sbin/nginx -c /usr/local/nginx/conf/nginx.conf
/usr/local/nginx/sbin/nginx -s reload
相关推荐:
https解决方案,含request:fail错误及真机预览问题
Atas ialah kandungan terperinci nginx 和 node在阿里云部署https方法步骤. Untuk maklumat lanjut, sila ikut artikel berkaitan lain di laman web China PHP!
Artikel berkaitan
Lihat lagi- Analisis mendalam bagi komponen kumpulan senarai Bootstrap
- Penjelasan terperinci tentang fungsi JavaScript kari
- Contoh lengkap penjanaan kata laluan JS dan pengesanan kekuatan (dengan muat turun kod sumber demo)
- Angularjs menyepadukan UI WeChat (weui)
- Cara cepat bertukar antara Cina Tradisional dan Cina Ringkas dengan JavaScript dan helah untuk tapak web menyokong pertukaran antara kemahiran_javascript Cina Ringkas dan Tradisional

