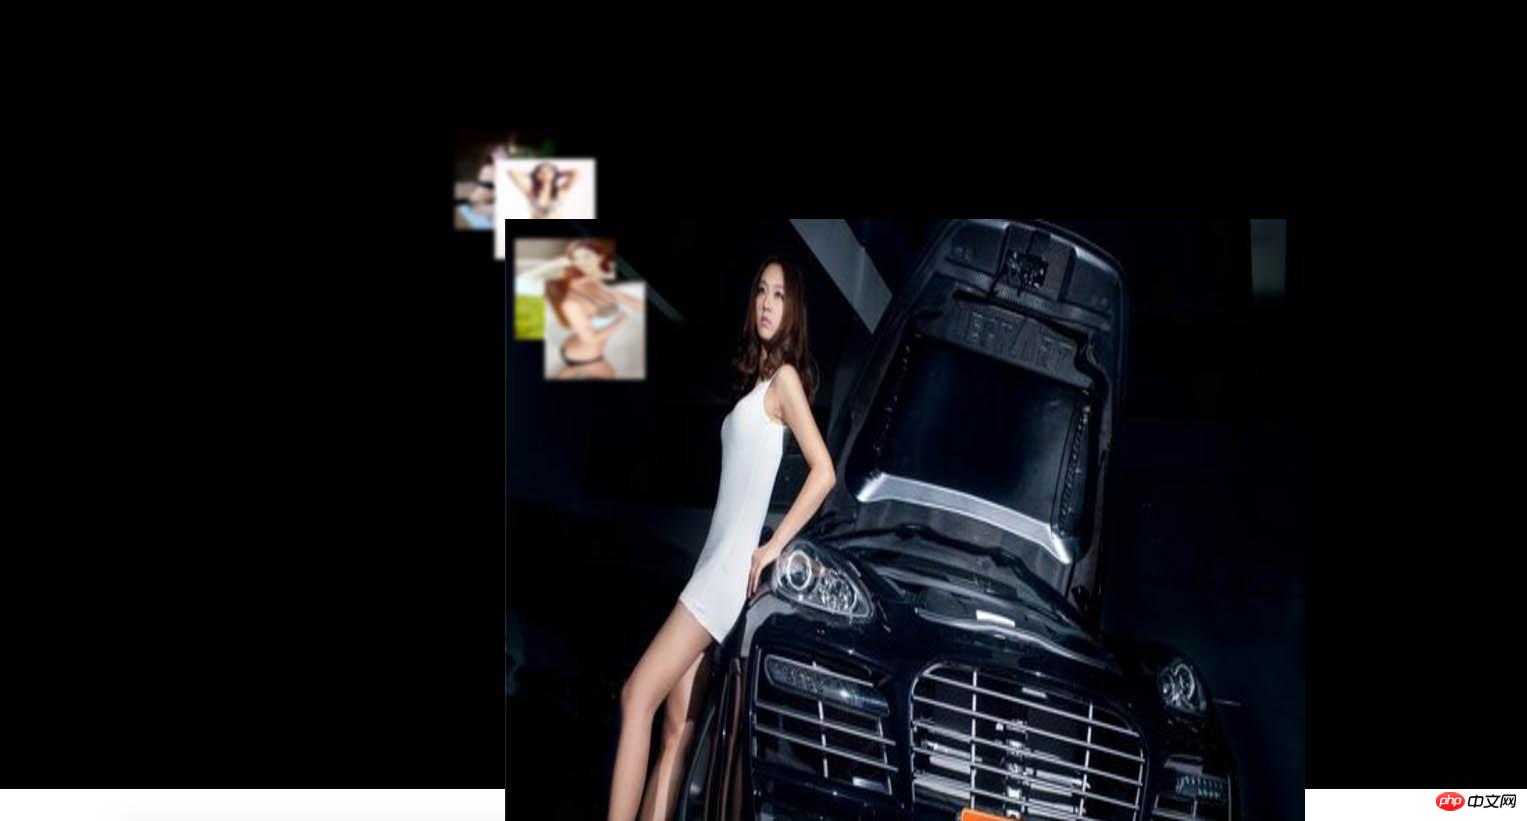
实例如下:

源代码:
<!DOCTYPE html>
<html>
<head>
<title>donghua</title>
<meta charset="utf-8">
<style type="text/css">
.beijing{
border: 1px solid black;
width: 100%;
height: 800px;
background: black;
}
.a1 img{
width: 100px;
height: 100px;
-webkit-filter: blur(2px);
}
.qq{
position: absolute;
left: 500px;
top: 150px;
}
.qq img:hover{
animation-name: one;
animation-duration: 3s;
animation-fill-mode: forwards;
}
@keyframes one{
0%{width: 200px;height: 200px;-webkit-filter:blur(4px);}
25%{width: 400px;height: 400px;-webkit-filter:blur(3px);}
80%{width: 600px;height: 600px;-webkit-filter:blur(2px);}
100%{width: 800px;height: 800px;-webkit-filter:blur(0px);}
}
.ww{
position: absolute;
left: 540px;
top: 180px;
}
.ww img:hover{
animation-name: one;
animation-duration: 5s;
animation-fill-mode: forwards;
}
.ss{
position: absolute;
left: 550px;
top: 240px;
}
.ss img:hover{
animation-name: one;
animation-duration: 5s;
animation-fill-mode: forwards;
}
.tt{
position: absolute;
left: 560px;
top: 260px;
}
.tt img:hover{
animation-name: one;
animation-duration: 5s;
animation-fill-mode: forwards;
}
.oo{
position: absolute;
left: 590px;
top: 300px;
}
.oo img:hover{
animation-name: one;
animation-duration: 5s;
animation-fill-mode: forwards;
}
</style>
</head>
<body>
<p class="beijing">
<p class="a1 qq"><img src="43a7d933c895d143b233160576f082025aaf074a.jpg"></p>
<p class="a1 ww"><img src="03087bf40ad162d9ec74553b14dfa9ec8a13cd7a.jpg"></p>
<p class="a1 ss"><img src="b151f8198618367ac7d2a1e92b738bd4b31ce5af.jpg"></p>
<p class="a1 tt"><img src="023b5bb5c9ea15cec72cb6d6b2003af33b87b22b.jpg"></p>
<p class="a1 oo"><img src="c2cec3fdfc03924578c6cfe18394a4c27c1e25e8.jpg"></p>
</p>
</body>
</html>
以上这篇css动画+照片清晰度动画的实现方法就是小编分享给大家的全部内容了,希望能给大家一个参考,也希望大家多多支持PHP中文网。
更多css动画和照片清晰度动画的实现方法介绍相关文章请关注PHP中文网!
 Begitu banyak pautan warnaApr 13, 2025 am 11:36 AM
Di sana ' s telah menjalankan alat, artikel, dan sumber tentang warna akhir -akhir ini. Tolong izinkan saya menutup beberapa tab dengan membulatkannya di sini untuk keseronokan anda.
 Bagaimana margin automatik berfungsi di flexboxApr 13, 2025 am 11:35 AM
Robin telah menutupi ini sebelum ini, tetapi saya telah mendengar kekeliruan mengenainya dalam beberapa minggu yang lalu dan melihat orang lain menikam menerangkannya, dan saya mahu
 Melangkah Rainbow Garis bawahApr 13, 2025 am 11:27 AM
Saya sangat suka reka bentuk tapak sandwic. Di antara banyak ciri yang indah ialah tajuk utama ini dengan garis bawah Rainbow yang bergerak ketika anda menatal. Ia ' s tidak
 Tahun Baru, pekerjaan baru? Let ' s membuat resume berkuasa grid!Apr 13, 2025 am 11:26 AM
Banyak reka bentuk resume yang popular membuat sebahagian besar ruang halaman yang tersedia dengan meletakkan bahagian dalam bentuk grid. Mari kita gunakan grid CSS untuk membuat susun atur yang
 Salah satu cara untuk memecahkan pengguna dari kebiasaan tambah nilai terlalu banyakApr 13, 2025 am 11:25 AM
Tambah nilai halaman adalah satu perkara. Kadang -kadang kita menyegarkan halaman apabila kita fikir ia tidak bertindak balas, atau percaya bahawa kandungan baru tersedia. Kadang -kadang kita hanya marah
 Reka bentuk yang didorong oleh domain dengan ReactApr 13, 2025 am 11:22 AM
Terdapat panduan yang sangat sedikit tentang cara mengatur aplikasi front-end di dunia React. (Hanya gerakkan fail sehingga ia "terasa betul," lol). Kebenaran
 Mengesan pengguna yang tidak aktifApr 13, 2025 am 11:08 AM
Kebanyakan masa anda tidak benar -benar peduli sama ada pengguna secara aktif terlibat atau tidak aktif sementara pada aplikasi anda. Tidak aktif, makna, mungkin mereka
 Wufoo ZapierApr 13, 2025 am 11:02 AM
Wufoo sentiasa hebat dengan integrasi. Mereka mempunyai integrasi dengan aplikasi tertentu, seperti Monitor Kempen, MailChimp, dan TypeKit, tetapi mereka juga


Alat AI Hot

Undresser.AI Undress
Apl berkuasa AI untuk mencipta foto bogel yang realistik

AI Clothes Remover
Alat AI dalam talian untuk mengeluarkan pakaian daripada foto.

Undress AI Tool
Gambar buka pakaian secara percuma

Clothoff.io
Penyingkiran pakaian AI

AI Hentai Generator
Menjana ai hentai secara percuma.

Artikel Panas

Alat panas

Dreamweaver CS6
Alat pembangunan web visual

MantisBT
Mantis ialah alat pengesan kecacatan berasaskan web yang mudah digunakan yang direka untuk membantu dalam pengesanan kecacatan produk. Ia memerlukan PHP, MySQL dan pelayan web. Lihat perkhidmatan demo dan pengehosan kami.

DVWA
Damn Vulnerable Web App (DVWA) ialah aplikasi web PHP/MySQL yang sangat terdedah. Matlamat utamanya adalah untuk menjadi bantuan bagi profesional keselamatan untuk menguji kemahiran dan alatan mereka dalam persekitaran undang-undang, untuk membantu pembangun web lebih memahami proses mengamankan aplikasi web, dan untuk membantu guru/pelajar mengajar/belajar dalam persekitaran bilik darjah Aplikasi web keselamatan. Matlamat DVWA adalah untuk mempraktikkan beberapa kelemahan web yang paling biasa melalui antara muka yang mudah dan mudah, dengan pelbagai tahap kesukaran. Sila ambil perhatian bahawa perisian ini

MinGW - GNU Minimalis untuk Windows
Projek ini dalam proses untuk dipindahkan ke osdn.net/projects/mingw, anda boleh terus mengikuti kami di sana. MinGW: Port Windows asli bagi GNU Compiler Collection (GCC), perpustakaan import yang boleh diedarkan secara bebas dan fail pengepala untuk membina aplikasi Windows asli termasuk sambungan kepada masa jalan MSVC untuk menyokong fungsi C99. Semua perisian MinGW boleh dijalankan pada platform Windows 64-bit.

SecLists
SecLists ialah rakan penguji keselamatan muktamad. Ia ialah koleksi pelbagai jenis senarai yang kerap digunakan semasa penilaian keselamatan, semuanya di satu tempat. SecLists membantu menjadikan ujian keselamatan lebih cekap dan produktif dengan menyediakan semua senarai yang mungkin diperlukan oleh penguji keselamatan dengan mudah. Jenis senarai termasuk nama pengguna, kata laluan, URL, muatan kabur, corak data sensitif, cangkerang web dan banyak lagi. Penguji hanya boleh menarik repositori ini ke mesin ujian baharu dan dia akan mempunyai akses kepada setiap jenis senarai yang dia perlukan.


