Rumah >hujung hadapan web >Tutorial PS >PS网页设计教程XXVIII——如何在PS中创建一个干净的网页布局
PS网页设计教程XXVIII——如何在PS中创建一个干净的网页布局
- 高洛峰asal
- 2017-02-14 09:16:073230semak imbas
作为编码者,美工基础是偏弱的。我们可以参考一些成熟的网页PS教程,提高自身的设计能力。套用一句话,“熟读唐诗三百首,不会作诗也会吟”。
本系列的教程来源于网上的PS教程,都是国外的,全英文的。本人尝试翻译这些优秀的教程。因为翻译能力有限,翻译的细节上还有待推敲,希望广大网友不吝赐教。
约定:
1、本文的软件是Photoshop CS5版本
2、原教程的截图是英文的,本人在重新制作的基础上,重新截了中文版的图
3、原文中有些操作没有给出参数。本人在反复测试的情况下测定了一些参数,以红色的文字显示。有些错误的参数,直接以红色文字显示正确的参数
例如:(90,22,231,77),表示矩形的左上角的坐标是(90,22),宽231,高77
例如:(90,22),表示矩形的左上角的坐标是(90,22),矩形的其他两个参数教程里已经指定
4、在教程的最后会附上本人的心得。有些是对教程中的一些步骤的优化等。
This is an intermediate level tutorial and some may seem to be tricky, but why not have a try? Let's get the ball rolling
这是一个中级水平的教程和看起来可能是棘手的,但为什么不试试呢?让我们滚动我们的鼠标滚轮
Step 1
步骤1
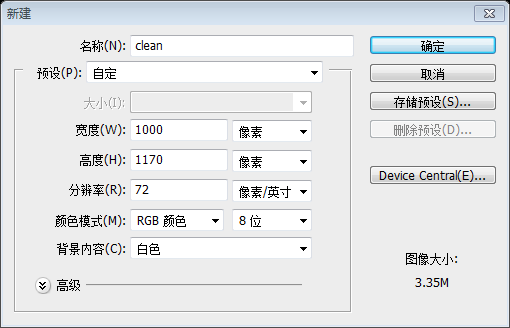
Let's start at the beginning. Just fire up your Photoshop and create a new document (CTRL+N). See the parameters below.
让我么开始教程。打开你的PS并按照下图的参数创建新文档(Ctrl + N)
Step 2
步骤2
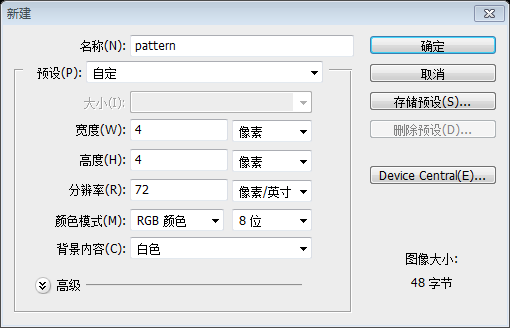
Now you should add some pattern to your background.
现在给你的背景添加一些图案
新建4px*4px的文档,如下图所示
按照下图用铅笔工具着色,左上到右下的对角线的颜色: #efeeef;右上到左下对角线的颜色,上: #dfdddf,下: #e7e6e7
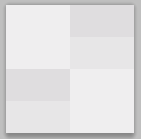
点击:编辑 > 定义图案,定义成图案

用矩形工具新建一个矩形(0,0,1000,1170)
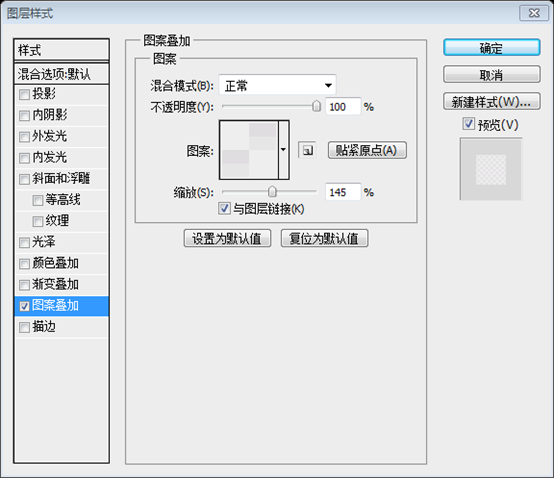
Layer Style -> Blending options-> Pattern Overlay. Look at the screenshots below:
点击:图层 > 图层样式 > 混合选项 > 图案叠加。按照下面的截图设置
Step 3
步骤3
We want to create an awesome design, yeah? That's why we should use a grid system for designing. You can easily create a solid visual and structural balance of websites with grid-based designs.
我们将创建一个很棒的设计,不是吗?这就是为什么我们要使用网格系统设计。您可以轻松地创建基于网格的设计的结构平衡和实在的视角的网站。
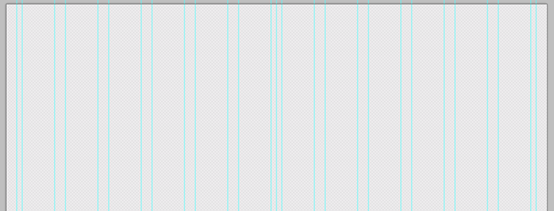
Put some grids to your design with intervals of 60px and 20px.
在你的设计中添加一些参考线,间隔60px和20px
垂直参考线的坐标分别是20、30、90、110、170、190、250、270、330、350、410、430、490、500、510、570、590、650、670、730、750、810、830、890、910、970、980
Step 4
步骤4
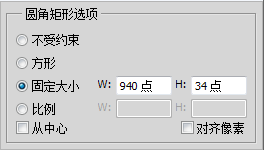
So... now it is time to design the menu of your future website. Use the Rounded Rectangle tool to create it (radius - 3px). The width of your menu is 940px, the height is 34px.
那么……现在是设计你的未来的网页的菜单的时候了。用圆角矩形工具创建一个圆角矩形(30,53,940,34)(半径—3px)。你的菜单的宽度是940px,高度34px
I think that it is an easy task to create a website's menu. To be sure, look at the images below:
我想这是非常简单的过程去创建一个网页的菜单。请相信,参看下图:

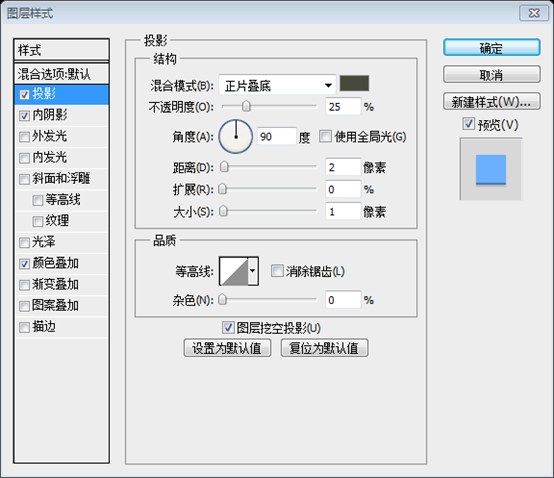
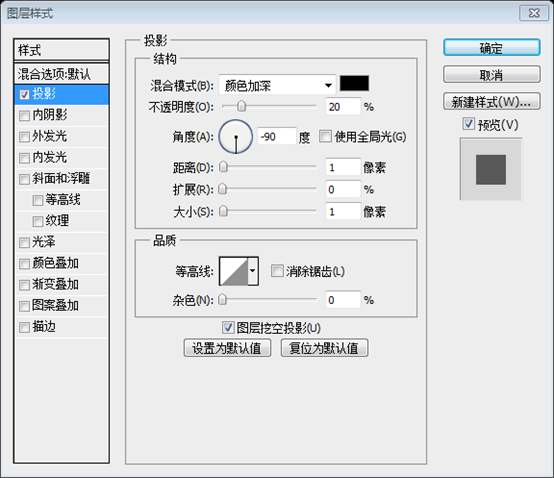
To make this menu more eye-candy, go to the Blending Options -> Drop Shadow. Use the settings that you can see on the screenshots:
让我们的菜单看起来更养眼,点击:混合选项 > 投影。按照下面的截图设置参数,投影的颜色: #47493c
Blending options-> Inner Shadow
混合选项 > 内阴影
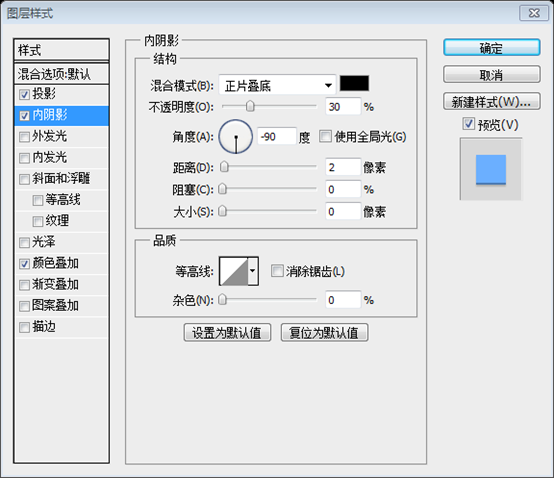
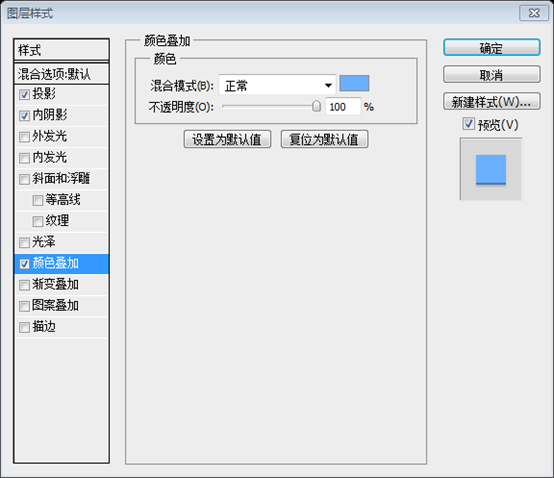
I chose the #6bafff color for this menu bar.
我给这个菜单选择的颜色: #6bafff

Step 5
步骤5
Let's add some text to our menu. Use the Horizontal Type Tool for it.
让我们用水平文字工具添加菜单上的文字(分别是HOME、ABOUT、CONTACT、BLOG、PORTFOLIO)
You can create your design with any font you like. I used the Aller [bold] font. The size is 14px.
你可以在你的设计中使用任何你喜欢的字体。这儿我用的是字体是Aller、粗体。字号:14px

给菜单文字添加如下的图层样式,投影的颜色: #010101

Step 6
步骤6
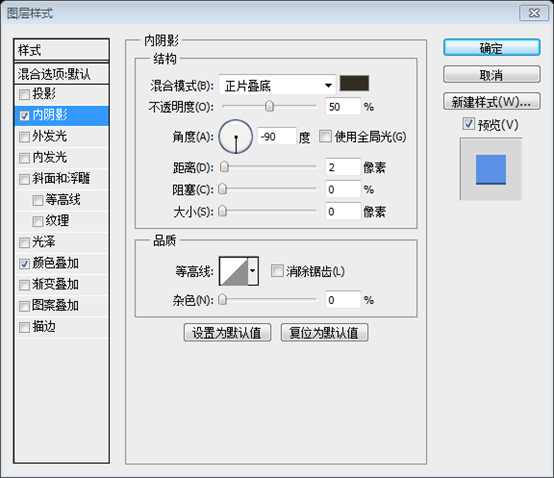
All the menu buttons are links and the designer should show how their hover state looks like. So, create are rectangle (the color that I've used for it is #5a90e5).
所有的菜单按钮都是链接,设计者要展示菜单悬浮状态的样子。所以,创建矩形(281,53,68,34)(我用的颜色: #5a90e5)
并添加如下的图层样式,内阴影的颜色: #312d20
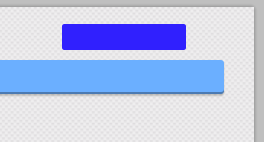
Our result:
我们的成果:

Step 7
步骤7
Every decent website has a search form. Let's create it too :)
每个得体的网页都有一个搜索表单。我们也创建一个
Use the Rounded Rectangle tool (radius - 3px) to create a search form with the following dimensions: 124px and 26px
用圆角矩形工具(半径:3px)创建一个搜索表单(808,17,124,26),尺寸:124px*26px
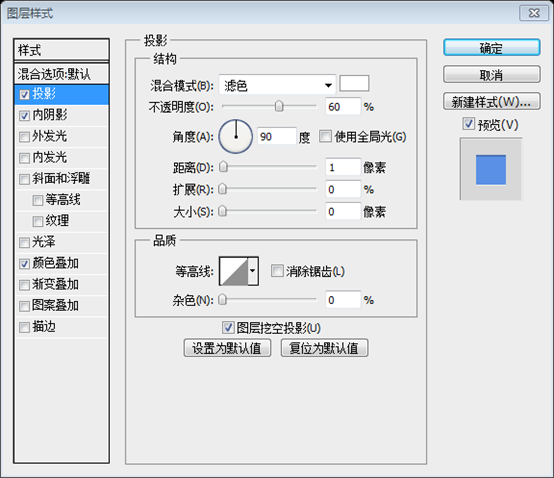
添加投影的图层样式
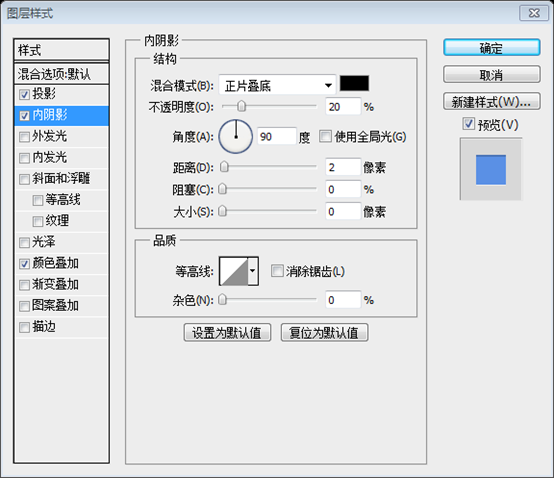
Add some inner shadow: Blending Options-> Inner Shadow
添加一些内阴影:混合选项 > 内阴影
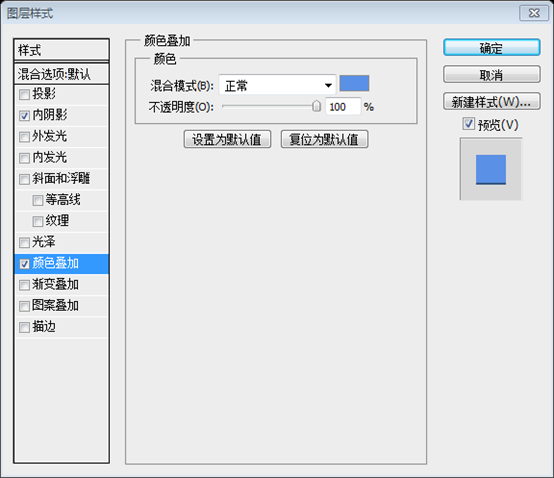
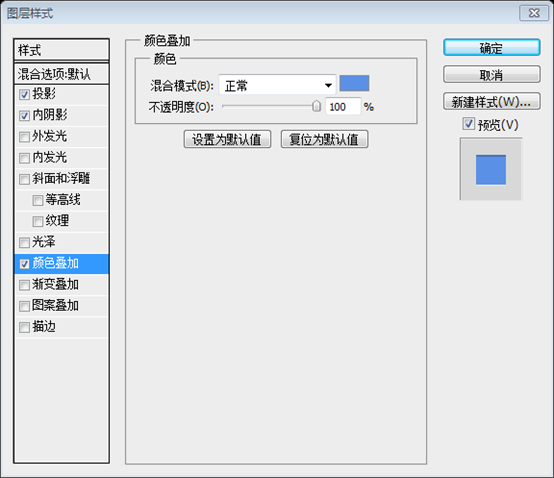
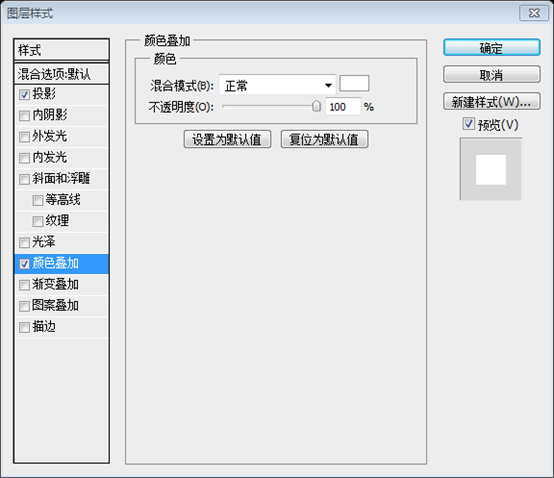
Blending Options-> Color Overlay, color- #5a90e5
混合选项 > 颜色叠加,颜色: #5a90e5
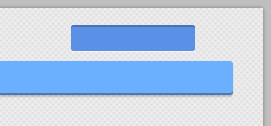
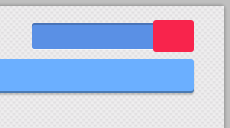
Use our favorite Photoshop tool one more time :) Create one rectangle with dimensions 41px and 32px
再次使用PS中的历史工具,创建一个圆角矩形(929,14,41,32),尺寸:41px*32px
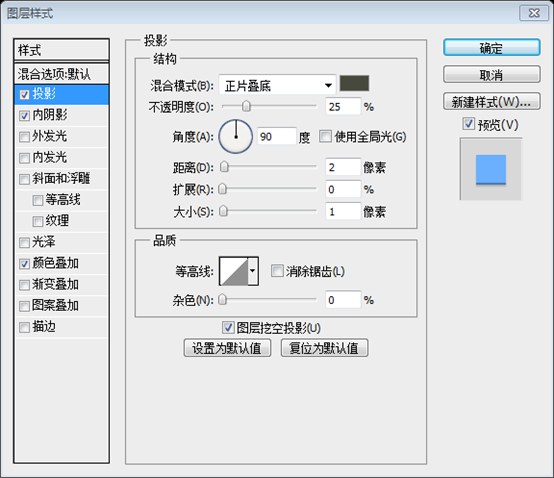
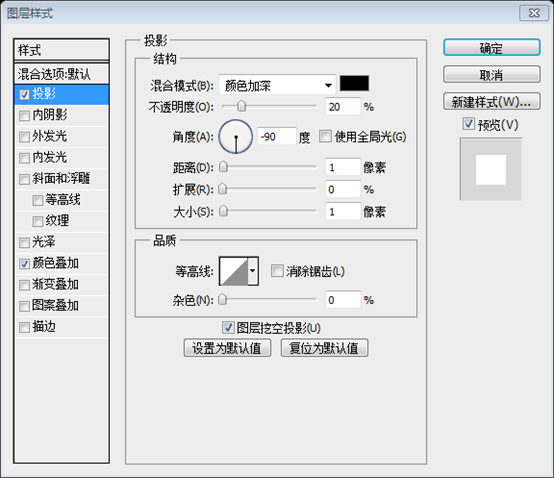
Blending Options -> Drop Shadow
混合选项 > 投影,颜色: #47493c
Blending Options -> Inner Shadow
混合选项 > 内阴影
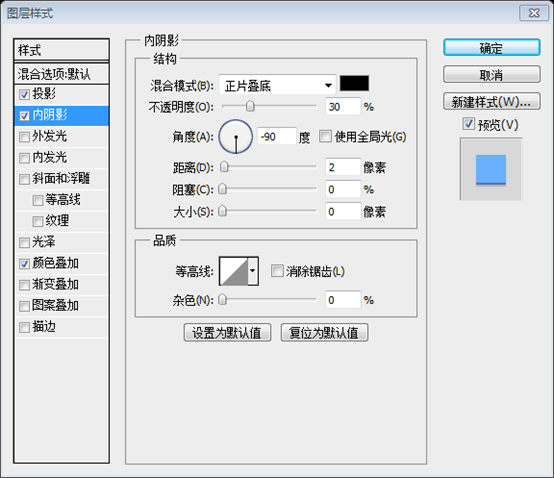
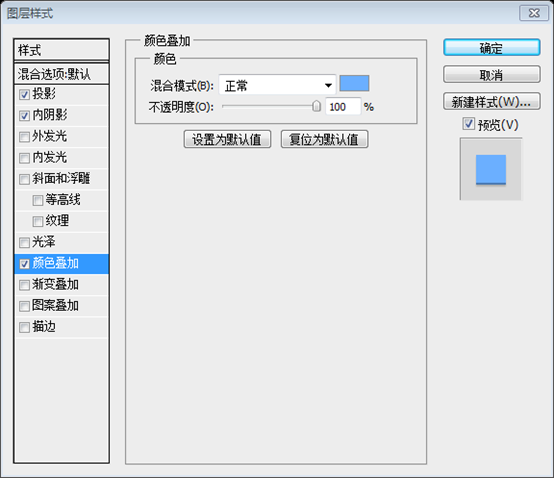
Blending Options -> Color Overlay (color - #6bafff)
混合选项 > 颜色叠加(颜色: #6bafff)
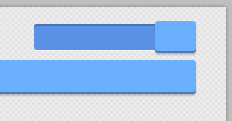
Now it is time to use icons that we've downloaded at the beginning of this tutorial. Open the "Linecons Free - Vector Icons Pack and find the search icon there. Just apply some bells and whistles to it.
现在是用之前下载的图标了。打开Linecons Free - Vector Icons Pack,找到search图标并添加一些花里胡哨的样式
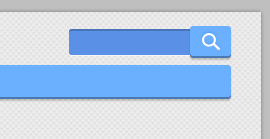
Here is our final result for the search form:
这是搜索表单的最终结果:
Step 8
步骤8
Social media connections are very useful and important for every website. That's why today we'll also learn how to create a simple Facebook button. Again with the help of the Rounded Rectangle tool (radius - 3px), we'll create a button
对于每一个网站来说,社会媒体链接是非常有用和重要的。这就是为什么今天我们还将学习如何创建一个简单的 Facebook 按钮。再次用圆角矩形工具(半径:3px) ,创建一个按钮(40,16,86,26)
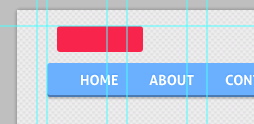
Then use the Rectangle tool (rounded) to create a square (holding the Shift button) with the following size – 16px
然后用矩形工具(或者是圆角矩形工具)创建一个正方形(按住Shift键),尺寸:16px
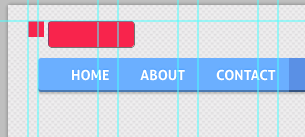
Choose the Pen Tool and cut off half of this square.
选择钢笔工具然后切掉这个正方形的一半。注:这一步用直接选择工具比较简单,用直接选择工具选择正方形的右下角的点,按Delete键删除,就得到一个三角形
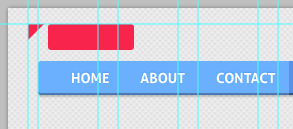
Edit-> Transform->Rotate to move this triangle and place it on the left side of the rectangle
点击:编辑 > 变换 > 旋转,旋转这个三角形,并移动它到矩形的左侧
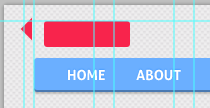
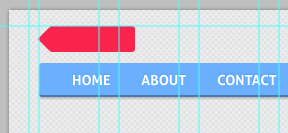
Select all your "Facebook" layers and merge them (Ctrl+E).
选择所有的Facebook图层,并合并它们(Ctrl + E)
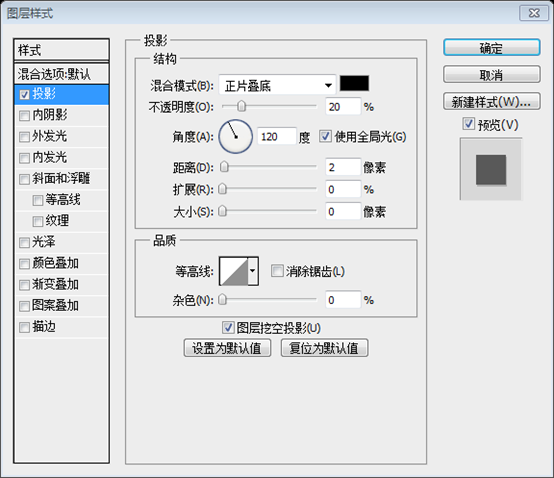
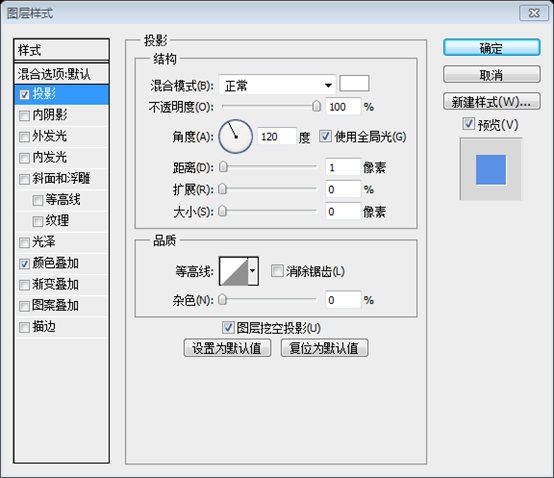
给它添加投影的图层样式
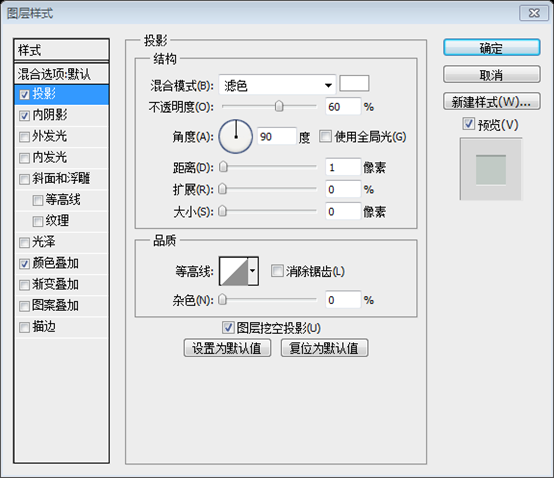
Blending Options-> Inner Shadow:
混合选项 > 内阴影
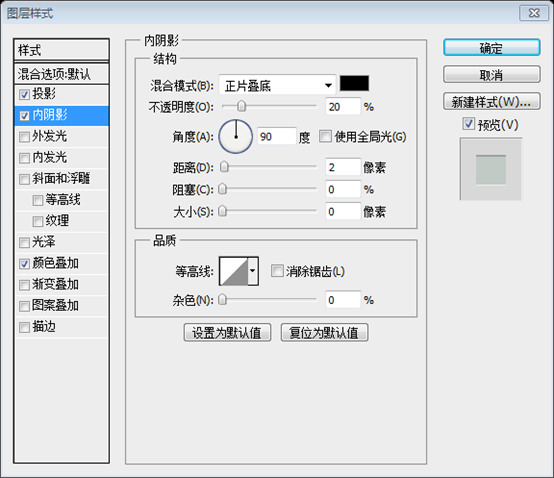
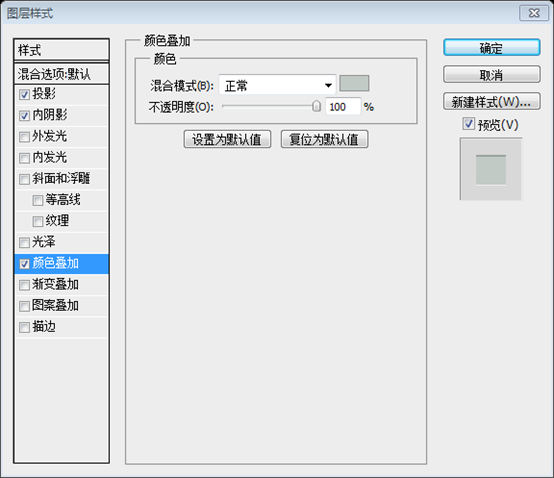
Blending Options-> Color Overlay (#c1cac5 )
混合选项 > 颜色叠加(#c1cac5)
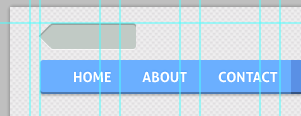
Now add the "follow" text to our Facebook button and play with its blending options.
现在在Facebook按钮上添加follow文字,并添加如下的图层样式。字体:Aller 粗体,字号:14px
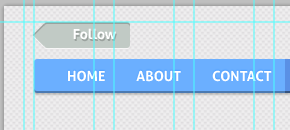
Try to create your Facebook logo for this button. For example, you can create the "F" letter, decorate it with a blue color (#5a90e5).
给你的按钮添加Facebook LOGO。举例来说,你可以创建字母F,给它上一个蓝色(#5a90e5)
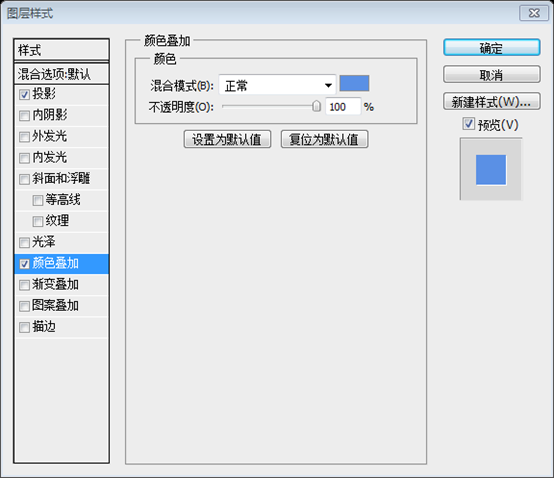
Play with Blending options (add a white shadow)
添加如下的图层样式(添加一个白色的阴影)
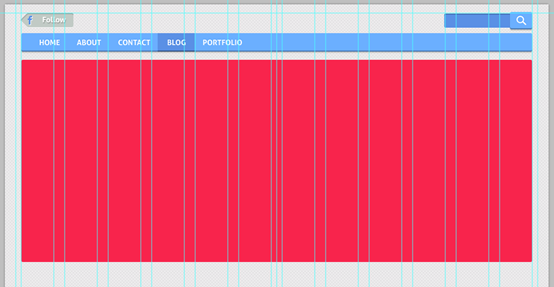
WOW! We did it :) Look at the final result of our menu bar:
喔!我们做完了。看看我们最终完成的按钮栏

Step 9
步骤9
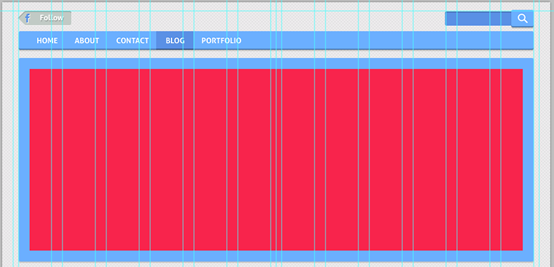
Create a new shape: width 940px, height 372px
创建一个新的形状(圆角矩形,半径:3px,(30,102,940,372)):宽940px,高372px
As always, add some shadow:
同样,添加一些投影,投影的颜色: #47493c
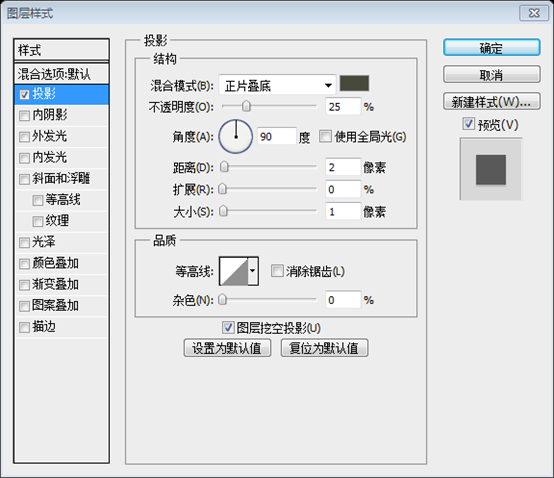
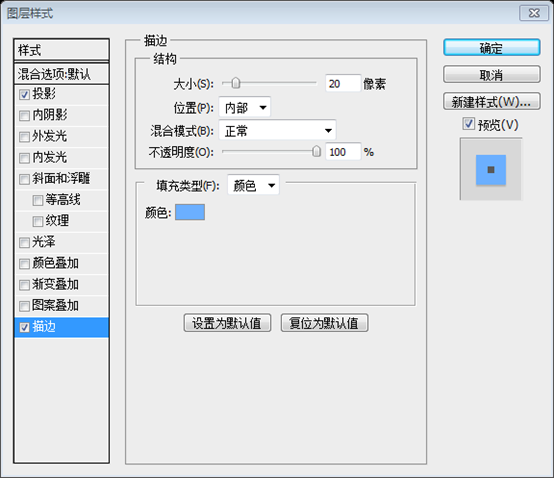
And a border: Blending Options-> Stroke (20px, color- #6bafff)
并添加一个边:混合选项 > 描边(20px,颜色: #6bafff)
Step 10
步骤10
To create nice slider, we should add some images to it. With the help of the Ctrl+Alt+G shortcut,create a clipping mask.
为了创建漂亮的滑动栏,我们要添加一些图片。用快捷键Ctrl + Alt + G,我们创建一个剪贴蒙版

Step 11
步骤11
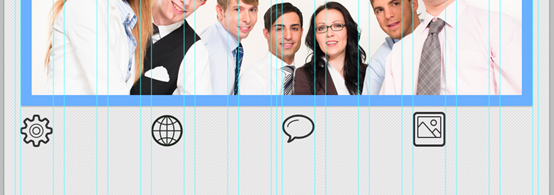
Use a bunch of free icons again. I've selected the following icons: "settings","bubble", "photo","world"
再次使用那一堆的免费图标。我选择的是下面这些图标:settings,bubble,photo,world
Add them to our design (don't forget to use the grid), distance – 180px
把他们添加到我们的设计中(别忘了用参考线),距离:180px
Step 12
步骤12
Add some text. You should use the same font that you used for your menu bar. Set the font size to 30px.
添加一些文字。你可以使用和菜单栏同样的字体。设置字号为30px

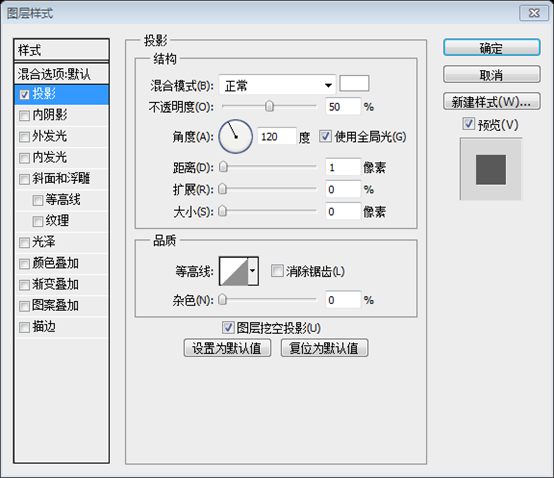
Play with Blending Options: add a white shadow, color overlay ( #6aaefd) and an inner shadow.
给它添加混合选项:添加白色的投影,颜色叠加( #6aaefd)和一个内阴影
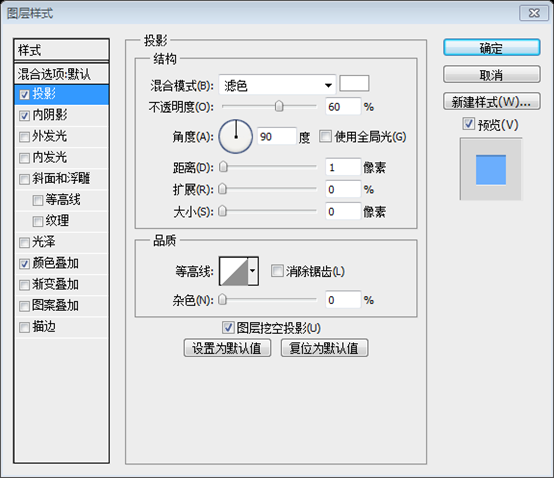
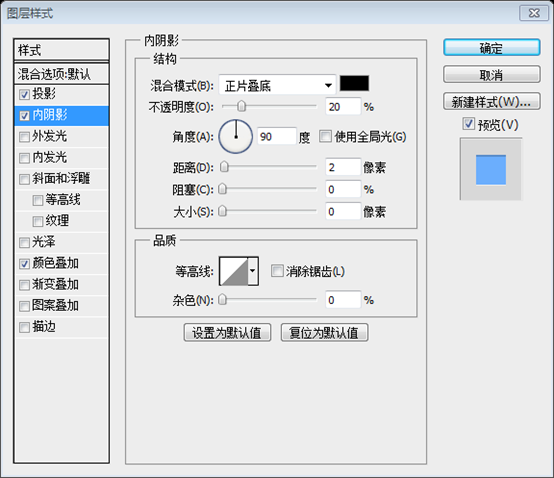
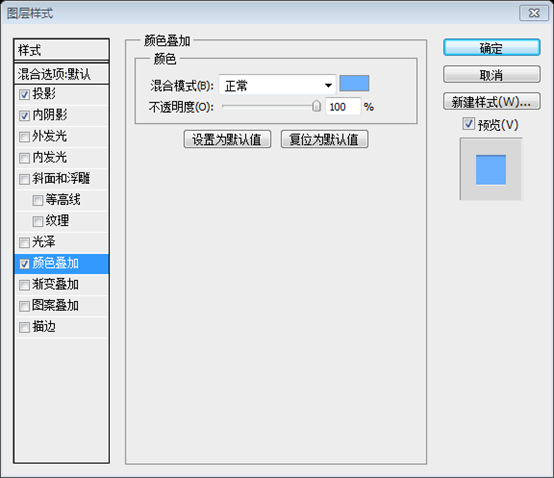
Copy the styles of this layer and add it to all your icons:
复制该图层样式并添加到所有的图标和文字
WOW! Look at this amazing result!
喔!看看这个疯狂的结果

Step 13
步骤13
Fill these four columns (width of each - 240px) with some "loremipsum" text. It is better to add a different text to every column.
给这些四列(每列宽240px)添加一些loremipsum文字。最好每列的文字都不一样。文字的颜色: #4c1b33,并添加投影的图层样式

Step 14
步骤14
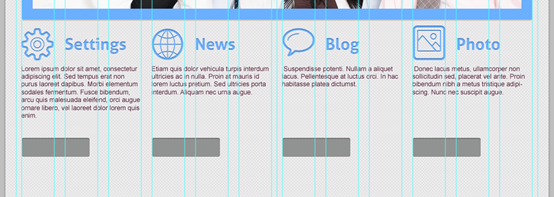
Create a Read More button with the help of the tools that we've used before.
用之前使用过的工具(圆角矩形工具)创建一个Read More按钮(30,692,125,35)
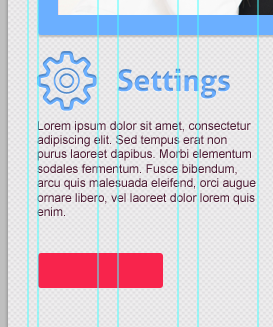
Blending options-> Inner Shadow, Drop Shadow, Color Overlay (#919392).
混合选项 > 内阴影,投影,颜色叠加(#919392)
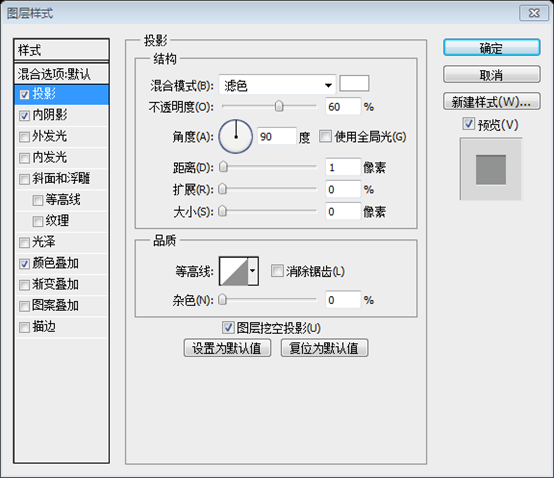
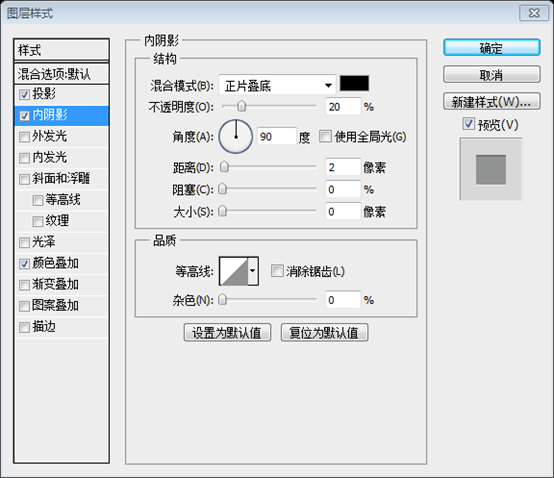
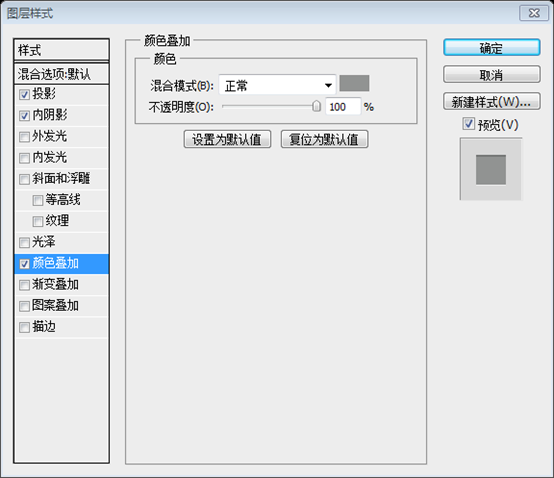
同样的,添加另三个按钮,分别是(240,692,125,35)、(510,692,125,35)、(750,692,125,35)
Step 15
步骤15
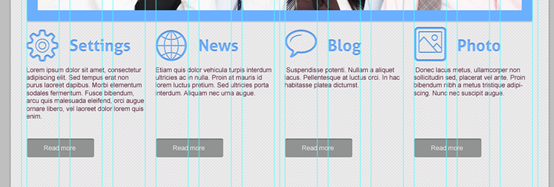
Add the "Read more" text to our button.
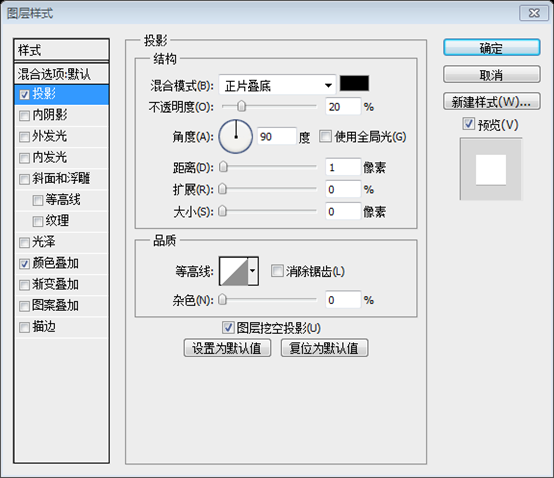
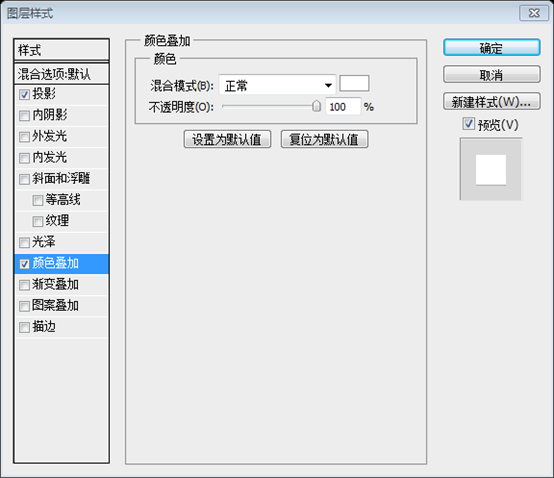
给我们的按钮添加Read more文字,并添加投影和颜色叠加的图层样式
Step 16
步骤16
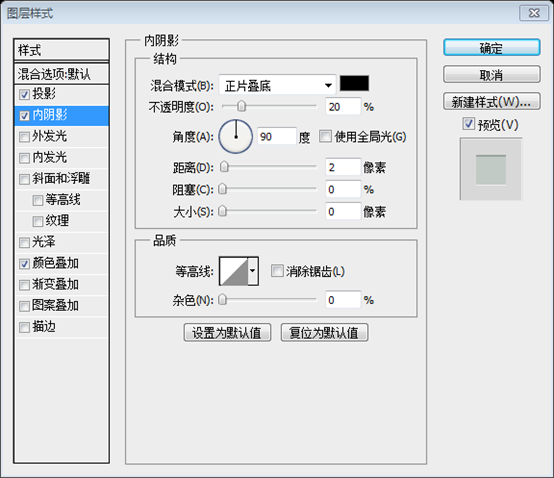
Now we should separate the main content of our future website. Create a 1px line and add styles of your "read more" layout to it.
现在我们应该把我们未来的网站的主要内容分开。创建一个 1px 的直线(30,747,940,1),并将您的Read more图层的图层样式添加到它(粘贴图层样式)。
为了让分割线更加明显一点,还要添加内阴影的图层样式

Step 17
步骤17
Your next block can be a section entitled "Partners" or you may want to showcase your latest blog posts.
你下一个部分可以是一段题为Partners的内容或可能想要展示的最新的博客文章。
Use the Rounded Rectangle tool to create a square (hold down the Shift button).
用圆角矩形工具创建一个正方形(按住Shift键)(30,768)
Radius - 3px, width and height - 138px.
半径:3px,宽和高:138px
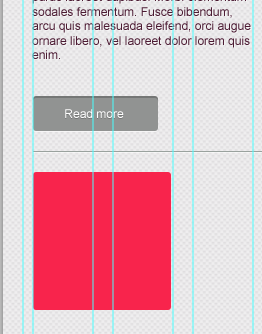
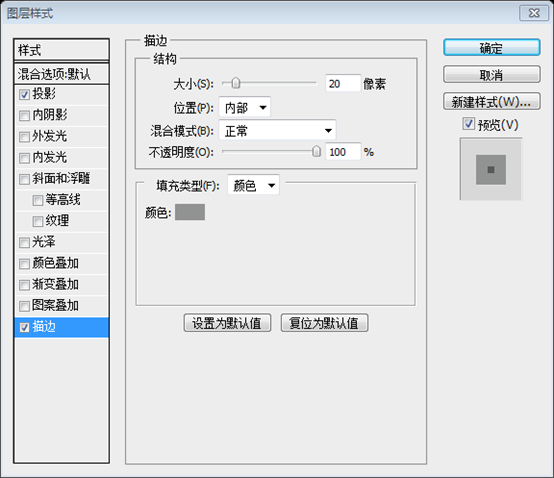
Go to Blending options -> Stroke to create a border with the settings below: Size- 20px, color #919392
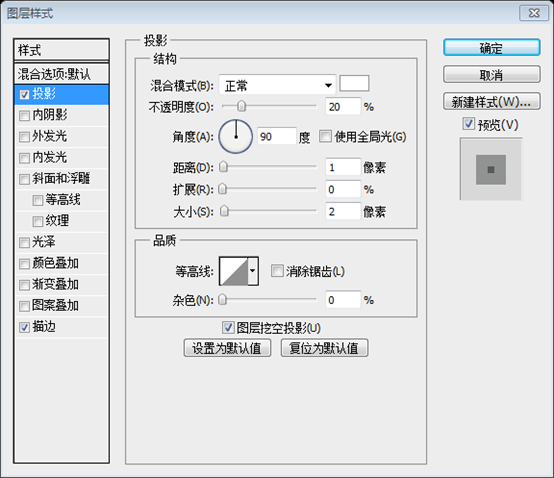
点击:混合选项 > 描边,按照后面的参数设置描边:尺寸:20px,颜色: #919392。再添加投影样式。
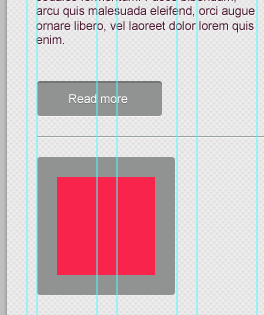
Copy and paste this element 5 times :) Place these squares with the interval of 20px.
复制粘贴这个对象5次,利用间隔20px的参考线摆放这些正方形

Step 18
步骤18
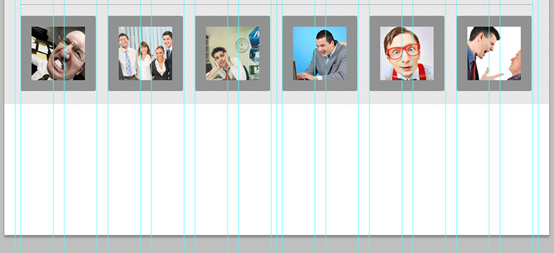
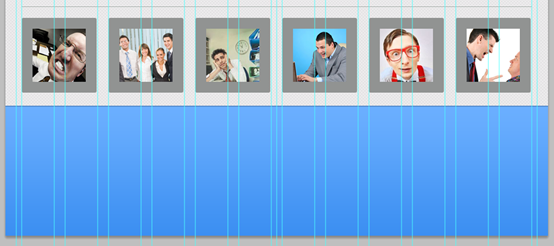
With the help of a clipping mask, insert the image into the square.
为了创建剪贴蒙版,把图片插入到正方形的地方
As you can see, you really can use this block for all sorts of purposes. Result:
如你所见,你可以尽情的使用这个区块。结果:

Step 19
步骤19
The footer of the website is as important as the header, if not more so. Ask yourself, "What do you want your visitors to do when they reach the bottom of the page?" The answer you come up with will be a great starting point for designing your website footer.
网页的页脚和头部区域同样重要,就是如此。问问自己,“你希望当你的访问者到达页面的底部的时候做什么?”。你的答案就是你设计页脚的伟大起点。
Now it is time to design a cool footer for our cute website layout. Let's make it bright :)
是时候来设计我们可爱的网站布局的很酷的页脚。让我们使它明亮。
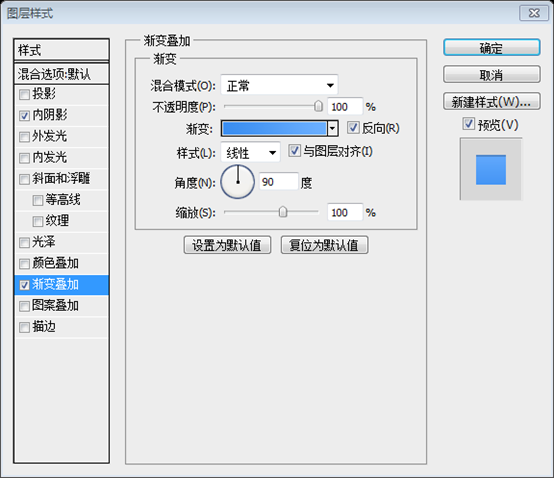
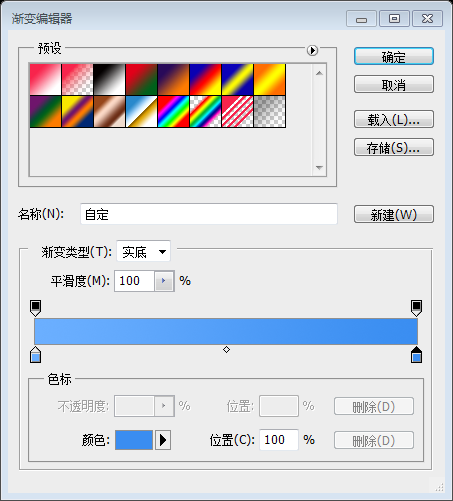
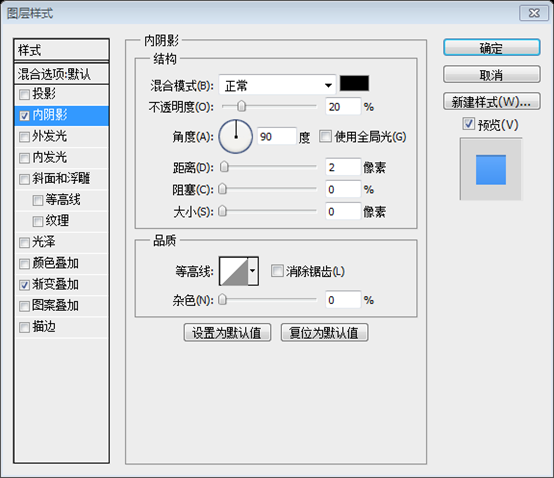
Add some gradient, for example #3a8df1 - #6bafff, and inner shadow
添加一些渐变,例如: #3a8df1 - #6bafff,和内阴影
Step 20
步骤20
We'll add three blocks into our footer: Quick links, About Us and Follow Us
我们将要在页脚添加三个区块:Quick links,About Us和Follow Us
Use the Arial Regular font for titles (30px) and add styles as on the screenshots below:
给标题用Arial Regular字体(字号:30px),并按照截屏添加图层样式(颜色:白色)

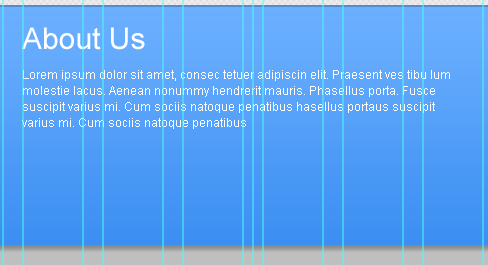
Use the Arial Regular font for the text in the About Us section (12px).
给About Us部分用Arial Regular字体(字号:12px)添加文字
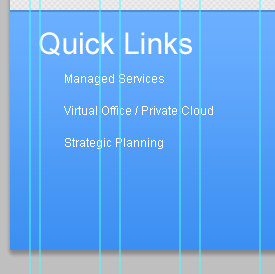
The text for the Quick Links section - 22px.
Quick Links部分的文字(字号:22px)
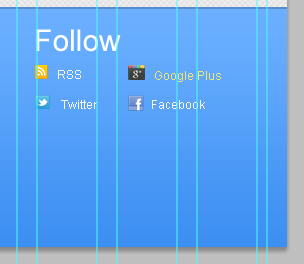
Put some standard icons into the Follow section - RSS, Google Plus+ and Twitter
在Follow部分添加一些标准图标:RSS、Google Plus+和Twitter
Woohoo! We did it! The final result of our tutorial:
喔!我们完成啦!这是我们教程的最终效果

后记:
这个网页的风格是清爽,没有采用什么特殊的技术,仅仅是用了一些基本的技术(图层样式、剪贴蒙版等)。但就是这些简单的搭配,搭出了不一样的清爽。在翻译的过程中,对某些参数也进行了一些的修正,使其看起来更加合适整体风格。
更多PS网页设计教程XXVIII——如何在PS中创建一个干净的网页布局 相关文章请关注PHP中文网!

