
Rumah >Tutorial permainan mudah alih >Panduan permainan mudah alih >Monster Hunter Wilds: Panduan Membina Blade Charge
Monster Hunter Wilds: Panduan Membina Blade Charge

- Joseph Gordon-Levittasal
- 2025-03-13 11:51:08890semak imbas
The Charge Blade is often considered one of the most complicated weapons in Monster Hunter Wilds . Dengan penggemarnya yang meningkatkan setiap bahagian senjata, kombo kompleks, titik pengawal, dan aliran taktikal, tidak sukar untuk melihat mengapa.

Walau bagaimanapun, apabila dikuasai, bilah caj mudah adalah salah satu senjata yang paling serba boleh dan kuat yang boleh anda gunakan, mampu menafikan serangan raksasa, menimbulkan kesan status, menangani kerosakan pecah yang tinggi, dan lebih banyak lagi. Jika anda ingin berjalan di jalan bilah caj, kami mendapat binaan untuk anda di sini.
Gambaran Keseluruhan Membangun Blade Caj
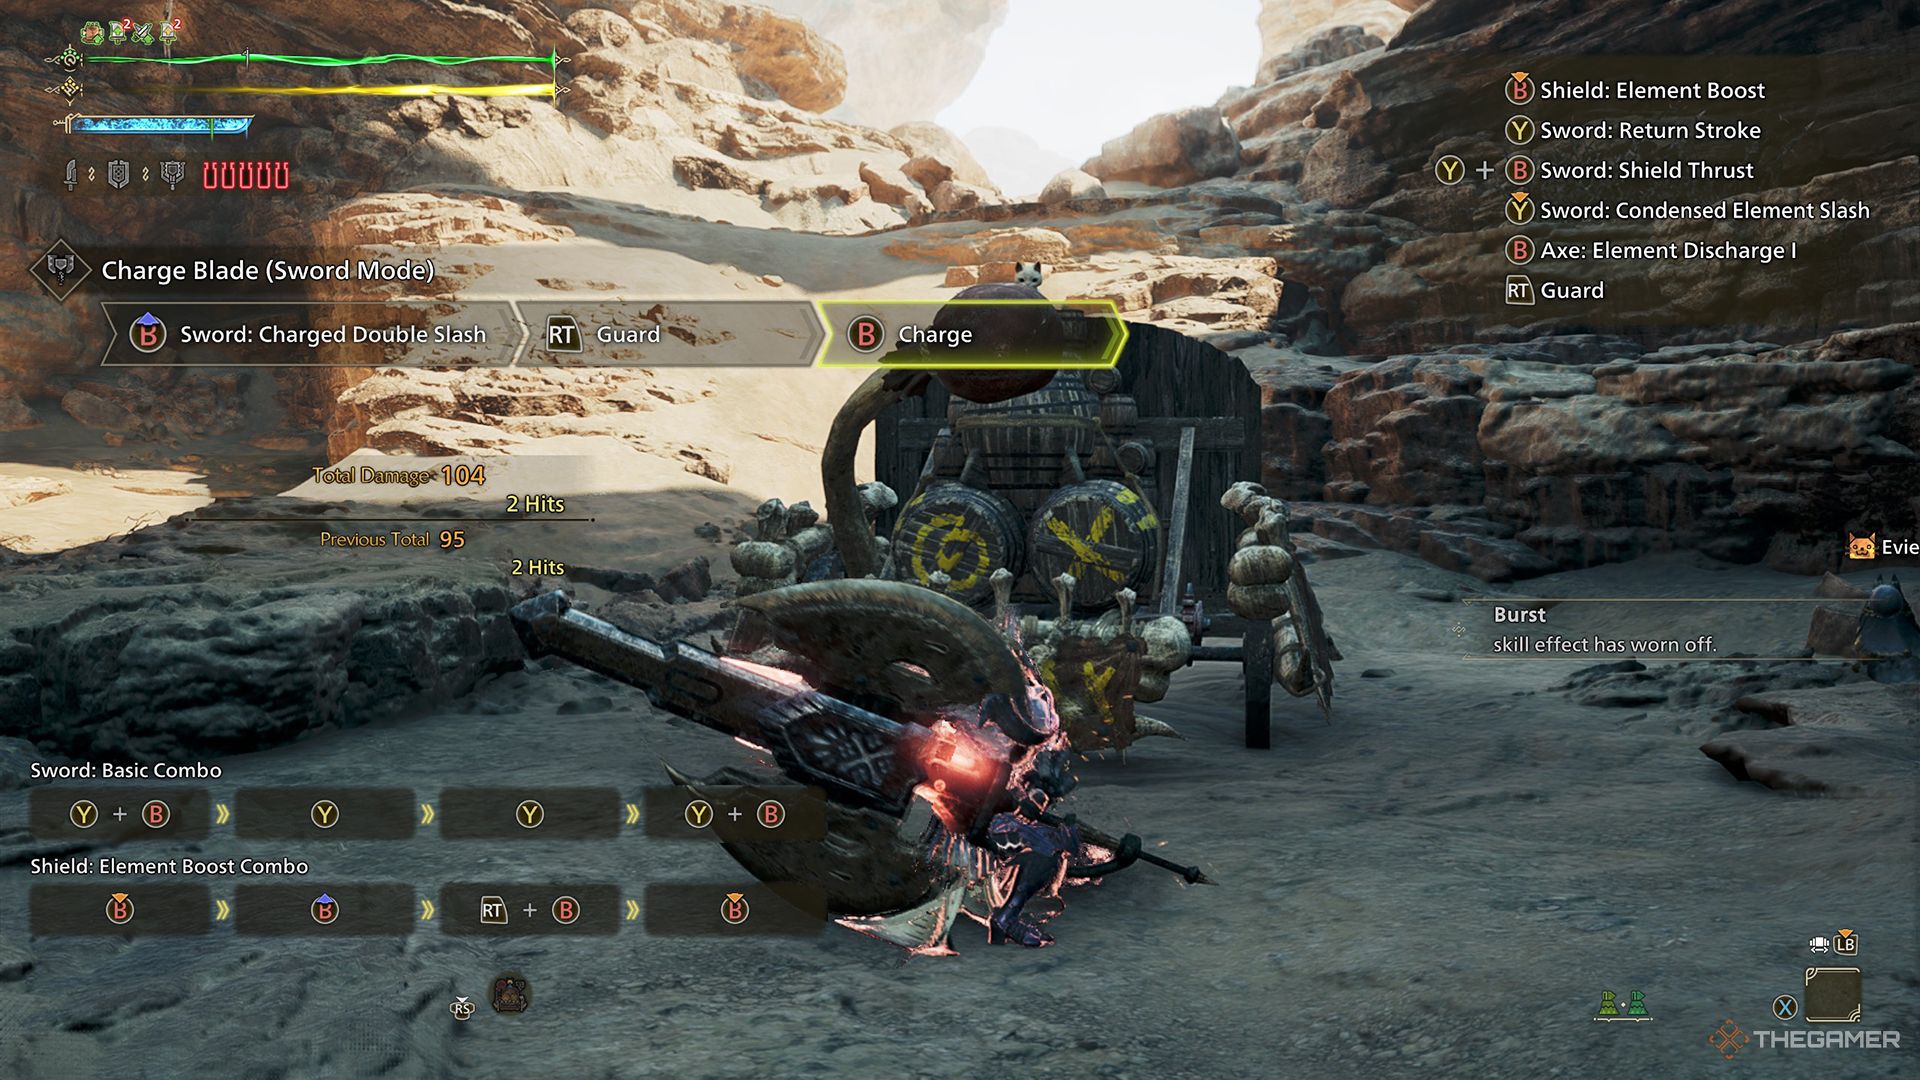
Bilah caj adalah senjata rumit dengan premis yang cukup mudah. Dalam mod Sword and Shield, anda mengenakan senjata dengan menyerang dan mengisi phials, kemudian bertukar ke mod Ax untuk menghabiskan phials pada serangan yang diberi kuasa. Ini adalah aliran umum senjata, tetapi sudah tentu terdapat berpuluh -puluh variasi pada ini yang menambah kerumitannya.
Oleh kerana kerumitan dan fleksibiliti yang semula jadi, terdapat satu juta cara yang berbeza yang dapat anda bina di sekelilingnya, semuanya dengan pelbagai kejayaan. Ini sebahagian besarnya disebabkan oleh jenis phial yang berbeza, yang masing -masing mempunyai penggunaan dan aplikasi mereka sendiri.
The build outlined below is a standard one size fits all build that focuses on the Agitator skill , with a few levels in Burst. This build is meant to be customizable , allowing you to easily swap Charge Blades depending on your playstyle or target.
Binaan ini juga boleh mengimbangi dengan cara lain, menggunakan lima tahap pecah dan dua agitator. This variation is more suited for use with Elemental Phials , but provides essentially the same skills and damage output. For a Burst-oriented build, swap the Arms for the Guardian Ebony alpha gloves , and the Talisman for the Exploiter Charm 2 . Also, slot in a Chain Jewel in the level three Decoration slot.
Panduan Membina Blade Caj

Slot |
Sekeping |
Hiasan |
|
|---|---|---|---|
Senjata |
 Tulang keras kuat Tulang keras kuat |
Fokus/KO Jewel 3 | |
Kepala |
 G Ebony Helm beta G Ebony Helm beta |
Mighty Jewel 2 | |
Dada |
 Arkvulcan Mail Beta Arkvulcan Mail Beta |
Challenger Jewel 3 | |
Lengan |
 G Arkveld Vambraces Beta G Arkveld Vambraces Beta |
Jewel Pertahanan 1 | |
Pinggang |
 Arkvulcan Coil Beta Arkvulcan Coil Beta |
Perlindungan Jewel 1 | |
Kaki |
 Dahaad Shardgreaves Beta Dahaad Shardgreaves Beta |
Mighty Jewel 2 | |
Talisman |
Pesona Challenger 2 | Mantel |
Gambaran Keseluruhan Kemahiran Membangun Blade Membina
- Kelemahan mengeksploitasi tahap 5
- Agitator Tahap 5
- Tahap Fokus 3
- Artileri Tahap 3
- Tahap maksimum mungkin 3
- Tahap Pertahanan Tahap 3
- Beban kerang tahap 2
- Serangan Peningkatan Tahap 2
- Burst Level 2
- Tahap Berkat Ilahi 2
- Tahap Slugger 1
- Tahap Kelajuan Pemulihan 1
Penjelasan gear dan kemahiran
Seperti yang disebutkan di atas, terdapat pelbagai senjata yang boleh anda gunakan, dan ini akan berfungsi secara bebas daripada binaan perisai. Kami telah pergi denganHard Bone Strongarm for its high attack, Impact Phials , and Load Shells weapon skill.
Anda juga boleh menggunakan Leidenskraft for Dragon damage,
 Bardichion Blade for Fire damage,
 Valeroje-of-the-Waves for Water damage, or custom Artian weapon (Chrono Gear) for any other damage type.
As for the armor, in the Head slot, we are using the Guardian Ebony Helm beta , which provides two levels of Burst and a level two Decoration slot , which we will slot in our first Mighty Jewel to gain a level of Maximum Might.
In the Chest slot, we have the Arkvulcan Mail beta , which pairs with the Arkvulcan Coil beta to provide the first set bonus of the Arkveld's Hunger skill. In the Chest armor's Decoration slots, we have one Challenger Jewel for more levels in Agitator, and a second Mighty Jewel .
In the Arms slot, we are using Guardian Arkveld Vambraces beta , which provides two levels of Weakness Exploit , an essential damage-boosting skill. These gloves also have three level one Decoration slots , which you can really slot any skills you want into. We have three Defense Jewels for Defense Boost.
Anda boleh menukar hiasan sarung tangan untuk mana -mana orang lain yang anda mahu, seperti rintangan unsur, pemulihan, makanan percuma, atau berkat ilahi.
As previously mentioned, in the Waist slot is the Arkvulcan Coil beta to provide the second piece needed for Arkveld's Hunger , as well as two additional levels of Weakness Exploit . Seperti sarung tangan, anda boleh meletakkan mana -mana hiasan dua peringkat dalam slot perisai ini. We have chosen two levels of Divine Blessing for added protection.
In the Legs slot, we are using Dahaad Shardgreaves beta , granting two levels of Agitator . In the level two Decoration slot, we have a third Mighty Jewel providing the final point in Maximum Might.
Finally, for the Talisman, we are using the Challenger Charm 2 for the last two points in Agitator . Kemahiran ini membentuk beberapa keuntungan tertinggi untuk DPS untuk sebarang senjata, menjadikannya bahagian penting dalam binaan ini.
For your mantle, the Corrupted Mantle provides the highest damage boost, but the other three are safer options. Gunakan mana -mana yang sesuai dengan playstyle anda.
Petua untuk bermain bilah caj membina

As we've mentioned above, the weapon and armor set for this build can work interchangeably with other variations ; Sebagai contoh, menggunakan perisai binaan ini dengan bilah caj yang berbeza (seperti Leidenskraft atau Bardichion Blade). Oleh kerana itu, terdapat beberapa gaya permainan yang berbeza.
In particular, this build emphasizes the Hard Bone Strongarm's Impact Phials , using them to stun the monster as much as possible. Sementara itu, binaan menggunakan bilah Bardichion akan memberi tumpuan kepada menangani kerosakan elemen dengan seluruh senjata.
Oleh kerana itu, lebih bermanfaat untuk memahami komponen utama binaan ini dan memanfaatkannya. The core of the armor skills of this build are Weakness Exploit, Agitator, and Maximum Might , each providing essential damage bonuses across a variety of situations.
Weakness Exploit will have you dealing even more damage to Wounds , which the Charge Blade is great at breaking. At level five Weakness Exploit, attacks against weak points have 30 percent increased Affinity , while hitting Wounds grants an extra 20 percent .
Agitator level five grants increased 20 attack and 15 percent more Affinity when the monster enrages , while Maximum Might increases Affinity by an additional 30 percent when Stamina is kept at full for three seconds . This means if Maximum Might is active and the monster is enraged, hitting a Wound has a 95 percent increased Affinity on your attack.
Hitting normal weak points (not Wounds) with Maximum Might and Agitator active will grant your attacks 75 percent increased Affinity .
Outside of these three major skills, we also have Burst , which grants a decent damage bonus as long as you keep hitting the monster , and Artillery , which increases the damage of your Impat Phials , making it easier to stun the monster.
As mentioned above, this build has five free level one Decoration slots that you can really do anything you want with. Rangsangan pertahanan menjadi lebih berkesan semakin banyak mata yang anda tumpukan di dalamnya, tetapi berkat ilahi mempunyai potensi untuk menjadi lebih baik secara keseluruhan, jadi anda mungkin ingin meletakkan tiga tahap ke dalam yang pertama. Alternatively, Elemental or status resistance may come in handy against certain monsters.
Secara keseluruhannya, kekuatan binaan ini adalah fleksibiliti dan kebolehpercayaannya, sama seperti bilah caj itu sendiri. Jalankan pisau caj kegemaran anda dan buat pelarasan peribadi ke binaan di mana perlu.

Atas ialah kandungan terperinci Monster Hunter Wilds: Panduan Membina Blade Charge. Untuk maklumat lanjut, sila ikut artikel berkaitan lain di laman web China PHP!