

最终效果

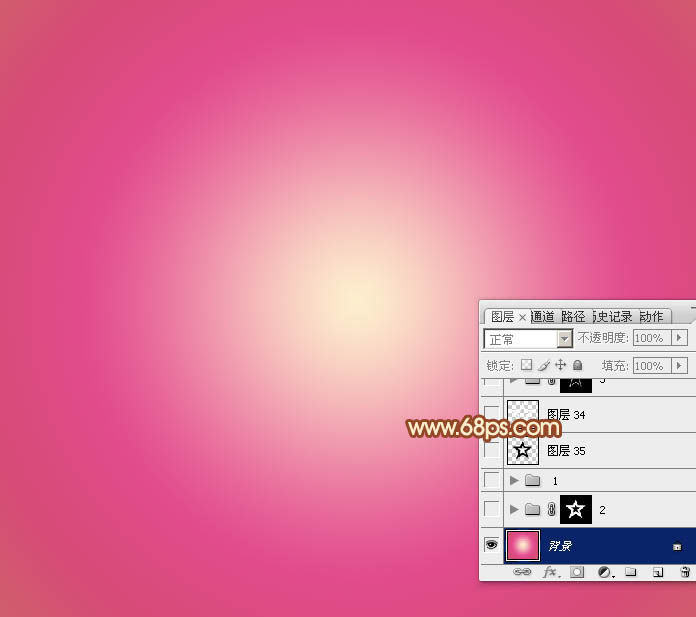
1、点这里下载教程中的素材。解压后,用PS打开PSD文件,先把其它图层隐藏,选择渐变工具,颜色设置如图1,在背景图层上面拉出图2所示的径向渐变。
<图1>
<图2>
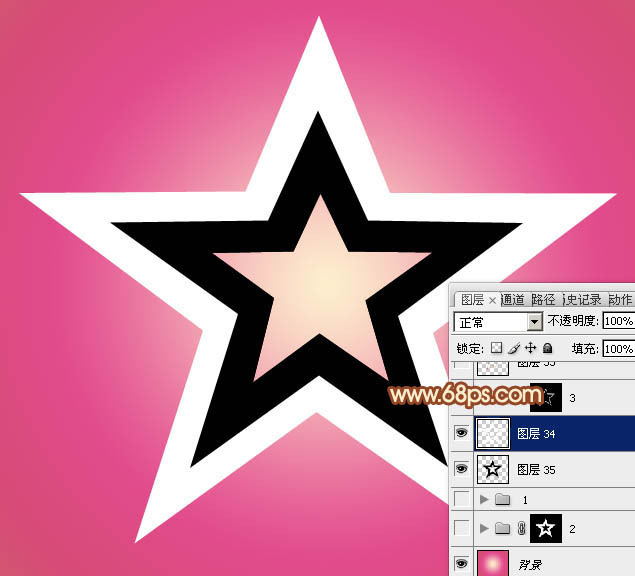
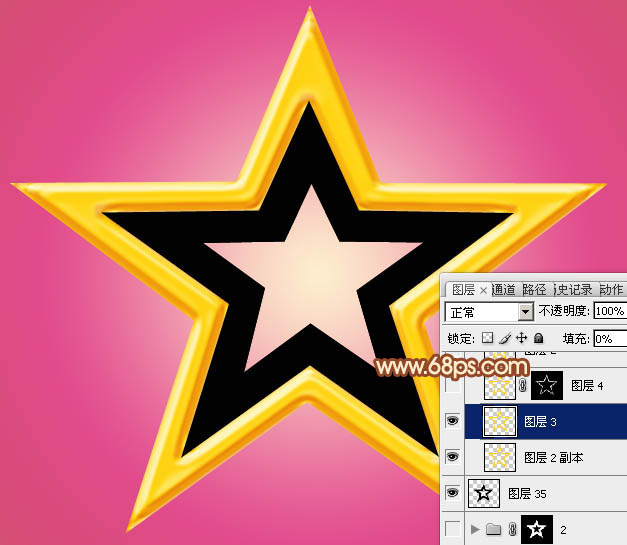
2、现在来制作五角星的表面及立体面,分层图如下。
<图3>
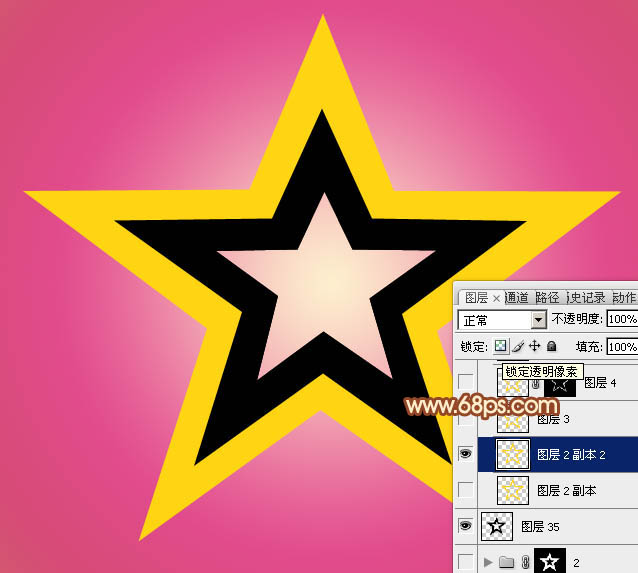
3、先来制作表面质感部分。选择表面图层,锁定透明像素后填充橙黄色:#FFD412,如下图。
<图4>
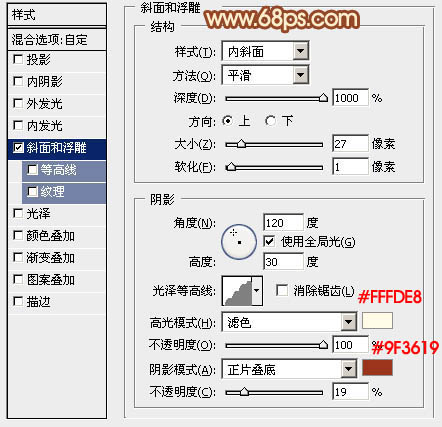
4、双击表面图层缩略图载入样式设置面板,设置斜面和浮雕及等高线,参数及效果如下图。
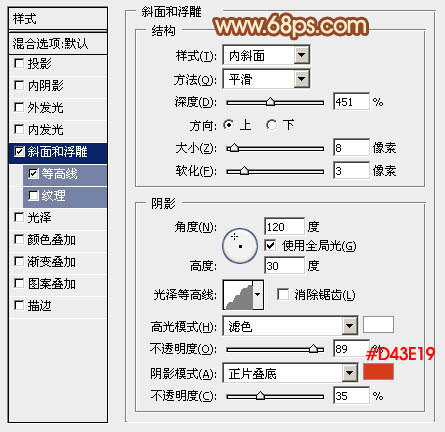
<图5>

<图6>
<图7>
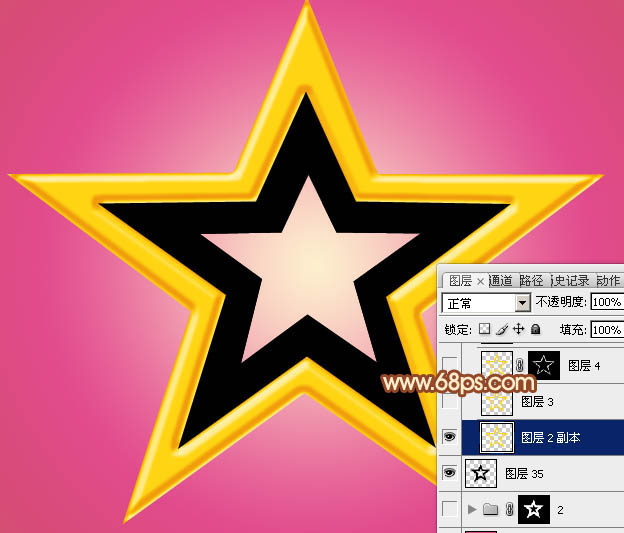
5、按Ctrl + J 把当前图层复制一层,然后修改一下图层样式中的参数,确定后把填充改为:0%,效果如图10。
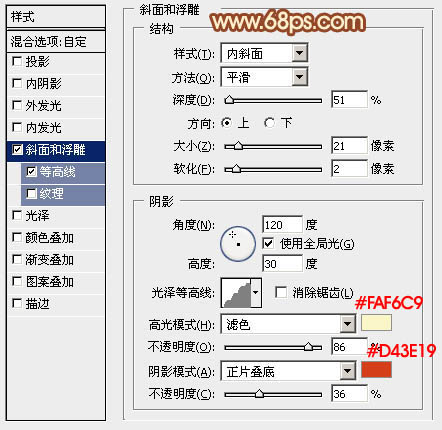
<图8>
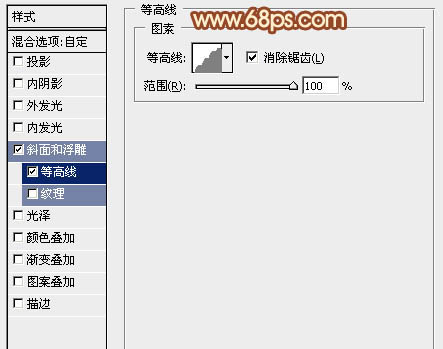
<图9>
<图10>
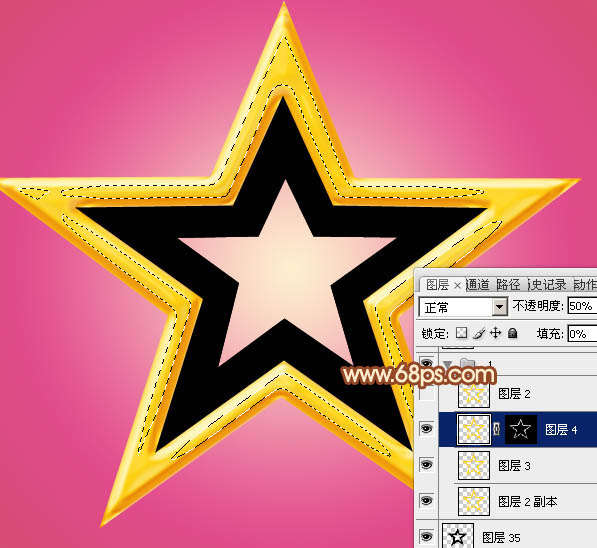
6、再按Ctrl + J 把当前图层复制一层,修改一下斜面和浮雕的参数,等高线去掉。确定后把填充改为:0%,不透明度改为:50%,效果如图12。
<图11>
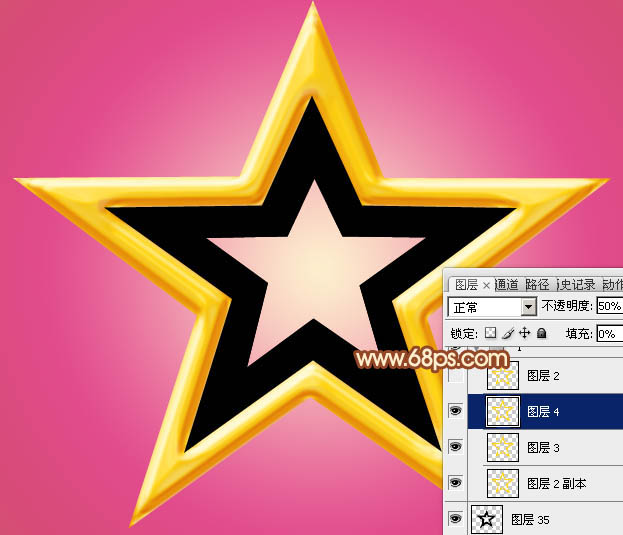
<图12>
7、按住Ctrl键点击图层缩略图载入表面层的选区,如下图。
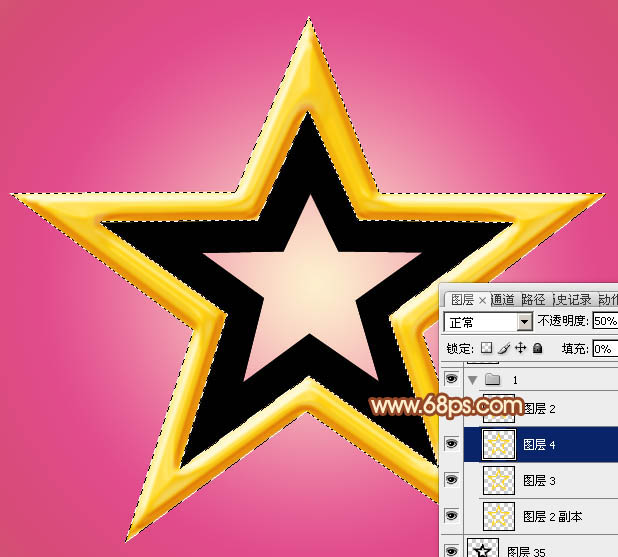
<图13>
8、保持选区,选择菜单:选择 > 修改 > 收缩,数值为8,确定后再把选区羽化4个像素,然后给图层填充蒙版,效果如下图。
<图14>
9、按住Ctrl键点击立体面载入选区,在背景图层上面新建一个组,给组添加图层蒙版。
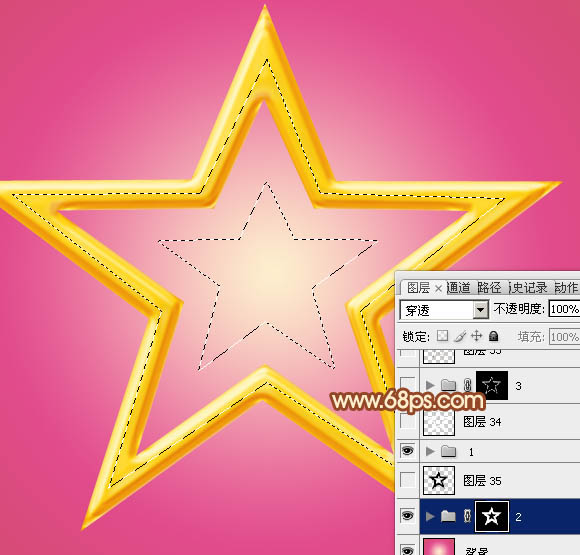
<图15>