Java OpenCV 라이브러리를 사용하여 이미지를 만드는 방법은 무엇입니까?
- 王林앞으로
- 2023-09-17 23:53:011152검색
이미지 만들기
ImageIO.read() 메서드를 사용하여 필요한 이미지를 읽습니다.
이미지의 높이와 너비를 가져옵니다.
빈 버퍼 이미지를 만들어 결과를 저장합니다.
이미지 너비를 오른쪽에서 왼쪽으로 반복합니다.
getRGB() 메서드를 사용하여 픽셀 값을 가져옵니다.
setRGB() 메서드를 사용하여 픽셀 값을 결과 이미지 객체로 설정합니다. 새로운 너비 값을 대체합니다.
중첩된 for 루프를 사용하여 이미지의 각 픽셀을 반복합니다.
예
import java.io.File;
import java.io.IOException;
import java.awt.image.BufferedImage;
import javax.imageio.ImageIO;
public class MirrorImage {
   public static void main(String args[])throws IOException {
      //Reading the image
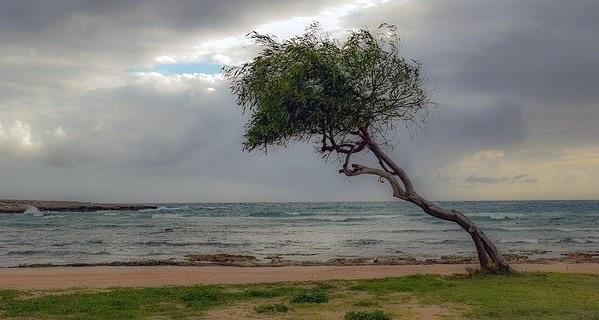
      File file= new File("D:\Images\tree.jpg");
      BufferedImage img = ImageIO.read(file);
      //Getting the height and with of the read image.
      int height = img.getHeight();
      int width = img.getWidth();
      //Creating Buffered Image to store the output
      BufferedImage res = new BufferedImage(width, height, BufferedImage.TYPE_INT_ARGB);
      for(int j = 0; j < height; j++){
         for(int i = 0, w = width - 1; i < width; i++, w--){
            int p = img.getRGB(i, j);
            //set mirror image pixel value - both left and right
            res.setRGB(w, j, p);
         }
      }
      //Saving the modified image
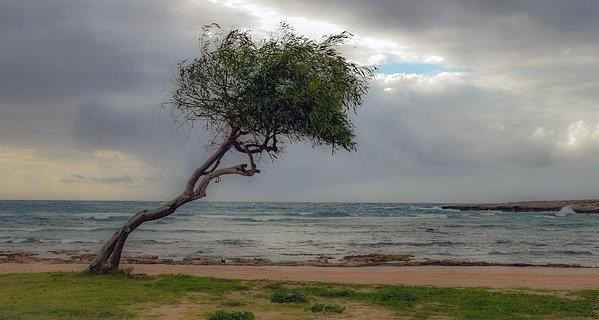
      file = new File("D:\Images\mirror_image.jpg");
      ImageIO.write(res, "jpg", file);
      System.out.println("Done...");
   }
}
Input

Output

위 내용은 Java OpenCV 라이브러리를 사용하여 이미지를 만드는 방법은 무엇입니까?의 상세 내용입니다. 자세한 내용은 PHP 중국어 웹사이트의 기타 관련 기사를 참조하세요!
성명:
이 기사는 tutorialspoint.com에서 복제됩니다. 침해가 있는 경우 admin@php.cn으로 문의하시기 바랍니다. 삭제

