
HttpUtils를 사용하여 Java에서 HTTP 요청을 보내는 방법

- 王林앞으로
- 2023-06-14 20:06:351773검색
목차
1부: HTTP 요청의 일반적인 구성에 대한 간략한 요약
2부: JavaLib의 HttpUtils 사용
3부: HttpUtils가 캡슐화되는 방법 공유
HTTP 요청 life 개발 중에는 꽤 흔한 일입니다. 오늘은 HttpUtils를 사용하는 방법을 알려드리겠습니다.
이 기사를 읽으면 다음을 얻을 수 있습니다.
HTTP 요청의 일반적인 구성에 대한 간략한 요약
JavaLib에서 HttpUtils를 사용하는 방법
HTTP 요청 도구 클래스를 캡슐화하는 방법.
1부: HTTP 요청에 대한 일반적인 구성에 대한 간략한 요약
안녕하세요. Java 개발에서 우리는 종종 타사에서 제공하는 인터페이스 서비스를 호출해야 하는 경우가 있습니다. 아래에서는 일반적인 형식을 사용합니다. 일반적인 http 요청에 대해 논의하고 설명하겠습니다
http는 일상적인 요구 사항을 충족하는 다양한 요청 방법을 제공합니다. 먼저 요청 방법에 따라 설명하세요.
- PATCH
- DELETE
- RESTful API 개발에서는 이러한 요청 방법을 기반으로 API 인터페이스를 설계할 수 있습니다. 예:
- GET: 리소스 가져오기
- POST: 리소스 제출
- PUT: 전체 리소스 업데이트
- PATCH: 일부 리소스 업데이트
- DELETE: 리소스 삭제
- form form
- json
- Others
- timeout 설정
- 2부: JavaLib을 사용하는 HttpUtils
-
간단한 요청 가져오기
System.out.println(HttpUtils.get("https://www.baidu.com"));응답 결과:
<!DOCTYPE html><!--STATUS OK--><html> <head><meta http-equiv=content-type content=text/html;charset=utf-8><meta http-equiv=X-UA-Compatible content=IE=Edge><meta content=always name=referrer><link rel=stylesheet type=text/css href=https://ss1.bdstatic.com/5eN1bjq8AAUYm2zgoY3K/r/www/cache/bdorz/baidu.min.css><title>百度一下,你就知道</title></head> <body link=#0000cc> <div id=wrapper> <div id=head> <div class=head_wrapper> <div class=s_form> <div class=s_form_wrapper> <div id=lg> <img src="/static/imghwm/default1.png" data-src="https://img.php.cn/upload/article/000/465/014/168674439875330.jpg" class="lazy" hidefocus=true src=//www.baidu.com/img/bd_logo1.png style="max-width:90%"HttpUtils를 사용하여 Java에서 HTTP 요청을 보내는 방법" > </div> <form id=form name=f action=//www.baidu.com/s class=fm> <input type=hidden name=bdorz_come value=1> <input type=hidden name=ie value=utf-8> <input type=hidden name=f value=8> <input type=hidden name=rsv_bp value=1> <input type=hidden name=rsv_idx value=1> <input type=hidden name=tn value=baidu><span class="bg s_ipt_wr"><input id=kw name=wd class=s_ipt value maxlength=255 autocomplete=off autofocus=autofocus></span><span class="bg s_btn_wr"><input type=submit id=su value=百度一下 class="bg s_btn" autofocus></span> </form> </div> </div> <div id=u1> <a href=http://news.baidu.com name=tj_trnews class=mnav>新闻</a> <a href=https://www.hao123.com name=tj_trhao123 class=mnav>hao123</a> <a href=http://map.baidu.com name=tj_trmap class=mnav>地图</a> <a href=http://v.baidu.com name=tj_trvideo class=mnav>视频</a> <a href=http://tieba.baidu.com name=tj_trtieba class=mnav>贴吧</a> <noscript> <a href=http://www.baidu.com/bdorz/login.gif?login&tpl=mn&u=http%3A%2F%2Fwww.baidu.com%2f%3fbdorz_come%3d1 name=tj_login class=lb>登录</a> </noscript> <script>document.write('<a href="http://www.baidu.com/bdorz/login.gif?login&tpl=mn&u='+ encodeURIComponent(window.location.href+ (window.location.search === "" ? "?" : "&")+ "bdorz_come=1")+ '" name="tj_login" class="lb">登录</a>'); </script> <a href=//www.baidu.com/more/ name=tj_briicon class=bri >更多产品</a> </div> </div> </div> <div id=ftCon> <div id=ftConw> <p id=lh> <a href=http://home.baidu.com>关于百度</a> <a href=http://ir.baidu.com>About Baidu</a> </p> <p id=cp>©2017 Baidu <a href=http://www.baidu.com/duty/>使用百度前必读</a> <a href=http://jianyi.baidu.com/ class=cp-feedback>意见反馈</a> 京ICP证030173号 <img src="/static/imghwm/default1.png" data-src="https://img.php.cn/upload/article/000/465/014/168674439875330.jpg" class="lazy" src=//www.baidu.com/img/gs.gif alt="HttpUtils를 사용하여 Java에서 HTTP 요청을 보내는 방법" > </p> </div> </div> </div> </body> </html>
간단한 시도를 통해 , 두 가지 점이 입증되었습니다.
- 첫째, 이것은 여전히 사용할 수 있으며, 둘째, 사용하기 매우 쉽습니다.
http 요청을 직접 작성하라고 하면 아마도 머릿속이 멍하고 다양한 정보를 검색하게 될 것입니다.
다른 복잡한 것을 시도해 보겠습니다.
인터페이스:
인터페이스 주소: https://erwin-api.fengwenyi.com/erwin/blog/page 요청 방법: GET
매개변수: currentPage, pageSize매개변수 형식: form
응답: application/jsonString url = "https://erwin-api.fengwenyi.com/erwin/bookmark/page?currentPage=1&pageSize=10";
Request request = new Request();
request.setUrl(url);
request.setMethod(Request.Method.GET);
Map<String, String> headerMap = new HashMap<>();
headerMap.put("Accept", "application/json");
Request.Option option = new Request.Option();
option.setHeaders(headerMap);
try {
System.out.println(HttpUtils.execute(request, option));
} catch (IOException e) {
throw new RuntimeException(e);
}응답 결과: {
"code":"SUCCESS",
"message":"Success",
"success":true,
"header":null,
"body":{
"currentPage":1,
"pageSize":10,
"totalRows":661,
"totalPages":67,
"content":[
{
"id":"1634772578877935617",
"timestamp":1678595130000,
"enabledState":null,
"name":"VScode 中文显示出现黄色方框的解决方法_vscode汉字被框住_YJer的博客-CSDN博客",
"url":"https://blog.csdn.net/qq_33249042/article/details/123252625",
"icon":null,
"classifyName":"软件",
"classifyId":"1522587269600481281"
},
{
"id":"1632640455110922241",
"timestamp":1678086792000,
"enabledState":null,
"name":"Spring中init-method和destroy-method的四种方式_星夜孤帆的博客-CSDN博客",
"url":"https://blog.csdn.net/qq_38826019/article/details/117387398",
"icon":null,
"classifyName":"Spring",
"classifyId":"1522586360887742466"
},
{
"id":"1631597310596190209",
"timestamp":1677838087000,
"enabledState":null,
"name":"vue3 + elemenplus实现导航栏 - 掘金",
"url":"https://juejin.cn/post/7084871748608327687",
"icon":null,
"classifyName":"前端",
"classifyId":"1525554881275990018"
},
{
"id":"1631593154401636354",
"timestamp":1677837096000,
"enabledState":null,
"name":"Spring bean 创建过程源码解析 - 腾讯云开发者社区-腾讯云",
"url":"https://cloud.tencent.com/developer/article/1631160",
"icon":null,
"classifyName":"Spring",
"classifyId":"1522586360887742466"
},
{
"id":"1631592987673858050",
"timestamp":1677837056000,
"enabledState":null,
"name":"SpringBoot之容器启动源码分析与Bean加载_springboot加载bean 源码_minemine0418的博客-CSDN博客",
"url":"https://blog.csdn.net/minemine0418/article/details/102308912",
"icon":null,
"classifyName":"Spring Boot",
"classifyId":"1522586446766116865"
},
{
"id":"1631586585454678018",
"timestamp":1677835530000,
"enabledState":null,
"name":"Spring-Bean生命周期 - 知乎",
"url":"https://zhuanlan.zhihu.com/p/158468104",
"icon":null,
"classifyName":"Spring",
"classifyId":"1522586360887742466"
},
{
"id":"1631579732104548354",
"timestamp":1677833896000,
"enabledState":null,
"name":"一文读懂 Spring Bean 的生命周期_spring bean的生命周期_老周聊架构的博客-CSDN博客",
"url":"https://blog.csdn.net/riemann_/article/details/118500805",
"icon":null,
"classifyName":"Spring",
"classifyId":"1522586360887742466"
},
{
"id":"1630768897186697218",
"timestamp":1677640578000,
"enabledState":null,
"name":"MySQL同时统计多个条件的记录条数_ztnhnr的博客-CSDN博客",
"url":"https://blog.csdn.net/ztnhnr/article/details/107165942",
"icon":null,
"classifyName":"MySQL",
"classifyId":"1522586805693681666"
},
{
"id":"1630768792098410497",
"timestamp":1677640553000,
"enabledState":null,
"name":"sql查询近七天,近两周,近一个月的数据_sql最近一周数据_心诚则灵'的博客-CSDN博客",
"url":"https://blog.csdn.net/wenchangwenliu/article/details/119891790",
"icon":null,
"classifyName":"MySQL",
"classifyId":"1522586805693681666"
},
{
"id":"1630480535938764801",
"timestamp":1677571827000,
"enabledState":null,
"name":"开源流程引擎哪个好,如何选型? - 知乎",
"url":"https://zhuanlan.zhihu.com/p/369761832",
"icon":null,
"classifyName":"Java",
"classifyId":"1522586296119300097"
}
]
}
}응답 결과는 여전히 기대에 부합합니다.
물론 HTTP에는 시간 초과 등의 다른 문제도 있습니다. 전체 요청 예를 살펴보겠습니다.
Map<String, Object> paramMap = new HashMap<>();
paramMap.put("currentPage", 1);
paramMap.put("pageSize", 10);
Map<String, String> headerMap = new HashMap<>();
headerMap.put("Accept", "application/json");
Request request = new Request();
request.setUrl("https://erwin-api.fengwenyi.com/erwin/bookmark/page");
request.setParam(paramMap);
request.setMethod(Request.Method.GET);
request.setUtil(Request.Util.OkHttp);
Request.Option option = new Request.Option();
option.setHeaders(headerMap);
option.setConnectTimeoutSecond(3);
option.setReadTimeoutSecond(5);
option.setLogLevel(Request.LogLevel.DEBUG);
try {
    String result = HttpUtils.execute(request, option);
    System.out.println(result);
} catch (IOException e) {
    throw new RuntimeException(e);
}
응답 결과는 위와 동일합니다.
3부: HttpUtils가 캡슐화되는 방법 공유
Request 및 Response는 HTTP 요청 및 응답에 해당합니다. 패키지 경로는 다음과 같습니다. 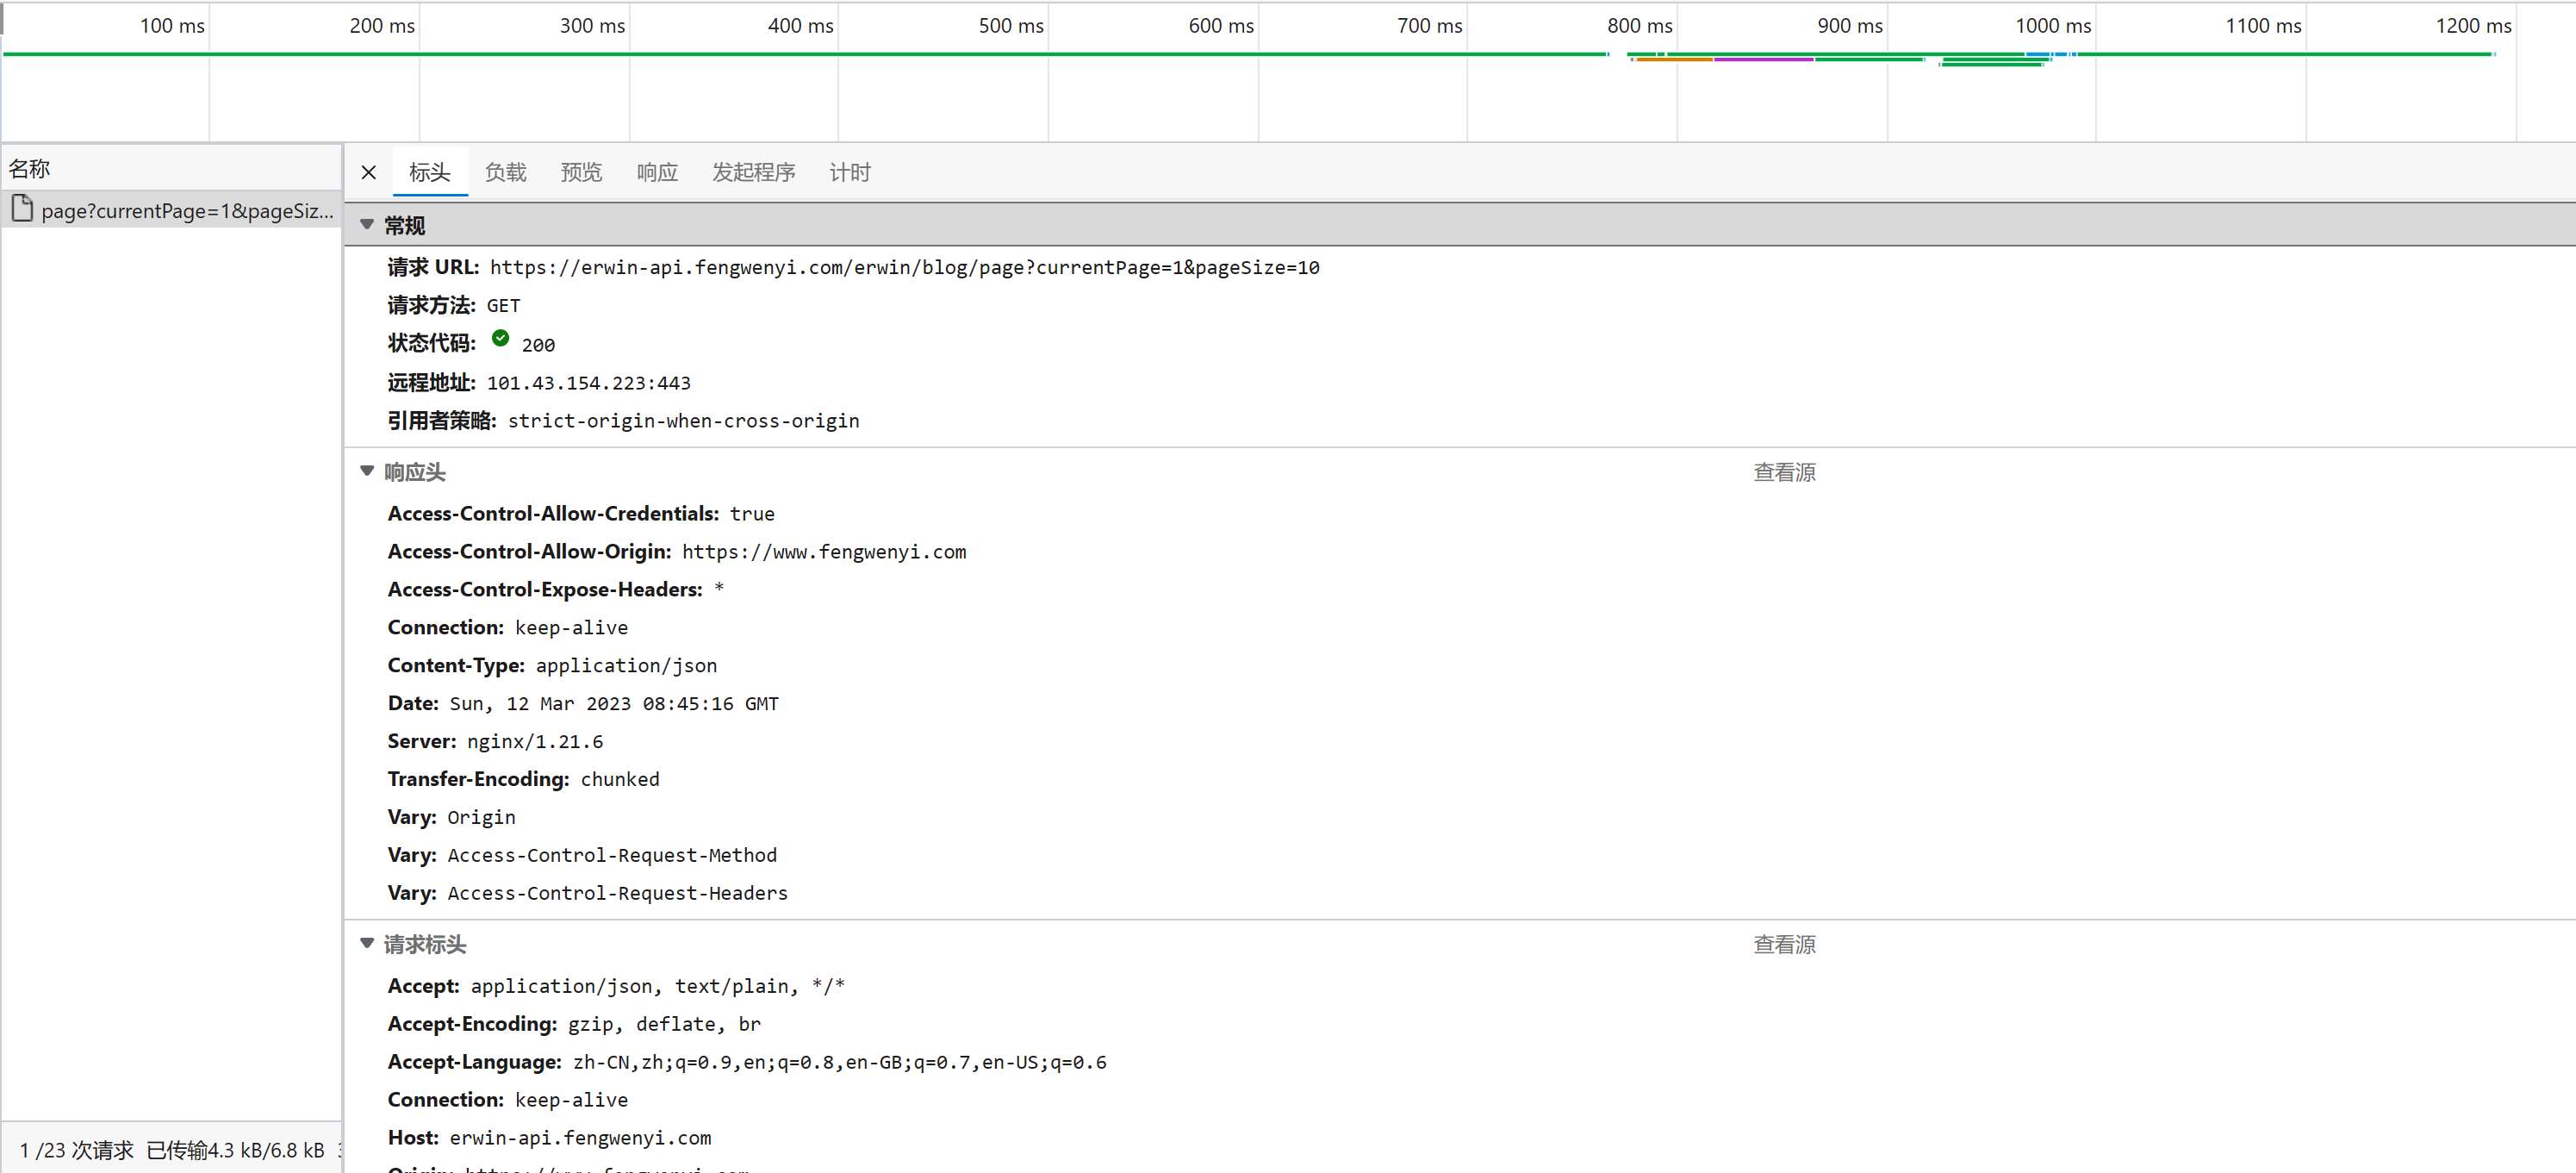
com .fengwenyi.javalib.http.Request
com.fengwenyi.javalib.http.Response
또한 com.fengwenyi.javalib.http.Request.Option을 사용하여 저장합니다. HTTP 매개변수 구성.
이 부분의 아이디어 출처는 Spring Cloud OpenFeign입니다. Request 和 Response 对应HTTP的请求和响应,包路径如下:
com.fengwenyi.javalib.http.Request
com.fengwenyi.javalib.http.Response
另外,com.fengwenyi.javalib.http.Request.Option 来存放HTTP参数配置。
这一部分的思路来源是 Spring Cloud OpenFeign。
为了兼容多种HTTP工具实现请求,引入了 HttpClientFactory,其他工具类,只要实现 HttpClient 接口,就行。
com.fengwenyi.javalib.http.client.HttpClient
com.fengwenyi.javalib.http.client.HttpClientFactory
欧克,下面我们就以代码来看看:
HttpUtils#execute
public static String execute(Request request, Request.Option option) throws IOException {
    check(request);
    HttpClient httpClient = HttpClientFactory.get(request.getUtil());
    Response response = httpClient.execute(request, option);
    return handleResponse(response);
}
HttpClientFactory#get
public static HttpClient get(Request.Util httpUtil) {
    if (Request.Util.JDK == httpUtil) {
        return new JdkHttpClient();
    } else if (Request.Util.OkHttp == httpUtil) {
        return new OkHttpClient();
    } else {
        throw new RuntimeException("not find http util: " + httpUtil.name());
    }
}
所以,只需要实现 HttpClient#execute
HttpClientFactory가 도입되었습니다. 다른 도구 클래스는 HttpClient 인터페이스만 구현하면 됩니다. 🎜🎜🎜🎜com.fengwenyi.javalib.http.client.HttpClient🎜🎜🎜🎜com.fengwenyi.javalib.http.client.HttpClientFactory🎜🎜🎜🎜오크, 코드를 살펴보겠습니다: 🎜🎜HttpUtils# 실행🎜 Response execute(Request request, Request.Option option) throws IOException;🎜HttpClientFactory#get🎜rrreee🎜그래서
HttpClient#execute 인터페이스만 구현하면 됩니다. 🎜아아아아위 내용은 HttpUtils를 사용하여 Java에서 HTTP 요청을 보내는 방법의 상세 내용입니다. 자세한 내용은 PHP 중국어 웹사이트의 기타 관련 기사를 참조하세요!
관련 기사
더보기- 적절한 버전 및 종속성 관리로 Custom Java 라이브러리 (JAR Files)를 작성하고 사용하려면 어떻게해야합니까?
- Java의 클래스로드 메커니즘은 다른 클래스 로더 및 대표 모델을 포함하여 어떻게 작동합니까?
- 캐싱 및 게으른 하중과 같은 고급 기능을 사용하여 객체 관계 매핑에 JPA (Java Persistence API)를 어떻게 사용하려면 어떻게해야합니까?
- 카페인 또는 구아바 캐시와 같은 라이브러리를 사용하여 자바 애플리케이션에서 다단계 캐싱을 구현하려면 어떻게해야합니까?
- 고급 Java 프로젝트 관리, 구축 자동화 및 종속성 해상도에 Maven 또는 Gradle을 어떻게 사용합니까?