Nginx를 사용하여 서버에 Springboot 프로젝트를 배포하는 방법
- 王林앞으로
- 2023-05-14 13:55:063107검색
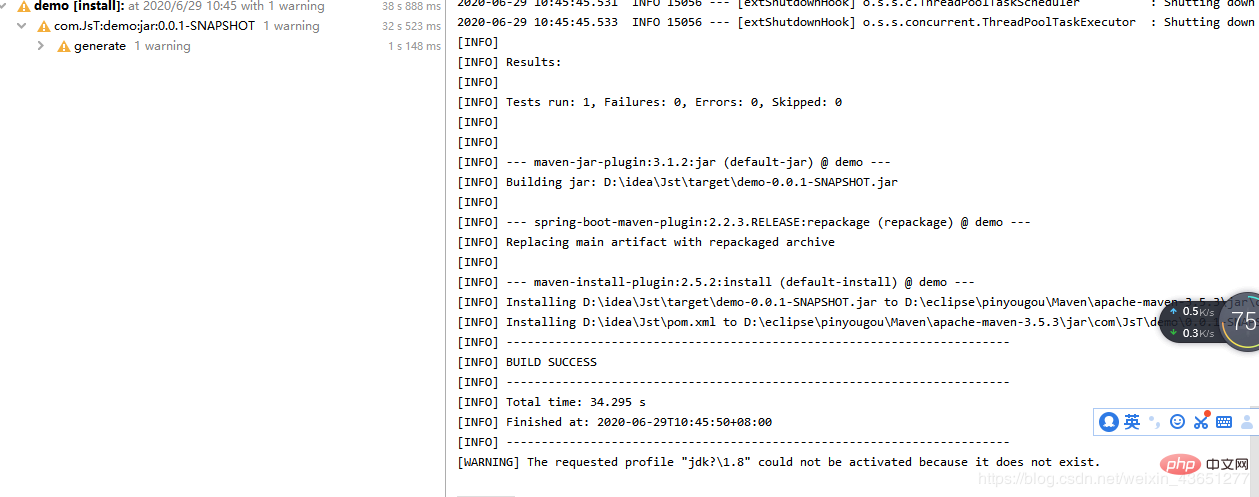
1. Java 프로젝트를 jar 패키지로 압축합니다
여기서는 maven 도구를 사용합니다

여기에는 두 개의 프로젝트가 있습니다. 하나는 deco.jar이고 다른 하나는 jst.jar입니다.
2. 준비 도구
1.Server
2.도메인 이름(참고: 파일링 후)
3.xshell은 서버에 연결하는 데 사용됩니다
4.winscp(참고: 보기 jar 전송에 사용되는 도구)
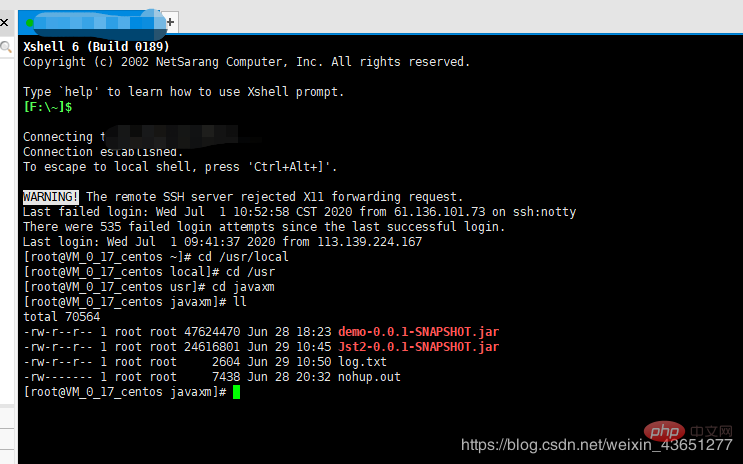
3. jar 패키지를 서버에 전달하세요

직접 드래그하세요
3. xshell을 사용하여 jar 패키지를 실행하세요
(서버의 Java 환경 및 Maven 환경은 직접 구성하십시오. 여기에는 설명이 없습니다.)

cd를 jar 패키지 경로에 추가하고 실행: nohup java -jar 데모.jar >temp.txt &
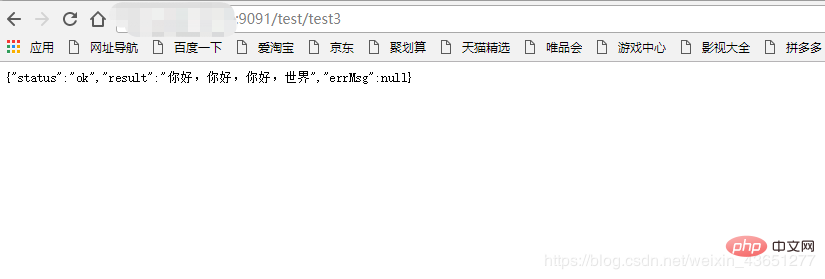
실행 후 두 개의 jar 패키지가 시작됩니다. 그런 다음 IP와 포트 번호를 사용하여 인터페이스에 액세스합니다.

(참고: 테스트 인터페이스)
4.
5. nginx.conf 구성**(참고: * ********
는 서버 주소를 나타냄)http {
include mime.types;
default_type application/octet-stream;
#log_format main '$remote_addr - $remote_user [$time_local] "$request" '
# '$status $body_bytes_sent "$http_referer" '
# '"$http_user_agent" "$http_x_forwarded_for"';
#access_log logs/access.log main;
sendfile on;
#tcp_nopush on;
#keepalive_timeout 0;
keepalive_timeout 65;
#gzip on;
server {
#监听的端口号
listen 80;
#设置访问的二级域名
server_name demo.eysource.com;
#charset koi8-r;
#access_log logs/host.access.log main;
location /{
#配置访问的项目路径(注:这里重点)
proxy_pass http:********:9091/
# root html;
# index index.html index.htm;
proxy_set_header host $host;
proxy_set_header x-real-ip $remote_addr;
proxy_set_header x-forwarded-for $proxy_add_x_forwarded_for;
client_max_body_size 100m;
root html;
index index.html index.htm;
}
}
server {
#监听的端口号
listen 80;
#设置访问的二级域名
server_name aaa.eysource.com;
#charset koi8-r;
#access_log logs/host.access.log main;
location /{
#配置访问的项目路径(注:这里重点)
proxy_pass http:********:8080/
# root html;
# index index.html index.htm;
proxy_set_header host $host;
proxy_set_header x-real-ip $remote_addr;
proxy_set_header x-forwarded-for $proxy_add_x_forwarded_for;
client_max_body_size 100m;
root html;
index index.html index.htm;
}
}
}
위 내용은 Nginx를 사용하여 서버에 Springboot 프로젝트를 배포하는 방법의 상세 내용입니다. 자세한 내용은 PHP 중국어 웹사이트의 기타 관련 기사를 참조하세요!

