nginx 트래픽 복사 기능 소개
- 王林앞으로
- 2021-03-12 10:38:593828검색

1. 프로덕션 환경의 트래픽을 출시 전 환경이나 테스트 환경에 복사하는 이유는 무엇인가요?
이렇게 하면 다음과 같은 이점이 있습니다.
기능의 정상 여부와 서비스 성능을 확인할 수 있습니다.
데이터를 생성하지 않고도 실제적이고 효과적인 트래픽 요청을 사용하여 확인할 수 있습니다.
이것은 그레이스케일 릴리스와 동일하지 않으며 미러 트래픽은 실제 트래픽에 영향을 미치지 않습니다.
서비스가 재구성되는 경우 재구성을 사용할 수 있습니다. , 이것은 테스트 방법이기도 합니다.
Nginx는 ngx_http_mirror_module 모듈을 제공합니다.
2. Nginx를 설치하고
yum Warehouse를 설정합니다. 이렇게 하려면 /etc/yum.repos.d/nginx.repo
파일을 작성하세요.
[nginx-stable]
name=nginx stable repo
baseurl=http://nginx.org/packages/centos/$releasever/$basearch/
gpgcheck=1
enabled=1
gpgkey=https://nginx.org/keys/nginx_signing.key
module_hotfixes=true
[nginx-mainline]
name=nginx mainline repo
baseurl=http://nginx.org/packages/mainline/centos/$releasever/$basearch/
gpgcheck=1
enabled=0
gpgkey=https://nginx.org/keys/nginx_signing.key
module_hotfixes=true
yum install nginx
yum install nginx
기본적으로 nginx 구성 파일은 nginx.conf
입니다. 일반적인 경우 다음으로 nginx.conf 파일은 /usr/local/nginx/conf 또는 /etc/nginx 또는 /usr/local/etc/nginx 디렉터리에 있습니다
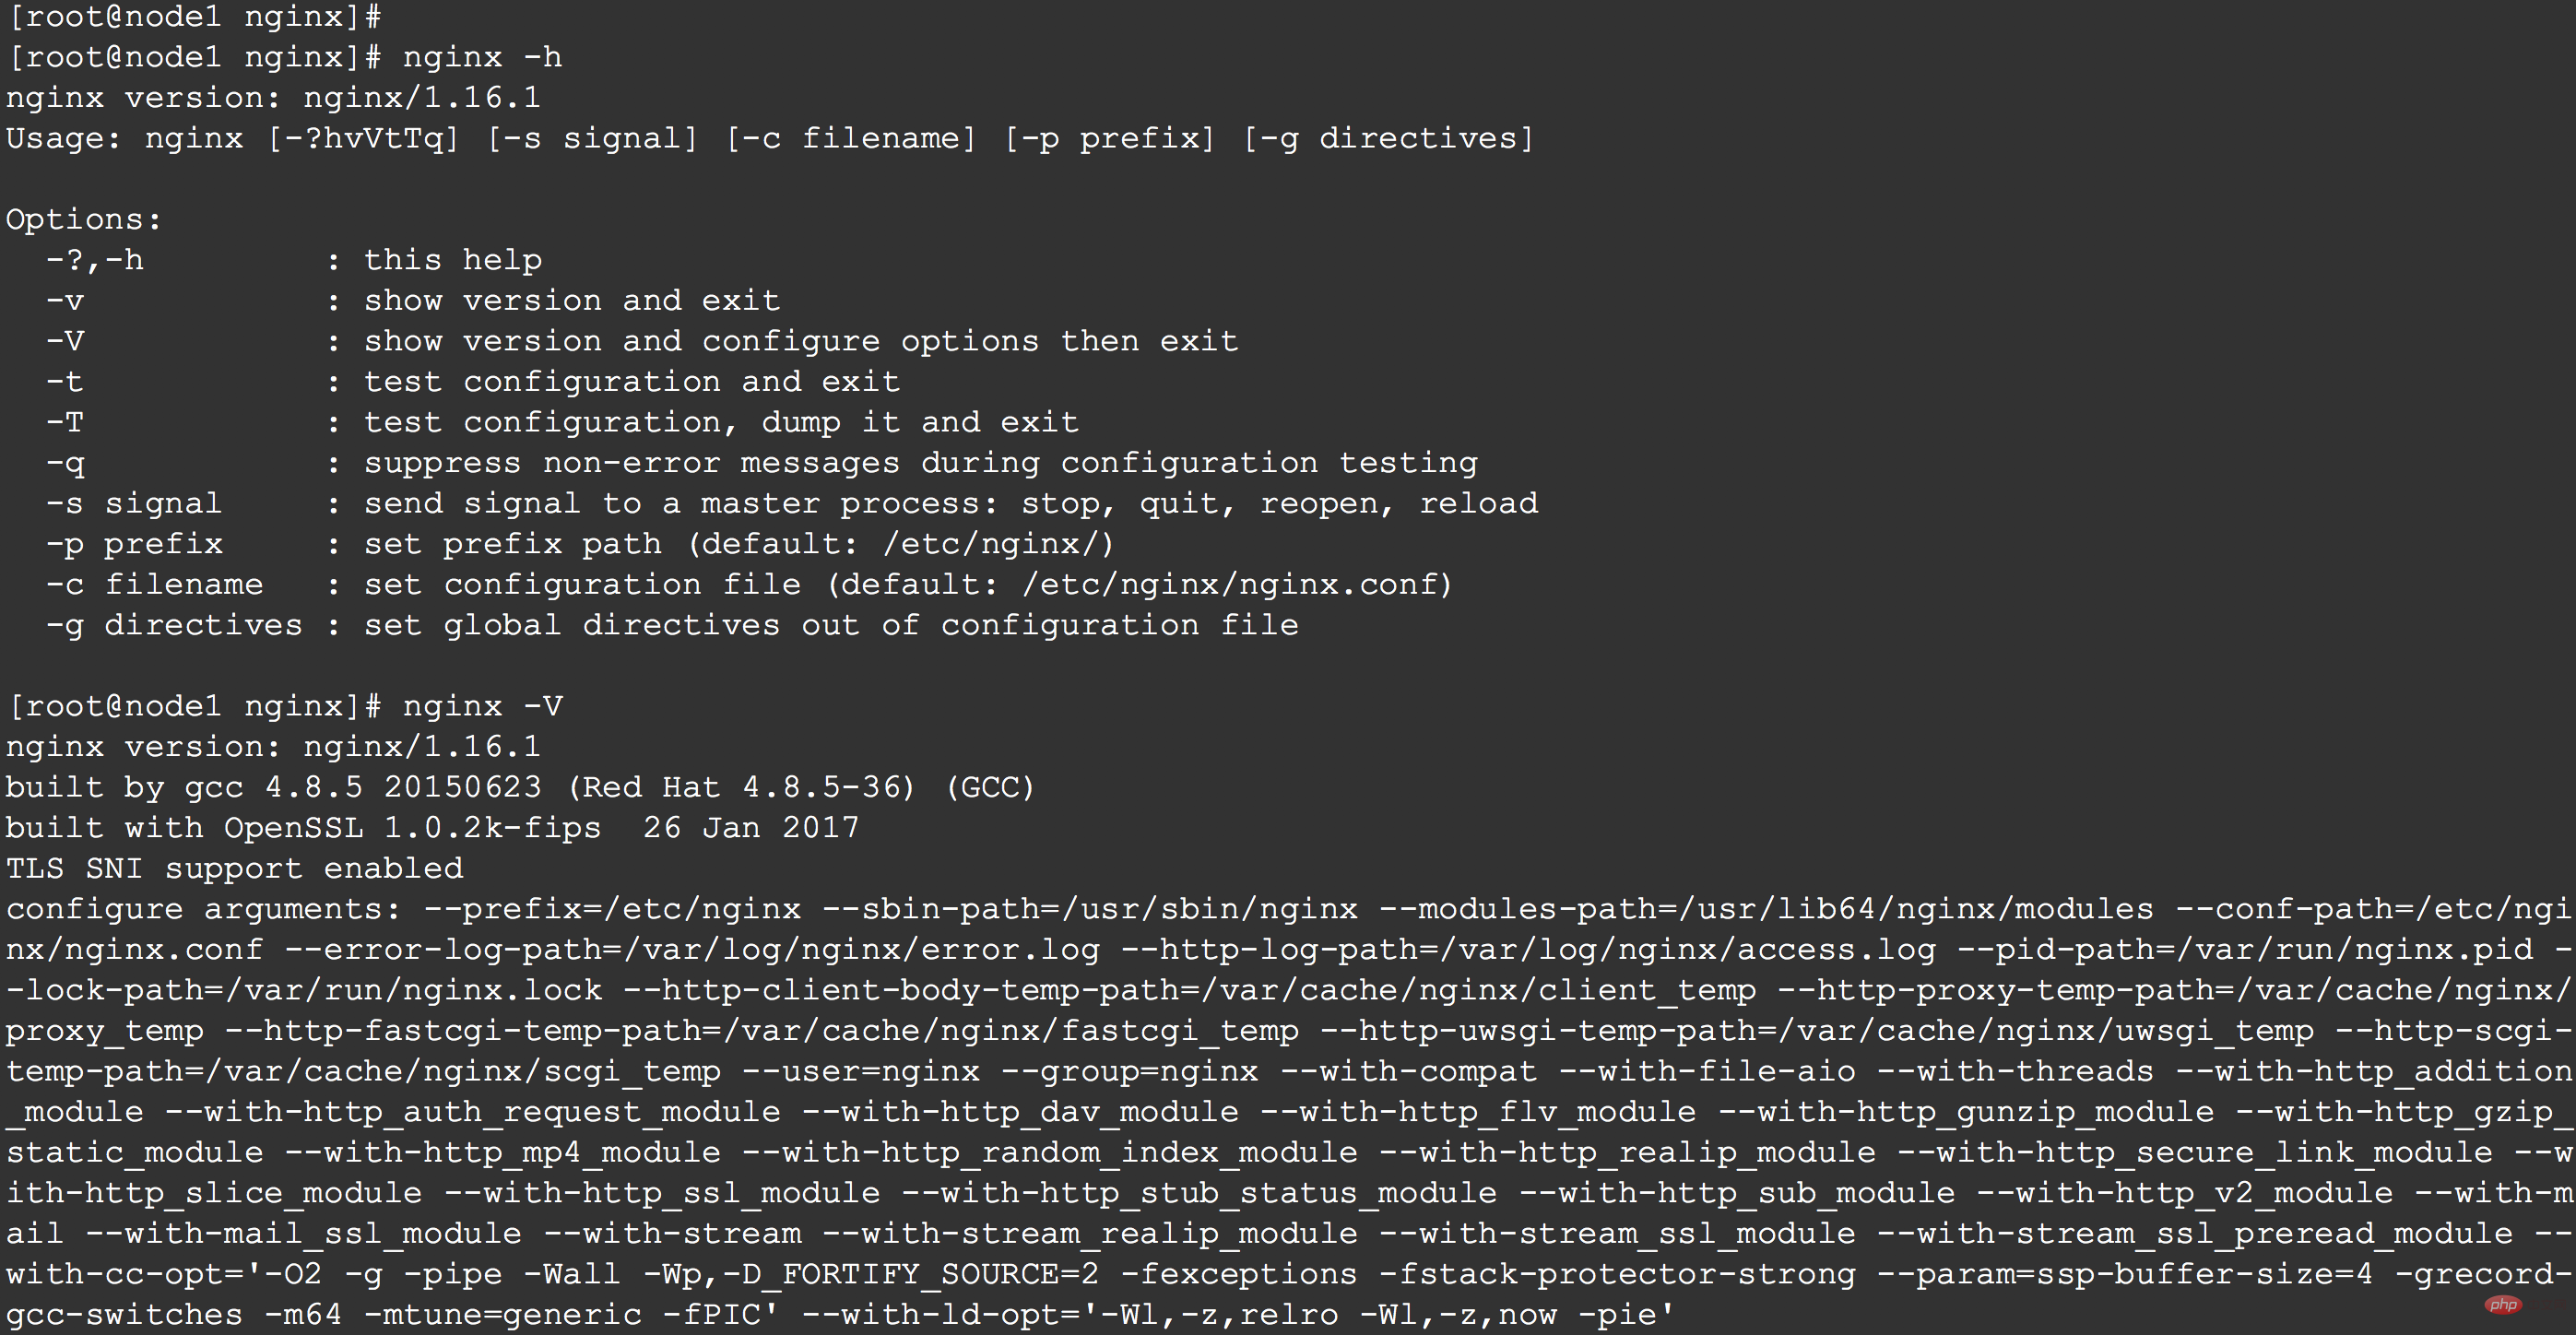
nginx를 시작하려면 명령에 nginx를 직접 입력하면 됩니다. 라인을 클릭하고 Enter
# 启动nginx
nginx
# fast shutdown
nginx -s stop
# graceful shutdown
nginx -s quit
# reloading the configuration file
nginx -s reload
# reopening the log files
nginx -s reopen
# list of all running nginx processes
ps -ax | grep nginx

 (무료 학습 영상 공유:
)
nginx의 마스터 프로세스의 프로세스 ID는 기본적으로 nginx.pid 파일에 위치하며, 파일이 위치한 디렉토리는 일반적으로 /usr/local/입니다. nginx/logs 또는 /var/run다음과 같이 nginx를 중지할 수도 있습니다
kill -s QUIT 3997
초기 구성 파일은 다음과 같습니다.
user  nginx;
worker_processes  1;
error_log  /var/log/nginx/error.log warn;
pid        /var/run/nginx.pid;
events {
    worker_connections  1024;
}
http {
    include       /etc/nginx/mime.types;
    default_type  application/octet-stream;
    log_format  main  '$remote_addr - $remote_user [$time_local] "$request" '
                      '$status $body_bytes_sent "$http_referer" '
                      '"$http_user_agent" "$http_x_forwarded_for"';
    access_log  /var/log/nginx/access.log  main;
    sendfile        on;
    #tcp_nopush     on;
    keepalive_timeout  65;
    #gzip  on;
    include /etc/nginx/conf.d/*.conf;
}
3.ngx_http_mirror_module
ngx_http_mirror_module 모듈(1.13.4)은 원본 요청의 미러링을 구현합니다. 백그라운드 미러 하위 요청을 생성하면 미러 하위 요청에 대한 응답이 무시됩니다.
이렇게 이해합니다. 여기서 미러는 원래 모든 요청을 수집하는 미러 사이트와 같다고 이해할 수 있습니다. 이 거울은 모든 현실을 나타냅니다. 유효한 원본 요청입니다. 이 이미지를 사용하면 나중에 모든 요청을 재생산하여 온라인 프로세스를 다른 위치에 복사하는 등 몇 가지 작업을 수행할 수 있습니다.
공식 웹사이트에서 제공하는 예는 다음과 같이 매우 간단합니다.
location / {
    mirror /mirror;
    proxy_pass http://backend;
}
location = /mirror {
    internal;
    proxy_pass http://test_backend$request_uri;
}
요청 본문이 미러링된 경우 하위 요청을 생성하기 전에 요청 본문을 읽습니다.
location / {
    mirror /mirror;
    mirror_request_body off;
    proxy_pass http://backend;
}
location = /mirror {
    internal;
    proxy_pass http://log_backend;
    proxy_pass_request_body off;
    proxy_set_header Content-Length "";
    proxy_set_header X-Original-URI $request_uri;
}
앞서 Nginx를 설치했지만 여기에는 내용이 포함되어 있지 않습니다. ngx_http_mirror_module 모듈이 필요하므로 실제로 사용하려면 사용자 정의 설치를 사용하는 것이 가장 좋습니다. 즉, 소스 코드에서 빌드하는 것입니다
먼저 http://nginx.org/en 소스 코드를 다운로드합니다. /download.html
다음으로 컴파일하고 설치합니다. 예:
./configure
    --sbin-path=/usr/local/nginx/nginx
    --conf-path=/usr/local/nginx/nginx.conf
    --pid-path=/usr/local/nginx/nginx.pid
    --with-http_ssl_module
    --without-http_limit_req_module
    --without-http_mirror_module
    --with-pcre=../pcre-8.43
    --with-zlib=../zlib-1.2.11
    --add-module=/path/to/ngx_devel_kit
    --add-module=/path/to/lua-nginx-module
make & make install
Configuration
upstream api.abc.com {
server 127.0.0.1:8080;
}
upstream tapi.abc.com {
    server 127.0.0.1:8081;
}
server {
    listen 80;
   # 源站点
    location /api {
        proxy_pass http://api.cjs.com;
        proxy_set_header Host $host;
        proxy_set_header X-Real-IP $remote_addr;
        proxy_set_header X-Forwarded-For $proxy_add_x_forwarded_for;
        # 流量复制
mirror /newapi;
mirror /mirror2;
mirror /mirror3;
# 复制请求体
mirror_request_body on;
    }
    # 镜像站点
    location /tapi {
        proxy_pass http://tapi.cjs.com$request_uri;
        proxy_pass_request_body on;
        proxy_set_header Host $host;
        proxy_set_header X-Real-IP $remote_addr;
        proxy_set_header X-Forwarded-For $proxy_add_x_forwarded_for;
    }
}
관련 권장 사항:
nginx tutorial위 내용은 nginx 트래픽 복사 기능 소개의 상세 내용입니다. 자세한 내용은 PHP 중국어 웹사이트의 기타 관련 기사를 참조하세요!

