CSS 요약 참고 사항: 변환, 전환 및 애니메이션의 예
- 青灯夜游앞으로
- 2018-10-09 17:00:402596검색
이 글은 주로 CSS 요약 노트의 변형, 전환, 애니메이션에 대한 관련 정보를 소개합니다. 도움이 필요한 친구들이 참고할 수 있기를 바랍니다.
1. Transition transition
Transition 속성 사용법: transition :ransition-property Transition-duration Transition-timing-function transition-delay
을 함께 지정할 수 있습니다. 또한 지정
transition-property: 전환할 속성(예: 너비, 높이)이며 모두 변경된다는 의미입니다.
transition-duration: 소요 시간(s 또는 ms)
transition-timing-function: 애니메이션 유형(모션 영역 곡선)을 지정하며 모션 곡선에는 다음 유형이 있습니다.
ease=> 값) 선형=>일정 속도 이즈 인=>가속 이즈 아웃=>감속 이즈 인 아웃=>가속 먼저 하고 감속
전환-지연 지연 시간, 단위는 s 또는 ms
<!DOCTYPE html>
<html lang="en">

<head>
    <meta charset="UTF-8">
    <meta name="viewport" content="width=device-width, initial-scale=1.0">
    <meta http-equiv="X-UA-Compatible" content="ie=edge">
    <title>Document</title>
    <style>

        p {
            width: 100px;
            height: 200px;
            background-color: aqua;
            transition: width 2s ease-in-out 0.5s;
        }

        p:hover {
            width: 500px;
        }
    </style>
</head>

<body>
    <p></p>
</body>

</html>
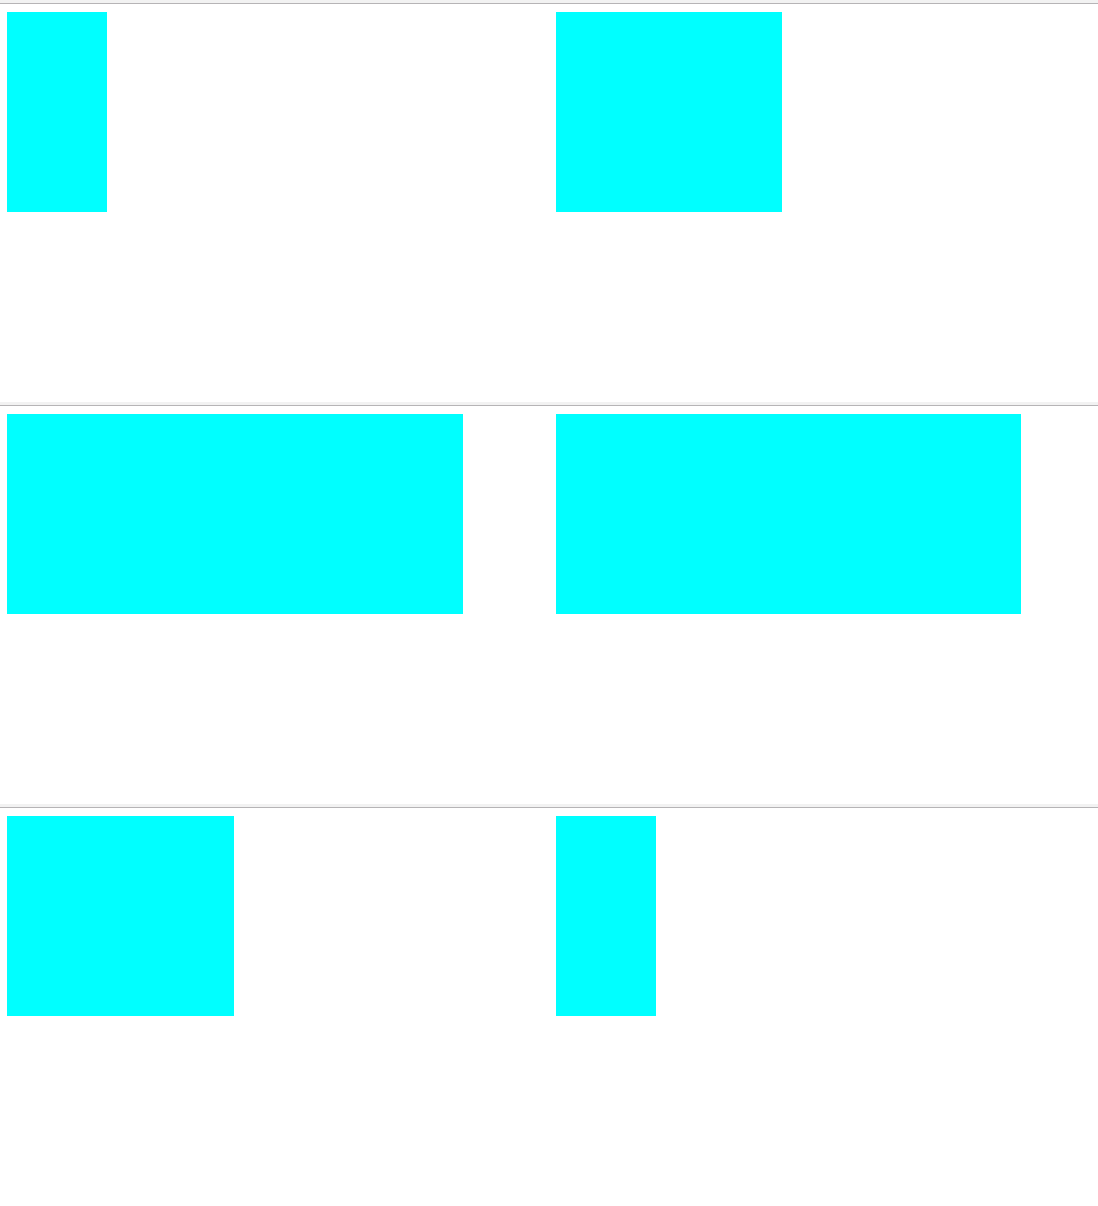
결과 아래와 같이 마우스를 위로 올리면 변화가 더 이상 순간적이지 않고 전환됩니다.
2. Transformationtransform
(1), 2D 변환
(a) 이동 이동(x,y)
이동은 픽셀 값 또는 백분율을 지정할 수 있습니다. 지정된 백분율은 자체 크기의 백분율이므로 상자 위치를 지정할 때 중앙 정렬을 설정하는 데 사용할 수 있습니다(왼쪽으로 설정: 50%, 자체 이동 -50%).
<!DOCTYPE html>
<html lang="en">

<head>
    <meta charset="UTF-8">
    <meta name="viewport" content="width=, initial-scale=1.0">
    <meta http-equiv="X-UA-Compatible" content="ie=edge">
    <title>Document</title>
    <style>
        p {
            width: 100px;
            height: 100px;
            background-color: aqua;
            transition: all 2s;
        }

        p:active {
            transform: translate(200px, 200px);
        }
    </style>
</head>

<body>
    <p></p>
</body>

</html>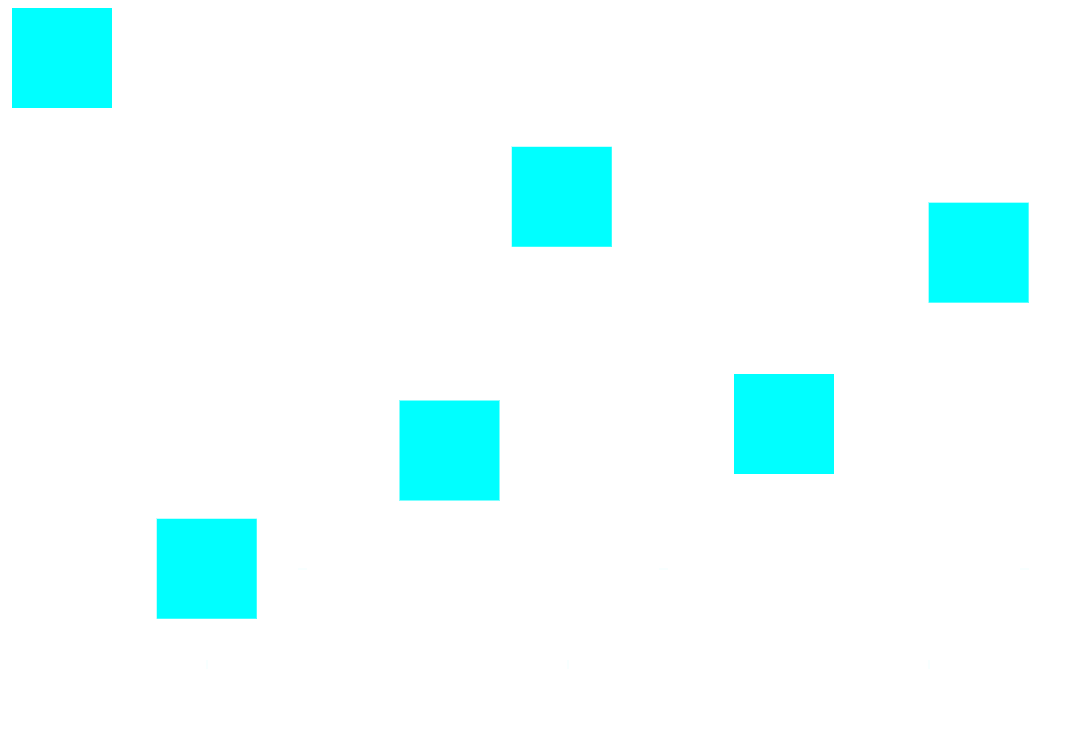
클릭 후 상자가 이동되었습니다. 배치된 상자를 중앙에 배치하는 데 사용된 코드는 다음과 같습니다.
<!DOCTYPE html>
<html lang="en">

<head>
    <meta charset="UTF-8">
    <meta name="viewport" content="width=device-width, initial-scale=1.0">
    <meta http-equiv="X-UA-Compatible" content="ie=edge">
    <title>Document</title>
    <style>
        .fa {
            width: 300px;
            height: 300px;
            background-color: aqua;
            transition: all 0.5s;
            position: relative;
        }

        .son {
            background-color: red;
            position: absolute;
            left: 50%;
            top: 50%;
            width: 100px;
            height: 100px;
            transform: translate(-50%, -50%);
        }

    </style>
</head>

<body>
    <p class="fa">
        <p class="son"></p>
    </p>

</body>

</html>
결과는
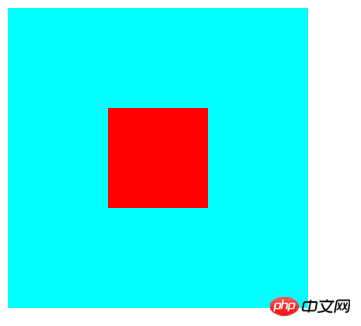
입니다. (b) Scale scale(x, y)
x와 y를 1보다 크게 설정하면 확대되고, 1보다 작으면 확대됩니다. 줄이기 위해.
<!DOCTYPE html>
<html lang="en">

<head>
    <meta charset="UTF-8">
    <meta name="viewport" content="width=device-width, initial-scale=1.0">
    <meta http-equiv="X-UA-Compatible" content="ie=edge">
    <title>Document</title>
    <style>
        p {
            width: 100px;
            height: 100px;
            background-color: aqua;
            margin: 200px auto;
            transition: all 2s;
        }

        p:hover {
            transform: scale(0.5, 2);
        }
    </style>
</head>

<body>
    <p>

    </p>
</body>

</html>
(c) Rotate Rotate(x deg)
x는 각도 값을 지정하며, 양수는 시계 방향 회전, 음수는 반시계 방향 회전입니다.
Rotation은 transform-origin 을 사용하여 회전 중심점을 지정할 수 있습니다. Transform-origin은 왼쪽 위 오른쪽 아래에 사용되며 특정 픽셀 값도 지정할 수 있습니다.
<!DOCTYPE html>
<html lang="en">

<head>
    <meta charset="UTF-8">
    <meta name="viewport" content="width=device-width, initial-scale=1.0">
    <meta http-equiv="X-UA-Compatible" content="ie=edge">
    <title>Document</title>
    <style>
        p {
            width: 200px;
            height: 100px;
            background-color: aqua;
            margin: 200px auto;
            transition: all 2s;
            transform-origin: bottom left;
        }

        p:hover {
            transform: rotate(120deg);
        }
    </style>
</head>

<body>
    <p></p>
</body>

</html>
(d) Slope Skew(x deg,y deg)
x,y는 각각 x, y 방향의 경사 각도를 지정하며 음수일 수 있습니다. 기록되지 않은 경우 y 값의 기본값은 0입니다.
<!DOCTYPE html>
<html lang="en">

<head>
    <meta charset="UTF-8">
    <meta name="viewport" content="width=device-width, initial-scale=1.0">
    <meta http-equiv="X-UA-Compatible" content="ie=edge">
    <title>Document</title>
    <style>
        p {
            width: 100px;
            height: 100px;
            background-color: aqua;
            border: 1px solid red;
            transition: all 1s;
            margin: 200px auto;
        }

        p:hover {
            transform: skew(30deg, 20deg);
        }
    </style>
</head>

<body>
    <p></p>
</body>

</html>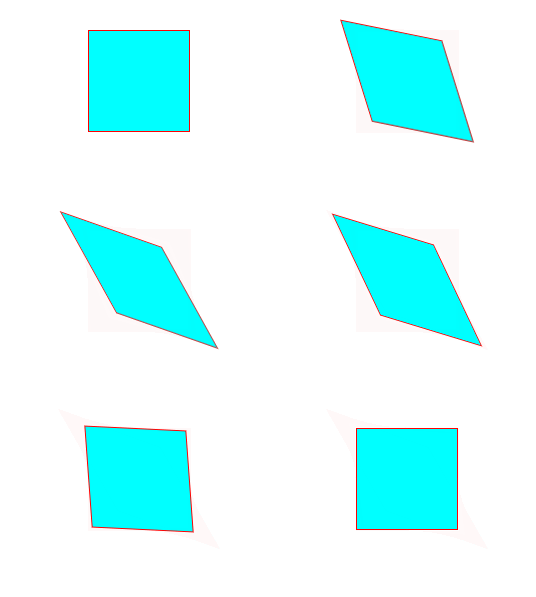
(2) 3D 변형
(a) 회전(rotateX,rotateY,rotateZ)
3D 회전은 2D와 유사하지만 하나는 2차원 좌표를 기반으로 하고 다른 하나는 2D 좌표를 기반으로 합니다. 3차원 좌표에서. 세 가지 값은 동시에 또는 개별적으로 지정할 수 있습니다.
<!DOCTYPE html>
<html lang="en">

<head>
    <meta charset="UTF-8">
    <meta name="viewport" content="width=device-width, initial-scale=1.0">
    <meta http-equiv="X-UA-Compatible" content="ie=edge">
    <title>Document</title>
    <style>
        p {
            width: 200px;
            height: 100px;
            background-color: aqua;
            margin: 200px auto;
            transition: all 2s;
            transform-origin: bottom left;
        }

        p:hover {
            transform: rotateX(120deg);
            /* transform: rotateY(120deg); */
            /* transform: rotateZ(120deg); */
        }
    </style>
</head>

<body>
    <p></p>
</body>

</html>
(b) 이동(translateX,translateY,translateZ)
3D 이동은 xy 방향 이동에 대한 2D 이동과 일치합니다. z 방향의 움직임만 다릅니다. Z 방향으로 이동한다는 것은 실제 생활에서 거리가 멀어지고 가까워지는 것을 의미합니다. 따라서 웹 페이지에 표시되는 결과는 물체가 가까울수록 커지고, 멀어질수록 작아집니다.
Z선 움직임을 적용하려면 먼저 관점(눈과 화면 사이의 거리)을 설정해야 합니다.
<!DOCTYPE html>
<html lang="en">

<head>
    <meta charset="UTF-8">
    <meta name="viewport" content="width=device-width, initial-scale=1.0">
    <meta http-equiv="X-UA-Compatible" content="ie=edge">
    <title>Document</title>
    <style>
        body {
            perspective: 1000px;
            /* 数值越小说明眼睛离的越近 */
        }

        p {
            width: 200px;
            height: 200px;
            background-color: aqua;
            transition: all 0.5s;
            margin: 200px auto;
        }

        p:hover {
            transform: translate3d(0, 0, 200px);
        }
    </style>
</head>

<body>
    <p>

    </p>
</body>

</html>
3, animationanimation
(1) , animation: animation - name || animation- duration|| 애니메이션- 지연 || 반복 횟수|| animation- 방향|| 채우기 모드; name: 애니메이션 이름(@keyframes를 사용하여 정의된 자체 애니메이션) animation-duration: 지속 시간 animation-timing-function: 모션 곡선, 전환의 모션 곡선과 유사합니다. animation-delay: 지연 시간animation-iteration-count: 루프 수(infinite는 무한 루프)animation-direction: 반전 여부(애니메이션이 끝에서 반전되는지 여부) animation-fill-mode:设置在动画播放之外的状态(结束时的状态)none | forwards(设为结束时的状态)| backwards(设为开始时的状态)|both(设为开始或结束时的状态) animation-play-state:设置动画状态 running 开始|paused 暂停 (2)、@keyframes 自定义动画 格式如下 可以用 from...to 来指定动画过程,也可以用0%~100%指定动画过程。 总结:以上就是本篇文的全部内容,希望能对大家的学习有所帮助。更多相关教程请访问 CSS视频教程,CSS3视频教程! 相关推荐:@keyframes 动画名称 {
from{ 开始} 0%
to{ 结束 } 100%
}<!DOCTYPE html>
<html lang="en">
<head>
<meta charset="UTF-8">
<meta name="viewport" content="width=device-width, initial-scale=1.0">
<meta http-equiv="X-UA-Compatible" content="ie=edge">
<title>Document</title>
<style>
p {
width: 100px;
height: 100px;
background-color: aqua;
/* animation: 动画名称 动画时间 运动曲线 何时开始 播放次数 是否反方向 */
animation: move 5s linear 3;
}
@keyframes move {
0% {
transform: translate3d(0, 0, 0);
}
25% {
transform: translate3d(400px, 0, 0);
}
50% {
transform: translate3d(400px, 300px, 0);
}
75% {
transform: translate3d(0, 300px, 0);
}
100% {
transform: translate3d(0, 0, 0);
}
}
</style>
</head>
<body>
<p></p>
</body>
</html>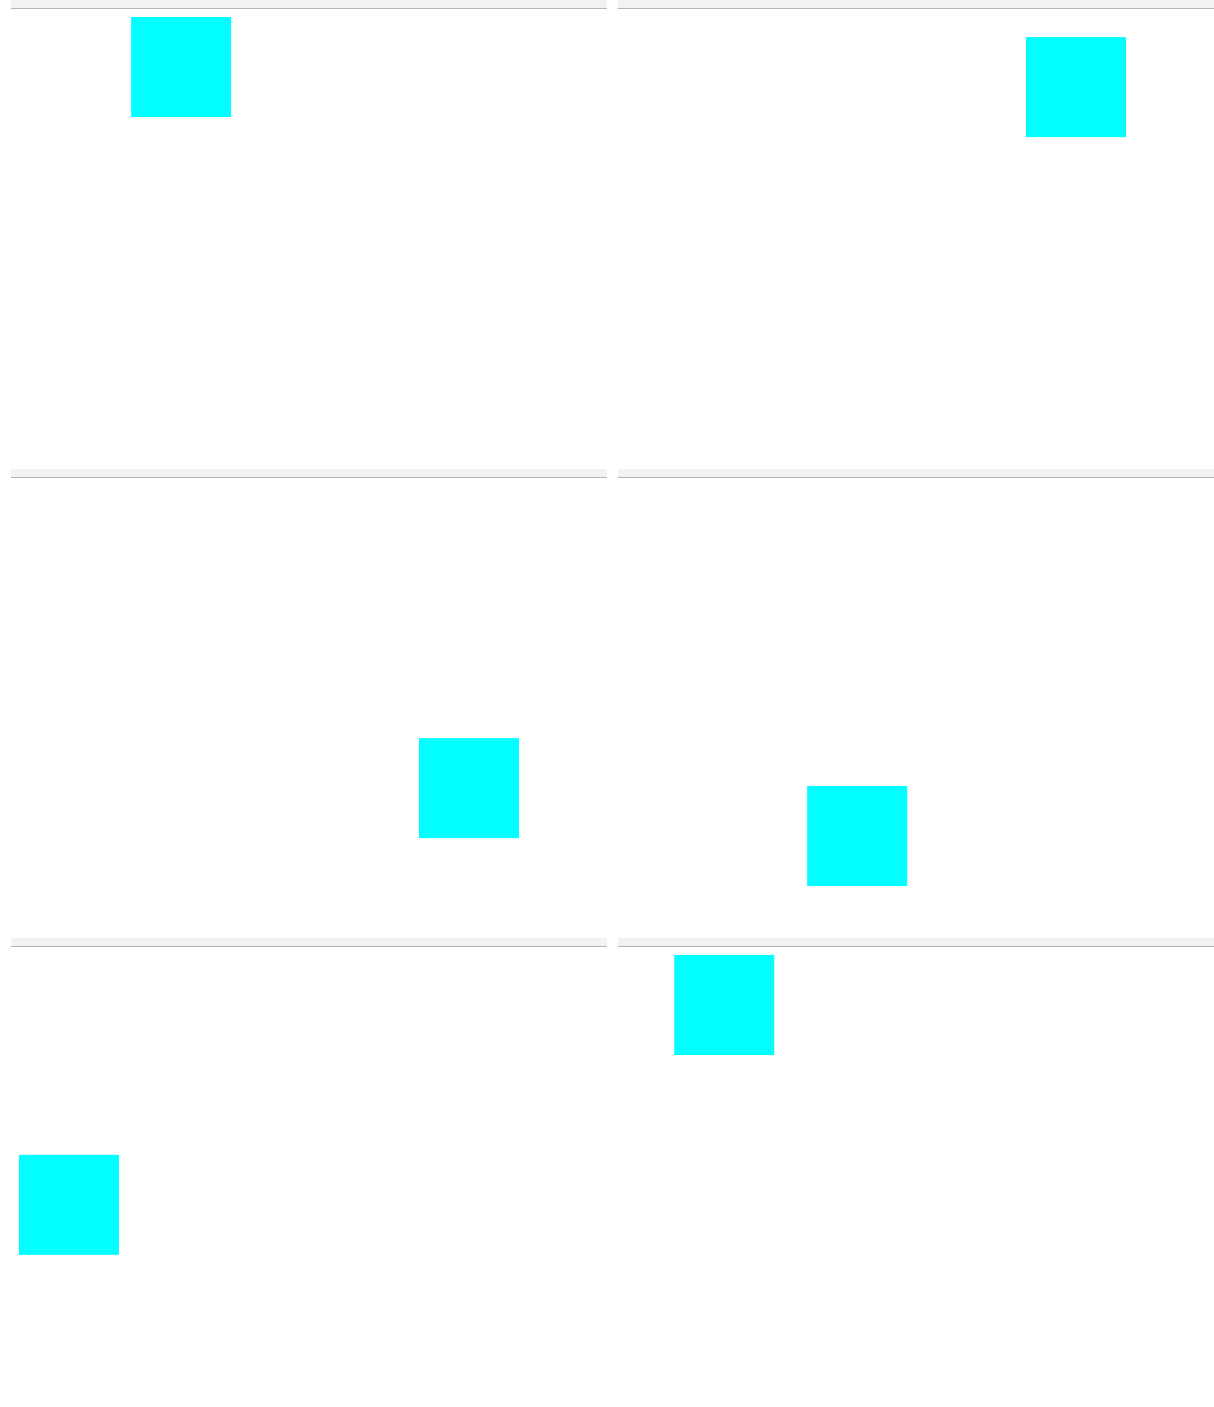
위 내용은 CSS 요약 참고 사항: 변환, 전환 및 애니메이션의 예의 상세 내용입니다. 자세한 내용은 PHP 중국어 웹사이트의 기타 관련 기사를 참조하세요!

