워터마크를 추가하고 썸네일을 생성할 수 있는 PHP 클래스를 만드는 방법
- php中世界最好的语言원래의
- 2018-05-19 14:51:431613검색
이번에는 PHP로 워터마크를 추가하고 썸네일을 생성할 수 있는 클래스를 만드는 방법을 보여드리겠습니다. 워터마크를 추가하고 썸네일을 생성할 수 있는 클래스를 만들 때 PHP에서 주의할 점은 무엇인가요? 일어나서 살펴보세요.
ImageTool.class.php<?php
class ImageTool
{
private $imagePath;//图片路径
private $outputDir;//输出文件夹
private $memoryImg;//内存图像
public function construct($imagePath, $outputDir = null)
{
$this->imagePath = $imagePath;
$this->outputDir = $outputDir;
$this->memoryImg = null;
}
/**
* 显示内存中的图片
* @param $image
*/
public function showImage()
{
if ($this->memoryImg != null) {
$info = getimagesize($this->imagePath);
$type = image_type_to_extension($info[2], false);
header('Content-type:' . $info['mime']);
$funs = "image{$type}";
$funs($this->memoryImg);
imagedestroy($this->memoryImg);
$this->memoryImg = null;
}
}
/**将图片以文件形式保存
* @param $image
*/
private function saveImage($image)
{
$info = getimagesize($this->imagePath);
$type = image_type_to_extension($info[2], false);
$funs = "image{$type}";
if (empty($this->outputDir)) {
$funs($image, md5($this->imagePath) . '.' . $type);
} else {
$funs($image, $this->outputDir . md5($this->imagePath) . '.' . $type);
}
}
/**
* 压缩图片
* @param $width 压缩后宽度
* @param $height 压缩后高度
* @param bool $output 是否输出文件
* @return resource
*/
public function compressImage($width, $height, $output = false)
{
$image = null;
$info = getimagesize($this->imagePath);
$type = image_type_to_extension($info[2], false);
$fun = "imagecreatefrom{$type}";
$image = $fun($this->imagePath);
$thumbnail = imagecreatetruecolor($width, $height);
imagecopyresampled($thumbnail, $image, 0, 0, 0, 0, $width, $height, $info[0], $info[1]);
imagedestroy($image);
if ($output) {
$this->saveImage($thumbnail);
}
$this->memoryImg = $thumbnail;
return $this;
}
/**
* 为图像添加文字标记
*
* @param $content 文本内容
* @param $size 字体大小
* @param $font 字体样式
* @param bool $output 是否输出文件
* @return $this
*/
public function addTextmark($content, $size, $font, $output = false)
{
$info = getimagesize($this->imagePath);
$type = image_type_to_extension($info[2], false);
$fun = "imagecreatefrom{$type}";
$image = $fun($this->imagePath);
$color = imagecolorallocatealpha($image, 0, 0, 0, 80);
$posX = imagesx($image) - strlen($content) * $size / 2;
$posY = imagesy($image) - $size / 1.5;
imagettftext($image, $size, 0, $posX, $posY, $color, $font, $content);
if ($output) {
$this->saveImage($image);
}
$this->memoryImg = $image;
return $this;
}
/**
* 为图片添加水印
*
* @param $watermark 水印图片路径
* @param $alpha 水印透明度(0-100)
* @param bool $output 是否输出文件
* @return $this
*/
public function addWatermark($watermark, $alpha, $output = false)
{
$image_info = getimagesize($this->imagePath);
$image_type = image_type_to_extension($image_info[2], false);
$image_fun = "imagecreatefrom{$image_type}";
$image = $image_fun($this->imagePath);
$mark_info = getimagesize($watermark);
$mark_type = image_type_to_extension($mark_info[2], false);
$mark_fun = "imagecreatefrom{$mark_type}";
$mark = $mark_fun($watermark);
$posX = imagesx($image) - imagesx($mark);
$posY = imagesy($image) - imagesy($mark);
imagecopymerge($image, $mark, $posX, $posY, 0, 0, $mark_info[0], $mark_info[1], $alpha);
if ($output) {
$this->saveImage($image);
}
$this->memoryImg = $image;
return $this;
}
}
ImageTool 사용 먼저 ImageTool 도구 가져오기:
require_once 'ImageTool.class.php';
그런 다음 ImageTool 개체 인스턴스화:
$imageTool = new ImageTool('img/oppman.jpeg', 'out/');//图片路径、输出文件夹
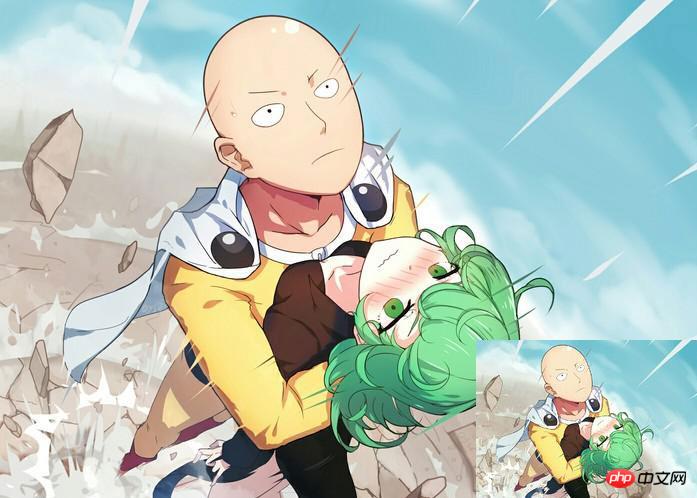
1. 사진 압축 생성 rreee

$imageTool->compressImage(350, 250, true);//压缩宽度、压缩高度、是否保存
$imageTool->showImage();

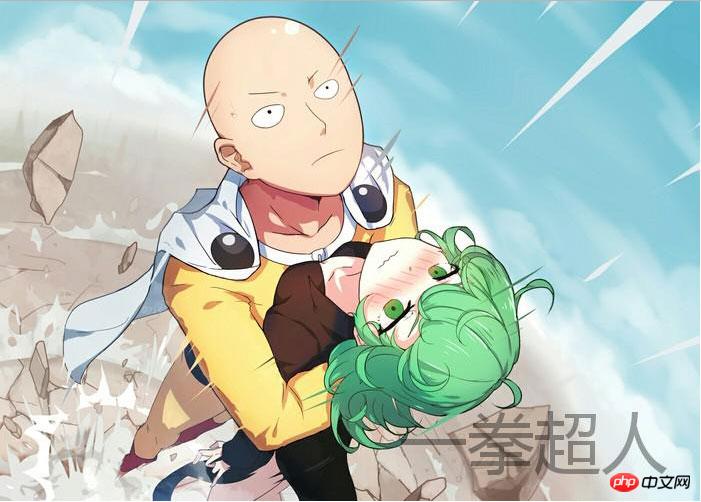
사진 추가watermark$imageTool->addTextmark('一拳超人', 50, 'res/micro.ttf', true);//内容、尺寸、字体、是否保存
$imageTool->showImage();
 마스터가 있다고 믿습니다. 읽은 후 방법을 편집했습니다. 이 기사의 사례에 대해 더 흥미로운 내용을 보려면 PHP 중국어 웹사이트의 다른 관련 기사를 주목하세요!
추천 도서:
php mongoDB 싱글톤 모드 작업 클래스 구현 단계에 대한 자세한 설명tp5 (thinkPHP5) mongoDB 데이터베이스 작동 단계에 대한 자세한 설명
위 내용은 워터마크를 추가하고 썸네일을 생성할 수 있는 PHP 클래스를 만드는 방법의 상세 내용입니다. 자세한 내용은 PHP 중국어 웹사이트의 기타 관련 기사를 참조하세요!

