집 >백엔드 개발 >C#.Net 튜토리얼 >ASP.NET Core 사용 튜토리얼(9)_실용 팁
ASP.NET Core 사용 튜토리얼(9)_실용 팁
- 微波원래의
- 2017-06-28 14:05:561519검색
이 글에서는 주로 ASP.NET 핵심 정적 파일 사용에 대한 튜토리얼을 소개합니다. 여기에는 특정 참조 값이 있습니다. 관심 있는 친구는 이를 참조할 수 있습니다.
이 장에서는 파일 사용 방법을 알아봅니다. 거의 모든 웹 애플리케이션에는 파일 시스템에서 파일(정적 파일)을 제공하는 기능이라는 중요한 기능이 필요합니다.
JavaScript 파일, 이미지, CSS 파일 등과 같은 정적 파일인 Asp.Net Core 애플리케이션을 고객에게 직접 제공할 수 있습니다.
정적 파일은 일반적으로 웹 루트(wwwroot) 폴더에 있습니다.
기본적으로 이곳은 파일 시스템에서 직접 파일을 제공할 수 있는 유일한 장소입니다.
사례
이제 간단한 예를 통해 애플리케이션에서 이러한 정적 파일을 제공하는 방법을 이해해 보겠습니다.
여기서 웹 루트(wwwroot) 폴더에 있는 FirstAppDemo 애플리케이션에 간단한 HTML 파일을 추가하려고 합니다. 솔루션 탐색기에서 wwwroot 폴더를 마우스 오른쪽 버튼으로 클릭하고 추가 → 새 항목을 선택합니다.
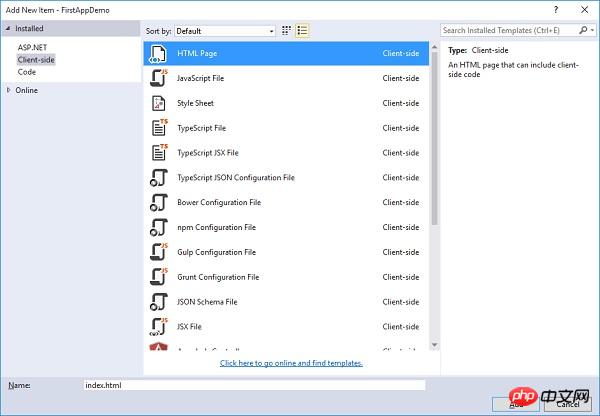
가운데 창에서 HTML 페이지를 선택하고 이름을 index.html로 지정하고 추가 버튼을 클릭하세요.
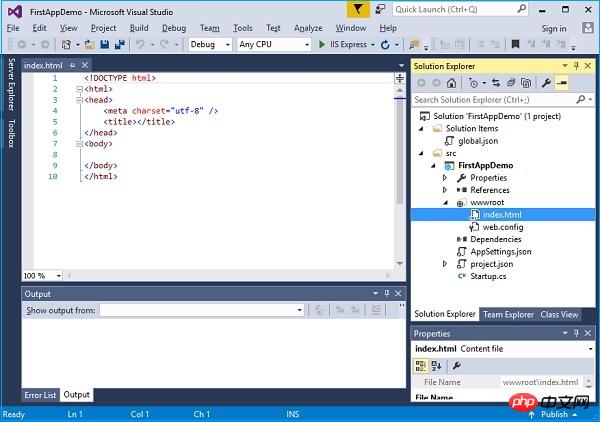
간단한 index.html 파일이 표시됩니다. 아래와 같이 간단한 텍스트와 제목을 추가해 보겠습니다.
<!DOCTYPE html>
<html>
 <head>
 <meta charset="utf-8" />
 <title>Welcome to ASP.NET Core</title>
 </head>
 <body>
 Hello, Wolrd! this message is from our first static HTML file.
 </body>
</html>
애플리케이션을 실행하고 브라우저에 index.html을 입력하면 app.Run middleware 가 현재 애플리케이션에서 예외를 발생시키는 것을 볼 수 있습니다. 아무것도 없습니다.
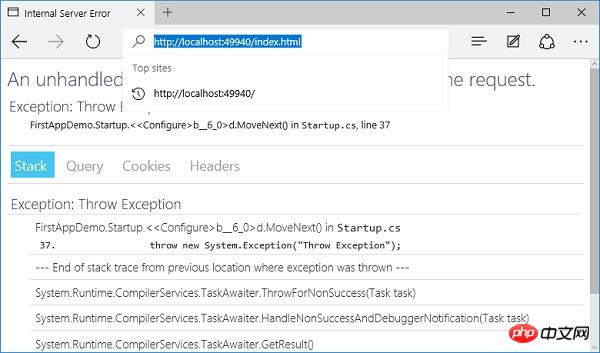
이제 우리 프로젝트에는 파일 시스템의 모든 파일을 찾는 미들웨어가 없습니다.
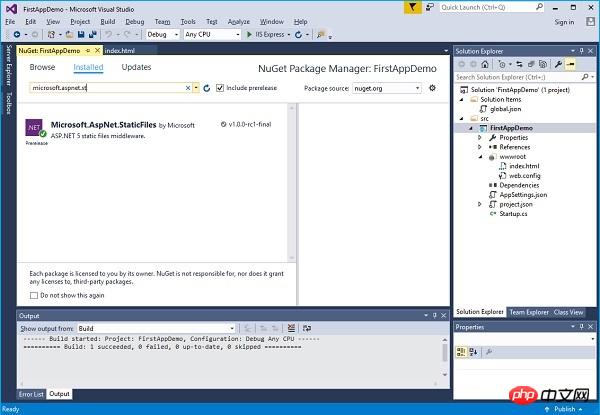
이 문제를 해결하려면 솔루션 탐색기에서 프로젝트를 마우스 오른쪽 버튼으로 클릭하고 NuGet 패키지 관리를 선택하여 NuGet 패키지 관리자에 들어가세요.
using Microsoft.AspNet.Builder;
using Microsoft.AspNet.Hosting;
using Microsoft.AspNet.Http;
using Microsoft.Extensions.DependencyInjection;
using Microsoft.Extensions.Configuration;
namespace FirstAppDemo {
 public class Startup {
 public Startup() {
  var builder = new ConfigurationBuilder()
  .AddJsonFile("AppSettings.json");
  Configuration = builder.Build();
 }
 public IConfiguration Configuration { get; set; }

 // This method gets called by the runtime.
 // Use this method to add services to the container.
 // For more information on how to configure your application,
 // visit http://go.microsoft.com/fwlink/?LinkID=398940
 public void ConfigureServices(IServiceCollection services) {
 }

 // This method gets called by the runtime.
 // Use this method to configure the HTTP request pipeline.
 public void Configure(IApplicationBuilder app) {
  app.UseIISPlatformHandler();
  app.UseDeveloperExceptionPage(); app.UseRuntimeInfoPage();
  app.UseStaticFiles();

  app.Run(async (context) => {
  throw new System.Exception("Throw Exception");
  var msg = Configuration["message"];
  await context.Response.WriteAsync(msg);
  });
 }

 // Entry point for the application.
 public static void Main(string[] args) => WebApplication.Run<Startup>(args);
 }
}
- 정적 파일이 URL을 기반으로 파일을 찾으면 다음 블록 미들웨어를 호출하지 않고 파일을 직접 반환합니다.
- 일치하는 파일이 없으면 다음 블록 미들웨어를 계속 실행합니다.
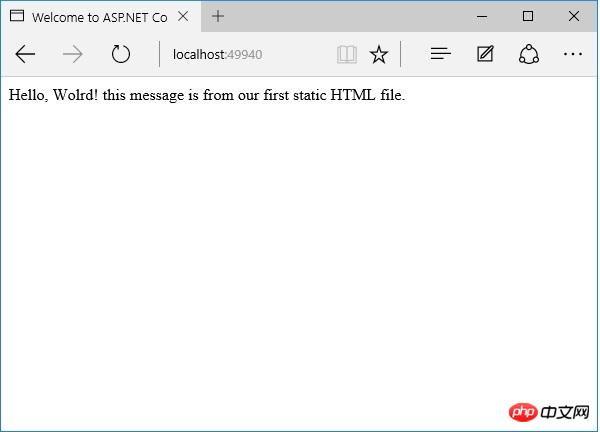
- index.html을 기본 파일로 사용하려는 경우 IIS에는 항상 이 기능이 있었습니다.
- IIS에 기본 파일 목록을 제공할 수 있습니다. 누군가가 루트 디렉터리에 액세스하는 경우, 이 경우 IIS가 index.html이라는 파일을 찾으면 자동으로 해당 파일을 클라이언트에 반환합니다.
- 이제 몇 가지 변경을 시작해 보겠습니다. 먼저 강제 오류를 제거한 다음 UseDefaultFiles라는 또 다른 미들웨어를 추가해야 합니다. 다음은 구성 방법의 구현입니다.
/ This method gets called by the runtime.
// Use this method to configure the HTTP request pipeline.
public void Configure(IApplicationBuilder app) {
 app.UseIISPlatformHandler();
 app.UseDeveloperExceptionPage();

 app.UseRuntimeInfoPage();
 app.UseDefaultFiles();
 app.UseStaticFiles();

 app.Run(async (context) => {
 var msg = Configuration["message"];
 await context.Response.WriteAsync(msg);
 });
}
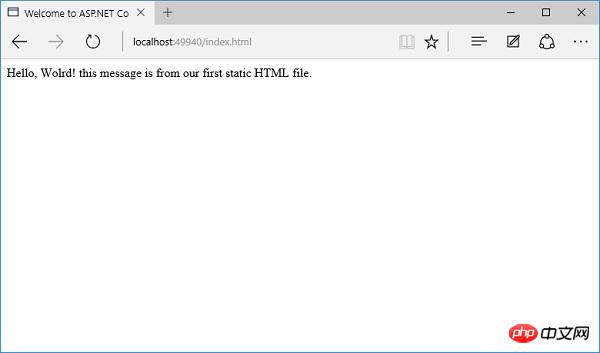
你现在可以看到index.html是默认文件。你安装中间件的顺序是很重要的,因为如果你将UseDefaultFiles放置在UseStaticFiles之后,你将可能不会得到相同的结果。
如果你想要使用UseDefaultFiles和UseStaticFiles中间件,你可以使用另一个中间件Microsoft.aspnet.staticfiles,它也是NuGet包,它是一个服务器中间件。这本质上是以正确的顺序包含了默认文件和静态文件。
// This method gets called by the runtime.
// Use this method to configure the HTTP request pipeline.
public void Configure(IApplicationBuilder app) {
 app.UseIISPlatformHandler();
 app.UseDeveloperExceptionPage();

 app.UseRuntimeInfoPage();
 app. UseFileServer();

 app.Run(async (context) => {
 var msg = Configuration["message"];
 await context.Response.WriteAsync(msg);
 });
}
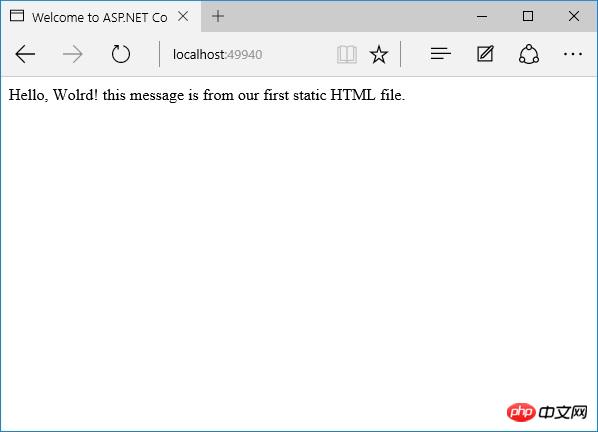
让我们再一次保存 Startup.cs 文件。一旦你刷新浏览器,你将看到相同的结果,如下面的屏幕快照所示。
以上就是本文的全部内容,希望对大家的学习有所帮助,也希望大家多多支持脚本之家。
위 내용은 ASP.NET Core 사용 튜토리얼(9)_실용 팁의 상세 내용입니다. 자세한 내용은 PHP 중국어 웹사이트의 기타 관련 기사를 참조하세요!

