집 >위챗 애플릿 >미니 프로그램 개발 >WeChat 애플릿 스위퍼로 탭 전환 구현 생성
WeChat 애플릿 스위퍼로 탭 전환 구현 생성
- 高洛峰원래의
- 2017-02-08 16:28:153149검색
이 글에서는 WeChat 애플릿 스위퍼를 이용한 탭 전환 구현 코드 관련 정보를 주로 소개합니다. 필요한 친구는
WeChat 애플릿 스위퍼 탭 전환 만들기
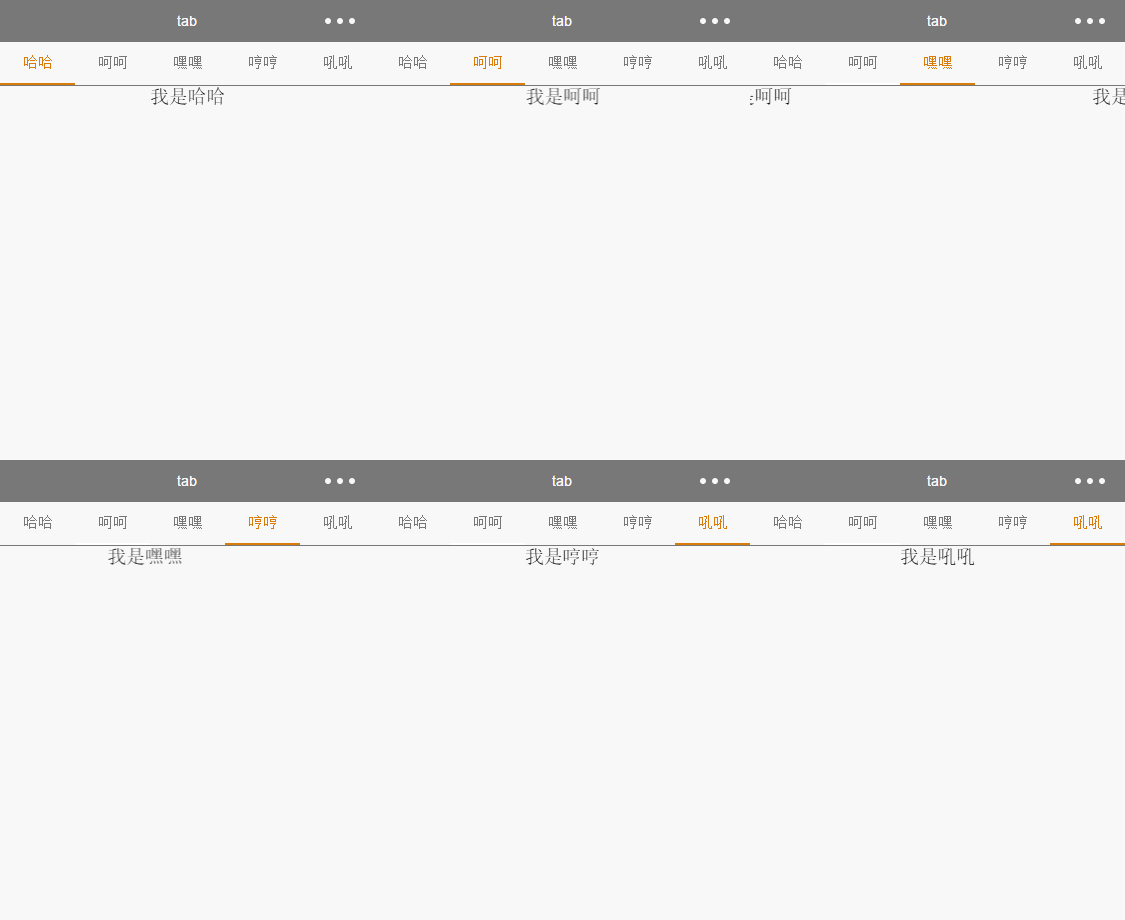
를 참고하세요.구현 렌더링:

스와이프 제작 탭 전환
index.html
<view class="swiper-tab">
<view class="swiper-tab-list {{currentTab==0 ? 'on' : ''}}" data-current="0" bindtap="swichNav">Seside1</view>
<view class="swiper-tab-list {{currentTab==1 ? 'on' : ''}}" data-current="1" bindtap="swichNav">Seside2</view>
<view class="swiper-tab-list {{currentTab==2 ? 'on' : ''}}" data-current="2" bindtap="swichNav">Seside3</view>
</view>
<swiper current="{{currentTab}}" class="swiper-box" duration="300" style="height:{{winHeight - 31}}px" bindchange="bindChange">
<swiper-item>
<view>Seside1</view>
</swiper-item>
<swiper-item>
<view>Seside2</view>
</swiper-item>
<swiper-item>
<view>Seside3</view>
</swiper-item>
</swiper>
index.css
.swiper-tab{
  width: 100%;
  border-bottom: 2rpx solid #777777;
  text-align: center;
  line-height: 80rpx;
}
.swiper-tab-list{
  font-size: 30rpx;
  display: inline-block;
  width: 20%;
  color: #777777;
}
.on{
  color: #da7c0c;
  border-bottom: 5rpx solid #da7c0c;
}
.swiper-box{
  display: block;
  height: 100%;
  width: 100%;
  overflow: hidden;
 }
.swiper-box view{
  text-align: center;
}
index.js
//index.js
//获取应用实例
var app = getApp()
Page( {
 data: {
  // 页面配置
  winWidth: 0,
  winHeight: 0,
  // tab切换
  currentTab: 0,
 },
 onLoad: function() {
  var that = this;
  // 获取系统信息
  wx.getSystemInfo( {
   success: function( res ) {
    that.setData( {
     winWidth: res.windowWidth,
     winHeight: res.windowHeight
    });
   }
  });
 },
 // 滑动切换tab
 bindChange: function( e ) {
  var that = this;
  that.setData( { currentTab: e.detail.current });
 },
 // 点击tab切换
 swichNav: function( e ) {
  var that = this;
  if( this.data.currentTab === e.target.dataset.current ) {
   return false;
  }else{
   that.setData( {
    currentTab: e.target.dataset.current
   })
  }
 }
})
읽어주셔서 감사합니다 , 모든 사람에게 도움이 되기를 바랍니다. 이 사이트를 지원해 주셔서 감사합니다!
WeChat 애플릿 스위퍼 제작 및 탭 전환 구현과 관련된 더 많은 기사를 보려면 PHP 중국어 웹사이트를 주목하세요!
성명:
본 글의 내용은 네티즌들의 자발적인 기여로 작성되었으며, 저작권은 원저작자에게 있습니다. 본 사이트는 이에 상응하는 법적 책임을 지지 않습니다. 표절이나 침해가 의심되는 콘텐츠를 발견한 경우 admin@php.cn으로 문의하세요.

