
PHP(三): Start using Smarty

- WBOYWBOYWBOYWBOYWBOYWBOYWBOYWBOYWBOYWBOYWBOYWBOYWB원래의
- 2016-06-13 12:56:141149검색
PHP(3): Start using Smarty
1. About Smarty
When we are doing web programming using PHP, one problem is that the php files can be mixed with php code as long as the html code. At some point, it is not very clean and also not safe. And the work can't be seperated for back-end programmers and front-end programmers. So we need a tool to seperate the php logic from the html code to well organize the and maintain the developing process.So here it comes Smarty.
Smarty is a web template system written in PHP. Smarty is primarily promoted as a tool for separation of concerns.[1] Smarty is intended to simplify compartmentalization, allowing the presentation of a web page to change separately from the back-end. Ideally, this eases the costs and efforts associated with software maintenance.
Smarty generates web content by the placement of special Smarty tagswithin a document. These tags are processed and substituted with other code. Tags are directives for Smarty that are enclosed by template delimiters. These directives can be variables, denoted by a dollar sign ($), functions, logical or loop statements. Smarty allows PHP programmers to define custom functions that can be accessed using Smarty tags.
2. Set up Smarty
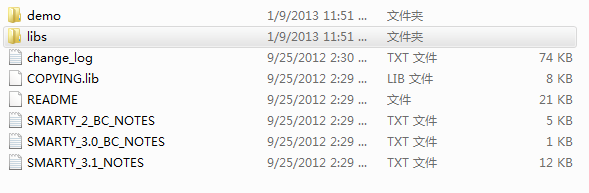
Step1: download the Smarty and rename it's libs folder and import it into our php project.
Step2: create a php file to connect to Smarty( SmartyCon.php)
<?php
/*
 * Created on Jan 10, 2013
 * Author: Nick
 * Function: Connecting to Smarty
 */
 include_once("smarty/Smarty.class.php");
 $smarty = new Smarty();		  //new an instance of smarty
 $smarty->config_dir = "smarty/"; 	  //smarty's config info
 $smarty->caching = false;		  //use cache or not
 $smarty->template_dir = "./templates";   //set the folder for keeping the templates
 /**
  * smarty can automatically compile the templates and php contents to an mixed file
  * and be stored in templates_C folder
  */
 $smarty->compile_dir = "./templates_c";  //the folder that store compiled files
 $smarty->cache_dir = "./smarty_cache";   //store cache files

 $smarty->left_delimiter = "{";
 $smarty->right_delimiter = "}";

 ?>
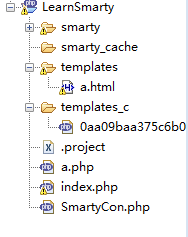
According to the code we should also create 3 folders which are used to store some corresponding files. templates folder is used to store html files which as the folder's name shows: they are templates, and will be called by "$smarty->display()" to show different styles for a project. tempates_c is used to store the compiled files. php files and templates are written in different files, but the php compiler can compile the templates and php contents to an mixed file and store them into templates_c folder. smarty_cache is used to store cache files.
Step3: write the php content ( a.php)
<?php
/*
 * Created on Jan 10, 2013
 * Author: Nick
 * Function:
 */
 include("SmartyCon.php");
 $name = "php100";
 //$smarty->assign("title",$name); //assign php variabel to the tab in templates
 //$smarty->display("a.html");	 //show the template

 $nameTwo[] = array("name"=>"jimmy","city"=>"Montreal");
 $nameTwo[] = array("name"=>"tim","city"=>"wuxi");
 $nameTwo[] = array("name"=>"sam","city"=>"newyork");
 $nameTwo[] = array("name"=>"john","city"=>"sanfran");
 $nameTwo[] = array("name"=>"lily","city"=>"loyola");

 $title= array("a"=>"name","b"=>"News","c"=>"date","d"=>"now()");

 $smarty->assign("title",$nameTwo); //assign php variabel to the tab in templates
 $smarty->assign("ab",$title);

 $smarty->display("a.html");	 //show the template
?>
Step 4: write template file( a.html)
<html>
<h1>{$ab["b"]}</h1>
<hr>
<b>{$title}</b>

{section name=list loop=$title}
<b>
	{$title[list].name} - {$title[list].city}
</b><br>
{/section}
</html>
The result is like this:
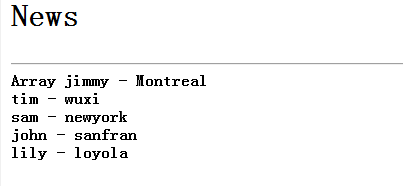
As to how to print out the values in a two dimentional table, we have to use {section name='' loop=$..}{/section}