ホームページ >Java >&#&チュートリアル >Nginx を使用して Springboot プロジェクトをサーバーにデプロイする方法
Nginx を使用して Springboot プロジェクトをサーバーにデプロイする方法
- 王林転載
- 2023-05-14 13:55:062989ブラウズ
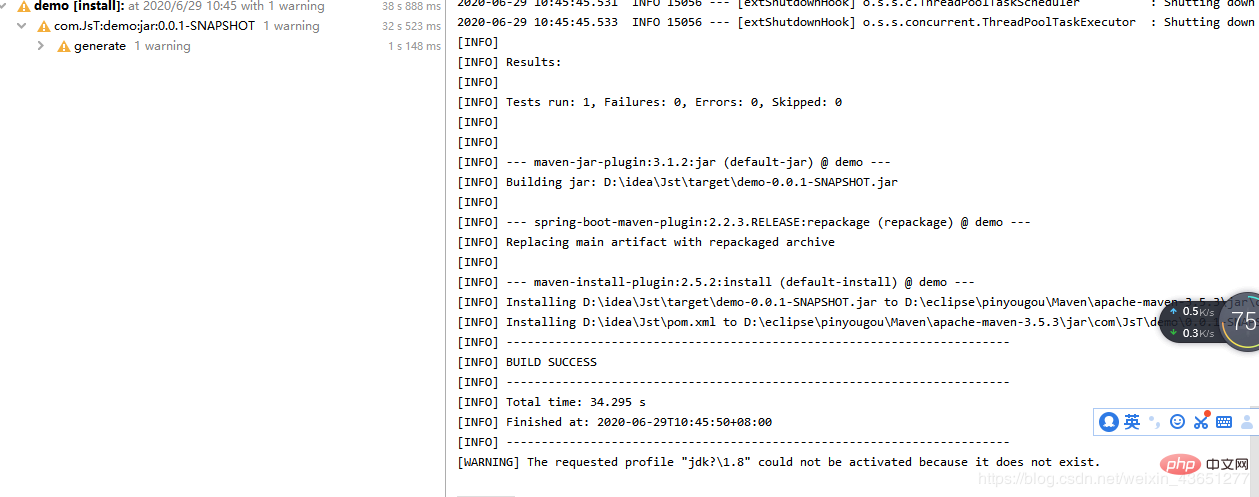
1. Java プロジェクトを jar パッケージに入力します
ここでは Maven ツールを使用します

After は 2 つありますパッケージ化が完了すると、1 つは demo.jar になり、もう 1 つは jst.jar になります。
2. ツールを準備します
1.Server
2.ドメイン名 (注: 申請後)
3.xshell はサーバーへの接続に使用されます
4.winscp (注:ビュー ツール (jar の転送に使用)
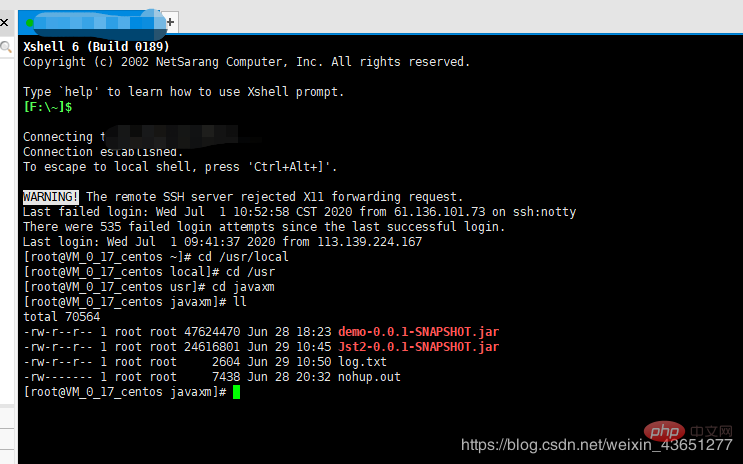
#3. jar パッケージをサーバーに転送します

3. xshell を使用して jar パッケージを実行します
注: (サーバーの Java 環境と Maven 環境を設定してください)これは自分で行うものであり、ここでは説明しません。)

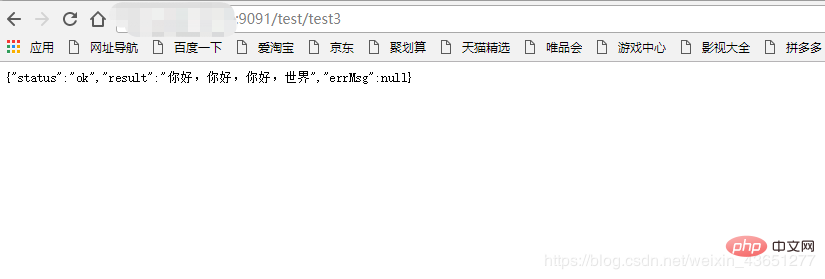
2 つの jar パッケージを実行して開始した後、IP とポート番号を使用してインターフェイスにアクセスします

##(注: テスト インターフェイス)
4. nginx をダウンロードしてインストールします
5. nginx.conf を設定します
**(注: *** ***** はサーバーアドレスを表します)
http {
 include  mime.types;
 default_type application/octet-stream;

 #log_format main '$remote_addr - $remote_user [$time_local] "$request" '
 #     '$status $body_bytes_sent "$http_referer" '
 #     '"$http_user_agent" "$http_x_forwarded_for"';

 #access_log logs/access.log main;

 sendfile  on;
 #tcp_nopush  on;

 #keepalive_timeout 0;
 keepalive_timeout 65;

 #gzip on;

 server {
  #监听的端口号
  listen  80;
  #设置访问的二级域名
  server_name demo.eysource.com;

  #charset koi8-r;

  #access_log logs/host.access.log main;

  location /{
  #配置访问的项目路径(注:这里重点)
  proxy_pass http:********:9091/
  # root html;
  # index index.html index.htm;
  proxy_set_header   host $host;
  proxy_set_header x-real-ip $remote_addr;
  proxy_set_header   x-forwarded-for  $proxy_add_x_forwarded_for;
  client_max_body_size 100m;
  root html;
  index index.html index.htm;
   }
  }
 server {
  #监听的端口号
  listen  80;
  #设置访问的二级域名
  server_name aaa.eysource.com;

  #charset koi8-r;

  #access_log logs/host.access.log main;

  location /{
  #配置访问的项目路径(注:这里重点)
  proxy_pass http:********:8080/
  # root html;
  # index index.html index.htm;
  proxy_set_header   host $host;
  proxy_set_header x-real-ip $remote_addr;
  proxy_set_header   x-forwarded-for  $proxy_add_x_forwarded_for;
  client_max_body_size 100m;
  root html;
  index index.html index.htm;
   }
  }
 }
6ドメイン名によるアクセス (成功)
以上がNginx を使用して Springboot プロジェクトをサーバーにデプロイする方法の詳細内容です。詳細については、PHP 中国語 Web サイトの他の関連記事を参照してください。
声明:
この記事はyisu.comで複製されています。侵害がある場合は、admin@php.cn までご連絡ください。

