ホームページ >Java >&#&チュートリアル >SpringBoot2でエンドポイントをカスタマイズする方法
SpringBoot2でエンドポイントをカスタマイズする方法
- PHPz転載
- 2023-05-12 08:40:151482ブラウズ
SpringBoot2 新機能カスタム エンドポイント
package com.yan.otlan.springboot;
import org.springframework.boot.actuate.endpoint.annotation.Endpoint;
import org.springframework.boot.actuate.endpoint.annotation.ReadOperation;
import org.springframework.boot.actuate.endpoint.annotation.Selector;
import org.springframework.stereotype.Component;
@Endpoint(id = "customPoint")
@Component
public class StatusEndPoint {
	@ReadOperation
	public String getCustom(@Selector String name) {
		return "MyName is ." + name;
	}
}
必要なアノテーションは 3 つだけです @endpoint、@ReadOperation、@Selector
springboot プロジェクトを開始します

赤いマップが表示されたら成功を示します
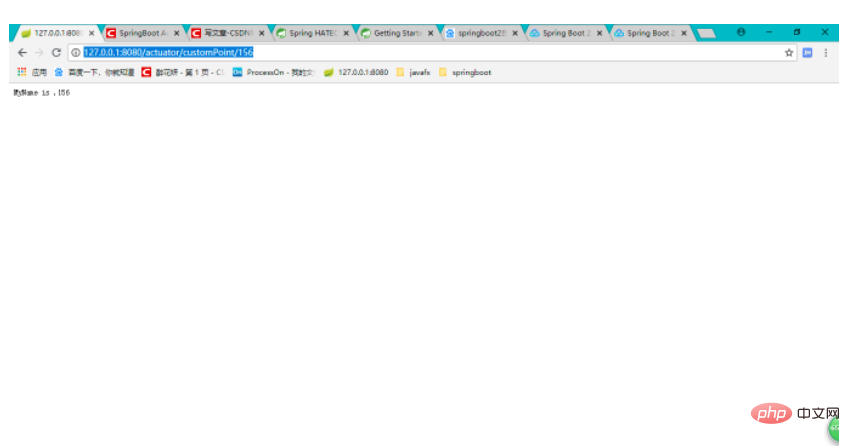
http://127.0.0.1:8080/actuator/customPoint /156## にアクセスしてください
#結果 ##SpringBoot-Actuator-Custom エンドポイント プロパティ
すべてのエンドポイントを閉じる
management.endpoints.enabled-by-default: false
アクセス プロジェクト パスを変更
デフォルトのアクセス パスは /actuator で、次のプロパティを変更することで変更できます
management.endpoints.web.base-path: /actuator
たとえば、デフォルトのアクセス パスは
http://ip:port/actuatorアクセス パスを
に変更する場合は、プロパティを
に設定できます。 パスは / で始まる必要があります。そうでない場合はアクセスできません
以上がSpringBoot2でエンドポイントをカスタマイズする方法の詳細内容です。詳細については、PHP 中国語 Web サイトの他の関連記事を参照してください。
声明:
この記事はyisu.comで複製されています。侵害がある場合は、admin@php.cn までご連絡ください。

