ホームページ >ウェブフロントエンド >jsチュートリアル >【整理と共有】人気のReact状態管理ツール7選
【整理と共有】人気のReact状態管理ツール7選
- 青灯夜游転載
- 2023-04-26 17:47:482689ブラウズ

最近、プロジェクトのテクノロジー スタックの整理に取り組んでいます;
チームが大きくなるにつれて、人の数も増え、プロジェクトの数も増えます;
統合されたテクノロジー スタックは非常に必要なものです。

【 1. Mobx 】

import React from "react"
import ReactDOM from "react-dom"
import { makeAutoObservable } from "mobx"
import { observer } from "mobx-react-lite"

class Timer {
    secondsPassed = 0

    constructor() {
        makeAutoObservable(this)
    }

    increaseTimer() {
        this.secondsPassed += 1
    }
}

const myTimer = new Timer()

//被`observer`包裹的函数式组件会被监听在它每一次调用前发生的任何变化
const TimerView = observer(({ timer }) =>
           <span>Seconds passed: {timer.secondsPassed}
</span>)

ReactDOM.render(<TimerView timer={myTimer} />, document.body)
【 2 .Redux ]
import { createStore } from 'redux'

/**
 * This is a reducer - a function that takes a current state value and an
 * action object describing "what happened", and returns a new state value.
 * A reducer's function signature is: (state, action) => newState
 *
 * The Redux state should contain only plain JS objects, arrays, and primitives.
 * The root state value is usually an object. It's important that you should
 * not mutate the state object, but return a new object if the state changes.
 *
 * You can use any conditional logic you want in a reducer. In this example,
 * we use a switch statement, but it's not required.
 */
function counterReducer(state = { value: 0 }, action) {
  switch (action.type) {
    case 'counter/incremented':
      return { value: state.value + 1 }
    case 'counter/decremented':
      return { value: state.value - 1 }
    default:
      return state
  }
}

// Create a Redux store holding the state of your app.
// Its API is { subscribe, dispatch, getState }.
let store = createStore(counterReducer)

// You can use subscribe() to update the UI in response to state changes.
// Normally you'd use a view binding library (e.g. React Redux) rather than subscribe() directly.
// There may be additional use cases where it's helpful to subscribe as well.

store.subscribe(() => console.log(store.getState()))

// The only way to mutate the internal state is to dispatch an action.
// The actions can be serialized, logged or stored and later replayed.
store.dispatch({ type: 'counter/incremented' })
// {value: 1}
store.dispatch({ type: 'counter/incremented' })
// {value: 2}
store.dispatch({ type: 'counter/decremented' })
// {value: 1}
Redux をすぐに使い始めるのは簡単ではなく、慎重に考える必要があります; しかし幸いなことに、redux は新しいRedux-tookit Redux を使用する手順が大幅に簡素化されています。
【 3. 再戦 】
import { createModel } from "@rematch/core";
import { RootModel } from ".";

export const count = createModel<RootModel>()({
  state: 0, // initial state
  reducers: {
    // handle state changes with pure functions
    increment(state, payload: number) {
      return state + payload;
    },
  },
  effects: (dispatch) => ({
    // handle state changes with impure functions.
    // use async/await for async actions
    async incrementAsync(payload: number, state) {
      console.log("This is current root state", state);
      await new Promise((resolve) => setTimeout(resolve, 1000));
      dispatch.count.increment(payload);
    },
  }),
});
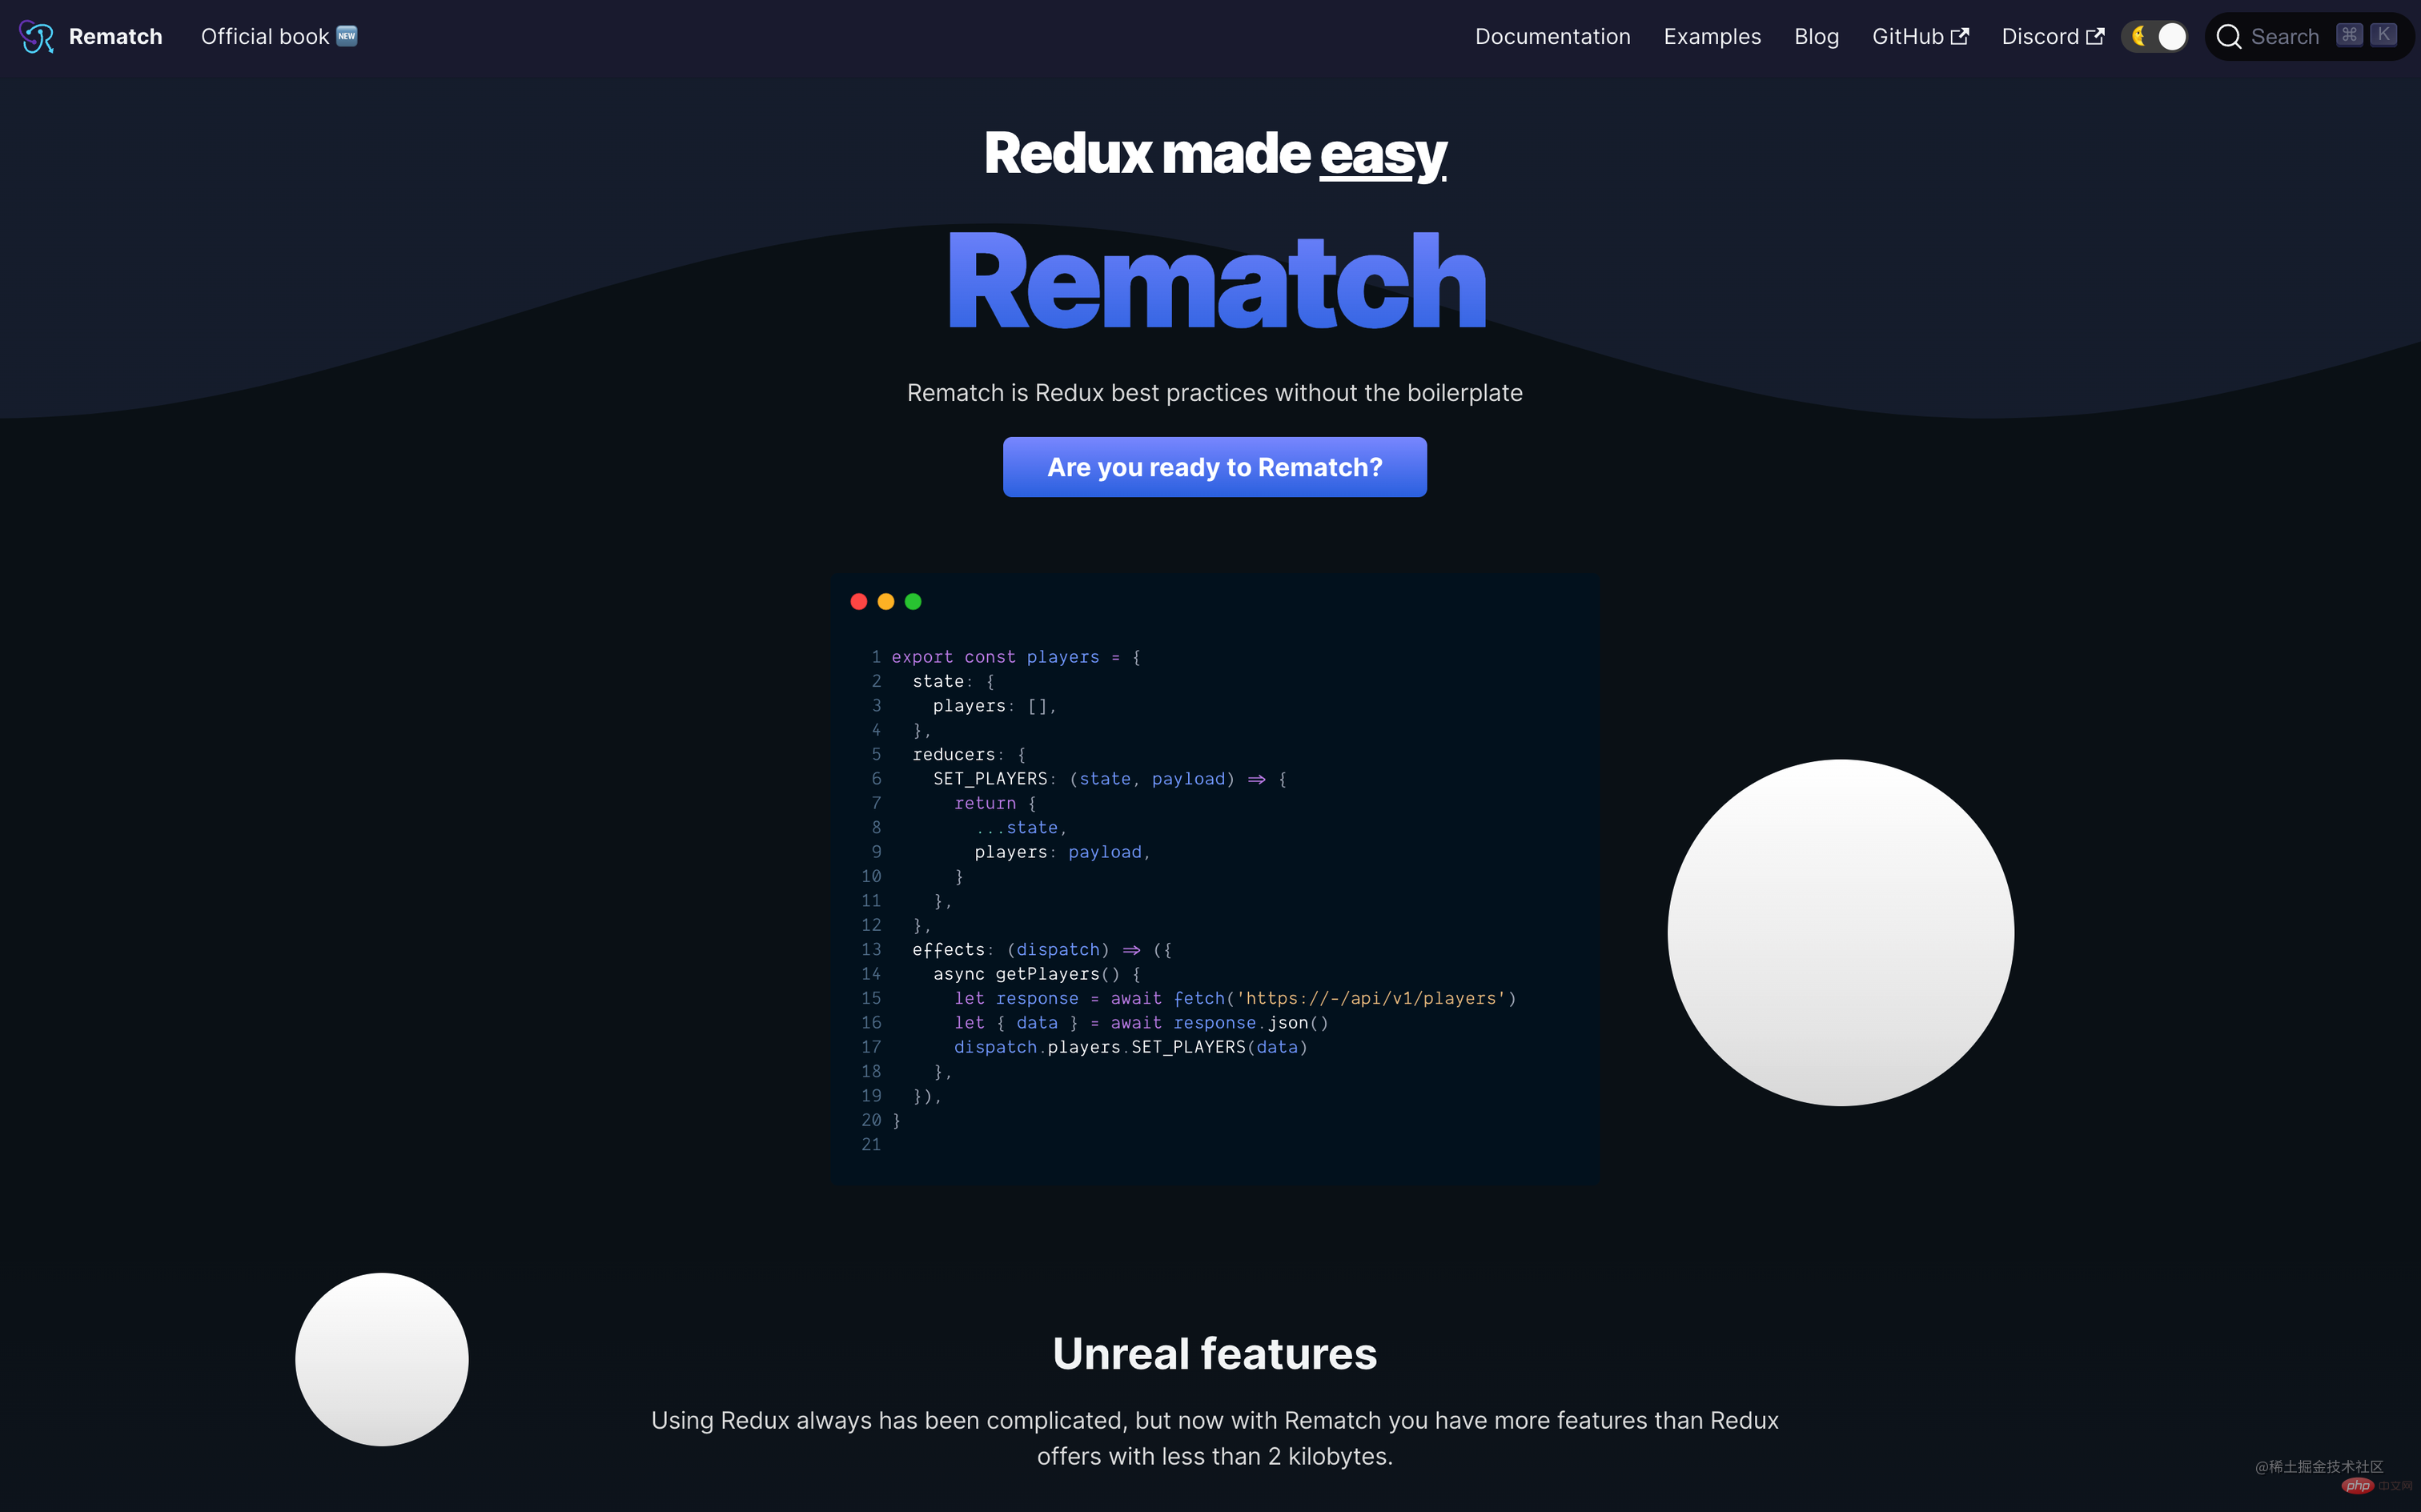
以下は Rematch の機能の一部です:
- サイズは 2kb 未満です
- 設定は必要ありません
- Redux ボイラープレート ファイルを削減します
- 組み込みの副作用サポート
- React Devtools サポート
- TypeScript ネイティブ サポート
- リデューサーの動的追加をサポート
- ホット リロードをサポート
- 複数のストアの作成を許可
- React Native のサポート
- 拡張可能なプラグイン
【 4. Recoil 】
import React from 'react';
import {
  RecoilRoot,
  atom,
  selector,
  useRecoilState,
  useRecoilValue,
} from 'recoil';

function App() {
  return (
    <RecoilRoot>
      <CharacterCounter />
    </RecoilRoot>
  );
}
A atom は state を表します。 Atom はどのコンポーネントからでも読み書きできます。アトム値を読み取るコンポーネントは暗黙的にアトムをサブスクライブするため、アトムが更新されると、アトムに対応するコンポーネントが再レンダリングされます;
アトム状態を使用するには、useRecoilState をコンポーネント:const textState = atom({
key: 'textState', // unique ID (with respect to other atoms/selectors)
default: '', // default value (aka initial value)
});
function CharacterCounter() {
return (
<div>
<TextInput />
<CharacterCount />
</div>
);
}
function TextInput() {
const [text, setText] = useRecoilState(textState);
const onChange = (event) => {
setText(event.target.value);
};
return (
<div>
<input type="text" value={text} onChange={onChange} />
<br />
Echo: {text}
</div>
);
}
【 5. Hookstate 】

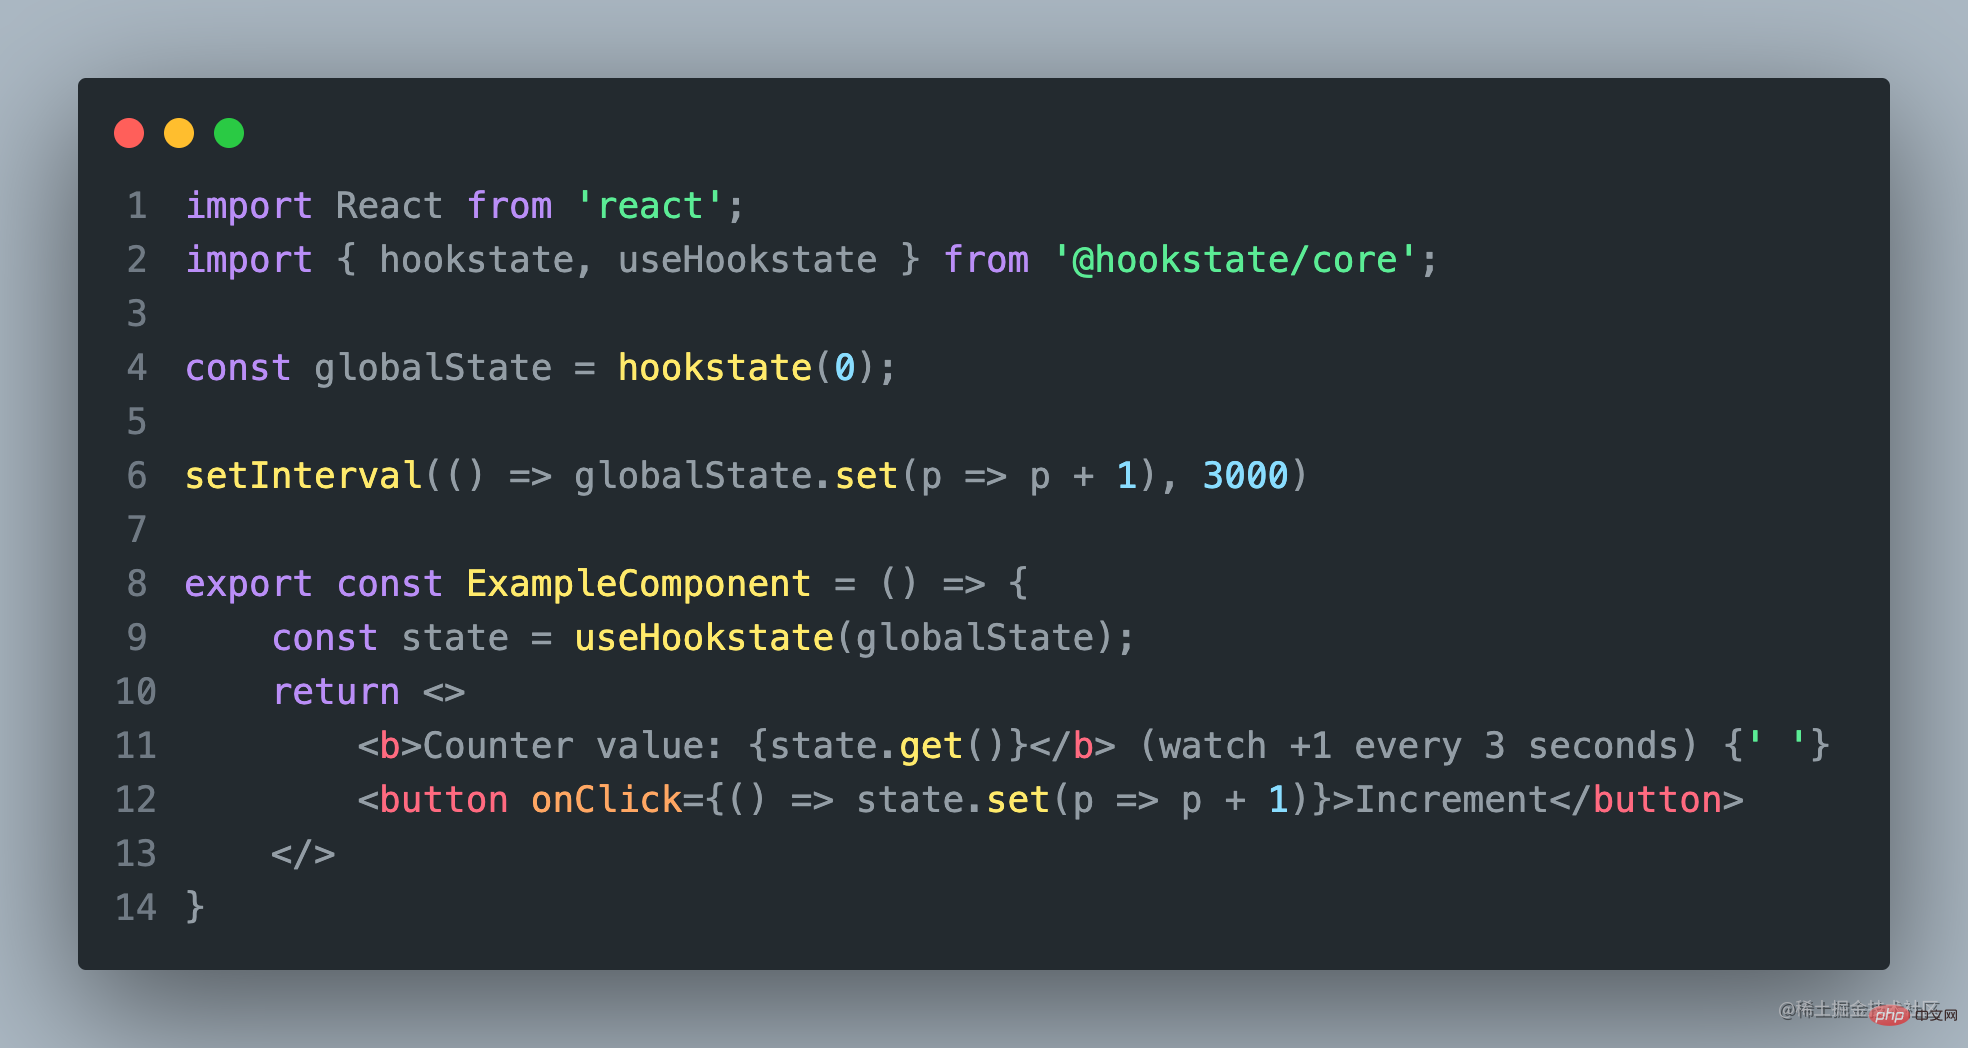
- グローバル状態の作成
- 内部状態の作成
- ネストされた状態
- 部分的な状態
- 空の状態
【 6. Jotai 】

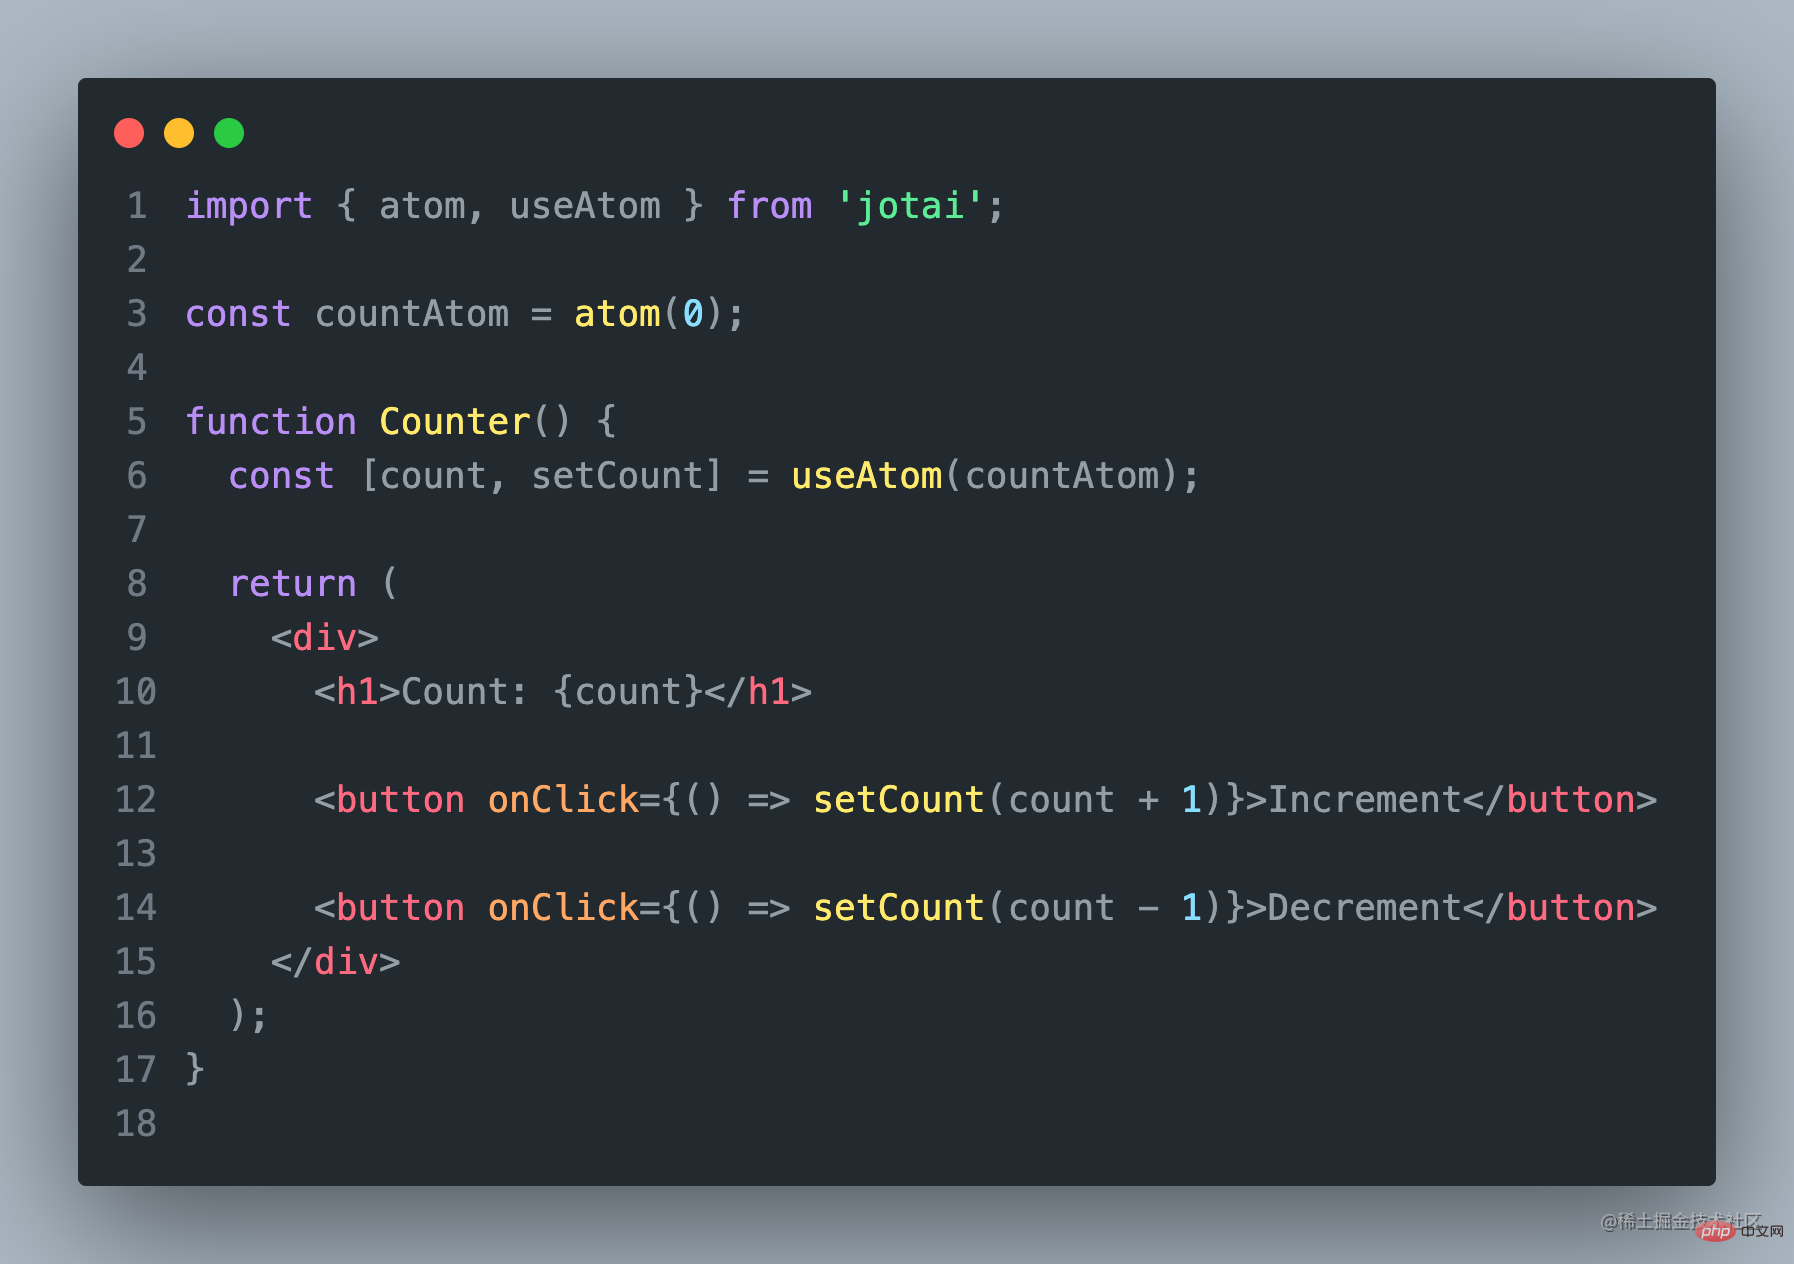
import { atom, useAtom } from 'jotai';

const countAtom = atom(0);

function Counter() {
  const [count, setCount] = useAtom(countAtom);

  return (
    <div>
      <h1>Count: {count}</h1>

      <button onClick={() => setCount(count + 1)}>Increment</button>

      <button onClick={() => setCount(count - 1)}>Decrement</button>
    </div>
  );
}
上記はJotaiを利用するためのサンプルコードですが、Jotaiの使い方はとても簡単です。
【 7. Zustand】

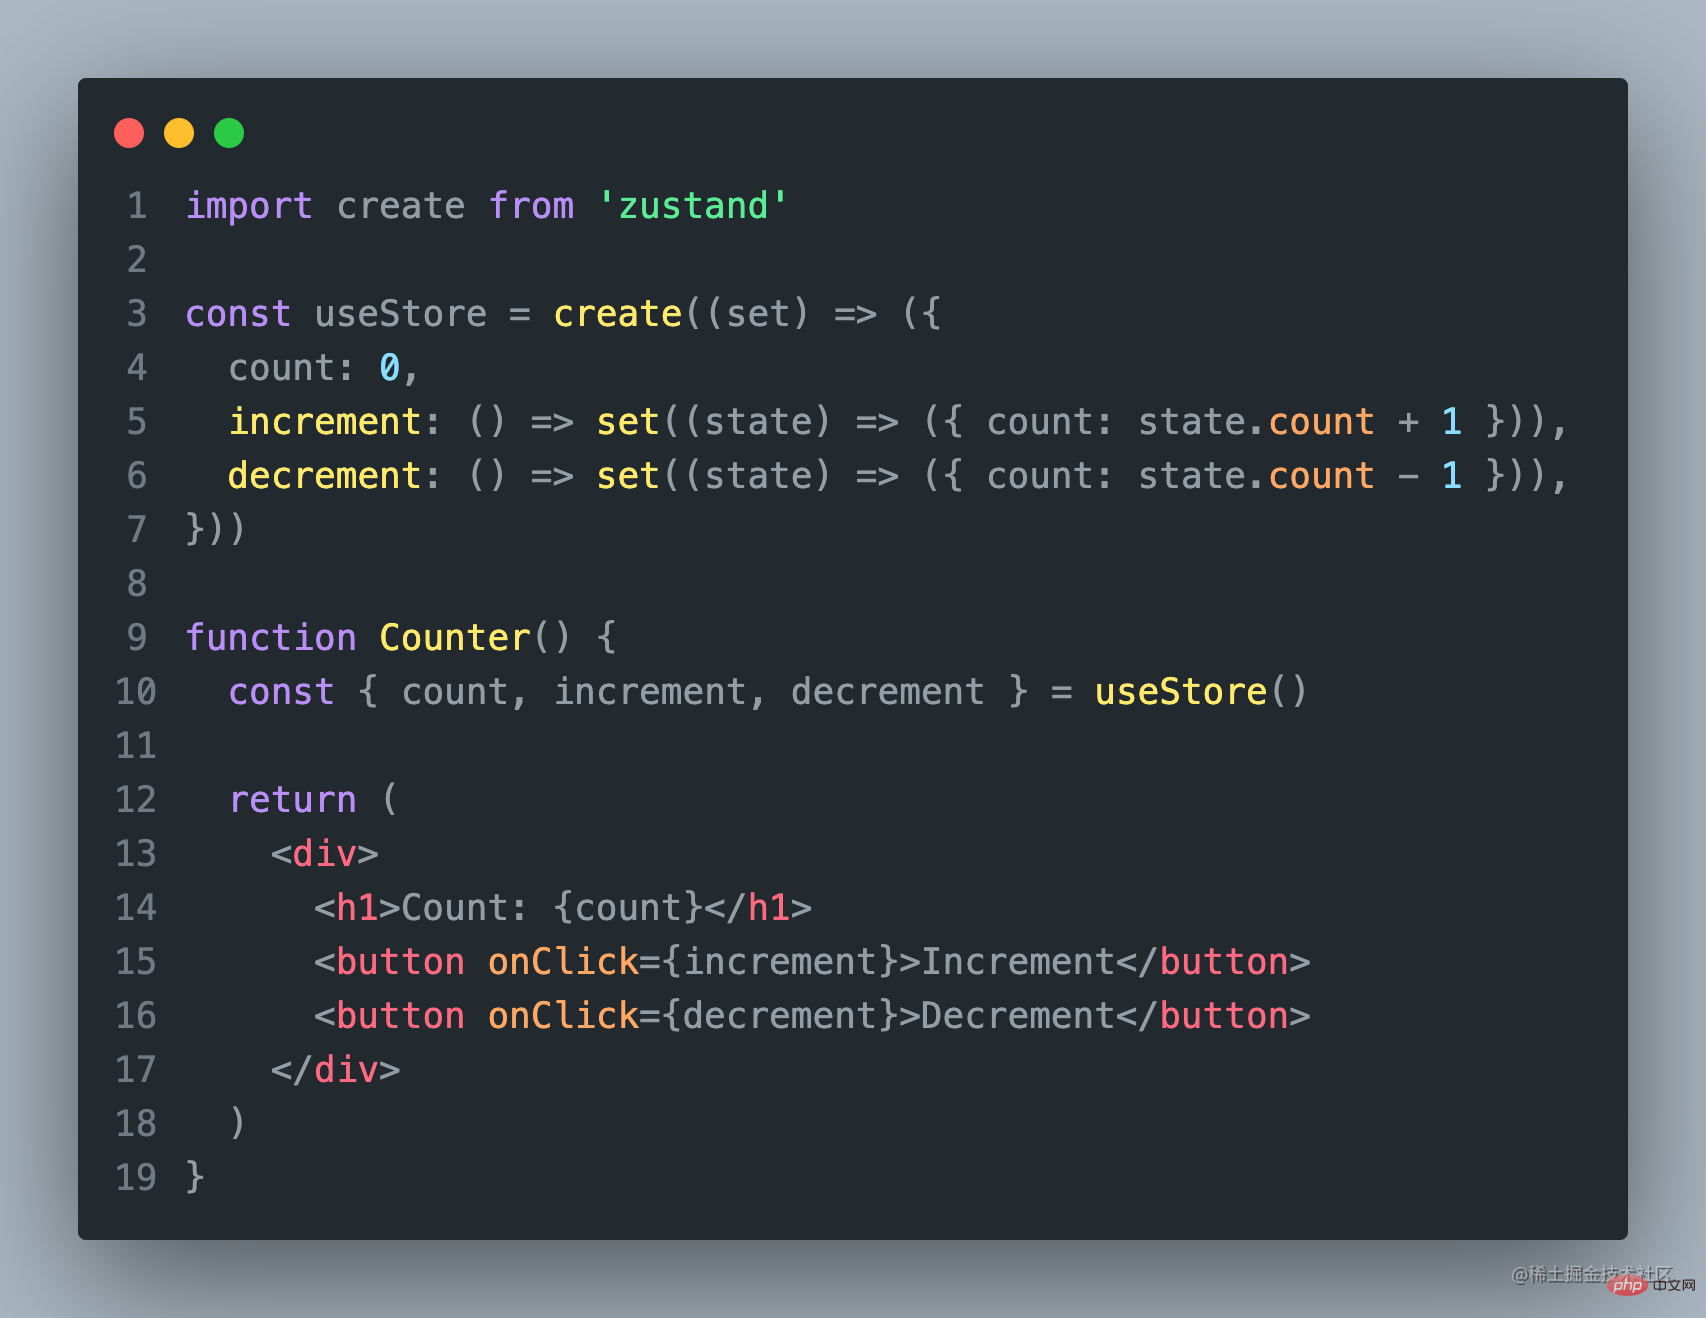
Zustand Code
使用Zustand,你可以将状态存储在一个单一的store中,并使用自定义的hooks来访问和更新状态。这使得状态管理变得非常简单和直观。
import create from 'zustand'

const useStore = create((set) => ({
  count: 0,
  increment: () => set((state) => ({ count: state.count + 1 })),
  decrement: () => set((state) => ({ count: state.count - 1 })),
}))

function Counter() {
  const { count, increment, decrement } = useStore()

  return (
    <div>
      <h1>Count: {count}</h1>
      <button onClick={increment}>Increment</button>
      <button onClick={decrement}>Decrement</button>
    </div>
  )
}
使用Zustand也非常的简单!
在这个例子中,我们使用 create 函数创建了一个新的store,
并定义了一个名为 count 的状态和两个更新状态的
函数 increment 和 decrement 。
然后,我们使用 useStore 自定义 hook 来访问和更新状态。
【以上7个状态管理工具各有特点】
考虑到团队人员技术的参差不齐,未来项目的可维护、延展性;
建议大家选择入门简单,上手快的工具;
因为之前最早我们选择的是Redux,现在再回头看原来的项目,简直难以维护了。
如果你的团队还是倾向于Redux,这里建议还是使用Rematch比较好。
如果是还没使用状态管理,又想用的,建议使用mobx吧!
(学习视频分享:编程基础视频)
以上が【整理と共有】人気のReact状態管理ツール7選の詳細内容です。詳細については、PHP 中国語 Web サイトの他の関連記事を参照してください。

