ホームページ >データベース >mysql チュートリアル >Deepin v20にmysqlをインストールする方法
Deepin v20にmysqlをインストールする方法
- 醉折花枝作酒筹転載
- 2021-07-08 09:22:542643ブラウズ
deepin v20 は mysql を直接インストールできないため、将来的に高速化できるように、最初にソースを Alibaba ソースに変更します。今日は deepin v20 に mysql をインストールする方法を紹介します。必要な場合は参照してください。 。

#deepin v20 のソース変更と mysql のインストール
deepin v20 では mysql を直接インストールできないため、まずソースを変更して Alibaba のソースに置き換えます。将来的には速度が向上する可能性があることを確認します。 より高速です。
ファイルを変更します。 sudo vim /etc/apt/sources.list
#删除内容,并添加以下内容:
## Generated by deepin-installer
deb [by-hash=force] https://mirrors.aliyun.com/deepin/ panda main contrib non-free
実行します。 sudo apt-get update
sudo を実行します。 apt-get アップグレード コマンド。
mysql をインストールします
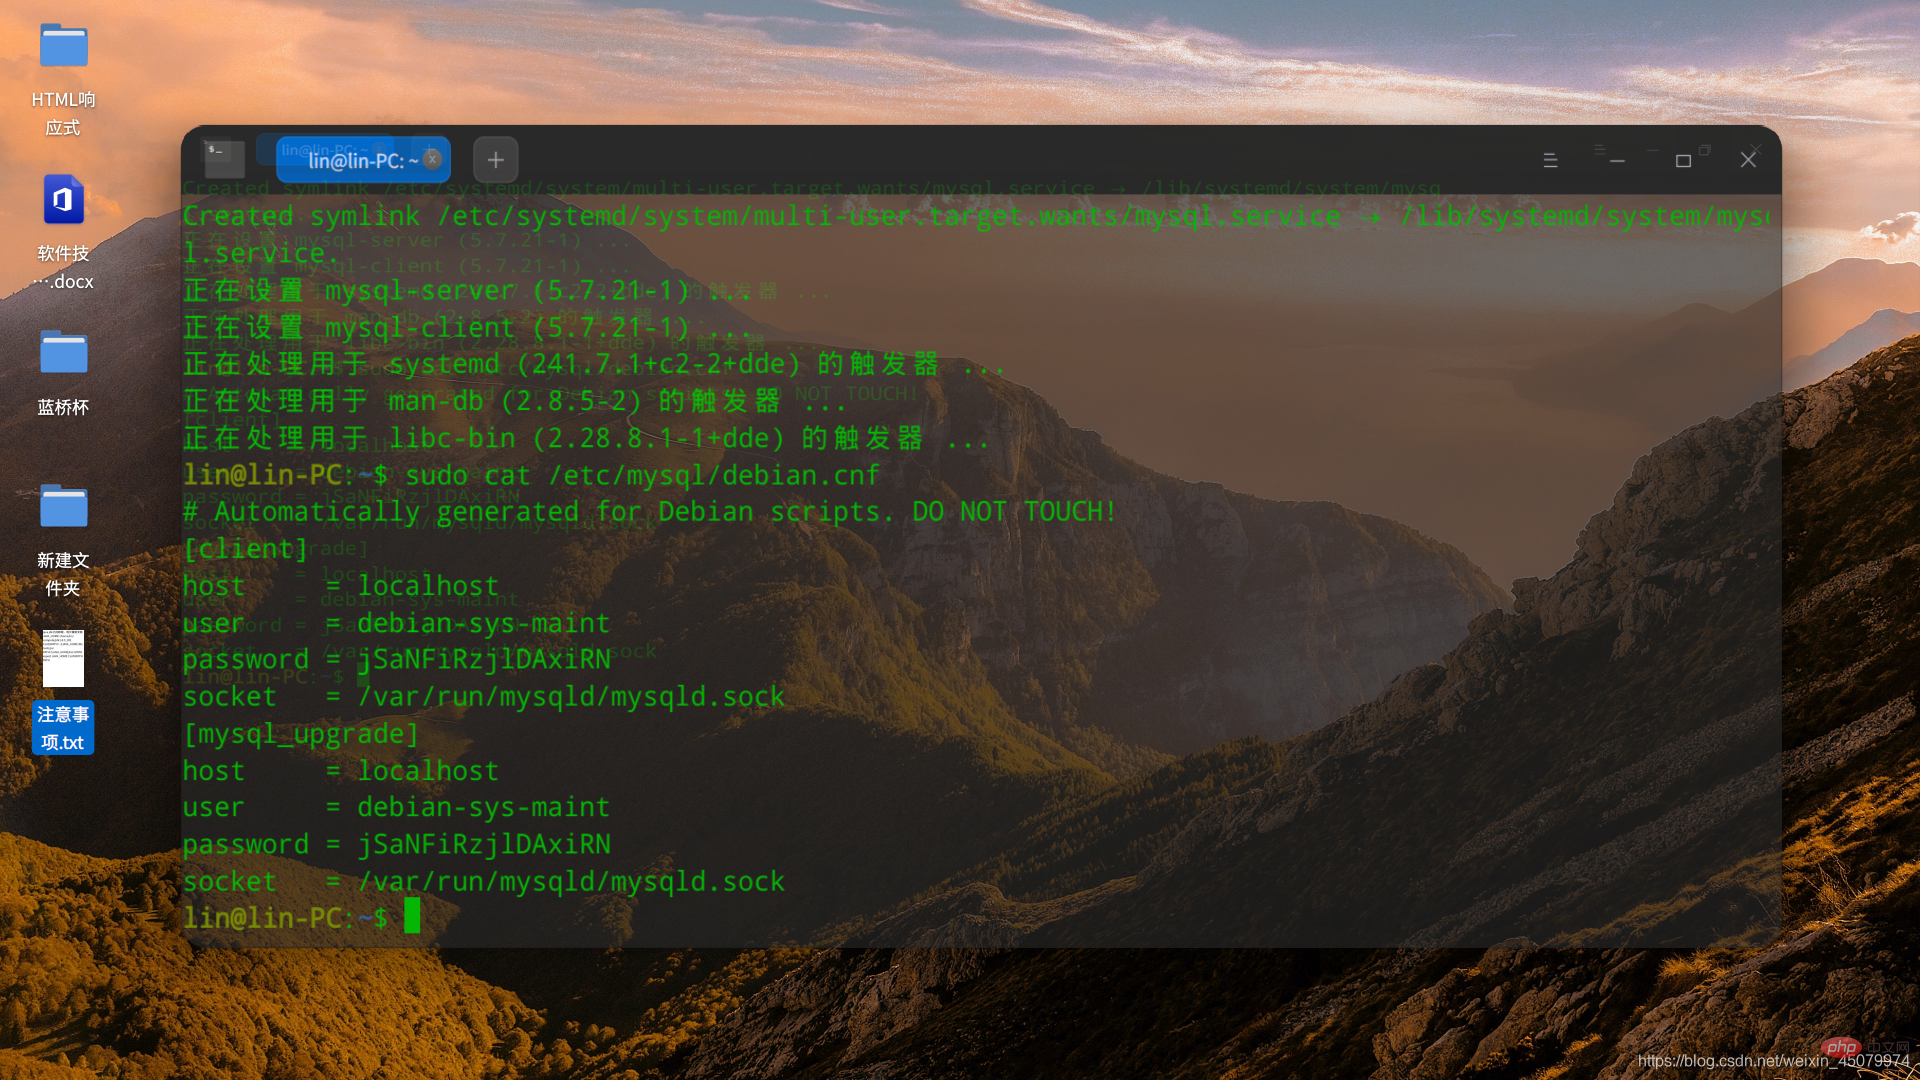
1. mysql をインストールするステートメントを実行します
sudo apt-get install mysql-server mysql-client
2. ログインできるアカウントとパスワードを確認します

lin@lin-PC:~$ mysql -udebian-sys-maint -pjSaNFiRzjlDAxiRN
mysql: [Warning] Using a password on the command line interface can be insecure.
Welcome to the MySQL monitor.  Commands end with ; or \g.
Your MySQL connection id is 2
Server version: 5.7.21-1 (Debian)

Copyright (c) 2000, 2018, Oracle and/or its affiliates. All rights reserved.

Oracle is a registered trademark of Oracle Corporation and/or its
affiliates. Other names may be trademarks of their respective
owners.

Type 'help;' or '\h' for help. Type '\c' to clear the current input statement.

mysql>
4. 次に、mysql データベースに順に入力し、root パスワードを変更し、キャッシュを更新します。その後、終了し、root アカウント
use mysql;
update user set plugin="mysql_native_password",authentication_string=password('新密码') where user="root";
FLUSH PRIVILEGES;
5 を使用してログインできます。変更したアカウントのパスワードを使用してログインします。
mysql -uroot -p000000関連する推奨事項: 「
mysql チュートリアル 」 「
以上がDeepin v20にmysqlをインストールする方法の詳細内容です。詳細については、PHP 中国語 Web サイトの他の関連記事を参照してください。
声明:
この記事はcsdn.netで複製されています。侵害がある場合は、admin@php.cn までご連絡ください。

