
ホームページ >ウェブフロントエンド >jsチュートリアル >Angularの親コンポーネントと子コンポーネント間で値を渡す方法を詳しく説明します。
Angularの親コンポーネントと子コンポーネント間で値を渡す方法を詳しく説明します。

- 青灯夜游転載
- 2021-03-22 10:19:092502ブラウズ
この記事では、Angularで親コンポーネントと子コンポーネント間で値を渡す方法を紹介します。一定の参考値があるので、困っている友達が参考になれば幸いです。

関連する推奨事項: 「angular チュートリアル 」
<span style="font-size: 20px;">Angular</span> 親コンポーネントから子コンポーネントへの値の受け渡し
公式アドレス: https://angular.cn/guide/component-interaction#component-interaction
1. 親コンポーネントが子コンポーネントに値を渡す
- # 説明: 親コンポーネントが子コンポーネントに値を渡すと、親コンポーネントはセレクターにバインドされます。子コンポーネントの data
<app-hero-child></app-hero-child> - だけを導入する必要がある場合は、サブコンポーネントはそれを受け取ります
inputModuleimport { Component, OnInit, Input} from '@angular/core' - サブコンポーネントも構文を使用する必要があります親コンポーネント
@input() transData
1.1 親コンポーネントhero-parent##によって渡されたパラメータを受け取るsugar
<p>这是父组件</p>
<app-hero-child></app-hero-child>
2、hero-parent.component.ts
import { Component, OnInit } from '@angular/core'
@Component({
selector: 'app-hero-parent',
templateUrl: './app-hero-parent.component.html',
styleUrls: ['./app-hero-parent.component.scss']
})
export class HeroesComponent implements OnInit {
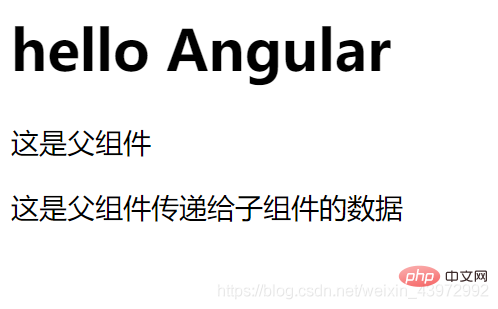
tran_childData:string = '这是父组件传递给子组件的数据'
constructor() {}
ngOnInit(): void {}
}1.2 子コンポーネントhero-child
1、hero-child.component.html
<p>{{transData}}</p>2、hero-child.component.ts
import { Component, OnInit, Input} from '@angular/core'

@Component({
    selector: 'app-hero-child',
    templateUrl: './app-hero-child.component.html',
    styleUrls: ['./app-hero-child.component.scss']
})
export class DetailComponent implements OnInit {
    @Input() transData: string
    constructor() {}
    ngOnInit(): void {
        console.log(this.transData)
    }
}
1.3 レンダリング
2. コンポーネントは親コンポーネントにパラメータを渡します
- 注: 子コンポーネントが親コンポーネントにパラメータを渡すときは、 import
- Output
とEventEmitter.モジュールを導入しますimport {Component, OnInit, Output, EventEmitter} from '@angular/core' あなた使用するときは最初にメソッドを公開する必要があります - @Output() childEvent = new EventEmitter ()
データを渡すためにemitを使用するために使用されます特定の用途 - this .childEvent.emit('私は子コンポーネントによって渡されたデータです')
2.1 子コンポーネントhero-child
- ##hero-child.component.html
-
<button>我是子组件,给父组件传递参数</button>
hero-child.component.ts -
import { Component, OnInit, Output, EventEmitter} from '@angular/core'

@Component({
    selector: 'app-hero-child',
    templateUrl: './app-hero-child.component.html',
    styleUrls: ['./app-hero-child.component.scss']
})
export class DetailComponent implements OnInit {
    @Output() childEvent = new EventEmitter()
    constructor() {}
    ngOnInit(): void {},
    // 给父组件传递参数
    transData_to_parent() {
        this.childEvent.emit('我是子组件传递的数据')
    }
}
# #2.2 親コンポーネント
1. hero-parent.component.html
<p>这是父组件</p>
<p>{{receiceData}}</p>
<app-hero-child></app-hero-child>
2. hero-parent.component.ts
import { Component, OnInit } from '@angular/core'

@Component({
    selector: 'app-hero-parent',
    templateUrl: './app-hero-parent.component.html',
    styleUrls: ['./app-hero-parent.component.scss']
})
export class HeroesComponent implements OnInit {
    constructor() {}
    ngOnInit(): void {}
    receiceData:string
    // 接收子组件传递的数据
    receive_child_data(data) {
        this.receiceData = data
    }
}
2.3 レンダリング
プログラミング関連の知識の詳細については、 プログラミング ビデオ
以上がAngularの親コンポーネントと子コンポーネント間で値を渡す方法を詳しく説明します。の詳細内容です。詳細については、PHP 中国語 Web サイトの他の関連記事を参照してください。
声明:
この記事はcsdn.netで複製されています。侵害がある場合は、admin@php.cn までご連絡ください。