ホームページ >WeChat アプレット >ミニプログラム開発 >MinUIコンポーネントのAbnor例外フローコンポーネントの詳細説明
MinUIコンポーネントのAbnor例外フローコンポーネントの詳細説明
- 小云云オリジナル
- 2018-01-29 13:33:112685ブラウズ
この記事で共有したいのは、WeChat Mini プログラム MinUI コンポーネント ライブラリ シリーズの異常例外フロー コンポーネントです。MinUI は、カスタム コンポーネントに基づいて開発された、シンプルで使いやすく効率的なコンポーネント ライブラリのセットです。 WeChat ミニ プログラムの機能は、ネイティブ ミニ プログラム フレームワーク、ミニ プログラム コンポーネントのさまざまな主流フレームワークなど、幅広いシナリオに適用でき、効率的なコマンド ライン ツールを提供します。
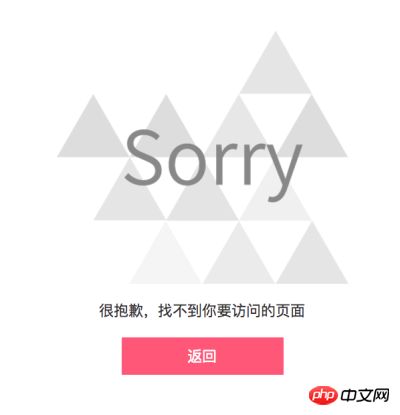
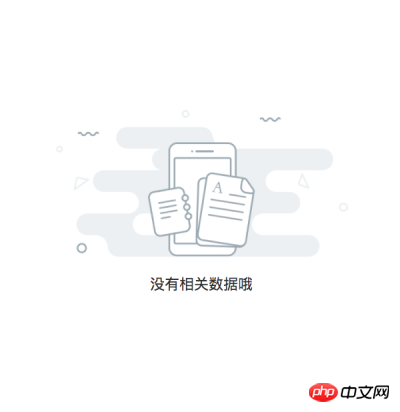
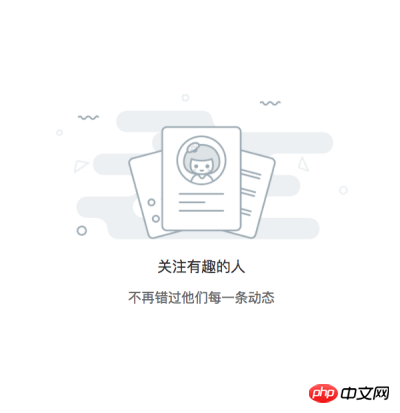
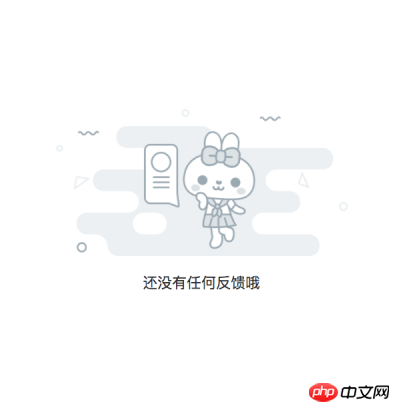
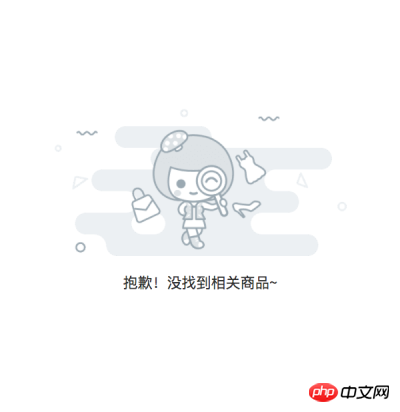
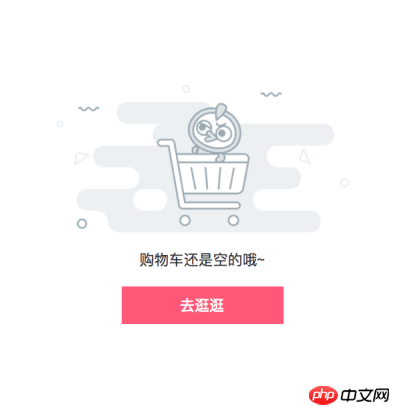
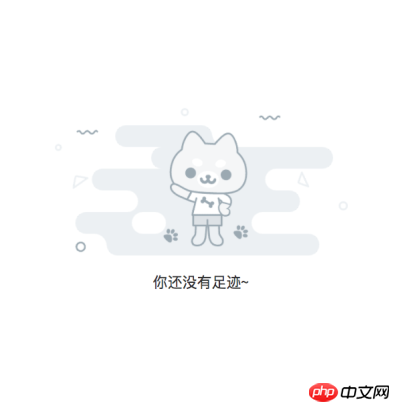
MinUI コンポーネント ライブラリには多くの機能コンポーネントが含まれており、その中で、abnor 例外フロー コンポーネントは非常によく使用される機能コンポーネントです。MinUI での abnor コンポーネントのレンダリングは次のとおりです。すごく便利で早いですね(^_^)。 WeChat を開いて、以下のミニ プログラムの QR コードをスキャンして、最初の外観を確認することができます:
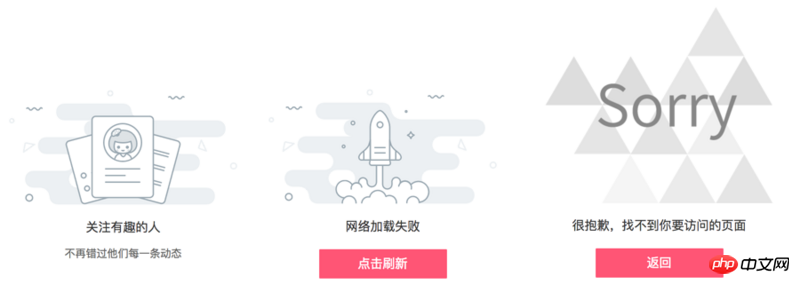
以下では、abnor コンポーネントの使用方法を紹介します。
1. 以下のコマンドを使用して Min-Cli をインストールします。すでにインストールされている場合は、次の手順に進みます。 Min-Cli のドキュメントについては、ここをクリックしてください: Min-Cli ユーザー マニュアル
npm install -g @mindev/min-cli
2. 小さなプログラム プロジェクトを初期化します。
min init my-projectミニ プログラム プロジェクトを初期化するには、新しいミニ プログラム オプションを選択します。プロジェクトを作成した後、エディターでプロジェクトを開きます。 src ディレクトリはソース コード ディレクトリであり、dist ディレクトリはコンパイル後に WeChat 開発者ツールで指定されたディレクトリです。新しく作成されたプロジェクトには、すでに
home ページがあります。詳細なドキュメント: 最小初期化アプレット プロジェクト3. abnor コンポーネントをインストールします。
新しく作成したミニプログラムプロジェクトのディレクトリに入ります:
cd my-project
home 页面。详细文档:Min 初始化小程序项目3、安装 abnor 组件。
进入刚才新建的小程序项目的目录中:
min install @minui/wxc-abnor
安装组件:
min dev
4、开启dev。
export default {
    config: {
        "usingComponents": {
            'wxc-abnor': "@minui/wxc-abnor"
        }
    }
}
开启之后,修改源码后都会重新编译。
5、在页面中引入组件。
在编辑器中打开 src/pages 目录下的 home/index.wxp 文件,在 script 中添加 config 字段,配置小程序自定义组件字段,代码如下:
<wxc-abnor type="SHOP"></wxc-abnor>
wxc-abnor 即为异常流组件的标签名,可以在 wxml 中使用。
6、在 wxml 中使用 wxc-abnor标签。
在 home/index.wxp 文件的 template 中添加 wxc-abnor 标签,代码如下:
  <wxc-abnor type="SHOP"></wxc-abnor>


<script>
  export default {
    config: {
      usingComponents: {
        'wxc-abnor': '@minui/wxc-abnor'
      }
    },
    data: {}
  }
</script>
7、打开微信开发者工具,指定 dist 目录,预览项目。
home/index.wxp 文件的代码如下所示:
<template>
  <wxc-abnor type="REQUEST_ERROR" bind:abnortap="onAbnorTap"></wxc-abnor>
</template>

<script>
export default {
  config: {
    usingComponents: {
      'wxc-abnor': '@minui/wxc-abnor'
    }
  },
  data: {},
  onAbnorTap() {
      wx.showToast({
        title: 'success',
        duration: 2000
      });
    }
}
</script>

<style>
</style>
图示:

至此,minui 组件库的 abnor 异常流组件在 Min 工具生成的小程序项目中的方法已介绍完毕,其他场景,在原生小程序或其他小程序框架项目中的使用方式请移步至如下链接:
在已有小程序项目中使用 MinUI 组件介绍
了解组件的使用方式后,下面开始介绍 abnor 组件的 API 。
Abnor【props】
| 名称 | 描述 |
|---|---|
type |
[说明]:异常状态类型,其优先级低于其他属性。 [类型]: String默认值: "" [可选值]: REQUEST_ERROR, NOT_FOUND, DATA, FOLLOW, FEED,SHOP, WEIBO, SEARCH, TAG, MESSAGE, LIVE, ORDER, CART, FOOTPRINT, COUPON
|
image |
[说明]:背景图。若与 type 同时指定,将覆盖 type 对应的 image 。[类型]: String[默认值]: "" |
title |
[说明]:标题。若与 type 同时指定,将覆盖 type 对应的 title 。[类型]: String[默认值]: "" |
tip |
[说明]:副标题。若与 type 同时指定,将覆盖 type 对应的 tip 。[类型]: String[默认值]: "" |
button |
[说明]:按钮文案。若与 type 同时指定,将覆盖 type 对应的 button 。[类型]: String[默认值]: "" |
bindabnortap |
[说明]:按钮事件。若配置了 button 属性,则需要指定事件。其中 REQUEST_ERROR, NOT_FOUND 两种 type コンポーネントをインストールします: |
<template>
  <wxc-abnor
    type="REQUEST_ERROR"
    image="{{image}}"
    title="{{title}}"
    tip="{{tip}}"
    button="{{button}}"
    bind:abnortap="onAbnorTap"
  ></wxc-abnor>
</template>

<script>
  export default {
    config: {
      usingComponents: {
        'wxc-abnor': '@minui/wxc-abnor'
      }
    },
    data: {
      image: 'https://s10.mogucdn.com/p2/161213/upload_76h1c5hjc8heecjehlfgekjdl2ki0_514x260.png',
      title: '自定义标题',
      tip: '自定义副标题',
      button: '点我'
    },
    onAbnorTap() {
        wx.showToast({
          title: 'custom',
          duration: 2000
        });
      }
  }
</script>

<style>
</style>
🎜 オンにすると、ソースコードを修正して再コンパイルされます。 🎜🎜🎜5. ページにコンポーネントを導入します。 🎜🎜🎜エディターで src/pages ディレクトリにある home/index.wxp ファイルを開き、script に config を追加します。 フィールドで、ミニ プログラムのカスタム コンポーネント フィールドを設定します。コードは次のとおりです。 🎜<template>
<wxc-abnor type="DATA"></wxc-abnor>
</template>
<script>
export default {
config: {
usingComponents: {
'wxc-abnor': '@minui/wxc-abnor'
}
},
data: {}
}
</script>
<style>
</style>🎜wxc-abnor は、wxml で使用できる例外フロー コンポーネントのタグ名です。 🎜🎜🎜6. wxml で wxc-abnor タグを使用します。 🎜🎜🎜 home/index.wxp ファイルの template に wxc-abnor タグを追加します。コードは次のとおりです。 🎜🎜7. WeChat 開発者ツールを開き、dist ディレクトリを指定してプロジェクトをプレビューします。 🎜🎜🎜home/index.wxp ファイルのコードは次のとおりです: 🎜<template>
<wxc-abnor type="FOLLOW"></wxc-abnor>
</template>
<script>
export default {
config: {
usingComponents: {
'wxc-abnor': '@minui/wxc-abnor'
}
},
data: {},
methods: {}
}
</script>
<style>
</style>🎜イラスト: 🎜🎜🎜 🎜🎜🎜ここまでで、Minツールで生成したミニプログラムプロジェクトで、minuiコンポーネントライブラリのabnor例外フローコンポーネントを利用する方法を紹介しました。ネイティブ ミニ プログラムでの他のシナリオ、または他のミニ プログラム フレームワーク プロジェクトでの使用方法については、次のリンクにアクセスしてください: 🎜🎜既存のミニ プログラム プロジェクトでの MinUI コンポーネントの使用の概要🎜🎜コンポーネントの使用方法を理解したら、始めましょうabnor コンポーネントの API を使用します。 🎜🎜🎜Abnor【小道具】🎜🎜
| 名前 | 説明 | 🎜
|---|---|
type🎜 |
[説明]: 例外ステータスのタイプで、他の属性より優先度が低くなります。 [タイプ]: 文字列デフォルト値: "" [オプション値]: REQUEST_ERROR、NOT_FOUND、DATA、フォロー、フィード、ショップ、WEIBO、検索、タグ、メッセージ、ライブ、注文、カート、フットプリント、クーポン🎜🎜 |
画像🎜 |
[説明] : 背景画像。 type と一緒に指定すると、type に対応する image が上書きされます。 [タイプ]: 文字列[デフォルト値]: "" 🎜🎜 |
title 🎜 |
[説明]: タイトル。 type と一緒に指定すると、type に対応する title が上書きされます。 [タイプ]: 文字列[デフォルト値]: "" 🎜🎜 |
tip 🎜 |
[説明]: サブタイトル。 type と一緒に指定した場合、type に対応する tip が上書きされます。 [タイプ]: 文字列[デフォルト値]: "" 🎜🎜 |
ボタン🎜 |
[説明]: ボタンのコピー。 type と一緒に指定すると、type に対応する button が上書きされます。 [タイプ]: 文字列[デフォルト値]: "" 🎜🎜 |
bindabnortap 🎜 |
[説明]: ボタンイベント。 button 属性が設定されている場合は、イベントを指定する必要があります。このうち、REQUEST_ERROR, NOT_FOUND には、type の両方にデフォルトのボタンのコピーが設定されています 🎜🎜🎜🎜更多demo 1、网络异常 <template>
<wxc-abnor type="REQUEST_ERROR" bind:abnortap="onAbnorTap"></wxc-abnor>
</template>
<script>
export default {
config: {
usingComponents: {
'wxc-abnor': '@minui/wxc-abnor'
}
},
data: {},
onAbnorTap() {
wx.showToast({
title: 'success',
duration: 2000
});
}
}
</script>
<style>
</style>
图示:
2、页面不存在 <template>
<wxc-abnor type="NOT_FOUND" bind:abnortap="onAbnorTap"></wxc-abnor>
</template>
<script>
export default {
config: {
usingComponents: {
'wxc-abnor': '@minui/wxc-abnor'
}
},
data: {},
onAbnorTap() {
wx.showToast({
title: 'back',
duration: 2000
});
}
}
</script>
<style>
</style>
图示:
3、自定义数据 <template>
<wxc-abnor
type="REQUEST_ERROR"
image="{{image}}"
title="{{title}}"
tip="{{tip}}"
button="{{button}}"
bind:abnortap="onAbnorTap"
></wxc-abnor>
</template>
<script>
export default {
config: {
usingComponents: {
'wxc-abnor': '@minui/wxc-abnor'
}
},
data: {
image: 'https://s10.mogucdn.com/p2/161213/upload_76h1c5hjc8heecjehlfgekjdl2ki0_514x260.png',
title: '自定义标题',
tip: '自定义副标题',
button: '点我'
},
onAbnorTap() {
wx.showToast({
title: 'custom',
duration: 2000
});
}
}
</script>
<style>
</style>
图示:
4、空数据状态 <template>
<wxc-abnor type="DATA"></wxc-abnor>
</template>
<script>
export default {
config: {
usingComponents: {
'wxc-abnor': '@minui/wxc-abnor'
}
},
data: {}
}
</script>
<style>
</style>
图示:
5、无关注数据 <template>
<wxc-abnor type="FOLLOW"></wxc-abnor>
</template>
<script>
export default {
config: {
usingComponents: {
'wxc-abnor': '@minui/wxc-abnor'
}
},
data: {},
methods: {}
}
</script>
<style>
</style>
图示:
6、无反馈数据 <template>
<wxc-abnor type="FOLLOW"></wxc-abnor>
</template>
<script>
export default {
config: {
usingComponents: {
'wxc-abnor': '@minui/wxc-abnor'
}
},
data: {}
}
</script>
<style>
</style>
图示:
7、无搜索数据 <template>
<wxc-abnor type="SEARCH"></wxc-abnor>
</template>
<script>
export default {
config: {
usingComponents: {
'wxc-abnor': '@minui/wxc-abnor'
}
},
data: {}
}
</script>
<style>
</style>
图示:
8、无消息通知 <template>
<wxc-abnor type="FOLLOW"></wxc-abnor>
</template>
<script>
export default {
config: {
usingComponents: {
'wxc-abnor': '@minui/wxc-abnor'
}
},
data: {}
}
</script>
<style>
</style>
图示:
9、空订单列表 <template>
<wxc-abnor type="ORDER"></wxc-abnor>
</template>
<script>
export default {
config: {
usingComponents: {
'wxc-abnor': '@minui/wxc-abnor'
}
},
data: {}
}
</script>
<style>
</style>
图示:
10、空购物车 <template>
<wxc-abnor type="CART"></wxc-abnor>
</template>
<script>
export default {
config: {
usingComponents: {
'wxc-abnor': '@minui/wxc-abnor'
}
},
data: {}
}
</script>
<style>
</style>
图示:
11、空足迹 <template>
<wxc-abnor type="FOOTPRINT"></wxc-abnor>
</template>
<script>
export default {
config: {
usingComponents: {
'wxc-abnor': '@minui/wxc-abnor'
}
},
data: {}
}
</script>
<style>
</style>
图示:
12、无优惠券数据 <template>
<wxc-abnor type="COUPON"></wxc-abnor>
</template>
<script>
export default {
config: {
usingComponents: {
'wxc-abnor': '@minui/wxc-abnor'
}
},
data: {}
}
</script>
<style>
</style>
图示:
|
以上がMinUIコンポーネントのAbnor例外フローコンポーネントの詳細説明の詳細内容です。詳細については、PHP 中国語 Web サイトの他の関連記事を参照してください。


