ホームページ >ウェブフロントエンド >CSSチュートリアル >CSS3 シングルページ切り替えナビゲーション メニュー インターフェイス設計の詳細な実装
CSS3 シングルページ切り替えナビゲーション メニュー インターフェイス設計の詳細な実装
- 高洛峰オリジナル
- 2017-03-04 10:04:302485ブラウズ
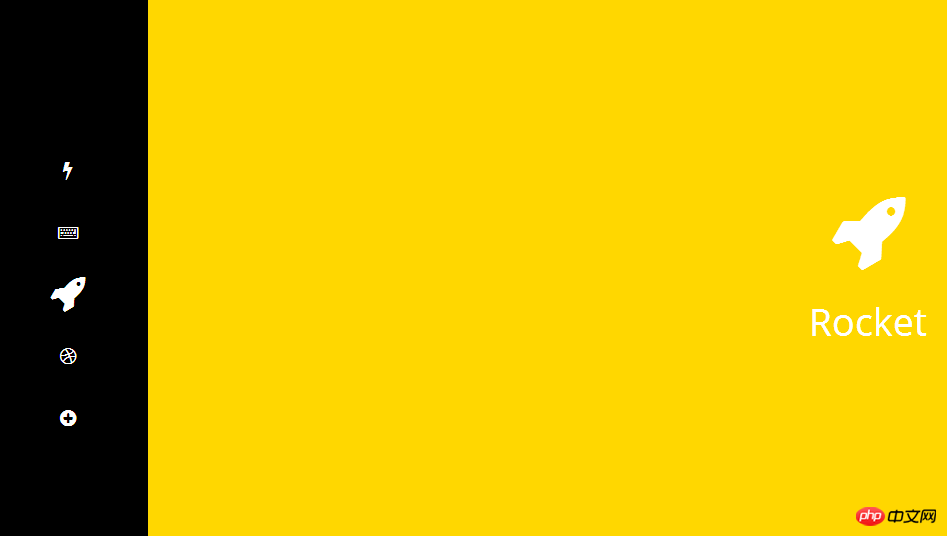
これは、純粋な CSS3 を使用して作成された単一ページ切り替えナビゲーション メニュー インターフェイスのデザイン効果です。このページエフェクトでは、ページの左側に一連のナビゲーション ボタンが縦に配置されており、ナビゲーション ボタンをクリックすると、対応するページが画面の右側からスライドして表示されます。

使い方
この単一ページ切り替えナビゲーションメニューのHTML構造インターフェイスの構造は次のとおりです: <p class="ct" id="t1">
<p class="ct" id="t2">
<p class="ct" id="t3">
<p class="ct" id="t4">
<p class="ct" id="t5">
<ul id="menu">
<a href="#t1"><li class="icon fa fa-bolt" id="uno"></li></a>
<a href="#t2"><li class="icon fa fa-keyboard-o" id="dos"></li></a>
<a href="#t3"><li class="icon fa fa-rocket" id="tres"></li></a>
<a href="#t4"><li class="icon fa fa-dribbble" id="cuatro"></li></a>
<a href="#t5"><li class="icon fa fa-plus-circle" id="cinco"></li></a>
</ul>
<p class="page" id="p1">
<section class="icon fa fa-bolt"><span class="title">Bolt</span><span class="hint">...</section>
</p>
<p class="page" id="p2">
<section class="icon fa fa-keyboard-o"><span class="title">Type</span></section>
</p>
<p class="page" id="p3">
<section class="icon fa fa-rocket"><span class="title">Rocket</span></section>
</p>
<p class="page" id="p4">
<section class="icon fa fa-dribbble">
<span class="title">Dribbble</span>
<p class="hint">
Im ready to play, <span class="hint line-trough">invite me </span> find me
</p>
<p class="hint">...</p>
</section>
</p>
<p class="page" id="p5">
<section class="icon fa fa-plus-circle">
<span class="title">More</span>
<p class="hint">
...
</p>
</section>
</p>
</p>
</p>
</p>
</p>
</p>
html, body, .page {
  width: 100%;
  height: 100%;
  margin: 0;
  padding: 0;
  transition: all .6s cubic-bezier(.5, .2, .2, 1.1);
  color: #fff;
  overflow: hidden;
}

* {
  font-family: 'open sans', 'lato', 'helvetica', sans-serif;
}

.page {
  position: absolute;
}

#p1 {
  left: 0;
}

#p2, #p3, #p4, #p5 {
  left: 200%;
}

#p1 { background: darkslateblue; }
#p2 { background: tomato; }
#p3 { background: gold; }
#p4 { background: deeppink; }
#p5 { background: #9b59b6; }

#t2:target #p2,
#t3:target #p3,
#t4:target #p4,
#t5:target #p5 {
  transform: translateX(-190%);
  transition-delay: .4s !important;
}

#t2:target #p1,
#t3:target #p1,
#t4:target #p1,
#t5:target #p1{
  background: black;
}

#t2:target #p1 .icon,
#t3:target #p1 .icon,
#t4:target #p1 .icon,
#t5:target #p1 .icon {
  -webkit-filter: blur(3px);
  filter: blur(3px);
}

.icon {
  color: #fff;
  font-size: 32px;
  display: block;
}

ul .icon:hover {
  opacity: 0.5;
}

.page .icon .title {
  line-height: 2;
}

#t2:target ul .icon,
#t3:target ul .icon,
#t4:target ul .icon,
#t5:target ul .icon{
  transform: scale(.6);
  transition-delay: .25s;
}

#t2:target #dos,
#t3:target #tres,
#t4:target #cuatro,
#t4:target #cinco {
  transform: scale(1.2) !important;
}

ul {
  position: fixed;
  z-index: 1;
  top: 0;
  bottombottom: 0;
  left: 0;
  margin: auto;
  height: 280px;
  width: 10%;
  padding: 0;
  text-align: center;
 }

#menu .icon {
  margin: 30px 0;
  transition: all .5s ease-out !important;
}

a {
  text-decoration: none;
}

.title, .hint {
  display: block;
}

.title {
  font-size: 38px;
}

.hint {
  font-size: 13px;
}

#p4 .hint {
  display: inherit !important;
}

.hint a {
  color: yellow;
  transition: all 250ms ease-out;
}

.hint a:hover {
  color: #FFF;
}

.line-trough {
  text-decoration: line-through;
}

.page .icon {
  position: absolute;
  top: 0;
  bottombottom: 0;
  rightright: 10%;
  left: 0;
  width: 270px;
  height: 170px;
  margin: auto;
  text-align: center;
  font-size: 80px;
  line-height: 1.3;
  transform: translateX(360%);
  transition: all .5s cubic-bezier(.25, 1, .5, 1.25);
}

.page#p1 .icon {
  height: 220px;
}

.page#p1 .icon {
  transform: translateX(10%) !important;
}

#t2:target .page#p2 .icon,
#t3:target .page#p3 .icon,
#t4:target .page#p4 .icon,
#t5:target .page#p5 .icon {
  transform: translateX(0) !important;
  transition-delay: 1s;
}
上記の純粋な CSS3 単一ページ切り替えナビゲーション メニュー インターフェイスのデザインの簡単な実装は、エディターによって共有されたすべての内容であり、参考になれば幸いです。また、皆さんにもサポートしていただけることを願っています。 PHP中国語ウェブサイト。
CSS3 シングルページ切り替えナビゲーション メニュー インターフェイスのデザインの詳細な実装と関連記事については、PHP 中国語 Web サイトに注目してください。

