ホームページ >Java >&#&チュートリアル >PlayFramework は APP を完全に実装します (2)
PlayFramework は APP を完全に実装します (2)
- 黄舟オリジナル
- 2016-12-23 16:36:351016ブラウズ
1. DataModel を開発します
appmoders の下に新しい User.java を作成します
パッケージ モデル;
import java.util.*;
import javax.persistence.*;
import play.db.jpa.*;
@エンティティ
public class User extends Model {
public String email;
public String passWord;
public String fullname;
public String isAdmin;
public User(String email, String password, String fullname) {
this.email = email;
this.password = パスワード;
this.fullname = fullname;
}
}
@Entity 識別子は、JPA 実装
クラスのフィールドを提供する play.db.jpa.Model から継承された JPA エンティティです。 DBテーブルに自動的にマッピングされます。デフォルトの表示は「User」です。表示を変更したい場合は、ラベル「@Table(name="blog_user")」をクラス
に追加します
2.実行
> play test yape
または Eclipse で実行して、さらに別のブログ エンジンをテスト
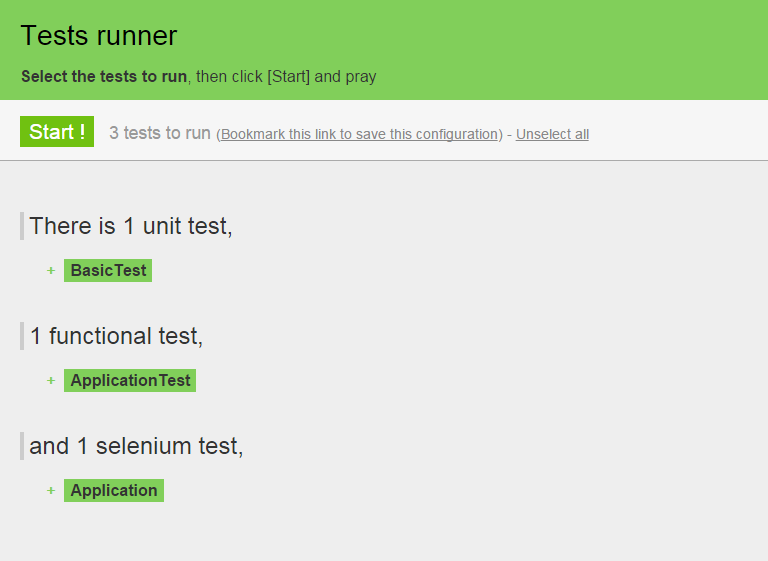
http://localhost:9000/@tests にアクセスし、テスト モードに入ります

実行を開始すると、成功すると緑色でマークされ、失敗するとプロンプトが表示されます
3. テスト ケースを作成します
Modify /test/BasicTest.java
@Test
public void createAndRetrieveUser() { //新しいユーザーを作成し、保存します
new User(" alex@Gmail.com", "####", "Alex").save();
//メールアドレスを持つユーザーを取得します
User user = User.find("byEmail ", "alex@gmail.com").first();
//Test
assertNotNull(user);
assertEquals("Alex", user.fullname);
}
ユーザーを作成、ユーザーを検索、作成Assertions
User は Model から継承し、savefind およびその他のメソッドを提供します
User.java は connect メソッドを追加します
public static User connect(String email, String passowrd) {
return find("byEmailAndPassword", email, passowrd) .first();}
テストケースを追加
@Test
public void tryConnectAsUser() { // 新しいユーザーを作成して保存
new User("bob@gmail.com", "# ###", "ボブ" ) .save ();
// テスト
assertnotnull (user.connect ("bob@gmail.com", "####");
assertnull (user.connect (" bob@gmail.com", "$$$$"));
assertNull(User.connect("tom@gmail.com", "####"));
}
...
以上です。PlayFramework は APP のコンテンツを完全に実装します (2)。その他の関連コンテンツについては、PHP 中国語 Web サイト (www.php.cn) に注目してください。

