?
オペレーティングシステム: window7???php5.4.17???nginx1.5.2
?
?ダウンロード
-
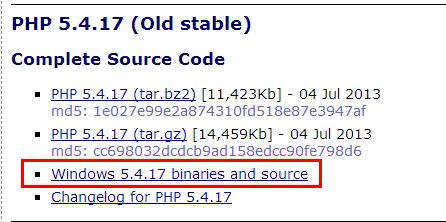
php をダウンロードします。アドレス: http://www.php.net/downloads.php (図を参照)

-
まず、E ドライブに「wnmp」という名前のフォルダーを作成し、変更したファイルに PHP を抽出します。
- nginx をダウンロードします。アドレス: http://nginx.org/en/download.html (図を参照)

?
?
- wnmpフォルダー内に「nginx」というフォルダーを作成し、変更したフォルダーにnginxを解凍します。
設定?
- php フォルダーに入り、「php.ini-development」を php.ini に変更します
- php.ini ファイルを開いて、次の内容を変更します
-
extension_dir = "ext"
date.timezone = Asia/ChongQing
?
nginx は CGI モードで PHP を必要とするため、いくつかの点を変更する必要があります
enable_dl = On
cgi.force_redirect = 0
cgi.fix_pathinfo=1
fastcgi.impersonate = 1
cgi.rfc2616_headers = 1
?PHP の設定はここで終了です。次に、nginx を設定します。
?
- まず nginx を起動し、DOS を使用して nginx パスを入力し、次のコマンドを使用して nginx を起動します
-
nginx -s reload //重启Nginx
nginx -s stop //暂停
nginx -s quit //退出nginx
start nginx //启动
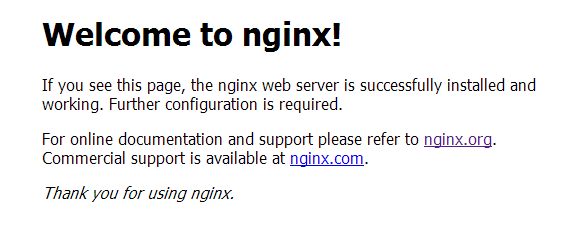
?ブラウザのアドレスバーに「127.0.0.1」と入力すると、nginx が正常に起動することを示すインターフェイスが表示されます -

- nginx は、デフォルトで E:wnmpnginxhtmlindex.html の下にあるindex.php ファイルにアクセスします。
- nginx.conf (E:wnmpnginxconfnginx.conf) ファイルを変更して Web サイトを構成します
-
events {
    worker_connections  1024;
}


http {
    include       mime.types;
    default_type  application/octet-stream;
    sendfile        on;
    keepalive_timeout  65;
    server {
    listen  80;
    server_name  localhost; #本地IP
    root   E:/wnmp/www; #存放网站的根目录
    location / {
            index  index.php index.html index.htm; #添加index.php。
            #autoindex on;#如果文件不存在列出目录结构;
        }
         location ~ \.php$ {
            fastcgi_pass   127.0.0.1:9000; #fastcgi及监听的端口与php的cgi启动时要一致
            fastcgi_index  index.php;
            fastcgi_param  SCRIPT_FILENAME  $document_root$fastcgi_script_name;
            include        fastcgi_params;
        }
    }
}
?
?これで設定は完了です。
?


