


DataBricksにDeepSeek R1モデルを展開する:ステップバイステップガイド
人気のあるデータエンジニアリングプラットフォームであるDatabricksは、AIおよび機械学習タスクにますます使用されています。 このチュートリアルは、Databricksに分散したDeepSeek R1モデルを展開することをガイドします。 これにより、データが外部サーバーに送信されなくなります。 DeepSeek R1の機能と比較に深く掘り下げるには、DeepSeek-R1:機能、比較、蒸留モデルなどのブログを参照してください。 このガイドは、アカウントのセットアップ、UIを使用したモデル登録、および遊び場およびローカルカールコマンドを介したアクセスをカバーしています。 Databricksは初めてですか? DataBricksコースの紹介は、Databricks Lakehouseプラットフォームとそのデータ管理機能の包括的な概要を提供します。 Databricks内のデータ管理をより深く理解するには、DataBricksコースのデータ管理を検討してください。
deepseek R1モデルの登録
ノートブックを起動する:
- DataBricksワークスペースを作成したら、「新しい」をクリックしてノートを選択します。
 パッケージのインストール:
- をインストールします
%%capture
!pip install torch transformers mlflow accelerate torchvision
%restart_python
hugging hugging faceのdeepseek r1モデルとトークネイザーをロード:
import pandas as pd
import mlflow
import mlflow.transformers
import torch
from mlflow.models.signature import infer_signature
from transformers import AutoModelForCausalLM, AutoTokenizer, AutoConfig, pipeline

model_name = "deepseek-ai/DeepSeek-R1-Distill-Llama-8B"
tokenizer = AutoTokenizer.from_pretrained(model_name)
config = AutoConfig.from_pretrained(model_name)
model = AutoModelForCausalLM.from_pretrained(model_name, config=config, torch_dtype=torch.float16)
 モデルのテスト:
- 予想出力(わずかに変化する可能性があります):
text_generator = pipeline("text-generation", model=model, tokenizer=tokenizer)
example_prompt = "How does a computer work?"
example_inputs = pd.DataFrame({"inputs": [example_prompt]})
example_outputs = text_generator(example_prompt, max_length=200)
signature = infer_signature(example_inputs, example_outputs)
print(example_outputs)
コンドラ環境:<code>[{'generated_text': "How does a computer work? What is the computer? What is the computer used for? What is the computer used for in real life?\n\nI need to answer this question, but I need to do it step by step. I need to start with the very basic level and build up from there. I need to make sure I understand each concept before moving on. I need to use a lot of examples to explain each idea. I need to write my thoughts as if I'm explaining them to someone else, but I need to make sure I understand how to structure the answer properly.\n\nOkay, let's start with the basic level. What is a computer? It's an electronic device, right? And it has a central processing unit (CPU) that does the processing. But I think the central processing unit is more efficient, so maybe it's the CPU. Then, it has memory and storage. I remember that memory is like RAM and storage is like ROM. But wait, I think"}]</code>コンドマ環境を定義します:conda_env = {
"name": "mlflow-env",
"channels": ["defaults", "conda-forge"],
"dependencies": [
"python=3.11",
"pip",
{"pip": ["mlflow", "transformers", "accelerate", "torch", "torchvision"]}
]
}- :
- を使用してモデルを登録します
mlflow.transformers.log_model
with mlflow.start_run() as run:
    mlflow.transformers.log_model(
        transformers_model=text_generator,
        artifact_path="deepseek_model",
        signature=signature,
        input_example=example_inputs,
        registered_model_name="deepseek_r1_llama_8b",
        conda_env=conda_env
    )
deepseek r1 
モデルへのナビゲート:
- databricksダッシュボードで、[モデル]タブに移動します。
-
モデルを提供します:
モデルを選択し、「このモデルの提供」をクリックします。 -
- エンドポイントの構成:エンドポイントに名前を付け、コンピューティングオプションを選択し、並行性を設定し、「作成」をクリックします。

カスタムデータセットでの微調整については、微調整DeepSeek R1チュートリアルを参照してください。 展開されたモデルへのアクセス
- Databricks Playground:


 curlコマンド:
-
$DATABRICKS_TOKEN
%%capture
!pip install torch transformers mlflow accelerate torchvision
%restart_python
Deepseek R1対V3の詳細については、Deepseek R1対V3ブログを参照してください。 LLMSは初めてですか? PythonコースのLLMSの紹介は、素晴らしい出発点です。 CPUの展開は可能ですが、それは遅くなるかもしれません。
以上がDataBricksにDeepSeek R1を展開:ステップバイステップガイドの詳細内容です。詳細については、PHP 中国語 Web サイトの他の関連記事を参照してください。

 メタの新しいAIアシスタント:生産性ブースターまたはタイムシンク?May 01, 2025 am 11:18 AM
Metaは、NVIDIA、IBM、Dellなどのパートナーと協力して、Llama Stackのエンタープライズレベルの展開統合を拡大しました。セキュリティの観点から、MetaはLlama Guard 4、Llamafirewall、Cyberseceval 4などの新しいツールを立ち上げ、AIセキュリティを強化するためにLlama Defendersプログラムを開始しました。さらに、METAは、公共サービス、ヘルスケア、教育の改善に取り組んでいる新興企業を含む、Llama Impact Grantsの150万ドルを10のグローバル機関に分配しています。 Llama 4を搭載した新しいメタAIアプリケーションは、メタAIとして考案されました
 Gen Zersの80%はAI:研究と結婚しますMay 01, 2025 am 11:17 AM
人間との相互作用の先駆者であるJoi Aiは、これらの進化する関係を説明するために「AI-lationships」という用語を導入しました。 Joi Aiの関係療法士であるJaime Bronsteinは、これらが人間cを置き換えることを意図していないことを明確にしています
 AIはインターネットのボット問題を悪化させています。この20億ドルのスタートアップは最前線にありますMay 01, 2025 am 11:16 AM
オンライン詐欺とボット攻撃は、企業にとって大きな課題をもたらします。 小売業者は、ボットの買いだめ製品、銀行の戦闘口座の買収、ソーシャルメディアプラットフォームと戦い、なりすまし者と闘っています。 AIの台頭は、この問題を悪化させます
 ロボットへの販売:あなたのビジネスを作ったり壊したりするマーケティング革命May 01, 2025 am 11:15 AM
AIエージェントは、マーケティングに革命をもたらす態勢が整っており、以前の技術的変化の影響を上回る可能性があります。 これらのエージェントは、生成AIの大幅な進歩を表し、ChatGPTのような情報を処理するだけでなく、Actioも取る
 コンピュータービジョンテクノロジーがどのようにNBAプレーオフを司会しているかMay 01, 2025 am 11:14 AM
重要なNBAゲーム4の決定に対するAIの影響 2つの重要なゲーム4 NBAマッチアップは、司会におけるAIのゲームを変える役割を紹介しました。 最初に、デンバーのニコラ・ジョキッチの逃した3ポインターは、アーロン・ゴードンの最後の2秒の路地につながりました。 ソニーのホー
 AIがどのように再生医療の未来を加速しているかMay 01, 2025 am 11:13 AM
伝統的に、再生医療の専門知識を拡大すると、世界的に大規模な旅行、実践的なトレーニング、長年のメンターシップが必要でした。 現在、AIはこの風景を変えており、地理的な制限を克服し、ENを通じて進歩を加速しています
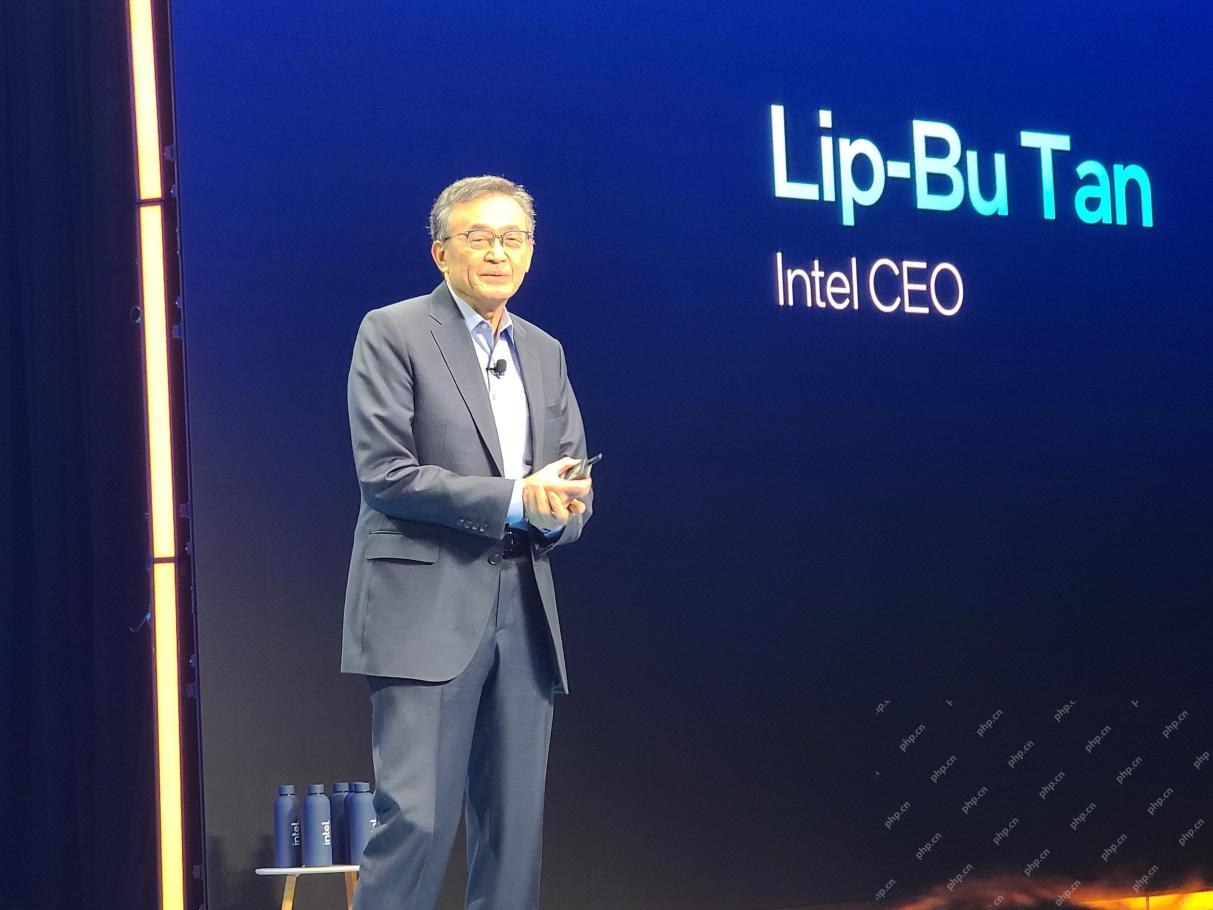 Intel Foundry Direct Connect 2025からのキーテイクアウトMay 01, 2025 am 11:12 AM
Intelは、製造プロセスを主要な位置に戻すように取り組んでいますが、Fab Semiconductorの顧客を引き付けてFabでチップを作成しようとしています。この目的のために、Intelは、そのプロセスの競争力を証明するだけでなく、パートナーが馴染みのある成熟したワークフローでチップを製造できることを実証するために、業界へのより多くの信頼を築かなければなりません。今日私が聞いたことはすべて、インテルがこの目標に向かっていると信じています。 新しいCEOのタンリバイの基調講演がその日をキックオフしました。タンリバイは簡単で簡潔です。彼は、IntelのFoundry Servicesにおけるいくつかの課題と、これらの課題に対処し、将来のIntelのFoundry Servicesの成功したルートを計画するために企業が行った対策を概説しています。 Tan Libaiは、IntelのOEMサービスが顧客をより多くするために実装されているプロセスについて話しました
 AIが間違っていましたか?今、そのための保険がありますMay 01, 2025 am 11:11 AM
AIのリスクを取り巻く増大する懸念に対処するために、グローバルな専門家保険会社であるChaucer GroupとArmilla AIは、新しいサードパーティの責任(TPL)保険商品を導入するために力を合わせました。 このポリシーは、企業を守ります


ホットAIツール

Undresser.AI Undress
リアルなヌード写真を作成する AI 搭載アプリ

AI Clothes Remover
写真から衣服を削除するオンライン AI ツール。

Undress AI Tool
脱衣画像を無料で

Clothoff.io
AI衣類リムーバー

Video Face Swap
完全無料の AI 顔交換ツールを使用して、あらゆるビデオの顔を簡単に交換できます。

人気の記事
ホットツール

VSCode Windows 64 ビットのダウンロード
Microsoft によって発売された無料で強力な IDE エディター

SecLists
SecLists は、セキュリティ テスターの究極の相棒です。これは、セキュリティ評価中に頻繁に使用されるさまざまな種類のリストを 1 か所にまとめたものです。 SecLists は、セキュリティ テスターが必要とする可能性のあるすべてのリストを便利に提供することで、セキュリティ テストをより効率的かつ生産的にするのに役立ちます。リストの種類には、ユーザー名、パスワード、URL、ファジング ペイロード、機密データ パターン、Web シェルなどが含まれます。テスターはこのリポジトリを新しいテスト マシンにプルするだけで、必要なあらゆる種類のリストにアクセスできるようになります。

DVWA
Damn Vulnerable Web App (DVWA) は、非常に脆弱な PHP/MySQL Web アプリケーションです。その主な目的は、セキュリティ専門家が法的環境でスキルとツールをテストするのに役立ち、Web 開発者が Web アプリケーションを保護するプロセスをより深く理解できるようにし、教師/生徒が教室環境で Web アプリケーションを教え/学習できるようにすることです。安全。 DVWA の目標は、シンプルでわかりやすいインターフェイスを通じて、さまざまな難易度で最も一般的な Web 脆弱性のいくつかを実践することです。このソフトウェアは、

SublimeText3 中国語版
中国語版、とても使いやすい

Safe Exam Browser
Safe Exam Browser は、オンライン試験を安全に受験するための安全なブラウザ環境です。このソフトウェアは、あらゆるコンピュータを安全なワークステーションに変えます。あらゆるユーティリティへのアクセスを制御し、学生が無許可のリソースを使用するのを防ぎます。
ホットトピック
 7878
7878 15164914140952130125124529