グリッドビュー
レスポンシブ Web デザイン - グリッド ビュー
グリッド ビューとは何ですか?
多くの Web ページはグリッドに基づいてデザインされており、Web ページは列にレイアウトされます。

グリッドビューを使用すると、Web ページのデザインに役立ちます。これにより、Web ページに要素を追加しやすくなります。

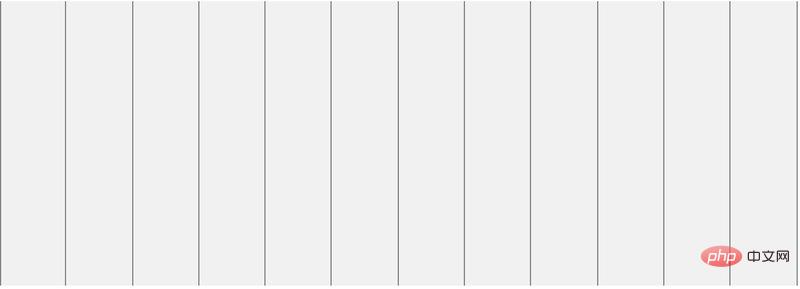
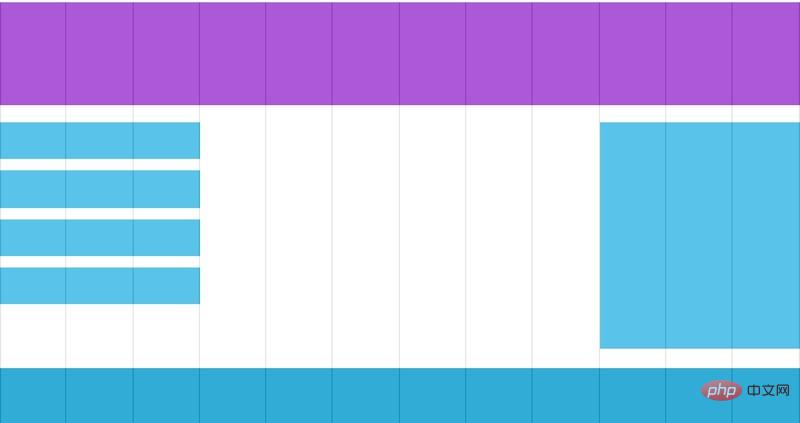
レスポンシブ グリッド ビューは通常 12 列、幅 100% で、ブラウザ ウィンドウのサイズが変更されると自動的に拡大縮小されます。
レスポンシブなグリッドビューを作成する
次に、レスポンシブなグリッドビューを作成します。
まず、すべての HTML 要素の box-sizing 属性が border-box に設定されていることを確認してください。
要素の幅と高さの間に余白と境界線が含まれていることを確認してください。
次のコードを追加します:
* {
    box-sizing: border-box;
}
ボックス サイズ変更のコンテンツをさらに表示するには、CSS3 box-sizing property をクリックしてください。
次の例は、2 つの列を含む単純な応答性の高い Web ページを示しています:
Instance
<!DOCTYPE html>
<html>
<head>
<meta name="viewport" content="width=device-width, initial-scale=1.0">
<meta charset="utf-8">
<title>php中文网</title>
<style>
* {
    box-sizing: border-box;
}
.header {
    border: 1px solid red;
    padding: 15px;
}
.menu {
    width: 25%;
    float: left;
    padding: 15px;
    border: 1px solid red;
}
.main {
    width: 75%;
    float: left;
    padding: 15px;
    border: 1px solid red;
}
</style>
</head>
<body>

<div class="header">
<h1>Chania</h1>
</div>

<div class="menu">
<ul>
<li>The Flight</li>
<li>The City</li>
<li>The Island</li>
<li>The Food</li>
</ul>
</div>

<div class="main">
<h1>The City</h1>
<p>Chania is the capital of the Chania region on the island of Crete. The city can be divided in two parts, the old town and the modern city.</p>
<p>Resize the browser window to see how the content respond to the resizing.</p>
</div>

</body>
</html>
インスタンスの実行 »
オンラインの例を表示するには、[インスタンスの実行] ボタンをクリックしてください
上記の例には次のものが含まれています2つの列。
12 列のグリッド システムにより、応答性の高い Web ページをより適切に制御できます。
まず、各列のパーセンテージを計算します: 100% / 12 列 = 8.33%。
各列でクラスを指定します。class="col-"は、各列のスパン数を定義するために使用されます:
インスタンス
<!DOCTYPE html>
<html>
<head>
<meta name="viewport" content="width=device-width, initial-scale=1.0">
<meta charset="utf-8">
<title>php 中文网</title>
<style>
* {
    box-sizing: border-box;
}
.header {
    border: 1px solid red;
    padding: 15px;
}
.row:after {
    content: "";
    clear: both;
    display: block;
}
[class*="col-"] {
    float: left;
    padding: 15px;
    border: 1px solid red;
}
.col-1 {width: 8.33%;}
.col-2 {width: 16.66%;}
.col-3 {width: 25%;}
.col-4 {width: 33.33%;}
.col-5 {width: 41.66%;}
.col-6 {width: 50%;}
.col-7 {width: 58.33%;}
.col-8 {width: 66.66%;}
.col-9 {width: 75%;}
.col-10 {width: 83.33%;}
.col-11 {width: 91.66%;}
.col-12 {width: 100%;}
</style>
</head>
<body>

<div class="header">
<h1>Chania</h1>
</div>

<div class="row">

<div class="col-3">
<ul>
<li>The Flight</li>
<li>The City</li>
<li>The Island</li>
<li>The Food</li>
</ul>
</div>

<div class="col-9">
<h1>The City</h1>
<p>Chania is the capital of the Chania region on the island of Crete. The city can be divided in two parts, the old town and the modern city.</p>
<p>Resize the browser window to see how the content respond to the resizing.</p>
</div>

</div>
</body>
</html>
インスタンスの実行»
[インスタンスの実行]ボタンをクリックして、オンラインで表示 例
すべての列は 15 ピクセルのパディングで左にフロートします:
CSS:
float: left;
padding : 15px;
border: 1px 赤一色;
}
各行を <div> で囲みます。すべての列番号は合計 12 になる必要があります:
<div class="col-3" >...</div>
<div class="col-9">...< /div>
</div>
列内の行は左にフローティングされ、クリアフロートが追加されます:
CSS:
コンテンツ ; インスタンスの実行»
[インスタンスの実行] ボタンをクリックしてオンライン インスタンスを表示します


