
window下配置Apache虚拟主机 - xingzhukang

- WBOYWBOYWBOYWBOYWBOYWBOYWBOYWBOYWBOYWBOYWBOYWBOYWBoriginal
- 2016-05-20 11:39:301444parcourir
1.首先需要安装Apache服务,这里就不介绍怎么安装了。
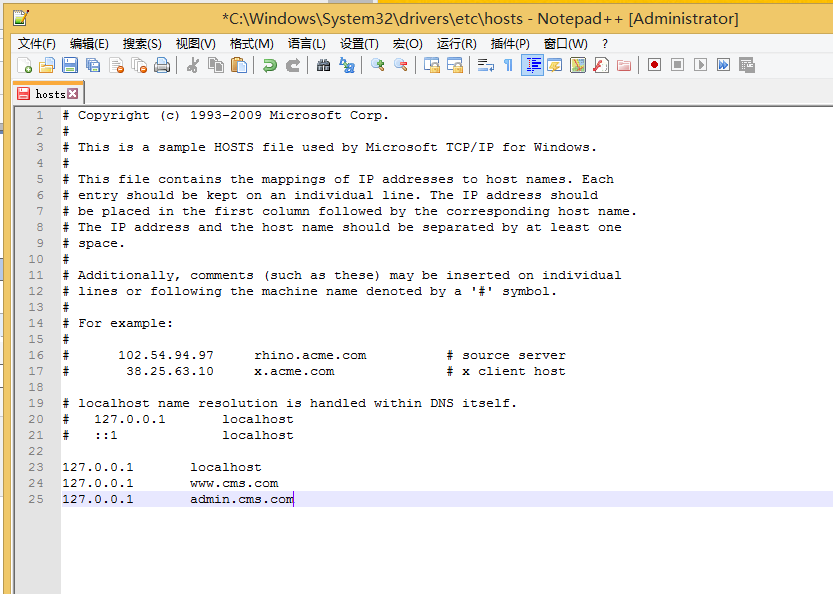
2.首先配置window虚拟域名 打开hosts
路径为C:\Windows\System32\drivers\etc
打开后在里边写上域名 如 www.cms.com
如图:
3.修改Apache配置文件 httpd.conf
找到
把注释去掉
修改 
为开启状态
4.修改Apache下httpd-vhosts.conf
例路径为:D:\wamp\bin\apache\apache2.4.9\conf\extra
打开后添加一段代码 如下

Déclaration:
Le contenu de cet article est volontairement contribué par les internautes et les droits d'auteur appartiennent à l'auteur original. Ce site n'assume aucune responsabilité légale correspondante. Si vous trouvez un contenu suspecté de plagiat ou de contrefaçon, veuillez contacter admin@php.cn
Article précédent:PHP图片上传 - 痞子鱼Article suivant:PHP中的include和require - wixy