Maison >interface Web >js tutoriel >Comment implémenter l'effet de commutation dynamique de la boîte de connexion Baidu
Comment implémenter l'effet de commutation dynamique de la boîte de connexion Baidu
- 小云云original
- 2018-01-17 13:52:041753parcourir
Comment obtenir l'effet de commutation dynamique de la boîte de connexion Baidu ? Cet article présente principalement jQuery pour réaliser l'effet de commutation dynamique de la boîte de connexion Baidu. Les amis qui en ont besoin peuvent s'y référer. J'espère que cela pourra aider tout le monde.
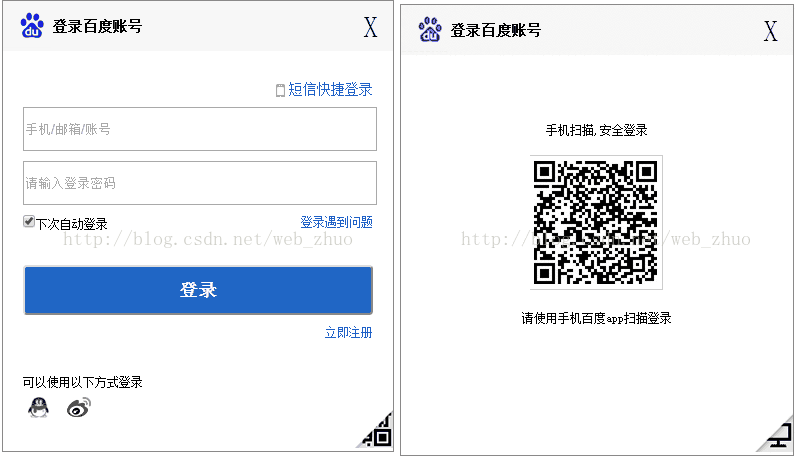
Cliquez sur l'image dans le coin inférieur droit pour changer le statut, l'image d'effet


<!doctype html>
<html lang="en">
<head>
<meta charset="UTF-8">
<title>百度登录框</title>
<style type="text/css">
*{margin: 0;padding: 0;}
body
{
font-size: 12px;
}
a
{
text-decoration: none;
color: #2647CB;
}
a:hover
{
text-decoration: underline;
color: red;
}
.wrap
{
width: 390px;
height: 450px;
margin: 50px auto;
border: 1px solid #8A8989;
position: relative;
}
.main
{
width: 350px;
height: 400px;
margin: 0 auto;
}
.header
{
width: 100%;
height: 50px;
line-height: 50px;
background-image: url(images/foot.png);
background-color: rgb(247,247,247);
background-repeat: no-repeat;
}
.header h3
{
display: inline-block;
line-height: 50px;
margin-left: 50px;
}
.header span
{
display: inline-block;
float: right;
margin: auto 15px;
font-size: 30px;
}
.inputp
{
display: block;
width: 350px;
height: 40px;
margin: 10px auto;
}
.phoneIn
{
display: inline-block;
float: right;
font-size: 14px;
background-image: url(images/phone.png);
background-repeat: no-repeat;
padding-left: 20px;
margin: 30px 0px 10px 0px;
}
.smBtn
{
background: #2066C5;
color: white;
font-size: 18px;
font-weight: bold;
height: 50px;
border-radius: 4px;
}
.smBtn:hover
{
background: #4067EE;
}
.pull-right
{
display: inline-block;
float: right;
}
.other
{
width: 350px;
padding-top: 50px;
margin: 0 auto;
}
.togglep1,.togglep2
{
position: absolute;
right: 0;
bottom: 0;
z-index: 1000;
}
.weima
{
text-align: center;
padding-top: 50px;
width: 390px;
height: 400px;
}
.weima p
{
line-height: 50px;
}
.choice2
{
display: none;
}
#close:hover
{
cursor: pointer;
color: blue;
}
</style>
</head>
<body>
<!-- 账号密码登录 -->
<p class="wrap">
<p class="header">
<h3>登录百度账号</h3>
<span id="close" title="关闭">X</span>
</p>
<p class="choice1">
<p class="main">
<a href="" class=" rel="external nofollow" rel="external nofollow" rel="external nofollow" phoneIn">短信快捷登录</a>
<form action="">
<input type="text" class="inputp" placeholder="手机/邮箱/账号">
<input type="password" class="inputp" placeholder="请输入登录密码">
<p class="inputp">
<input type="checkbox" value="checked" checked="checked"><label for="">下次自动登录</label>
<a href="" class=" rel="external nofollow" rel="external nofollow" rel="external nofollow" pull-right" >登录遇到问题</a>
</p>
<input type="submit" value="登录" class="inputp smBtn">
<a href="" class=" rel="external nofollow" rel="external nofollow" rel="external nofollow" pull-right" >立即注册</a>
</form>
<p class="other">
<p>可以使用以下方式登录</p>
<a href=""><img src=" rel="external nofollow" rel="external nofollow" images/qq.png" alt=""></a>
<a href=""><img src=" rel="external nofollow" rel="external nofollow" images/wb.png" alt=""></a>
</p>
</p>
<p class="togglep1">
<img src="images/small2wm.png" alt="">
</p>
</p>
<!-- 二维码登录 -->
<p class="choice2">
<p class="weima">
<p>手机扫描,安全登录</p>
<img src="images/2weima.png" alt="">
<p>请使用手机百度app扫描登录</p>
</p>
<p class="togglep2">
<img src="images/cpt.png" alt="">
</p>
</p>
</p>
</body>
<!-- 导入jquery文件 -->
<script type="text/javascript" src="jquery-3.1.1.min.js"></script>
<script>
$(document).ready(function(){
/*这是一个自定义的函数,作用是设置class1类为隐藏,class2类显示*/
function showp(class1,class2){
$(class1).css("display","none");
$(class2).css("display","block");
}
/*给右下角的图标设置点击事件*/
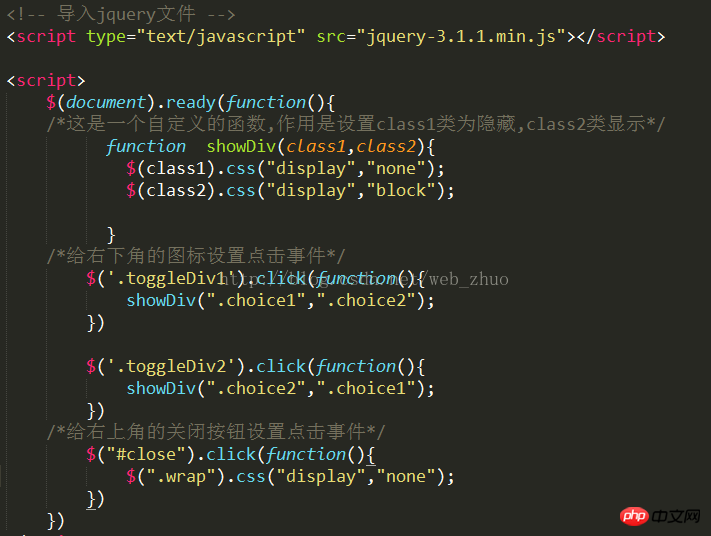
$('.togglep1').click(function(){
showp(".choice1",".choice2");
})
$('.togglep2').click(function(){
showp(".choice2",".choice1");
})
/*给右上角的关闭按钮设置点击事件*/
$("#close").click(function(){
$(".wrap").css("display","none");
})
})
</script>
</html>Recommandations associées :
Comment créer un cadre de connexion Baidu
Js natif implémente un effet de boîte de connexion déplaçable
Comment créer une belle boîte de connexion avec CSS3_html/css_WEB-ITnose
Ce qui précède est le contenu détaillé de. pour plus d'informations, suivez d'autres articles connexes sur le site Web de PHP en chinois!
Articles Liés
Voir plus- Une analyse approfondie du composant de groupe de liste Bootstrap
- Explication détaillée du currying de la fonction JavaScript
- Exemple complet de génération de mot de passe JS et de détection de force (avec téléchargement du code source de démonstration)
- Angularjs intègre l'interface utilisateur WeChat (weui)
- Comment basculer rapidement entre le chinois traditionnel et le chinois simplifié avec JavaScript et l'astuce permettant aux sites Web de prendre en charge le basculement entre les compétences en chinois simplifié et traditionnel_javascript

