
Maison >développement back-end >Tutoriel C#.Net >.Net Core + Angular Cli pour implémenter la construction d'un environnement de développement
.Net Core + Angular Cli pour implémenter la construction d'un environnement de développement

- 零下一度original
- 2017-06-23 15:22:522419parcourir
1. Configuration de l'environnement de base
npm install <code style="box-sizing: border-box; -webkit-tap-highlight-color: rgba(0, 0, 0, 0); font-family: Consolas, Menlo, Courier, monospace; font-size: inherit; margin: 0px; padding: 0px; color: inherit; background-color: transparent; border-radius: 0px;"><span style="box-sizing: border-box; -webkit-tap-highlight-color: rgba(0, 0, 0, 0); color: #333333;">npm install </span><span style="box-sizing: border-box; -webkit-tap-highlight-color: rgba(0, 0, 0, 0); color: #333333;">-</span><span style="box-sizing: border-box; -webkit-tap-highlight-color: rgba(0, 0, 0, 0); color: #333333;">g cnpm </span><span style="box-sizing: border-box; -webkit-tap-highlight-color: rgba(0, 0, 0, 0); color: #333333;">--</span><span style="box-sizing: border-box; -webkit-tap-highlight-color: rgba(0, 0, 0, 0); color: #333333;">registry</span><span style="box-sizing: border-box; -webkit-tap-highlight-color: rgba(0, 0, 0, 0); color: #333333;">=</span><span style="box-sizing: border-box; -webkit-tap-highlight-color: rgba(0, 0, 0, 0); color: #333333;">https</span><span style="box-sizing: border-box; -webkit-tap-highlight-color: rgba(0, 0, 0, 0); color: #333333;">://</span><span style="box-sizing: border-box; -webkit-tap-highlight-color: rgba(0, 0, 0, 0); color: #333333;">registry</span><span style="box-sizing: border-box; -webkit-tap-highlight-color: rgba(0, 0, 0, 0); color: #333333;">.</span><span style="box-sizing: border-box; -webkit-tap-highlight-color: rgba(0, 0, 0, 0); color: #333333;">npm</span><span style="box-sizing: border-box; -webkit-tap-highlight-color: rgba(0, 0, 0, 0); color: #333333;">.</span><span style="box-sizing: border-box; -webkit-tap-highlight-color: rgba(0, 0, 0, 0); color: #333333;">taobao</span><span style="box-sizing: border-box; -webkit-tap-highlight-color: rgba(0, 0, 0, 0); color: #333333;">.</span><span style="box-sizing: border-box; -webkit-tap-highlight-color: rgba(0, 0, 0, 0); color: #333333;">org</span>-
2. Configurez le projet .Net Core
Lors de la construction du projet .Net Core, utilisez le modèle Api pour créer une solution vide et construisez-la sur cette base Activez la prise en charge des fichiers statiques, la configuration détaillée est la suivante :
1 using System; 2 using System.Collections.Generic; 3 using System.Linq; 4 using System.Threading.Tasks; 5 using Microsoft.AspNetCore.Builder; 6 using Microsoft.AspNetCore.Hosting; 7 using Microsoft.Extensions.Configuration; 8 using Microsoft.Extensions.DependencyInjection; 9 using Microsoft.Extensions.Logging;10 11 namespace App.Integration12 {13 public class Startup14 {15 public Startup(IHostingEnvironment env)16 {17 var builder = new ConfigurationBuilder()18 .SetBasePath(env.ContentRootPath)19 .AddJsonFile("appsettings.json", optional: false, reloadOnChange: true)20 .AddJsonFile($"appsettings.{env.EnvironmentName}.json", optional: true)21 .AddEnvironmentVariables();22 Configuration = builder.Build();23 }24 25 public IConfigurationRoot Configuration { get; }26 27 // This method gets called by the runtime. Use this method to add services to the container.28 public void ConfigureServices(IServiceCollection services)29 {30 // Add framework services.31 //services.AddMvc();32 }33 34 // This method gets called by the runtime. Use this method to configure the HTTP request pipeline.35 public void Configure(IApplicationBuilder app, IHostingEnvironment env, ILoggerFactory loggerFactory)36 {37 loggerFactory.AddConsole(Configuration.GetSection("Logging"));38 loggerFactory.AddDebug();39 40 //app.UseMvc();41 app.UseDefaultFiles();42 app.UseStaticFiles();43 }44 }45 }Les fichiers statiques doivent installer le package nuget nommé Microsoft.AspNetCore.StaticFiles, veuillez gérez-le vous-même à partir du package installé.
3. Configurez l'environnement de débogage Angular Cli
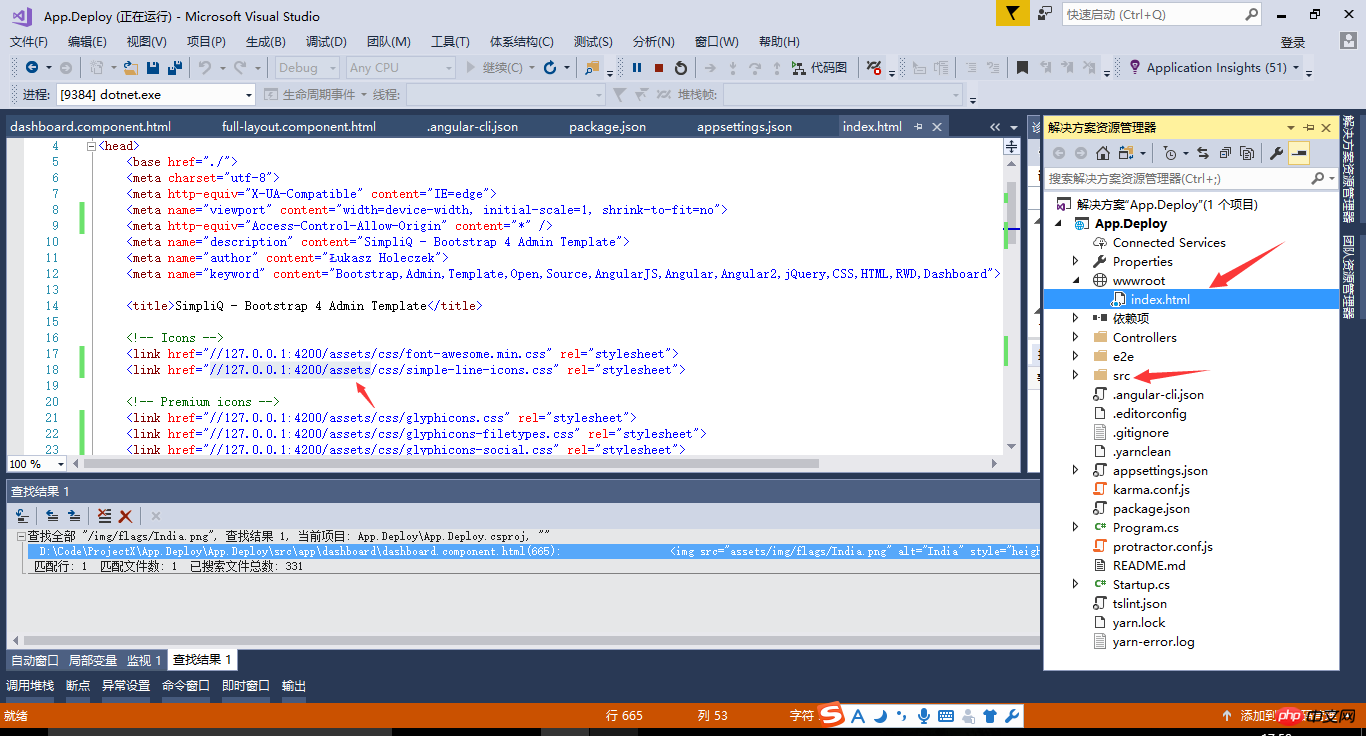
Avant de commencer le débogage du projet, nous devons déplacer le fichier index.html dans la ressource angulaire vers wwwroot. notez que ce fichier index.html doit être la version générée par la commande ng build, généralement stockée dans le répertoire /dist
Avant de compiler les ressources angulaires, nous devons définir l'option DeployUrl sur ng server dans le Paramètres de Angular cli L'adresse de débogage par défaut :
"deployUrl": "//127.0.0.1:4200", // 指定站点的部署地址,该值最终会赋给webpack的output.publicPath,注意,ng serve启动调试时并不会调研此参数
Ce qui suit est une description de chaque élément de configuration d'Angular Cli .
{
  "project": {
    "name": "angular-questionare",
    "ejected": false // 标记该应用是否已经执行过eject命令把webpack配置释放出来
  },
  "apps": [
    {
      "root": "src", // 源码根目录
      "outDir": "dist", // 编译后的输出目录,默认是dist/
      "assets": [ // 记录资源文件夹,构建时复制到`outDir`指定的目录
        "assets",
        "favicon.ico"
      ],
      "index": "index.html", // 指定首页文件,默认值是"index.html"
      "main": "main.ts", // 指定应用的入门文件
      "polyfills": "polyfills.ts", // 指定polyfill文件
      "test": "test.ts", // 指定测试入门文件
      "tsconfig": "tsconfig.app.json", // 指定tsconfig文件
      "testTsconfig": "tsconfig.spec.json", // 指定TypeScript单测脚本的tsconfig文件
      "prefix": "app", // 使用`ng generate`命令时,自动为selector元数据的值添加的前缀名
      "deployUrl": "//cdn.com.cn", // 指定站点的部署地址,该值最终会赋给webpack的output.publicPath,常用于CDN部署
      "styles": [ // 引入全局样式,构建时会打包进来,常用语第三方库引入的样式
        "styles.css?1.1.10"
      ],
      "scripts": [ // 引入全局脚本,构建时会打包进来,常用语第三方库引入的脚本
      ],
      "environmentSource": "environments/environment.ts", // 基础环境配置
      "environments": { // 子环境配置文件
        "dev": "environments/environment.ts",
        "prod": "environments/environment.prod.ts"
      }
    }
  ],
  "e2e": {
    "protractor": {
      "config": "./protractor.conf.js?1.1.10"
    }
  },
  "lint": [
    {
      "project": "src/tsconfig.app.json"
    },
    {
      "project": "src/tsconfig.spec.json"
    },
    {
      "project": "e2e/tsconfig.e2e.json"
    }
  ],
  "test": {
    "karma": {
      "config": "./karma.conf.js?1.1.10"
    }
  },
  "defaults": { // 执行`ng generate`命令时的一些默认值
    "styleExt": "css", // 默认生成的样式文件后缀名
    "component": {
      "flat": false, // 生成组件时是否新建文件夹包装组件文件,默认为false(即新建文件夹)
      "spec": true, // 是否生成spec文件,默认为true
      "inlineStyle": false, // 新建时是否使用内联样式,默认为false
      "inlineTemplate": false, // 新建时是否使用内联模板,默认为false
      "viewEncapsulation": "Emulated", // 指定生成的组件的元数据viewEncapsulation的默认值
      "changeDetection": "OnPush", // 指定生成的组件的元数据changeDetection的默认值
    }
  }
}
Afin d'implémenter la structure du site avec le projet .Net Core Api comme corps principal, nous devons activer l'option Deploy lors de l'utilisation du serveur ng et ouvrez le support des ressources statiques « Adresse de déploiement ». Remarque : le déploiement sur deux sites peut entraîner un inter-domaine JS, veuillez le résoudre vous-même
Ajoutez le paramètre de déploiement ng serve --deploy-url '// lors du démarrage du serveur de débogage Angular Cli sur la ligne de commande localhost:4200/'
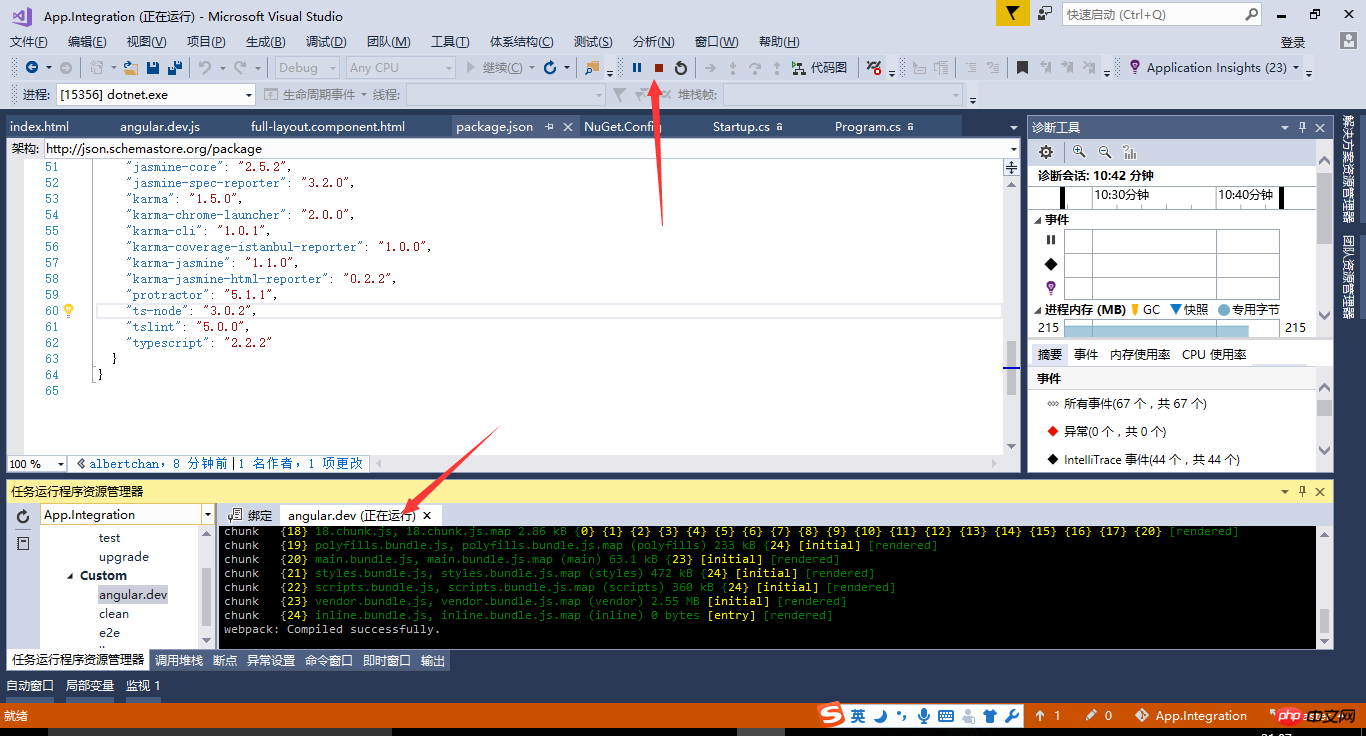
Enfin, lors de l'ouverture du projet Api via la commande F5 de VS, nous pouvons voir l'effet de fonctionnement du site Web. Profitez du codage ~

Ce qui précède est le contenu détaillé de. pour plus d'informations, suivez d'autres articles connexes sur le site Web de PHP en chinois!