


效果图基本上都是由柔和的曲线构成,单独的曲线制作比较简单,用钢笔勾出路径后用画笔描边路径就可以完成。然后用同样的方法做出不同颜色和大小的曲线,再叠加到一起即可组成梦幻的效果。
最终效果
<点小图查看大图>
1、新建一个1024 * 768 像素的文档,背景填充黑色,如下图。
<图1>
2、新建一个图层,把前景颜色设置为:#D3D153,选择画笔工具,参数设置如图2。再选择钢笔工具勾出图3所示的路径,右键选择描边路径,选择画笔,在弹出的对话框勾选出模拟压力,如图4。效果如图5。
<图2> 
<图3> 
<图4> 
<图5>
3、调出曲线的选区,选择菜单:选择 > 修改 > 收缩,数值为3,确定后按Ctrl + Alt + D 羽化3个像素,新建一个图层,把前景颜色设置为:#DC50AE,用画笔把选区中间部分涂上紫红色,如图6,涂好后吧图层复制一层,图层混合模式改为“柔光”,效果如图7。
<图6> 
<图7>
4、新建一个图层,用钢笔勾出图8所示的曲线,把前景颜色设置为蓝色,选择画笔工具,画笔大小设置大一点,然后再描边路径,这次不用勾选模拟压力,效果如图9。
<图8> 
<图9>
5、加上图层蒙版,用黑色画笔把两端稍微涂抹一下,效果如下图。
<图10>
6、把当前图层复制一层,加强一下效果,如下图。
<图11>
7、新建一个图层,把前景颜色设置为紫色#EC00EF,用钢笔勾出图12所示的路径,适当设置画笔大小后再描边路径,效果如图13。
<图12> 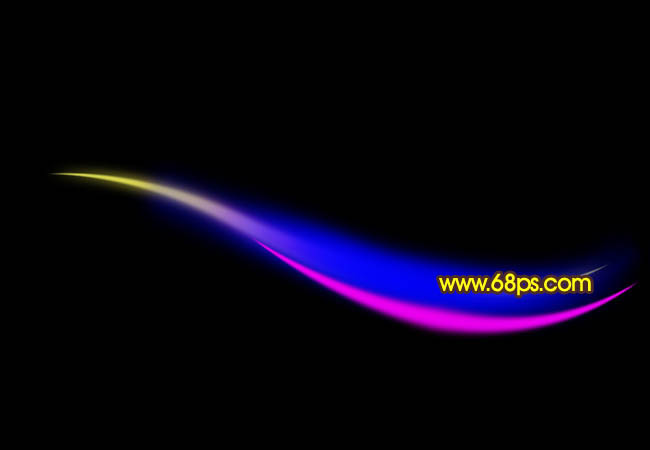
<图13>
8、执行:滤镜 > 模糊 > 高斯模糊,数值为5,确定后加上图层蒙版,用透明度较低的黑色画笔涂抹右边部分,如下图。
<图14>
9、把图层复制一层,适当加强一下效果,如下图。
<图15>
10、新建一个图层,用钢笔勾出图16所示的路径,然后用红色画笔描边路径,确定后再适当模糊一下,效果如图17。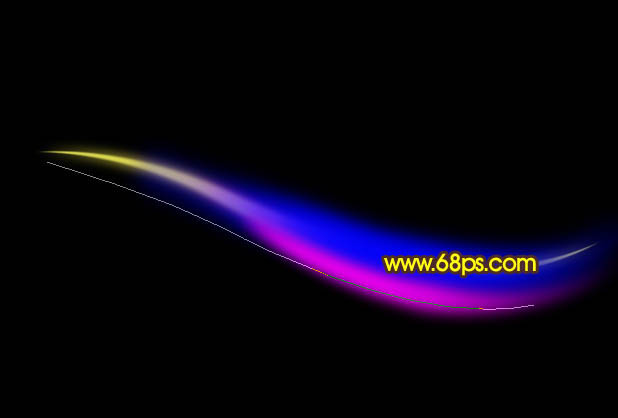
<图16> 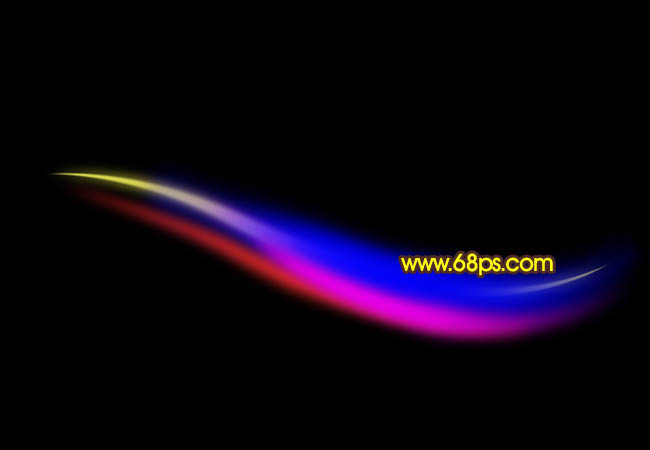
<图17>
11、复制一层,加上图层蒙版,只保留中间部分,其它部分用黑色画笔擦掉。
<图18>
12、同样的方法制作其它曲线,每一条曲线需要单独一个图层,可以适当模糊处理,如图19,20,21,22。
<图19> 
<图20> 
<图21> 
<图22>
13、新建一个图层,用钢笔勾出一条较细的曲线,转为选区如图23,填充紫色,两端部分适当用画笔涂上其它颜色,效果如图24。
<图23> 
<图24>
14、同样的方法制作其它颜色的细曲线,效果如下图。
<图25>
15、适当调整一下细节,曲线部分大致完成后的效果如下图。
<图26>
16、新建一个图层,用画笔点上一些小点,效果如下图。
<图27>
最后调整下细节,完成最终效果:

 Photoshop: Mastering Layers and CompositionMay 01, 2025 am 12:05 AM
The method to create a new layer in Photoshop is: 1. Click the "New Layer" button at the bottom of the layer panel; 2. Use the shortcut keys Ctrl Shift N (Windows) or Command Shift N (Mac). The layers are like transparent sheets on canvas, allowing design elements to be managed separately, non-destructive editing and experimenting, and improving design levels.
 Photoshop Applications: From Photo Editing to Digital ArtApr 30, 2025 am 12:10 AM
Photoshop is widely used in the fields of image processing and digital art, and is suitable for photo editing and digital art creation. 1. Photo editing: Adjust brightness and contrast Use the "Brightness/Contrast" tool. 2. Digital art: Use brush tools to create paintings. 3. Basic usage: Use the "Red Eye Tool" to remove red eyes. 4. Advanced usage: Use layers and masks for image synthesis. 5. Debug: Recover the lost layers by checking the layer panel. 6. Performance optimization: Adjust memory usage to improve running speed.
 Photoshop's Core Function: Image Editing and ManipulationApr 29, 2025 am 12:17 AM
Photoshop's core functions are image editing and operation, including adjusting the color, brightness, contrast of images, applying filter effects, cropping and adjusting image size, performing image synthesis, etc. 1. Adjust brightness and contrast: Open the image, select the "Adjust" option in the "Image" menu, select "Brightness/Contrast", and adjust the slider. 2. Use the color level adjustment layer and layer mask: Click the "Create a new fill or adjust layer" button, select "Scale", adjust the color level, add a layer mask, and use the brush tool to control the adjustment effect.
 Photoshop: The Power of Raster Graphics EditingApr 28, 2025 am 12:13 AM
Photoshop is a powerful tool for handling raster graphics, and its core functions include layers and masks, filters and adjustments. 1. Layers and masks allow independent editing and non-destructive modifications. 2. Filters and adjustments can quickly change the appearance of the image, but they should be used with caution to avoid affecting the image quality. By mastering these functions and advanced skills, you can greatly improve your image editing and creative abilities.
 Photoshop: A Versatile Tool for Image ManipulationApr 27, 2025 am 12:13 AM
Photoshop is so powerful in the field of image processing because of its versatility and intuitive operating interface. 1) It can handle various tasks from basic adjustment to complex synthesis, such as adjusting brightness and contrast. 2) Working based on layers and masks allows non-destructive editing. 3) Examples of usage include adjusting color balance and creating layer masks. 4) Common errors such as excessive editing can be avoided through the History panel. 5) Performance optimization suggestions include the use of smart objects and shortcut keys.
 Photoshop Trials and Alternatives: Exploring Free AccessApr 26, 2025 am 12:23 AM
Photoshop offers a free 7-day trial period. To maximize the use of the trial period, 1) sign up for multiple Adobe accounts, 2) use the student or education version, and 3) subscribe to Adobe CreativeCloud. Free alternatives include: 1) GIMP, 2) Photopea, 3) Krita, these software can meet daily image editing needs.
 Photoshop for Photographers: Enhancing and Retouching ImagesApr 25, 2025 am 12:01 AM
Enhance and retouching photos in Photoshop can be achieved by adjusting brightness and contrast, using the Repair Brush Tool. 1) Adjust brightness and contrast: Increase brightness and contrast to improve underexposed photos through the Image->Adjustments->Brightness/Contrast menu. 2) Use the Repair Brush Tool: Select HealingBrushTool in the toolbar and apply to remove miscellaneous points or scars in the image.
 Accessing Photoshop: Methods and AvailabilityApr 24, 2025 am 12:07 AM
Photoshop can be obtained by purchasing a permanent license or subscribing to CreativeCloud. 1. Purchase a permanent license for long-term use, no monthly payment, but no latest updates are available. 2. Subscribe to CreativeCloud to access the latest version and other Adobe software, and you need to pay a monthly or annual fee. The choice should be based on frequency of use and requirements.


Hot AI Tools

Undresser.AI Undress
AI-powered app for creating realistic nude photos

AI Clothes Remover
Online AI tool for removing clothes from photos.

Undress AI Tool
Undress images for free

Clothoff.io
AI clothes remover

Video Face Swap
Swap faces in any video effortlessly with our completely free AI face swap tool!

Hot Article
Hot Tools

ZendStudio 13.5.1 Mac
Powerful PHP integrated development environment

DVWA
Damn Vulnerable Web App (DVWA) is a PHP/MySQL web application that is very vulnerable. Its main goals are to be an aid for security professionals to test their skills and tools in a legal environment, to help web developers better understand the process of securing web applications, and to help teachers/students teach/learn in a classroom environment Web application security. The goal of DVWA is to practice some of the most common web vulnerabilities through a simple and straightforward interface, with varying degrees of difficulty. Please note that this software

mPDF
mPDF is a PHP library that can generate PDF files from UTF-8 encoded HTML. The original author, Ian Back, wrote mPDF to output PDF files "on the fly" from his website and handle different languages. It is slower than original scripts like HTML2FPDF and produces larger files when using Unicode fonts, but supports CSS styles etc. and has a lot of enhancements. Supports almost all languages, including RTL (Arabic and Hebrew) and CJK (Chinese, Japanese and Korean). Supports nested block-level elements (such as P, DIV),

SublimeText3 English version
Recommended: Win version, supports code prompts!

MantisBT
Mantis is an easy-to-deploy web-based defect tracking tool designed to aid in product defect tracking. It requires PHP, MySQL and a web server. Check out our demo and hosting services.

