


本教程介绍常见实物的制作方法。重点是实物高光及暗部的把握,需要把立体感渲染出来。大致过程:先用钢笔等把实物的轮廓选区做出来,然后用渐变、加深、减淡工具加强体积感,后期再渲染高光及暗部即可。
最终效果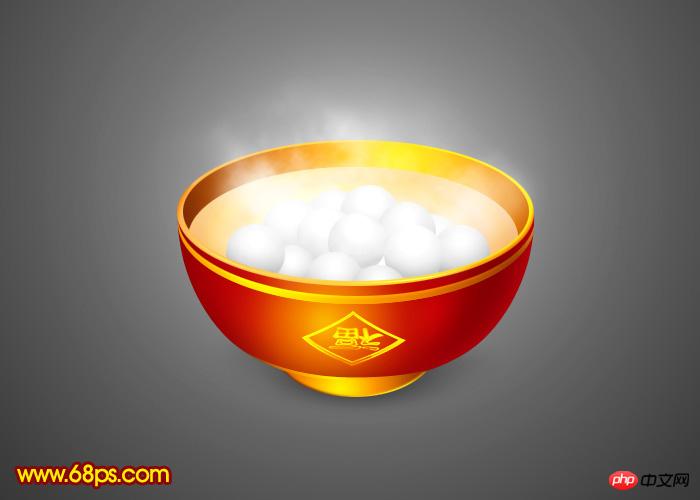
1、新建一个800 * 600像素的文档,选择渐变工具,颜色设置如图1,拉出图2所示的径向渐变作为背景。
<图1> 
<图2>
2、整个碗大致由下面三大部分构成,拆分图如下图。
<图3>
3、新建一个组,用椭圆选框工具拉出下图所示的椭圆选区,然后给组添加图层蒙版。
<图4>
4、在组里新建一个图层,选择渐变工具,颜色设置如图5,拉出图6所示的径向渐变。
<图5> 
<图6>
5、新建一个图层,用椭圆选框工具拉一个稍小的椭圆选区,选择渐变工具,颜色设置不变,拉出下图所示的径向渐变。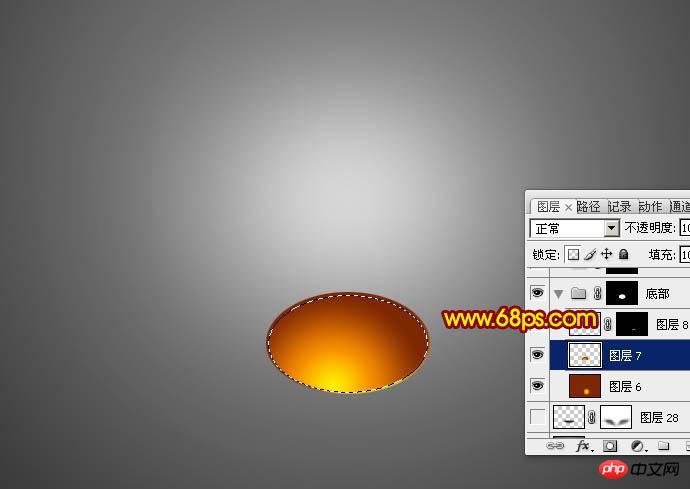
<图7>
6、新建一个图层,用钢笔勾出边缘部分的高光选区,填充黄色,如图8,9。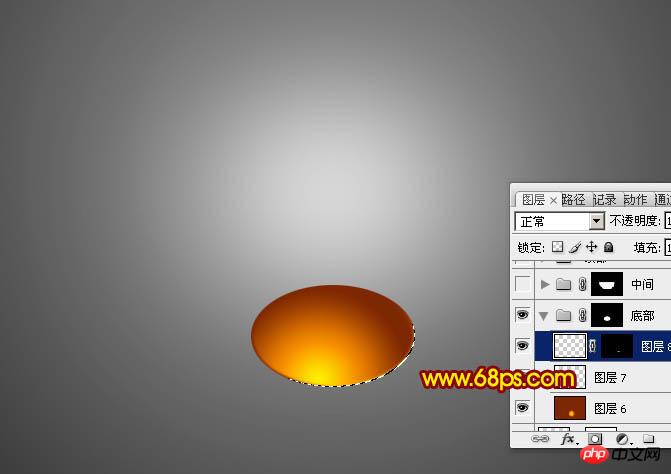
<图8> 
<图9>
7、再新建一个组,用钢笔勾出图10所示的选区,给组添加蒙版。
<图10>
8、在组里新建一个图层,选择渐变工具,颜色设置如图11,拉出图12所示的径向渐变。
<图11> 
<图12>
9、新建一个图层,用钢笔勾出左边暗部的选区,羽化15个像素后填充暗红色,如下图。
<图13>
10、新建一个图层,同样的方法用钢笔勾出右边暗部的选区,羽化15个像素后填充稍暗的暗红色。
<图14>
11、新建一个图层,用钢笔勾出右侧边缘的反光选区,羽化10个像素后填充稍亮的暗红色,如下图。
<图15>
12、新建一个图层,同上的方法制作中间及边缘部分的高光,过程如图16,17。
<图16> 
<图17>
13、新建一个图层,用钢笔勾出底部高光选区,羽化1个像素后拉上图19所示的径向渐变。
<图18>
<图19>
14、新建一个图层,用钢笔勾出图20所示的选区,拉上同上的渐变色,效果如图21。
<图20> 
<图21>
15、打开图22所示的福字,拖进来,放到碗的中间位置,效果如图23。
<图22> 
<图23>
16、新建一个组,在组里新建一个图层,用椭圆选框工具拉出图24所示的选区,选择渐变工具颜色设置如图25,拉出图26所示的径向渐变。
<图24> 
<图25> 
<图26>
17、选择加深,减淡工具把边缘部分的高光及暗部涂出来,效果如下图。
<图27>
18、新建一个图层,用椭圆选框工具拉出一个稍小的椭圆选区,拉上图29所示的径向渐变。
<图28>
<图29>
19、新建一个图层,按Ctrl + Alt + G 创建剪贴蒙版,然后在当前图层下面新建一个图层,用椭圆选框工具拉出图30所示的椭圆选区,拉上图31所示的径向渐变。
<图30> 
<图31>
20、可以根据需要添加一些水纹,这一步可以省略。
<图32>
21、新建一个图层,用椭圆选框工具拉出图33所示的选区,拉上图34所示的径向渐变。
<图33> 
<图34>
22、把做好的汤圆复制一些,适当排好位置,过程如图35,36。
<图35> 
<图36>
23、在图层的最上面新建一个图层,按字母键“D”,把前背景颜色恢复到默认的黑白,执行:滤镜 > 渲染 > 云彩,效果如图37,确定后把图层混合模式改为“滤色”,按住ALT键添加图层蒙版,用白色画笔把碗中的烟雾擦出来,效果如图38。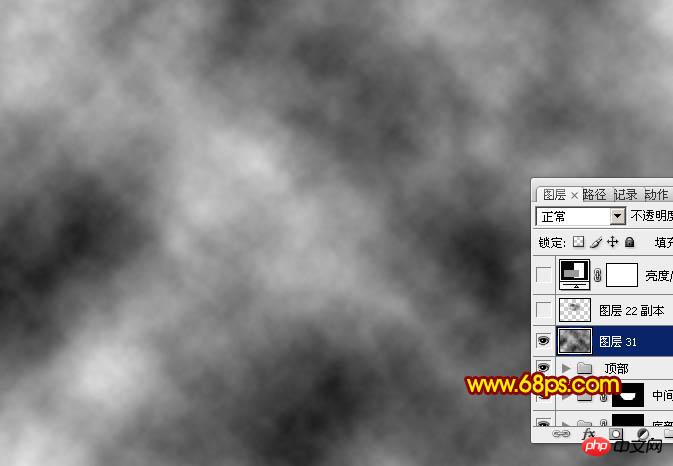
<图37> 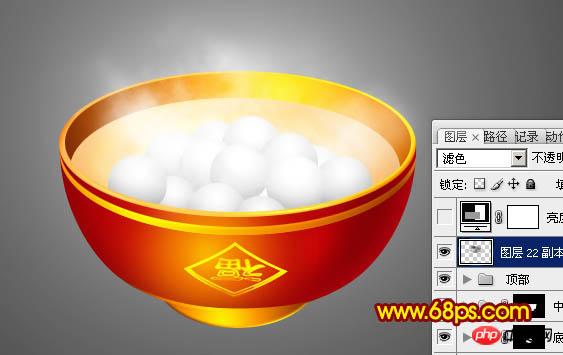
<图38>
最后给碗添加投影,再调整一下细节,完成最终效果。
<图39>

 Comparing Photoshop Pricing: Options and BenefitsMay 12, 2025 am 12:17 AM
Adobe Photoshop offers three packages: 1) a single application plan, suitable for users who only need Photoshop, with a low cost, including 20GB of cloud storage; 2) a full set of CreativeCloud plans, suitable for users who need multiple Adobe applications, with a high cost, including 100GB of cloud storage; 3) a preferential plan for students and teachers, suitable for academic users with limited budget, with a low cost, including 20GB of cloud storage.
 What Makes Photoshop Special? Its Primary FunctionMay 11, 2025 am 12:16 AM
Photoshop'sprimaryfunctionistoenableuserstomanipulate,enhance,andcreatedigitalimageswithprecisionandcontrol.Itsspecialfeaturesinclude:1)alayer-basededitingsystemforindependentelementmanipulation,2)anextensivelibraryoftoolsandfiltersforvarioustasks,an
 Photoshop: The Cost of Professional Image EditingMay 10, 2025 am 12:19 AM
Photoshop's cost includes direct costs, time and learning curve, resources and hardware investment. 1. Direct cost: Subscription system $20 to $50 per month, purchase hundreds of dollars at one time. 2. Time and Learning: It requires a lot of time and practice, and it is recommended to learn through online courses and tutorials. 3. Resources and hardware: High-performance computers and sufficient storage space are required to ensure hardware configuration to improve efficiency.
 Image Editing Essentials: Key Features of PhotoshopMay 09, 2025 am 12:05 AM
Photoshop's core features include layers, selection tools, and adjustment tools. 1. The layer allows independent editing of image parts and supports layer style. 2. Selection tools such as lasso, magic wand and quick selection tools provide precise editing. 3. Adjustment tools such as color level, curve and hue/saturation can adjust images non-destructively.
 My Purpose: Assisting with Photoshop-Related TasksMay 08, 2025 am 12:18 AM
In Photoshop, the role of layer masks is to allow hidden or displayed portions of layers in a non-destructive manner. 1. The working principle of layer mask is to control the visibility of the layer through black, white and grayscale. 2. The basic usage includes image synthesis, such as synthesising the character image into a new background. 3. Advanced usage can be achieved by using gradient masks to achieve smooth image transition.
 Photoshop and Free Alternatives: A Comparative LookMay 06, 2025 am 12:12 AM
Photoshop's powerful features include smart objects and neural filters, while free alternatives such as GIMP, Krita and Photopea do well in specific fields such as GIMP's layer functionality, Krita's digital paintings and online editing of Photopea.
 Photoshop Color Grading: Elevate Your Images with Pro TechniquesMay 05, 2025 am 12:07 AM
Color adjustment in Photoshop can be achieved through adjustment layers to make the image more professional. 1. Use color level, curve, hue/saturation and other tools to adjust the hue, saturation and brightness. 2. Apply LUT to create unique color effects. 3. Use adjustment layers to avoid image distortion and use the History panel to track adjustment steps.
 Photoshop in the Real World: Examples of Its Diverse UsesMay 04, 2025 am 12:15 AM
Photoshop's applications in the real world include artistic creation, scientific research and commercial marketing. 1) In artistic creation, it is used for digital painting and illustration. 2) In scientific research, it is used for image processing and data visualization. 3) In commercial marketing, it is used for advertising design and brand image shaping. The versatility of this software makes it widely used in various fields.


Hot AI Tools

Undresser.AI Undress
AI-powered app for creating realistic nude photos

AI Clothes Remover
Online AI tool for removing clothes from photos.

Undress AI Tool
Undress images for free

Clothoff.io
AI clothes remover

Video Face Swap
Swap faces in any video effortlessly with our completely free AI face swap tool!

Hot Article
Hot Tools

SublimeText3 Linux new version
SublimeText3 Linux latest version

SecLists
SecLists is the ultimate security tester's companion. It is a collection of various types of lists that are frequently used during security assessments, all in one place. SecLists helps make security testing more efficient and productive by conveniently providing all the lists a security tester might need. List types include usernames, passwords, URLs, fuzzing payloads, sensitive data patterns, web shells, and more. The tester can simply pull this repository onto a new test machine and he will have access to every type of list he needs.

ZendStudio 13.5.1 Mac
Powerful PHP integrated development environment

DVWA
Damn Vulnerable Web App (DVWA) is a PHP/MySQL web application that is very vulnerable. Its main goals are to be an aid for security professionals to test their skills and tools in a legal environment, to help web developers better understand the process of securing web applications, and to help teachers/students teach/learn in a classroom environment Web application security. The goal of DVWA is to practice some of the most common web vulnerabilities through a simple and straightforward interface, with varying degrees of difficulty. Please note that this software

Notepad++7.3.1
Easy-to-use and free code editor

