


哈哈 其实是第一次画了一张原画呢。(应该算是类似原画的东东了把,但我还是习惯称它为涂鸦了~毕竟我不是原画大师,连新手都不算 嘿嘿。) 看了一段时间的教程,自己原来至少胡
哈哈 其实是第一次画了一张原画呢。(应该算是类似原画的东东了把,但我还是习惯称它为涂鸦了~毕竟我不是原画大师,连新手都不算 嘿嘿。)
看了一段时间的教程,自己原来至少胡乱涂鸦 没有章程 完全只有自己乱摸索出来的方法。(我也是第一次学习用叠色法画画 非专业 业余爱好画画人士~) 没有老师指导没有高人指点, 完全自己乱看乱练习乱摸索出来的,也许没啥章法啦 高手不要吐槽哦~~~ 有记录绘画的步骤 ,就厚着脸皮发了个我的绘画过程,提供给同样在摸索期的新手们看一看,指点道路就谈不上了~~~
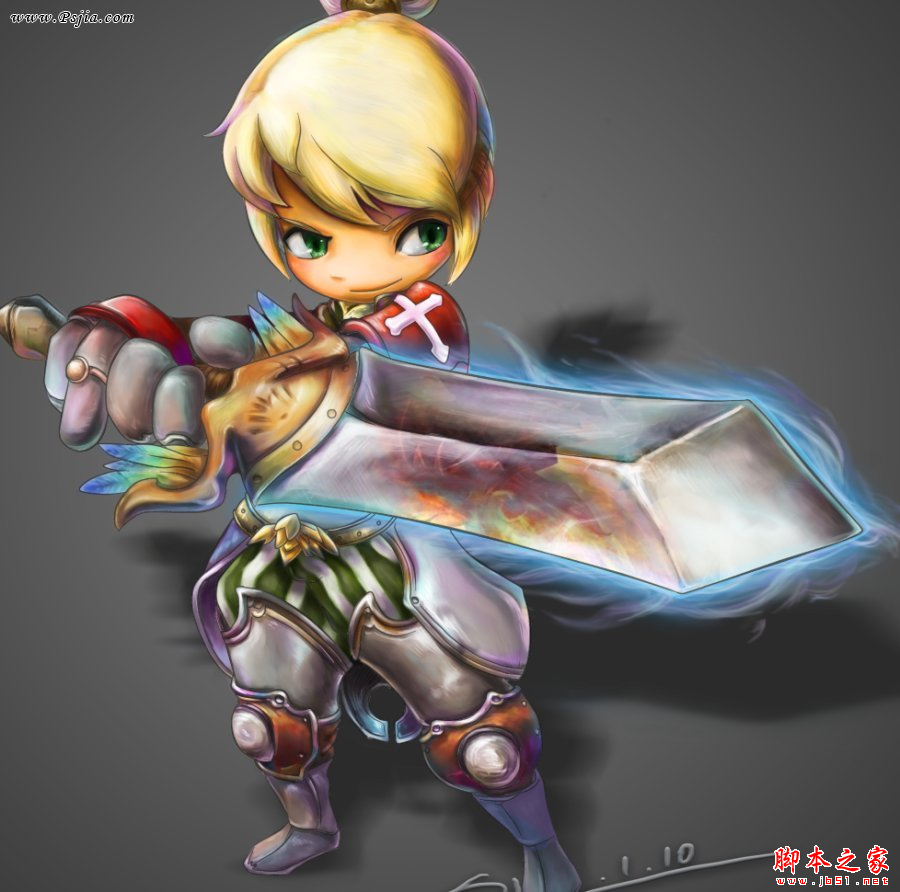
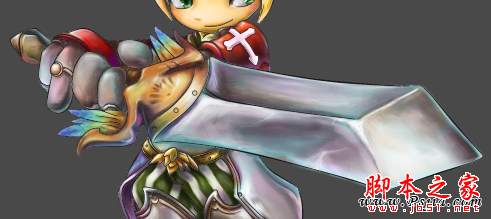
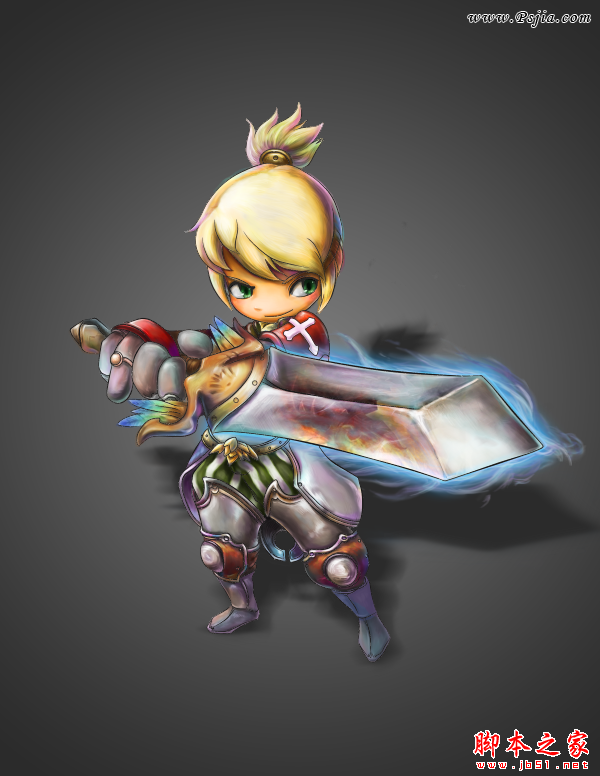
最终效果图~~~~
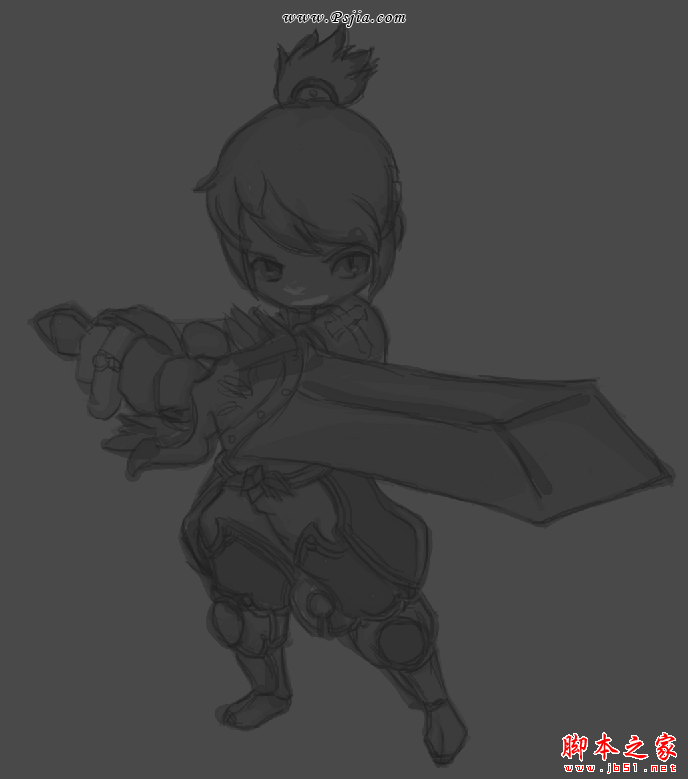
首先是用湿边笔打了一下结构大致的图(这个人物我是临摹的 因为我也是第一次画原画,第一次学习了这种上色的方法,就暂时先临摹了一张人物动态~~ 省得想个人了 我很懒 = =) 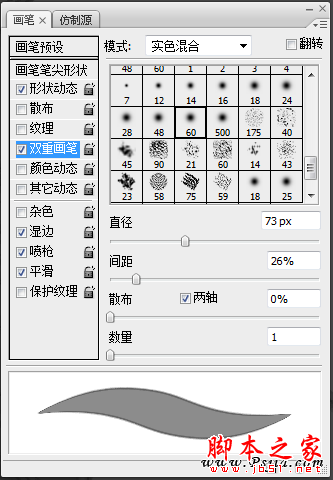 至于画笔 我是调的大概这样的数值 = = 透明度和流量都大概是50左右
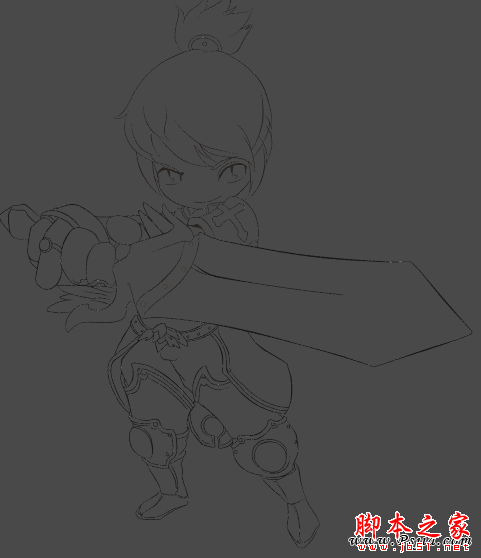 至于这一步是我自己的习惯啦 ,之前喜欢涂鸦漫画,就习惯性的画了一张线稿来清稿。。也许不算什么好习惯把 看看就过了把~
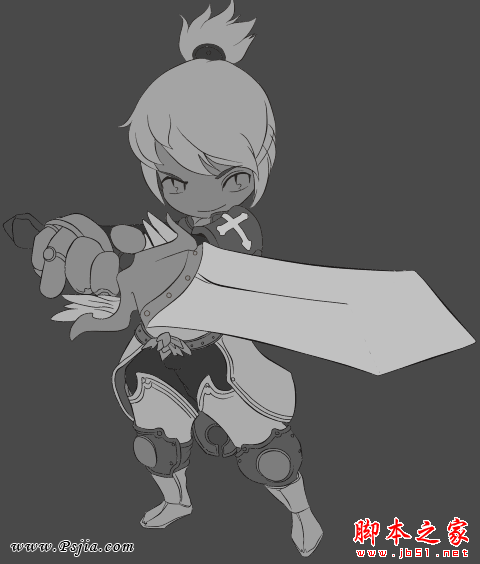 开始填充基础色了 我是分了好几个图层分开填色的,为了方便后来填色做为底下的选区使用,所以在颜色上没太多处理。
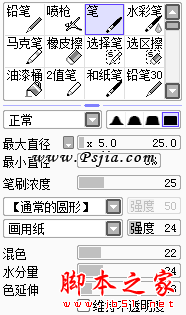
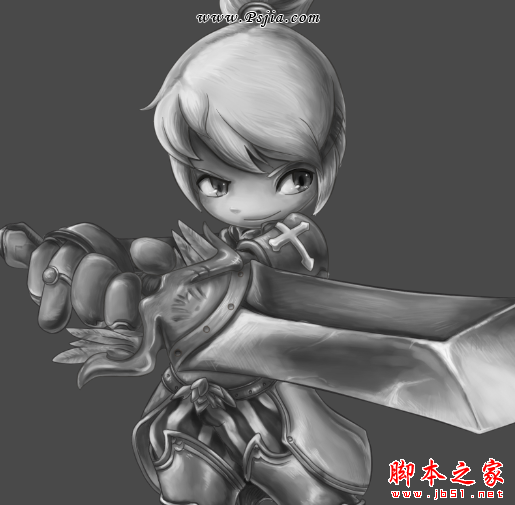
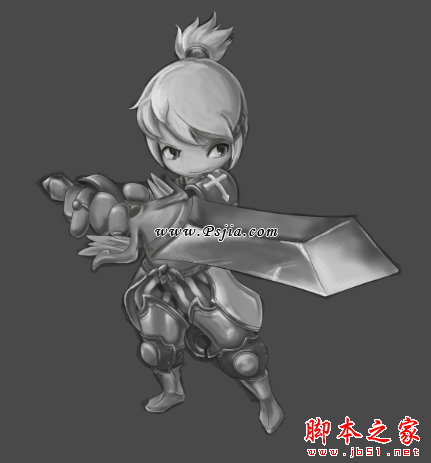 因为常涂鸦漫画类型的画的缘故,对SAI这种软件倒还熟悉强过PS一点 ,这一步开始我就个人习惯的挪到了SAI里面进行了,选的喷枪开始进行初步黑白素描效果表现。
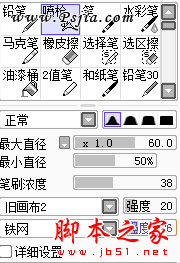 大致调的一点画笔数值。
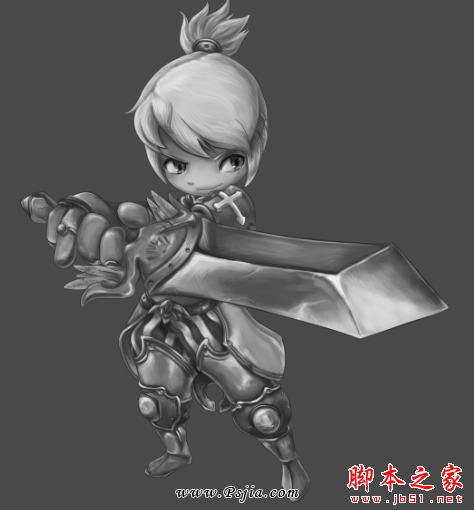 深入刻画了一下明暗效果,(大概是之前手绘彩铅画比较多,被人说总有点彩铅画的感觉 呵呵。。。)
 画细节里用到的画笔数值。。
 因为是分层画的有一点不统一,厚度感什么的不太明显,遂把图层合并了,反正有分层底色在 还是可以选区继续画的,合并之后在暗部整体刷黑色不透明笔刷,来加深厚度感和整体效果。
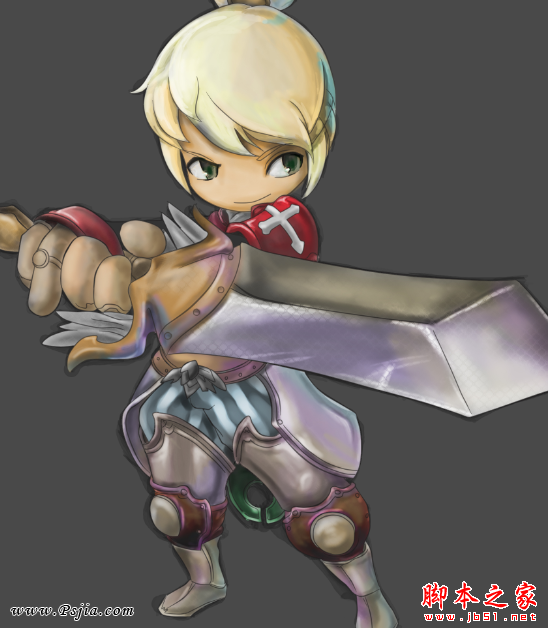 开始大致铺色了,我使用的是建立新图层,选择叠加模式,然后在图层选项上右键创建剪贴蒙板,这一步拿回了PS画,之后继续回SAI深入刻画。
 基本画完彩色的大致效果。
 开始刻画武器,因为想和临摹的那张不同,自己决定试试给它加特效,(也是第一次打算尝试画特效,不知道人家那种华丽丽的怎么调出来的,俺就打算还是笨办法自己老老实实画了) 在这里提亮了颜色 加上了一点点反光和发光。
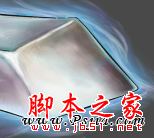
 画了一点点剑气缭绕的的感觉,用的半灰度不透明画笔刷的,再加上了一点点的颜色。
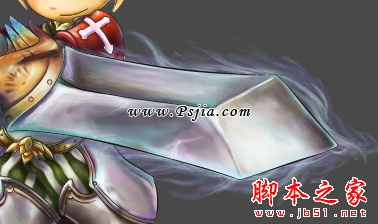
 这里就用PS加了一些图层效果 比如发光外发光一类的。(最近一直有玩龙之谷啦,+7武器貌似就是这么蓝光光的~~ 木有钱 弄不起好装备 +14的金光光就算了(其实也是自己偷懒了 哈哈))
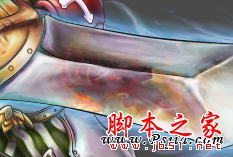 想在剑面上表现一种反光到物体类似镜子一样的效果 (寒光乍现什么的 哈哈) 就去网上找了张怪物的素材,贴到新图层上,调整了不透明值,然后用不透明橡皮擦 擦出模糊效果,也顺便把多余不要的擦掉,然后大笔刷刷上色调就OK了。
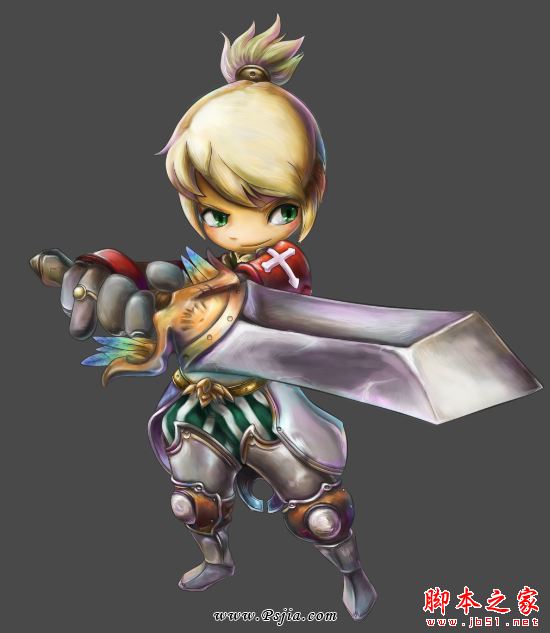
 背景不知道画啥了 干脆就返璞归真 弄了个单色 然后径向渐变了一下,加了个模糊的阴影。 - -(不要骂我懒 55555)于是乎加上签名神马的 就大功告成啦!(自恋一下) 第一次画原画 第一次厚脸皮记录了步骤 高手不要打我 ~~~
好吧 我发表了啊 。。。我真的发了啊! 发了啊。。。了啊。。。。啊。。。。。发完就跑。。。。
以上就是photoshop鼠绘出手拿利剑的可爱卡通小男孩的内容,更多相关内容请关注PHP中文网(www.php.cn)!

 Photoshop Applications: From Photo Editing to Digital ArtApr 30, 2025 am 12:10 AM
Photoshop is widely used in the fields of image processing and digital art, and is suitable for photo editing and digital art creation. 1. Photo editing: Adjust brightness and contrast Use the "Brightness/Contrast" tool. 2. Digital art: Use brush tools to create paintings. 3. Basic usage: Use the "Red Eye Tool" to remove red eyes. 4. Advanced usage: Use layers and masks for image synthesis. 5. Debug: Recover the lost layers by checking the layer panel. 6. Performance optimization: Adjust memory usage to improve running speed.
 Photoshop's Core Function: Image Editing and ManipulationApr 29, 2025 am 12:17 AM
Photoshop's core functions are image editing and operation, including adjusting the color, brightness, contrast of images, applying filter effects, cropping and adjusting image size, performing image synthesis, etc. 1. Adjust brightness and contrast: Open the image, select the "Adjust" option in the "Image" menu, select "Brightness/Contrast", and adjust the slider. 2. Use the color level adjustment layer and layer mask: Click the "Create a new fill or adjust layer" button, select "Scale", adjust the color level, add a layer mask, and use the brush tool to control the adjustment effect.
 Photoshop: The Power of Raster Graphics EditingApr 28, 2025 am 12:13 AM
Photoshop is a powerful tool for handling raster graphics, and its core functions include layers and masks, filters and adjustments. 1. Layers and masks allow independent editing and non-destructive modifications. 2. Filters and adjustments can quickly change the appearance of the image, but they should be used with caution to avoid affecting the image quality. By mastering these functions and advanced skills, you can greatly improve your image editing and creative abilities.
 Photoshop: A Versatile Tool for Image ManipulationApr 27, 2025 am 12:13 AM
Photoshop is so powerful in the field of image processing because of its versatility and intuitive operating interface. 1) It can handle various tasks from basic adjustment to complex synthesis, such as adjusting brightness and contrast. 2) Working based on layers and masks allows non-destructive editing. 3) Examples of usage include adjusting color balance and creating layer masks. 4) Common errors such as excessive editing can be avoided through the History panel. 5) Performance optimization suggestions include the use of smart objects and shortcut keys.
 Photoshop Trials and Alternatives: Exploring Free AccessApr 26, 2025 am 12:23 AM
Photoshop offers a free 7-day trial period. To maximize the use of the trial period, 1) sign up for multiple Adobe accounts, 2) use the student or education version, and 3) subscribe to Adobe CreativeCloud. Free alternatives include: 1) GIMP, 2) Photopea, 3) Krita, these software can meet daily image editing needs.
 Photoshop for Photographers: Enhancing and Retouching ImagesApr 25, 2025 am 12:01 AM
Enhance and retouching photos in Photoshop can be achieved by adjusting brightness and contrast, using the Repair Brush Tool. 1) Adjust brightness and contrast: Increase brightness and contrast to improve underexposed photos through the Image->Adjustments->Brightness/Contrast menu. 2) Use the Repair Brush Tool: Select HealingBrushTool in the toolbar and apply to remove miscellaneous points or scars in the image.
 Accessing Photoshop: Methods and AvailabilityApr 24, 2025 am 12:07 AM
Photoshop can be obtained by purchasing a permanent license or subscribing to CreativeCloud. 1. Purchase a permanent license for long-term use, no monthly payment, but no latest updates are available. 2. Subscribe to CreativeCloud to access the latest version and other Adobe software, and you need to pay a monthly or annual fee. The choice should be based on frequency of use and requirements.
 What Photoshop Does Best: Common Tasks and ProjectsApr 23, 2025 am 12:06 AM
Photoshop is specialized in image editing, layering and masking, digital painting and a variety of design applications. 1) Image editing and repair: remove defects and adjust color and brightness. 2) Layers and masks: non-destructive editing and creation. 3) Digital paintings and illustrations: create art works. 4) Practical applications: graphic design, web design and digital art creation.


Hot AI Tools

Undresser.AI Undress
AI-powered app for creating realistic nude photos

AI Clothes Remover
Online AI tool for removing clothes from photos.

Undress AI Tool
Undress images for free

Clothoff.io
AI clothes remover

Video Face Swap
Swap faces in any video effortlessly with our completely free AI face swap tool!

Hot Article
Hot Tools

SublimeText3 Linux new version
SublimeText3 Linux latest version

VSCode Windows 64-bit Download
A free and powerful IDE editor launched by Microsoft

Dreamweaver CS6
Visual web development tools

Dreamweaver Mac version
Visual web development tools

WebStorm Mac version
Useful JavaScript development tools

