


光晕看上去并不复杂,不过包含的细节很多,如底部透明度较低的发射光束,边缘部分的光环及顶部的一些小光斑等。这些细节非常重要,制作的时候需要非常细心
光晕看上去并不复杂,不过包含的细节很多,如底部透明度较低的发射光束,边缘部分的光环及顶部的一些小光斑等。这些细节非常重要,制作的时候需要非常细心。
最终效果
1、新建一个1000 * 750像素,分辨率为72的画布,选择渐变工具,颜色设置如图1,然后由左下角至右上角拉出图2所示的线性渐变作为背景。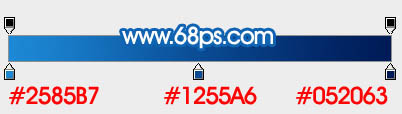
<图1> 
<图2>
2、新建一个组,命名为“底层光束”,如下图。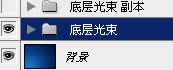
<图3>
3、需要完成的效果如下图。
<图4>
4、在组里新建一个图层,用钢笔勾出下图所示的闭合路径。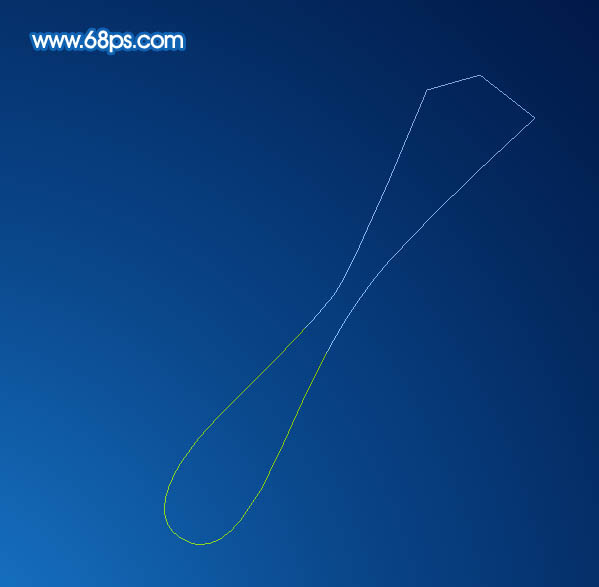
<图5>
5、按Ctrl + 回车把路径转为选区,然后填充淡蓝色:#ADC0D9,取消选区后添加图层蒙版。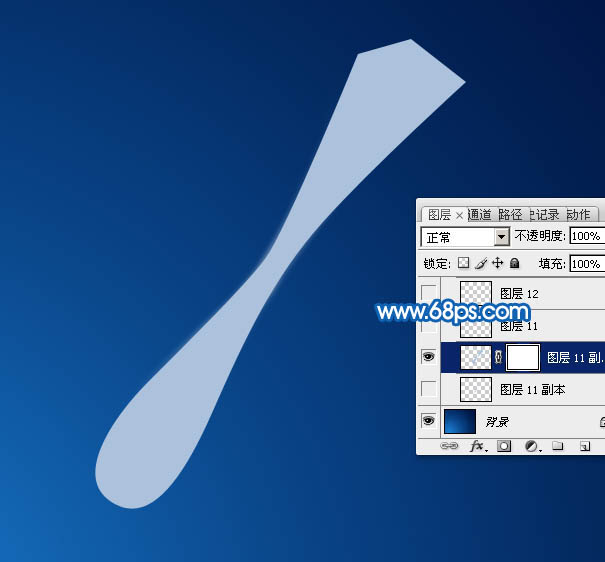
<图6>
6、用钢笔勾出下图所示的选区,羽化20个像素后在蒙版上填充黑色,然后取消选区。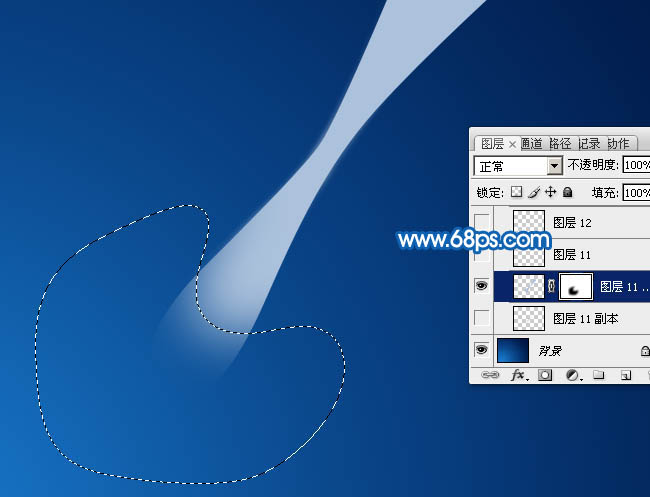
<图7>
7、用钢笔在顶部勾出下图所示的选区,羽化5个像素后在蒙版上填充黑色。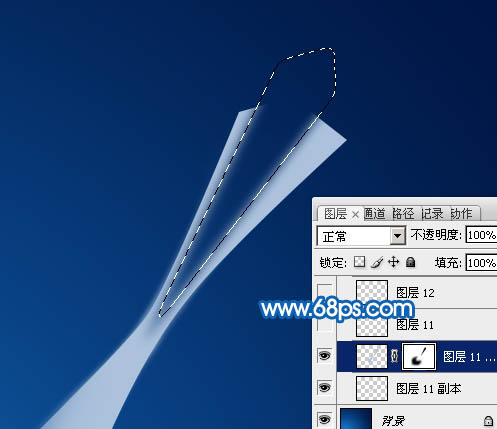
<图8>
8、取消选区后用透明度较低的黄色画笔把两端的过渡涂抹自然。确定后把不透明度改为:50%,效果如下图。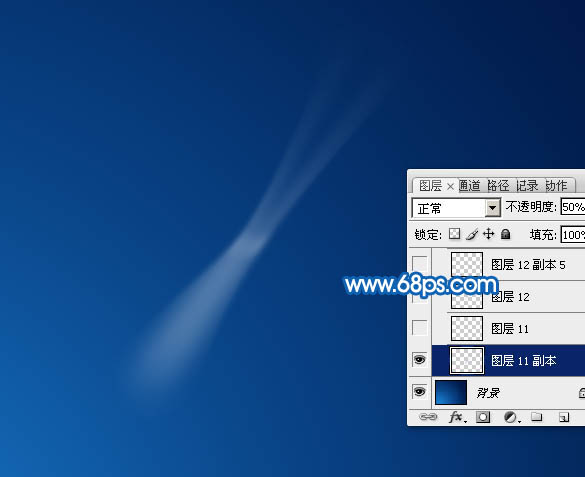
<图9>
9、新建一个图层,用钢笔勾出图10所示的路径,转为选区后填充淡蓝色,取消选区后用模糊工具把两端模糊处理,再降低图层的不透明度,过程如图10,11。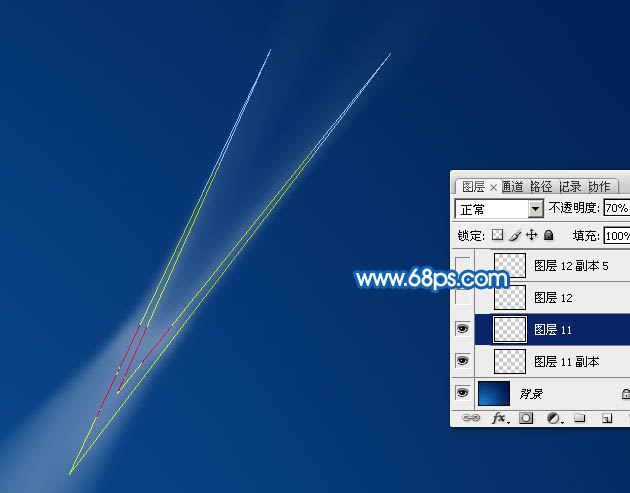
<图10> 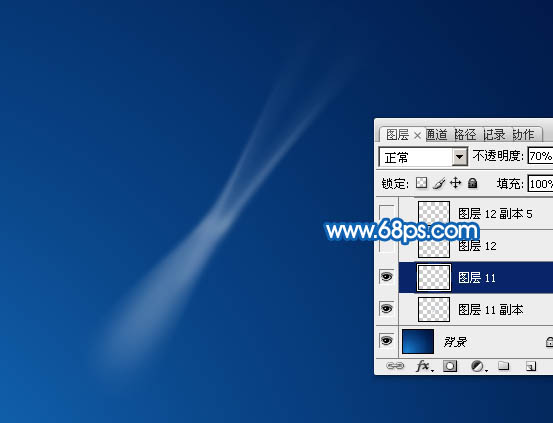
<图11>
10、把背景图层隐藏,新建一个图层,按Ctrl + Alt + Shift + E 盖印图层。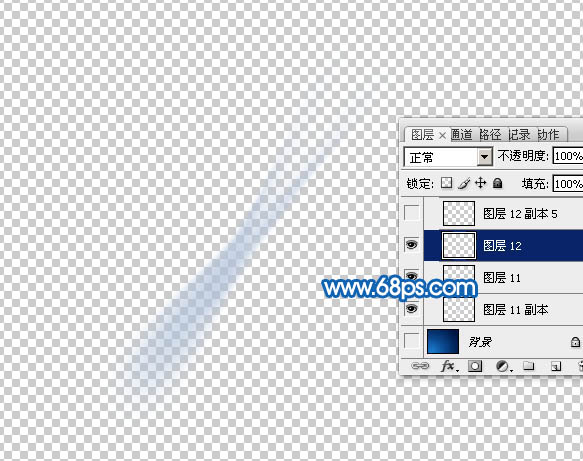
<图12>
11、把盖印后的图层复制几份,适当调整大小,角度及不透明度,过程如图13,14。
<图13> 
<图14>
12、新建一个图层,用钢笔勾出下图所示的选区,填充稍亮的淡蓝色,取消选区后添加图层蒙版,用透明度较低的黑色画笔把边缘透明效果涂抹出来,确定后把不透明度改为:45%,效果如下图。
<图15>
13、新建一个图层,用椭圆选框工具拉出图16所示的椭圆选区,羽化15个像素后选择渐变工具,颜色设置如图17,然后由中心向外拉出图18所示的径向渐变。
<图16> 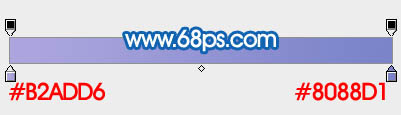
<图17> 
<图18>
14、取消选区后按Ctrl + T 变形,稍微压扁一点,然后拉长一点,再旋转好角度,过程如图19,20。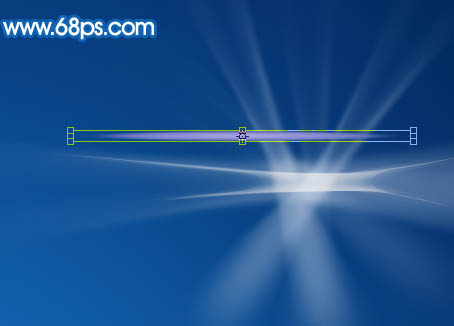
<图19> 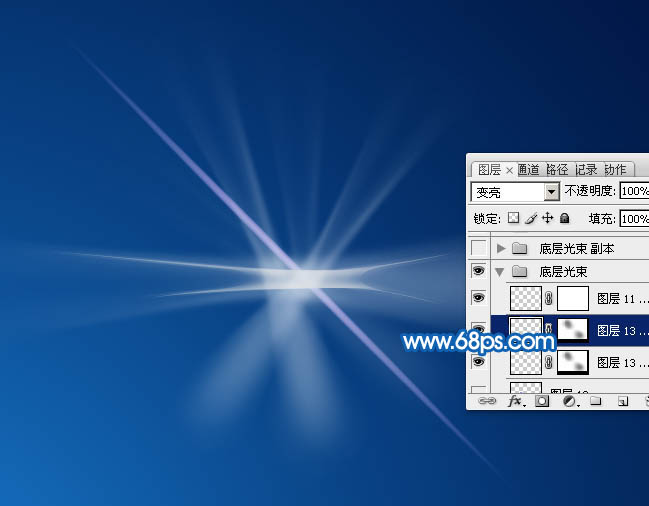
<图20>
15、做好后吧组的混合模式改为“叠加”,效果如下图。
<图21>
16、把当前组复制一层,混合模式改为“滤色”,不透明度改为:20%,效果如下图。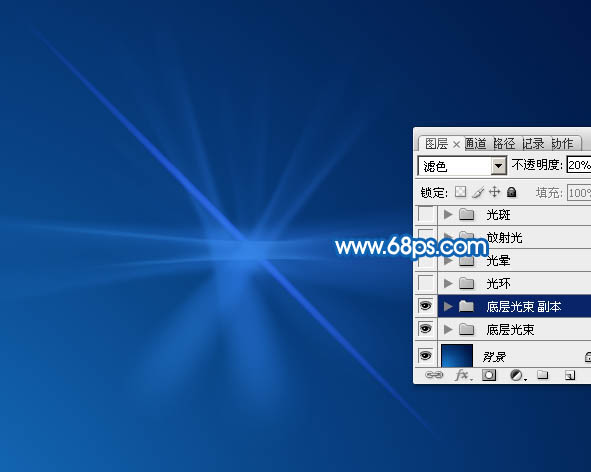
<图22>
17、新建一个组,命名为“光环”。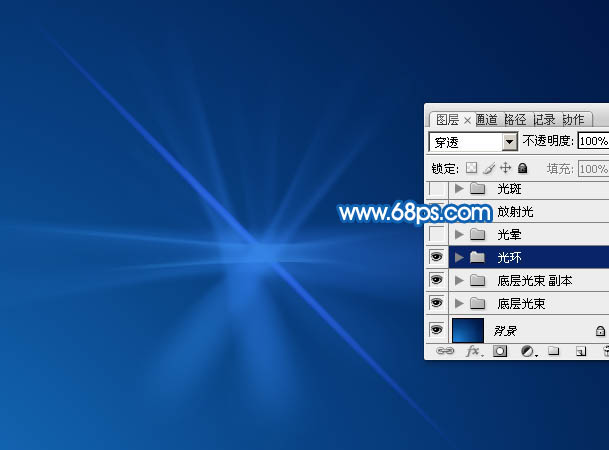
<图23>
18、在组里新建一个图层,用椭圆选框工具拉出下图所示的正圆选区,填充青蓝色:#80DFEA,再把不透明度改为:10%,效果如下图。
<图24>
19、把当前图层复制一层,用移动工具移动一点距离,然后在圆的中间位置拉出下图所示的正圆选区,同时按Delete键删除中间部分,再把图层不透明度改为:25%,如下图。
<图25>
20、新建一个图层,给圆环的中间部分点缀一点高光。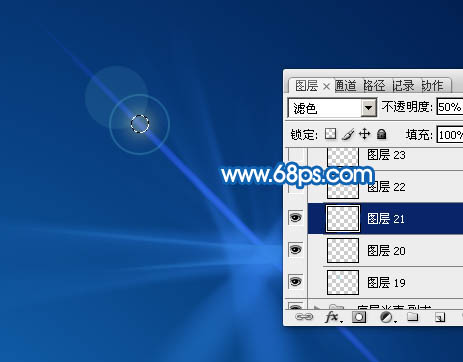
<图26>
21、新建图层,再多制作几个圆环,如下图。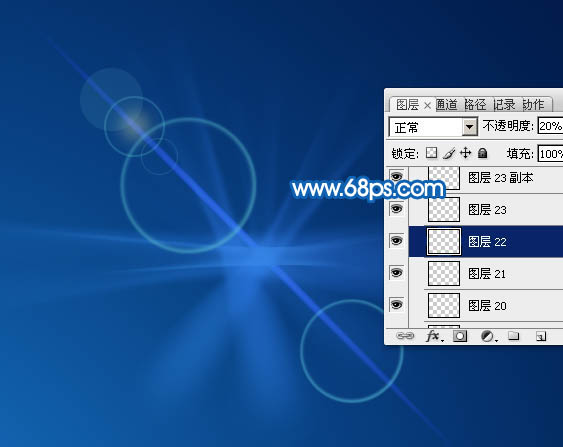
<图27>
22、新建一个图层,用椭圆选框工具拉出下图所示的正圆选区,填充蓝色。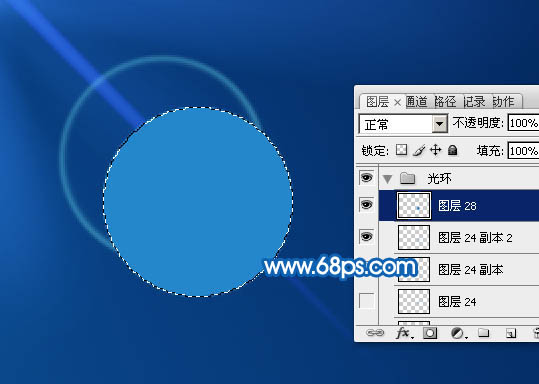
<图28>
23、再用椭圆选框工具在圆的中间位置拉出下图所示的正圆选区,羽化10个像素后按Delete键删除中间部分。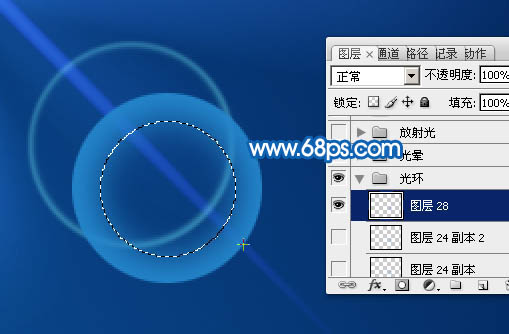
<图29>
24、在圆的中间位置用椭圆选框工具拉出下图所示的正圆选区,羽化1个像素后按Ctrl + M 稍微调亮一点,如下图。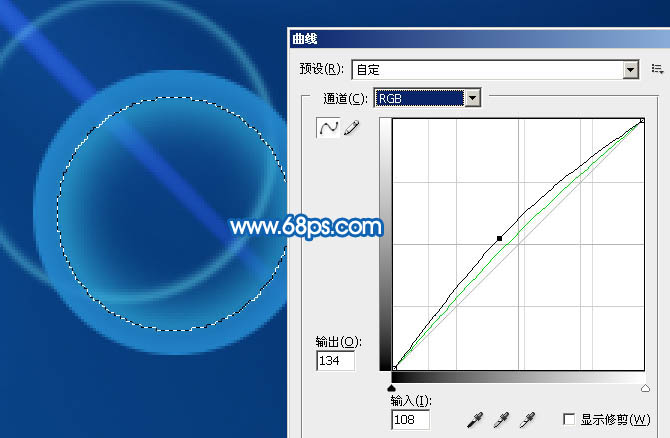
<图30> 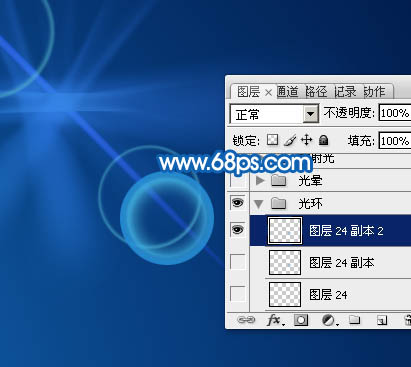
<图31>
25、把图层混合模式改为“滤色”,不透明度改为:60%,效果如下图。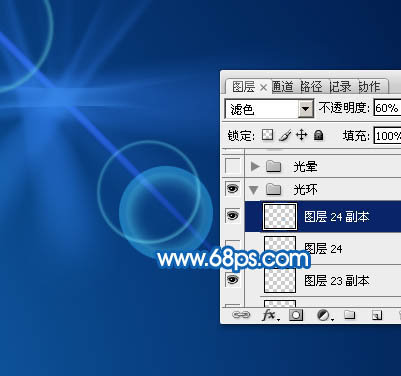
<图32>
26、按Ctrl + J 把当前图层复制一层,适当调整位置和大小,如下图。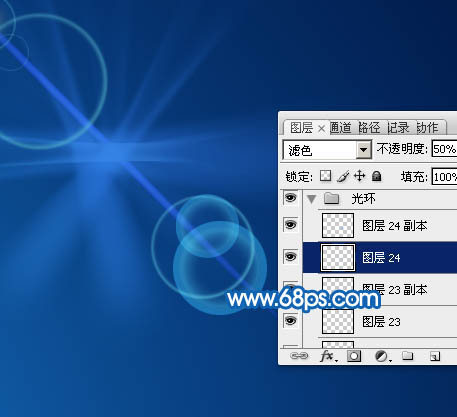
<图33>
27、新建一个组,命名为“光晕”。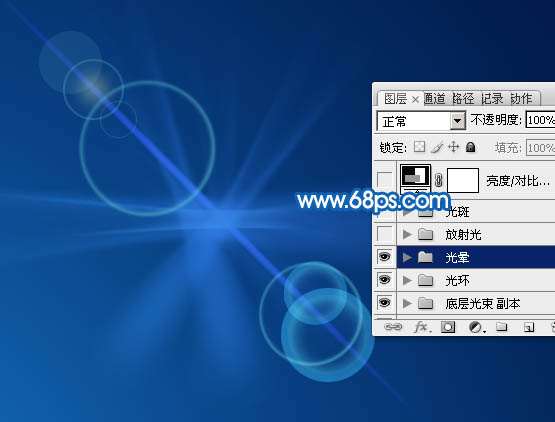
<图34>
28、在组里新建一个图层,用椭圆选框工具拉出下图所示的椭圆选区,羽化15个像素后填充蓝色,并降低图层不透明度,如下图。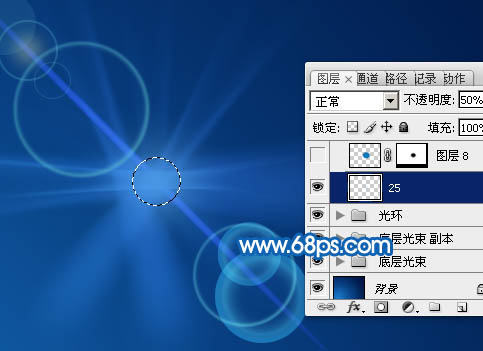
<图35>
29、新建一个图层,同上的方法在中间位置做一个光环,如下图。
<图36>
30、新建一个图层,用椭圆选框工具拉出下图所示的正圆选区,羽化20个像素后填充淡黄色。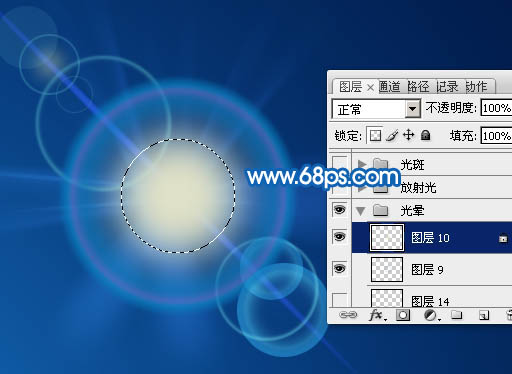
<图37>
31、把组的混合模式改为“变亮”,效果如下图。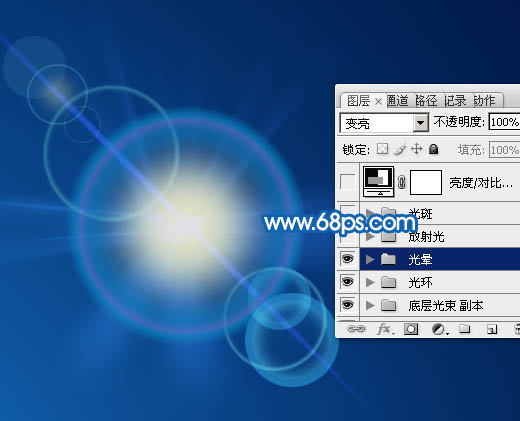
<图38>
32、新建一个组,命名为“放射光”。
<图39>
33、在组里新建一个图层,用椭圆选框工具拉出下图所示的正圆选区,羽化15个像素后填充白色。
<图40>
34、取消选区后把当前图层复制一层,按Ctrl + T 变形处理,如下图。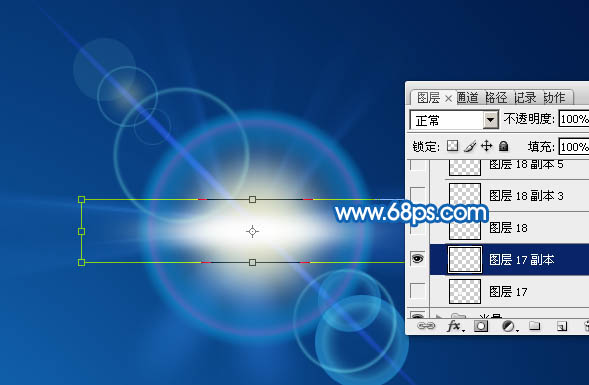
<图41>
35、同样的方法制作其它的光束,如图42,43。
<图42> 
<图43>
36、新建一个组,命名为“光斑”,确定后把混合模式改为“强光”,如下图。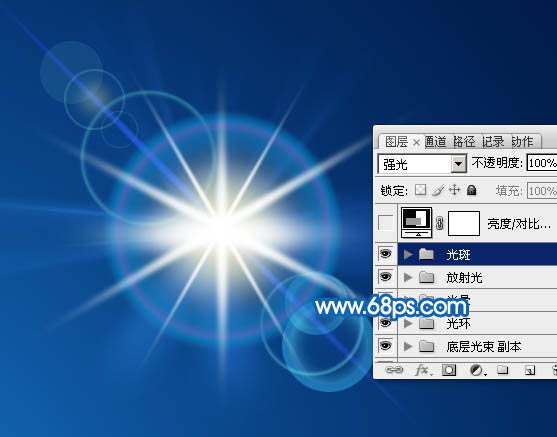
<图44>
37、在组里新建图层,用柔边画笔点上一些彩色的小点,如下图。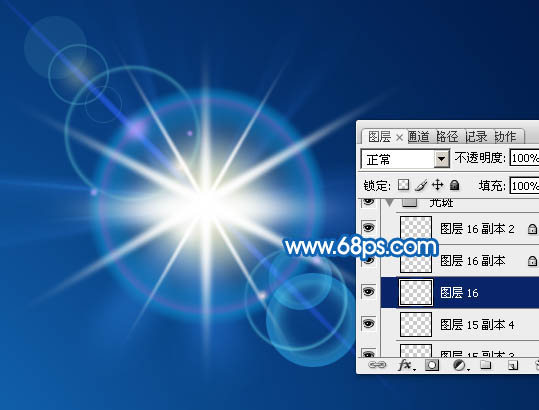
<图45>
最后调整一下细节,完成最终效果。
以上就是Photoshop制作一个漂亮的蓝色透射光晕的内容,更多相关内容请关注PHP中文网(www.php.cn)!

 Photoshop Applications: From Photo Editing to Digital ArtApr 30, 2025 am 12:10 AM
Photoshop is widely used in the fields of image processing and digital art, and is suitable for photo editing and digital art creation. 1. Photo editing: Adjust brightness and contrast Use the "Brightness/Contrast" tool. 2. Digital art: Use brush tools to create paintings. 3. Basic usage: Use the "Red Eye Tool" to remove red eyes. 4. Advanced usage: Use layers and masks for image synthesis. 5. Debug: Recover the lost layers by checking the layer panel. 6. Performance optimization: Adjust memory usage to improve running speed.
 Photoshop's Core Function: Image Editing and ManipulationApr 29, 2025 am 12:17 AM
Photoshop's core functions are image editing and operation, including adjusting the color, brightness, contrast of images, applying filter effects, cropping and adjusting image size, performing image synthesis, etc. 1. Adjust brightness and contrast: Open the image, select the "Adjust" option in the "Image" menu, select "Brightness/Contrast", and adjust the slider. 2. Use the color level adjustment layer and layer mask: Click the "Create a new fill or adjust layer" button, select "Scale", adjust the color level, add a layer mask, and use the brush tool to control the adjustment effect.
 Photoshop: The Power of Raster Graphics EditingApr 28, 2025 am 12:13 AM
Photoshop is a powerful tool for handling raster graphics, and its core functions include layers and masks, filters and adjustments. 1. Layers and masks allow independent editing and non-destructive modifications. 2. Filters and adjustments can quickly change the appearance of the image, but they should be used with caution to avoid affecting the image quality. By mastering these functions and advanced skills, you can greatly improve your image editing and creative abilities.
 Photoshop: A Versatile Tool for Image ManipulationApr 27, 2025 am 12:13 AM
Photoshop is so powerful in the field of image processing because of its versatility and intuitive operating interface. 1) It can handle various tasks from basic adjustment to complex synthesis, such as adjusting brightness and contrast. 2) Working based on layers and masks allows non-destructive editing. 3) Examples of usage include adjusting color balance and creating layer masks. 4) Common errors such as excessive editing can be avoided through the History panel. 5) Performance optimization suggestions include the use of smart objects and shortcut keys.
 Photoshop Trials and Alternatives: Exploring Free AccessApr 26, 2025 am 12:23 AM
Photoshop offers a free 7-day trial period. To maximize the use of the trial period, 1) sign up for multiple Adobe accounts, 2) use the student or education version, and 3) subscribe to Adobe CreativeCloud. Free alternatives include: 1) GIMP, 2) Photopea, 3) Krita, these software can meet daily image editing needs.
 Photoshop for Photographers: Enhancing and Retouching ImagesApr 25, 2025 am 12:01 AM
Enhance and retouching photos in Photoshop can be achieved by adjusting brightness and contrast, using the Repair Brush Tool. 1) Adjust brightness and contrast: Increase brightness and contrast to improve underexposed photos through the Image->Adjustments->Brightness/Contrast menu. 2) Use the Repair Brush Tool: Select HealingBrushTool in the toolbar and apply to remove miscellaneous points or scars in the image.
 Accessing Photoshop: Methods and AvailabilityApr 24, 2025 am 12:07 AM
Photoshop can be obtained by purchasing a permanent license or subscribing to CreativeCloud. 1. Purchase a permanent license for long-term use, no monthly payment, but no latest updates are available. 2. Subscribe to CreativeCloud to access the latest version and other Adobe software, and you need to pay a monthly or annual fee. The choice should be based on frequency of use and requirements.
 What Photoshop Does Best: Common Tasks and ProjectsApr 23, 2025 am 12:06 AM
Photoshop is specialized in image editing, layering and masking, digital painting and a variety of design applications. 1) Image editing and repair: remove defects and adjust color and brightness. 2) Layers and masks: non-destructive editing and creation. 3) Digital paintings and illustrations: create art works. 4) Practical applications: graphic design, web design and digital art creation.


Hot AI Tools

Undresser.AI Undress
AI-powered app for creating realistic nude photos

AI Clothes Remover
Online AI tool for removing clothes from photos.

Undress AI Tool
Undress images for free

Clothoff.io
AI clothes remover

Video Face Swap
Swap faces in any video effortlessly with our completely free AI face swap tool!

Hot Article
Hot Tools

MantisBT
Mantis is an easy-to-deploy web-based defect tracking tool designed to aid in product defect tracking. It requires PHP, MySQL and a web server. Check out our demo and hosting services.

EditPlus Chinese cracked version
Small size, syntax highlighting, does not support code prompt function

SublimeText3 English version
Recommended: Win version, supports code prompts!

SublimeText3 Linux new version
SublimeText3 Linux latest version

Notepad++7.3.1
Easy-to-use and free code editor

