


本文教大家用PS制作倒影水面效果方法,有兴趣的一起动手试试吧
教程介绍倒影的制作方法非常实用。过程:把原始图片高度扩大一倍,并把原始副本图片垂直翻转并对接;然后用模糊滤镜及涂抹工具做出初步的水纹等;再用多组滤镜做出类似水纹纹理并叠加到倒影层即可。
最终效果 
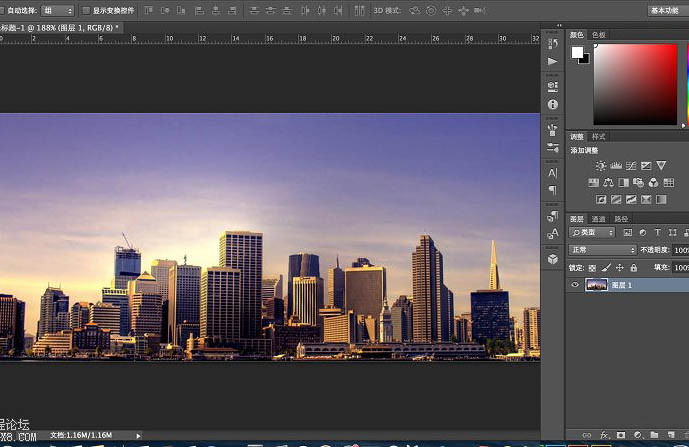
1、打开需要用到的素材图片。 
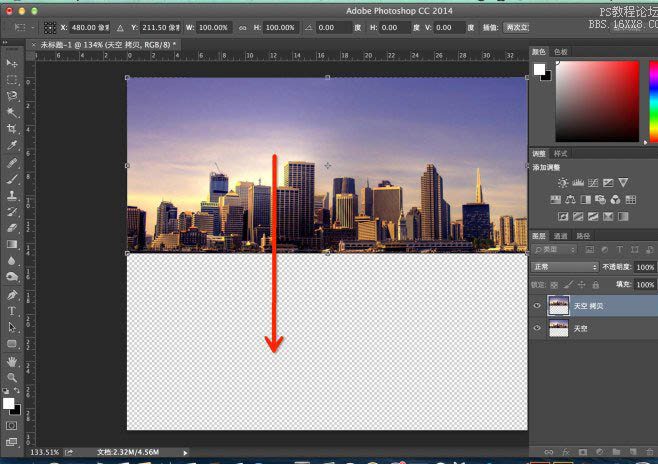
2、修改画布大小,将单位改为“百分比”,高度改为“200”;由于制作的倒影是向下延展,所以定位方向向下,鼠标点击定位中的小圆点位置。 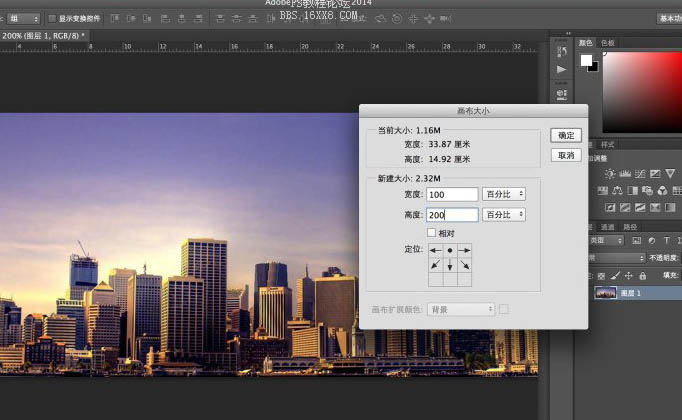
3、按上述方法设置后,点击确定,得到下图效果所示后,拷贝“天空”层,command+J或ctrl+J获得。 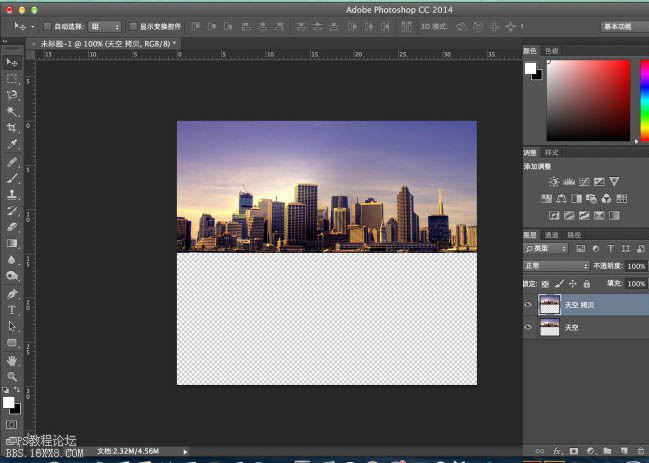
4、调出变形工具,按住变形框顶端的中心点向下拉,翻转图片。 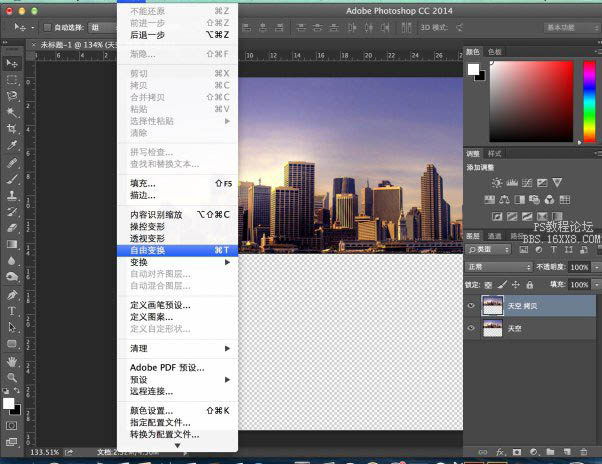
5、翻转后效果。 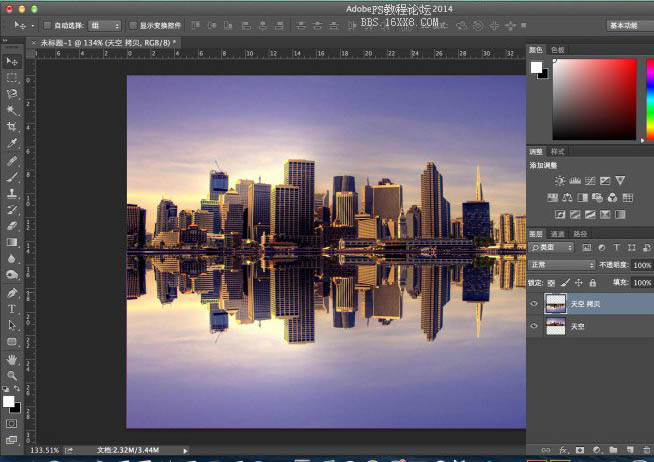
6、拷贝倒影层备用。 
7、倒影拷贝层,添加动感模糊效果。 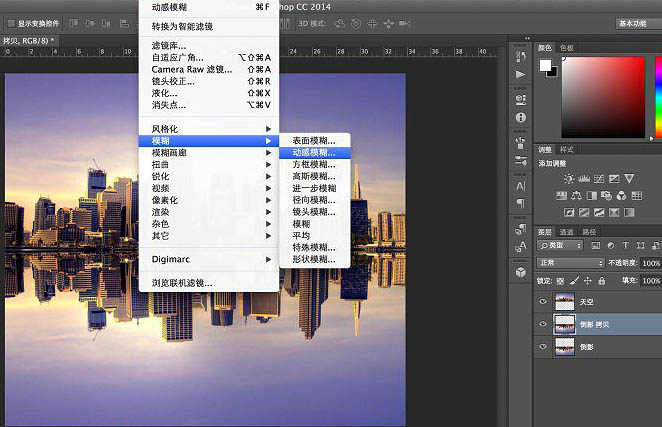
8、动感模糊的参数设置,如红框所示,距离的数值根据图片大小不同,设置稍有变化。感官上看到模糊效果稍微偏出了原有图像就差不多了,后面做的波纹弯曲效果会比较逼真。 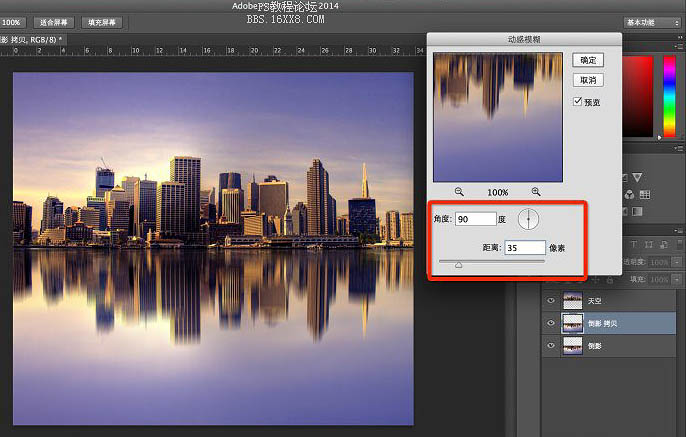
9、将两个倒影层合并。这里为何要多拷贝一个倒影层呢?设置动感模糊后,图像中的像素会发生位移,就会产生透明区域,这样与“天空”层的衔接位就不连贯了,并且上述提到动感模糊的参数设置足够就好,过大的话也会影响上下两图之间的拼合位过渡不自然。 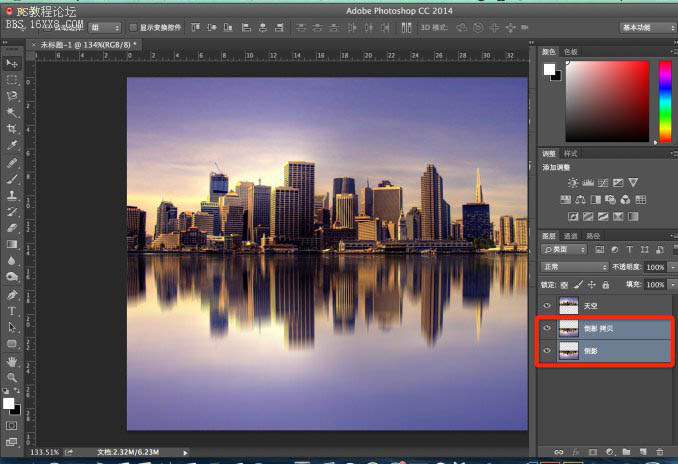
10、现在开始让倒影更加逼真,点选涂抹工具,参数看红框所示;在倒影层不同水平线上,横向涂抹2-3次,使得画面产生弯曲效果。可能会有同学说,这个弯曲效果太大了,应该小点多点,这个呢给大家演示的是方法,至于不同意见,大家可以根据自己喜好调整吧,萝卜白菜各有所爱。 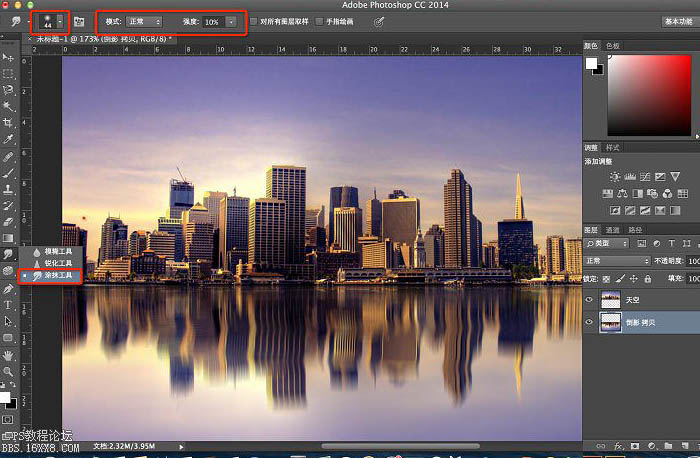
11、新建一个图层,填充前景色。为制作水面纹理准备。 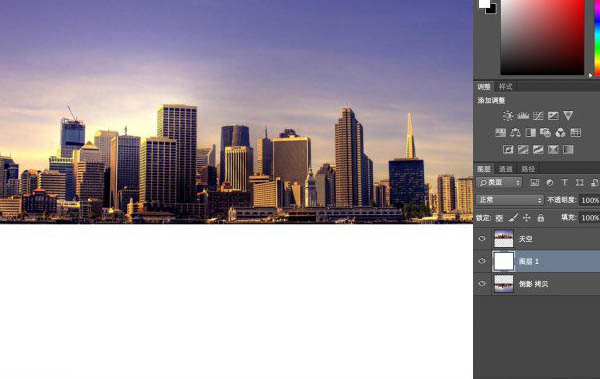
12、点选滤镜栏-杂色-添加杂色,数量大家可以根据感觉调整,这里建议不超过170,选择高斯分布和单色。 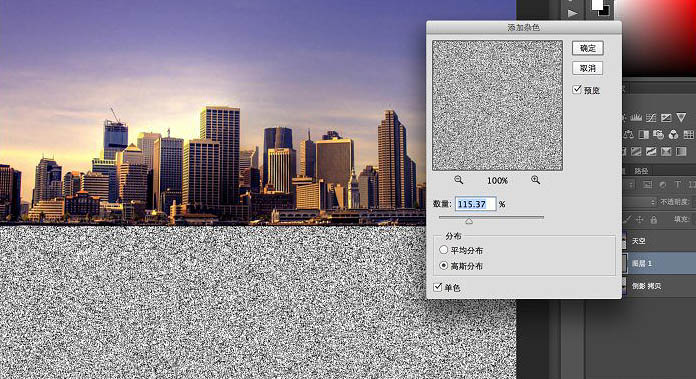
13、在滤镜里调出动感模糊,参数如上所示。 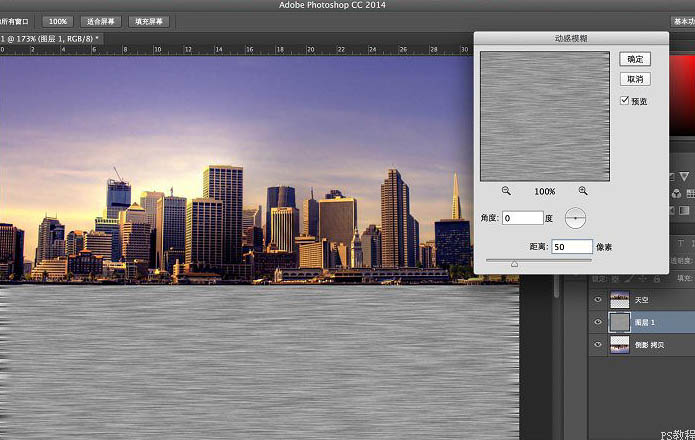
14、command+L,调出色阶命令,调整明暗的对比,如上图所示效果就差不多,过黑的话后面图层混合效果就会偏黑,水纹的纹理不自然(如果是黑夜的水纹倒影,暗场数值高点可能会比较合适,有兴趣的同学不妨试试)。 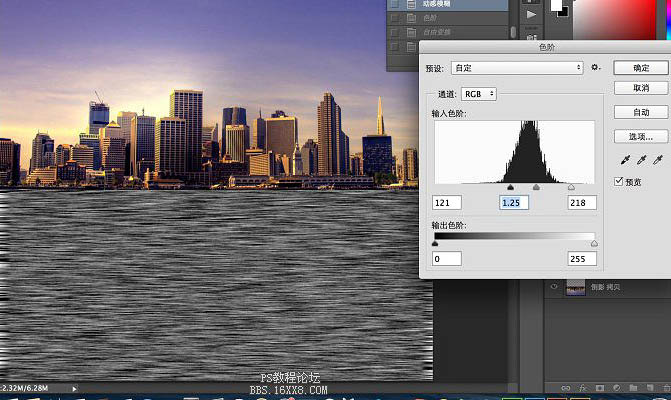
15、调整完后,我们再来做一个透视效果,令这个水纹更自然和谐点。选择变幻-透视,将编辑框顶部向内收缩,底部向外拉,如上图所示,回车确定。 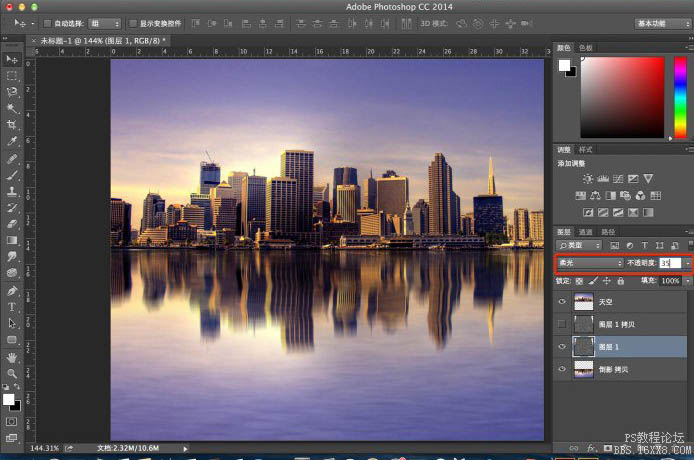
16、让波纹间的纹理过渡更加自然柔和些,滤镜-模糊-高斯模糊,半径2像素即可,稍微有点效果就好了。 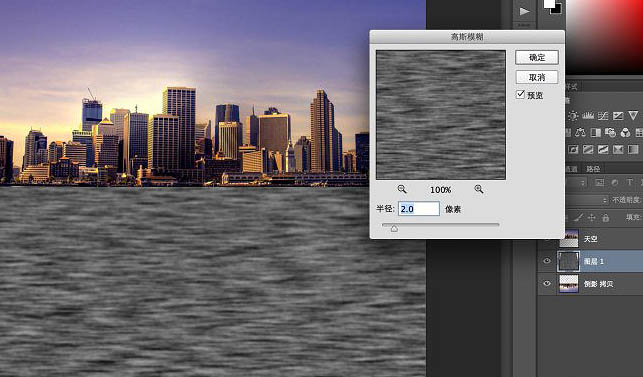
17、拷贝多一个纹理层(即图层1 拷贝)备用,为后面的纹理间的过渡对比更好看点。 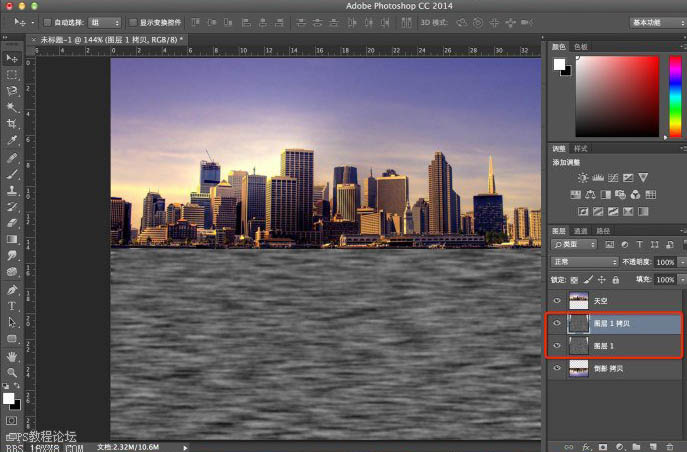
18、下面的纹理层混合模式选择柔光,不透明度35%,看感觉而定。波纹的效果已经显现出来了。
19、将图层1 拷贝反相处理,command+I或ctrl+I。 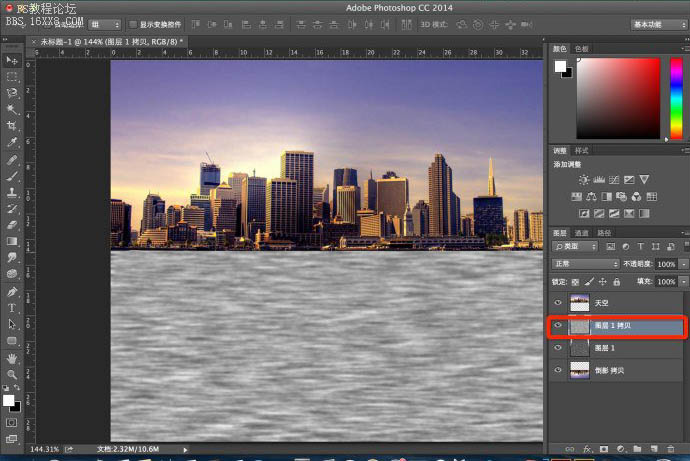
20、图层混合模式-叠加,不透明度35%。 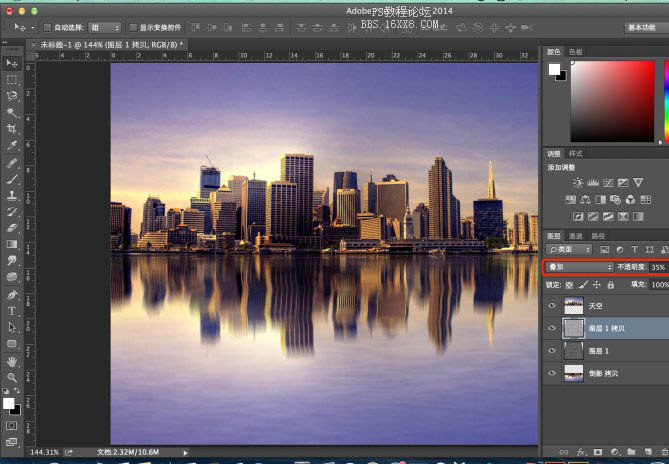
21、选择移动工具,或直接按V键,然后按“向下”方向键,移动“图层1拷贝”(按几下随意,我按了一下而已哟),错开两个纹理间重合区域,增强对比效果。(如果想对纹理明暗效果再进行微调,可以点选加深工具,曝光度10%-20%为宜,在两个纹理层里涂抹)。 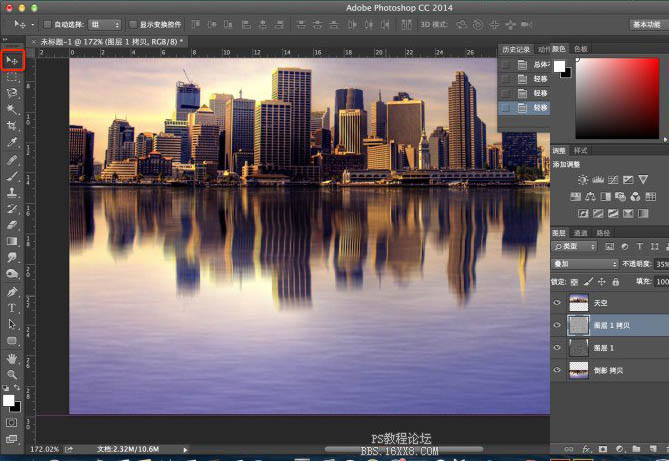
22、盖印图片,选择渐变工具,如上图红框所示,由图片底部起至图片中心处止,拉出黑色渐变。 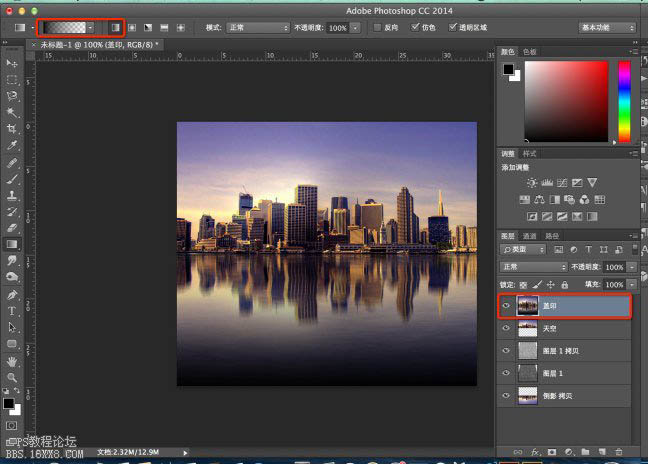
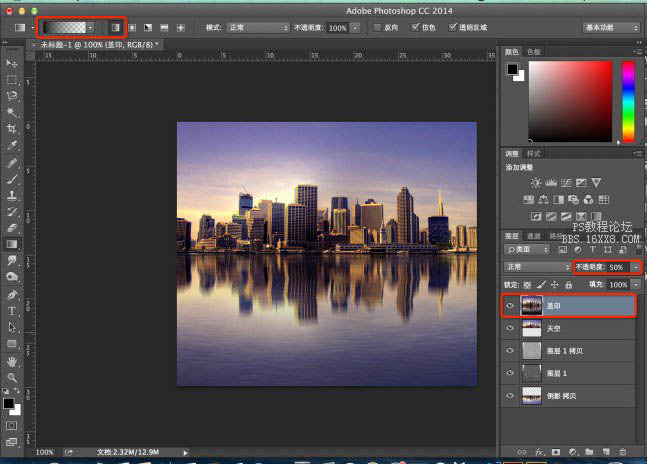
23、不透明度设为50%,这里的参数大点小点看自己想要的感觉,然后确定。整体的明暗效果就自然了!。
最终效果:


 Photoshop: Investigating Free Trials and Discount OptionsApr 14, 2025 am 12:06 AM
You can get the access to Photoshop in the most economical way: 1. Experience the software features with a 7-day free trial; 2. Find student or teacher discounts, as well as seasonal promotions; 3. Use coupons on third-party websites; 4. Subscribe to Adobe CreativeCloud's monthly or annual plan.
 Photoshop for Designers: Creating Visual ConceptsApr 13, 2025 am 12:09 AM
Creating visual concepts in Photoshop can be achieved through the following steps: 1. Create a new document, 2. Add a background layer, 3. Use the brush tool to draw basic shapes, 4. Adjust colors and brightness, 5. Add text and graphics, 6. Use masks for local editing, 7. Apply filter effects, these steps help designers build a complete visual work from scratch.
 Is Photoshop Free? Understanding Subscription PlansApr 12, 2025 am 12:11 AM
Photoshop is not free, but there are several ways to use it at low cost or free: 1. The free trial period is 7 days, and you can experience all functions during this period; 2. Student and teacher discounts can cut costs by half, and school proof is required; 3. The CreativeCloud package is suitable for professional users and includes a variety of Adobe tools; 4. PhotoshopElements and Lightroom are low-cost alternatives, with fewer functions but lower prices.
 Photoshop's Value: Weighing the Cost Against Its FeaturesApr 11, 2025 am 12:02 AM
Photoshop is worth the investment because it provides powerful features and a wide range of application scenarios. 1) Core functions include image editing, layer management, special effects production and color adjustment. 2) Suitable for professional designers and photographers, but amateurs may consider alternatives such as GIMP. 3) Subscribe to AdobeCreativeCloud can be used as needed to avoid high one-time spending.
 The Core Purpose of Photoshop: Creative Image DesignApr 10, 2025 am 09:29 AM
Photoshop’s core use in creative image design is its powerful functionality and flexibility. 1) It allows designers to transform creativity into visual reality through layers, masks and filters. 2) Basic usages include cropping, resizing and color correction. 3) Advanced usages such as layer styles, blend modes and smart objects can create complex effects. 4) Common mistakes include improper layer management and excessive use of filters, which can be solved by organizing layers and using filters reasonably. 5) Performance optimization and best practices include rational use of layers, regular saving of files, and using shortcut keys.
 Photoshop for Web Design: Advanced Techniques for UI/UXApr 08, 2025 am 12:19 AM
Photoshop can be used in web design to create high-fidelity prototypes, design UI elements, and simulate user interactions. 1. Use layers, masks and smart objects for basic design. 2. Simulate user interaction through animation and timeline functions. 3. Use scripts to automate the design process and improve efficiency.
 Newbie's article: Use the ps brush to add crack effects to the font (share)Apr 07, 2025 am 06:21 AM
In the previous article "Teaching you step by step to add printing effects to plate images using ps (Favorites)", I introduced a small trick to use ps to add printing effects to plate images using ps. The following article will introduce to you how to use the ps brush to add crack effects to the font. Let’s take a look at how to do it.
 Photoshop Advanced Typography: Creating Stunning Text EffectsApr 07, 2025 am 12:15 AM
In Photoshop, you can create text effects through layer styles and filters. 1. Create a new document and add text. 2. Apply layer styles such as shadows and outer glow. 3. Use filters such as wave effects and add bevel and relief effects. 4. Use masks to adjust the effect range and intensity to optimize the visual impact of the text effect.


Hot AI Tools

Undresser.AI Undress
AI-powered app for creating realistic nude photos

AI Clothes Remover
Online AI tool for removing clothes from photos.

Undress AI Tool
Undress images for free

Clothoff.io
AI clothes remover

AI Hentai Generator
Generate AI Hentai for free.

Hot Article
Hot Tools

MantisBT
Mantis is an easy-to-deploy web-based defect tracking tool designed to aid in product defect tracking. It requires PHP, MySQL and a web server. Check out our demo and hosting services.

Atom editor mac version download
The most popular open source editor

SublimeText3 Linux new version
SublimeText3 Linux latest version

DVWA
Damn Vulnerable Web App (DVWA) is a PHP/MySQL web application that is very vulnerable. Its main goals are to be an aid for security professionals to test their skills and tools in a legal environment, to help web developers better understand the process of securing web applications, and to help teachers/students teach/learn in a classroom environment Web application security. The goal of DVWA is to practice some of the most common web vulnerabilities through a simple and straightforward interface, with varying degrees of difficulty. Please note that this software

mPDF
mPDF is a PHP library that can generate PDF files from UTF-8 encoded HTML. The original author, Ian Back, wrote mPDF to output PDF files "on the fly" from his website and handle different languages. It is slower than original scripts like HTML2FPDF and produces larger files when using Unicode fonts, but supports CSS styles etc. and has a lot of enhancements. Supports almost all languages, including RTL (Arabic and Hebrew) and CJK (Chinese, Japanese and Korean). Supports nested block-level elements (such as P, DIV),

