


制作海报之前,可以找一些设计不错的版式参考一下,其中一些构图、装饰元素、字体排版等都可以转为己用,有素材的可以使用素材,没有的就自己动手绘制。
最终效果
1、新建大小自定的画布,新建图层开始画帷幕。用钢笔工具抠外形,填充色块、渐变和阴影。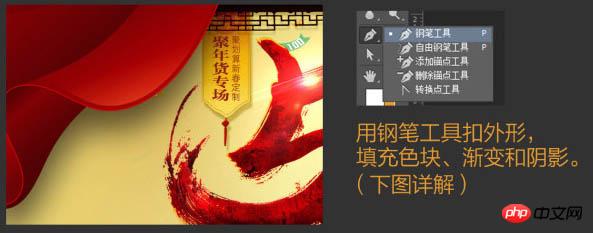
2、把帷幕分成两个部分,如图1、2分开做。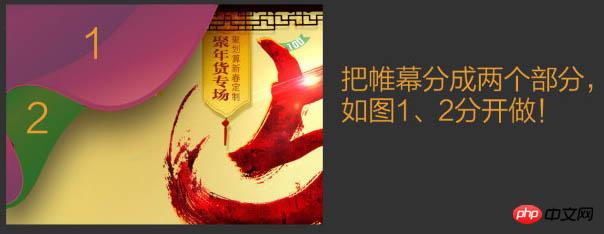
3、用钢笔勾出1部分的外形,就叫图层1。新建图层,剪贴到图层1上,再用画笔在新建图层上填充亮色,颜色自定。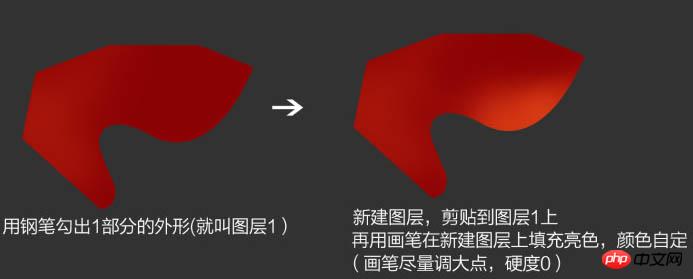
4、新建一个图层,继续剪切到下面的图层1上,用钢笔勾出褶皱的部分,大小和白线图所画,用画笔在新建图层上用黑色画笔填充黑色。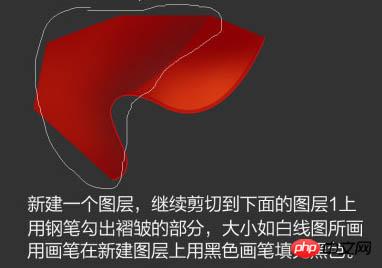
5、给图层1添加描边和内发光,参数如下。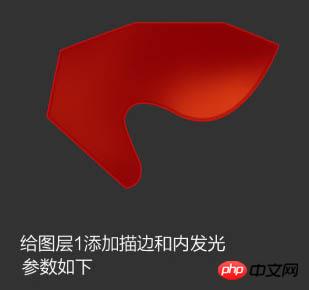

6、去掉不要的地方描边效果,右键点击图层1的这个图标,选择“创建图层”,然后左边的两个图层样式会变成两个图层,然后在各自的图层上添加蒙版,擦掉不要的地方。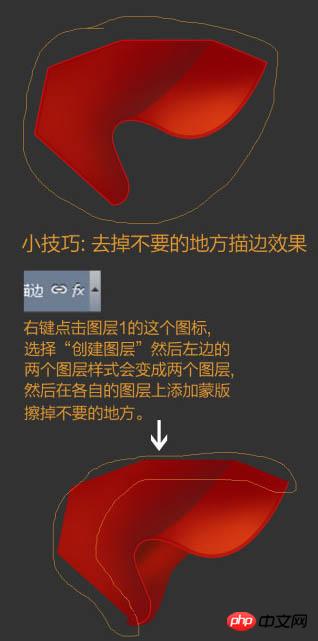
7、用画笔勾出2部分外形命名图层2,图层2放到图层1的下面。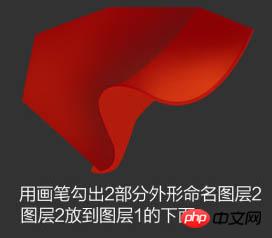
8、新建图层剪切到图层2,用画笔填充暗色部分。
9、帷幕部分完成的效果如下。
10、画桌面:新建图层填充黑色,剪切到红色背景图层。
11、高斯模糊黑色图层,数值在30左右,然后降低不透明度,数值自定。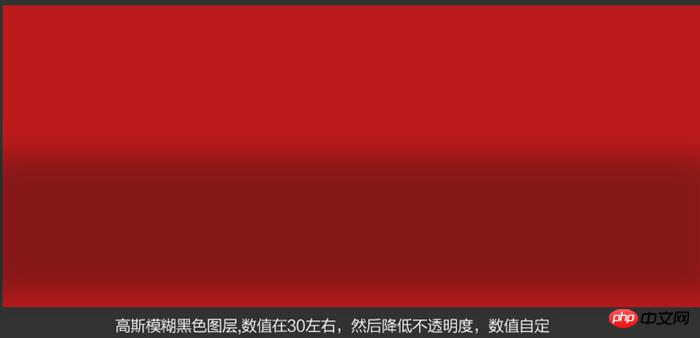
12、给黑色图层建蒙版,用黑色画笔给过渡下,再复制一个黑色图层,放到红色图层顶部。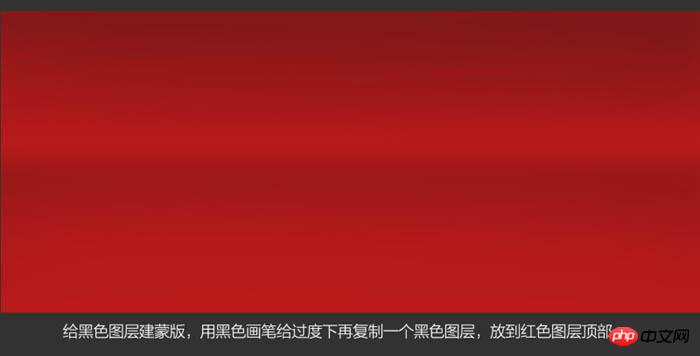
13、给桌面添加高光边,新建白色图层,如图,再高斯模糊,数值在8左右。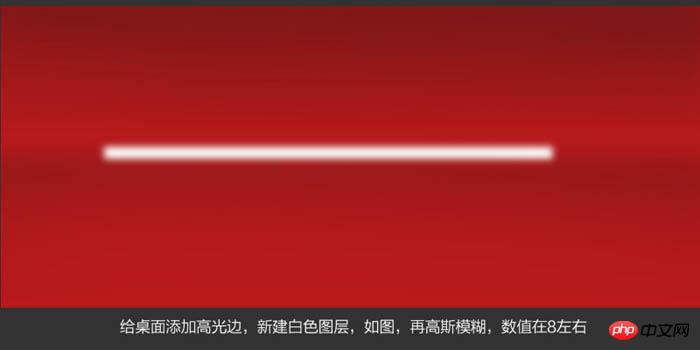
14、给白边添加动感模糊,角度0,数值自定,图层模式改为“叠加”,然后再复制一层增加亮度,如果觉得太亮可以降低不透明度。
15、在添加文案元素,到这一步就算完成一小半了。
16、新建白色图层自定义大小,添加杂色,数值180左右。
17、执行动感模糊,数值350左右,再用液化工具扭曲纹理,再用色阶或者曲线增加画面的明暗对比度。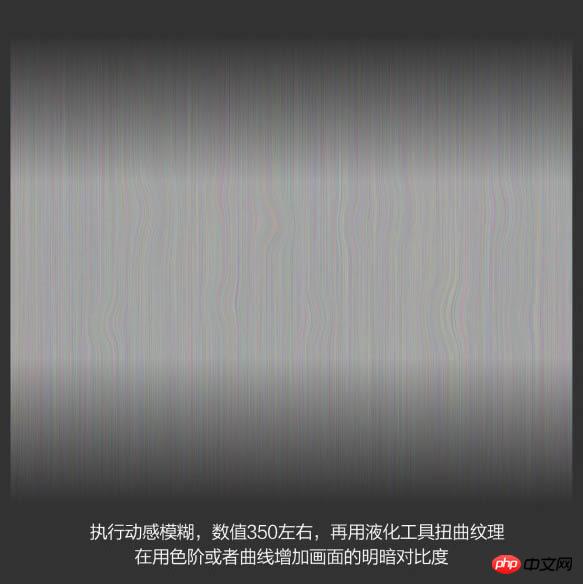
18、在纹理层下面新建长方形填充白色,把纹理层剪贴到此图层。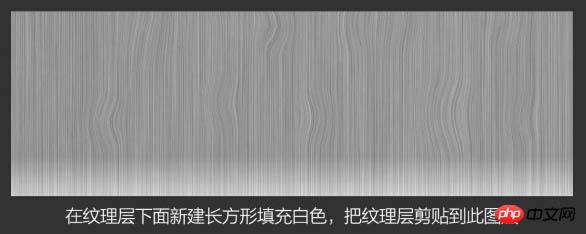
19、在纹理层上新建图层填充黄色,图层模式改为“叠加”,剪贴到下图层,选中纹理层,执行色阶或曲线,增加纹理的明暗对比。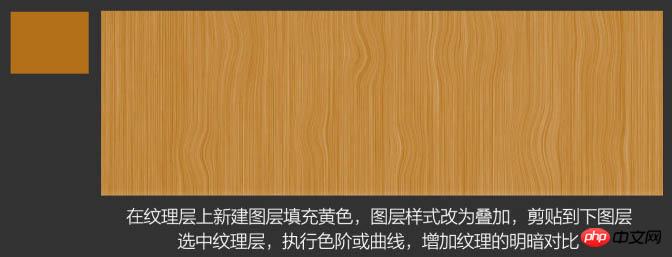
20、新建如图两个长方形,添加透视,把木质纹理分别剪切进去。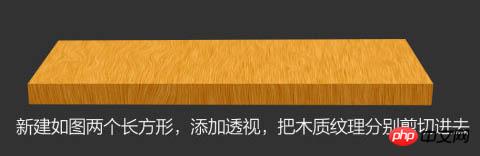
21、给木板添加亮边,方法见前面桌面制作方法,给下面木板添加暗色,图层样式为叠加。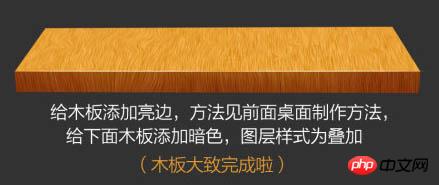
22、做到这里,就开始增加投影了,产品图片可以网上找。
23、给产品添加投影。
24、添加桌面光照效果。
25、添加两个小福袋。
26、添加些彩带,添加气氛。
27、给整个画面用曲线调整下对比度。
最终效果:

 Photoshop for Designers: Creating Visual ConceptsApr 13, 2025 am 12:09 AM
Creating visual concepts in Photoshop can be achieved through the following steps: 1. Create a new document, 2. Add a background layer, 3. Use the brush tool to draw basic shapes, 4. Adjust colors and brightness, 5. Add text and graphics, 6. Use masks for local editing, 7. Apply filter effects, these steps help designers build a complete visual work from scratch.
 Is Photoshop Free? Understanding Subscription PlansApr 12, 2025 am 12:11 AM
Photoshop is not free, but there are several ways to use it at low cost or free: 1. The free trial period is 7 days, and you can experience all functions during this period; 2. Student and teacher discounts can cut costs by half, and school proof is required; 3. The CreativeCloud package is suitable for professional users and includes a variety of Adobe tools; 4. PhotoshopElements and Lightroom are low-cost alternatives, with fewer functions but lower prices.
 Photoshop's Value: Weighing the Cost Against Its FeaturesApr 11, 2025 am 12:02 AM
Photoshop is worth the investment because it provides powerful features and a wide range of application scenarios. 1) Core functions include image editing, layer management, special effects production and color adjustment. 2) Suitable for professional designers and photographers, but amateurs may consider alternatives such as GIMP. 3) Subscribe to AdobeCreativeCloud can be used as needed to avoid high one-time spending.
 The Core Purpose of Photoshop: Creative Image DesignApr 10, 2025 am 09:29 AM
Photoshop’s core use in creative image design is its powerful functionality and flexibility. 1) It allows designers to transform creativity into visual reality through layers, masks and filters. 2) Basic usages include cropping, resizing and color correction. 3) Advanced usages such as layer styles, blend modes and smart objects can create complex effects. 4) Common mistakes include improper layer management and excessive use of filters, which can be solved by organizing layers and using filters reasonably. 5) Performance optimization and best practices include rational use of layers, regular saving of files, and using shortcut keys.
 Photoshop for Web Design: Advanced Techniques for UI/UXApr 08, 2025 am 12:19 AM
Photoshop can be used in web design to create high-fidelity prototypes, design UI elements, and simulate user interactions. 1. Use layers, masks and smart objects for basic design. 2. Simulate user interaction through animation and timeline functions. 3. Use scripts to automate the design process and improve efficiency.
 Newbie's article: Use the ps brush to add crack effects to the font (share)Apr 07, 2025 am 06:21 AM
In the previous article "Teaching you step by step to add printing effects to plate images using ps (Favorites)", I introduced a small trick to use ps to add printing effects to plate images using ps. The following article will introduce to you how to use the ps brush to add crack effects to the font. Let’s take a look at how to do it.
 Photoshop Advanced Typography: Creating Stunning Text EffectsApr 07, 2025 am 12:15 AM
In Photoshop, you can create text effects through layer styles and filters. 1. Create a new document and add text. 2. Apply layer styles such as shadows and outer glow. 3. Use filters such as wave effects and add bevel and relief effects. 4. Use masks to adjust the effect range and intensity to optimize the visual impact of the text effect.
 How to cut picturesApr 06, 2025 pm 10:27 PM
Cutting is the process of removing the background part in the image and leaving the subject behind. Common cutout methods include: manual cutout: use image editing software to manually outline the edge of the subject. Automatic cutout: Use software to automatically identify the subject and separate it from the background. Use third-party cutout tools: use special tools to cut out images. Channel cutout: Use the channel of the image to segment and select channels with obvious differences from the subject color for operation.


Hot AI Tools

Undresser.AI Undress
AI-powered app for creating realistic nude photos

AI Clothes Remover
Online AI tool for removing clothes from photos.

Undress AI Tool
Undress images for free

Clothoff.io
AI clothes remover

AI Hentai Generator
Generate AI Hentai for free.

Hot Article
Hot Tools

DVWA
Damn Vulnerable Web App (DVWA) is a PHP/MySQL web application that is very vulnerable. Its main goals are to be an aid for security professionals to test their skills and tools in a legal environment, to help web developers better understand the process of securing web applications, and to help teachers/students teach/learn in a classroom environment Web application security. The goal of DVWA is to practice some of the most common web vulnerabilities through a simple and straightforward interface, with varying degrees of difficulty. Please note that this software

VSCode Windows 64-bit Download
A free and powerful IDE editor launched by Microsoft

MinGW - Minimalist GNU for Windows
This project is in the process of being migrated to osdn.net/projects/mingw, you can continue to follow us there. MinGW: A native Windows port of the GNU Compiler Collection (GCC), freely distributable import libraries and header files for building native Windows applications; includes extensions to the MSVC runtime to support C99 functionality. All MinGW software can run on 64-bit Windows platforms.

ZendStudio 13.5.1 Mac
Powerful PHP integrated development environment

WebStorm Mac version
Useful JavaScript development tools

