


本教程主要使用Photoshop制作红色机尾好莱坞电影海报,春节期间,每天都会有一篇好莱坞经典大片的海报教程放出,电影质量都相当高,看完再练手,涨姿势放松身心两不误。第五部电影是豆瓣评分6.4的《红色机尾》,热门短评:本片是1994年以来卢卡斯影业打造的首部非《夺宝奇兵》及《星球大战》题材的影片。好了,下面我们一起来看看吧!
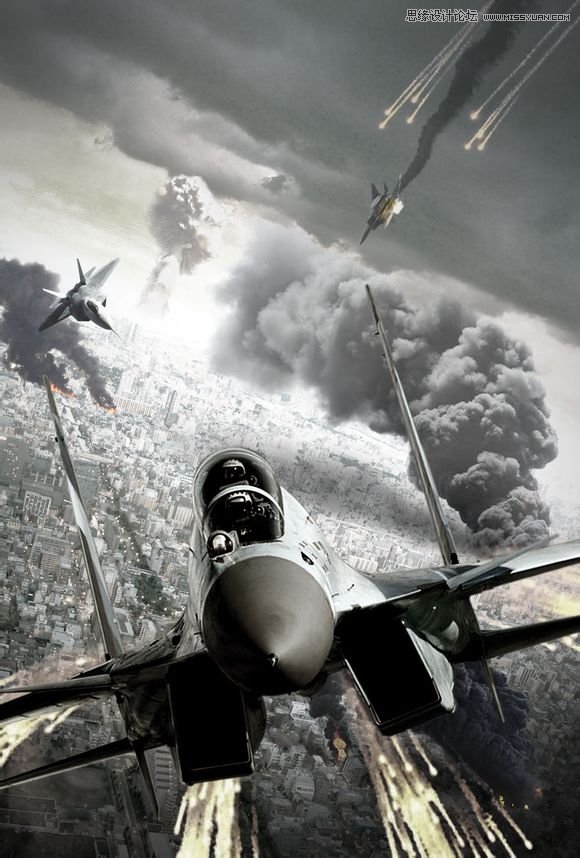
最终效果图:
注:教程重在思路,素材同学们找自己喜欢的就行咯。
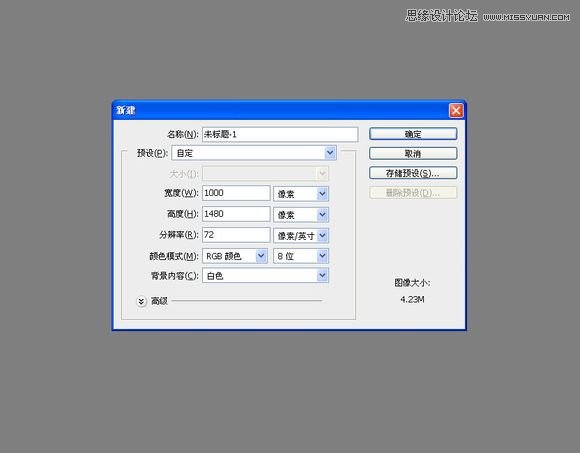
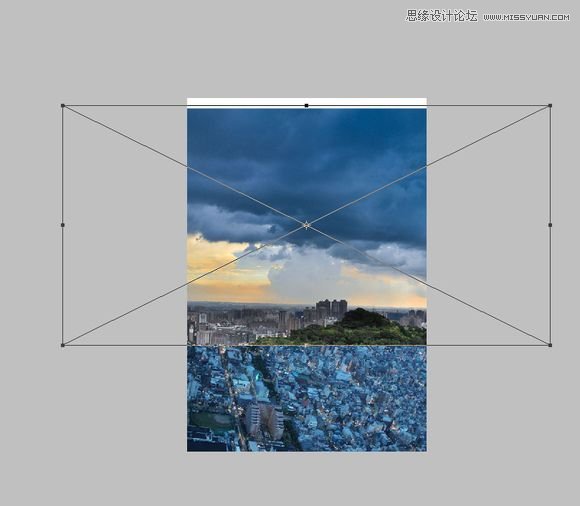
新建一个宽1000,高1480,72分辨率的新画布。
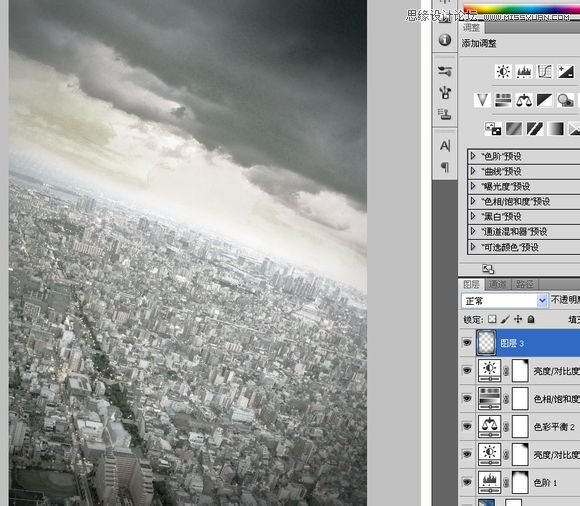
置入一张鸟瞰城市图。
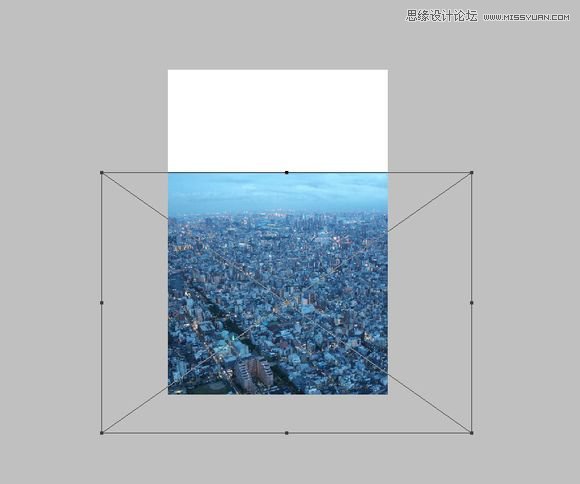
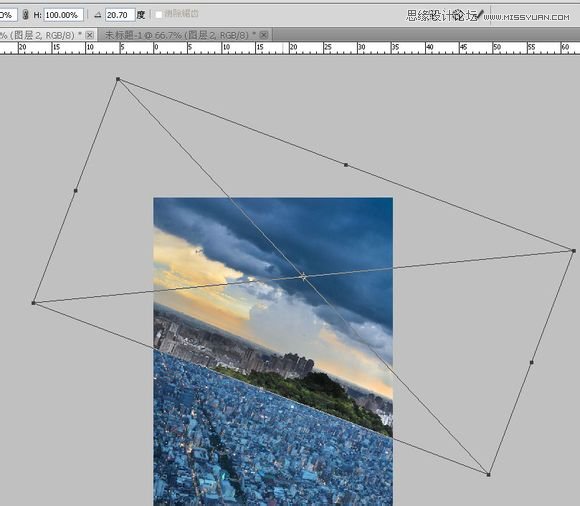
旋转一下,让地平线倾斜一点使画面更具动感,我旋转了20.7度。为什么不是21或者是20?这里很奇妙,这是一种心理毛病,俗称“先入为主”,当我觉得这个角度让我感觉很舒服的时候,再去改变那怕一点点的角度都让我受不了。
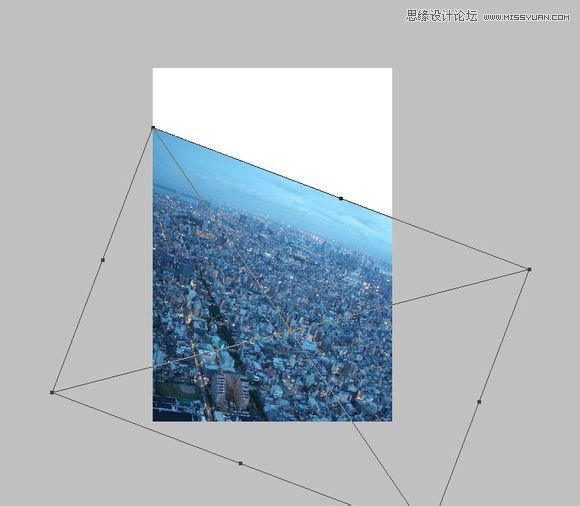
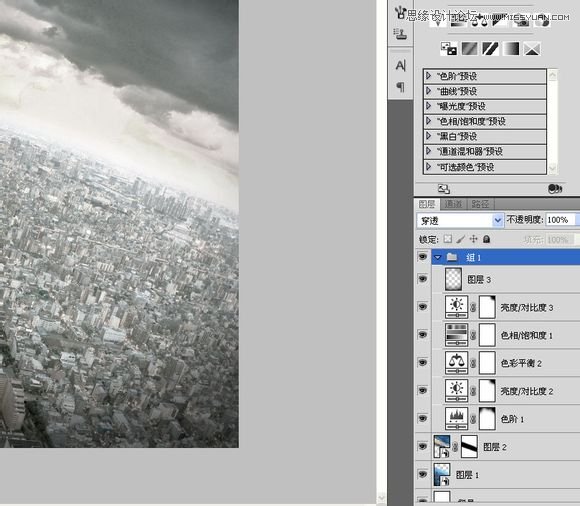
继续置入一张天空图。
跟前面的城市鸟瞰图一样,天空也旋转20.7度,统一视角角度。
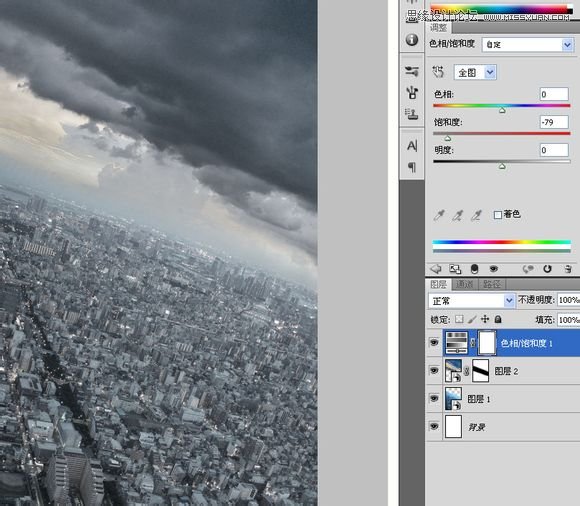
在天空层添加一个蒙版,选择合适的笔刷,让地平线的过度尽可能的自然、真实。

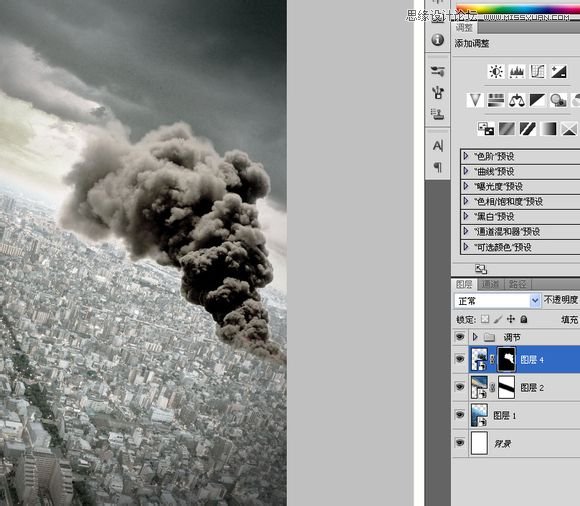
点击下面的黑白图标添加一个色相饱和度调节图层,我把饱和度调低一点。
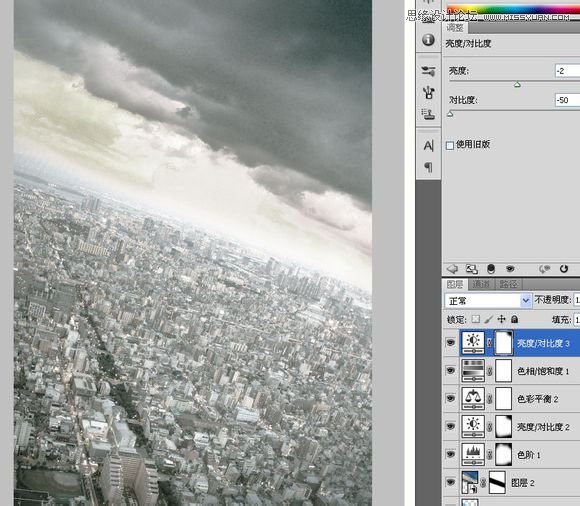
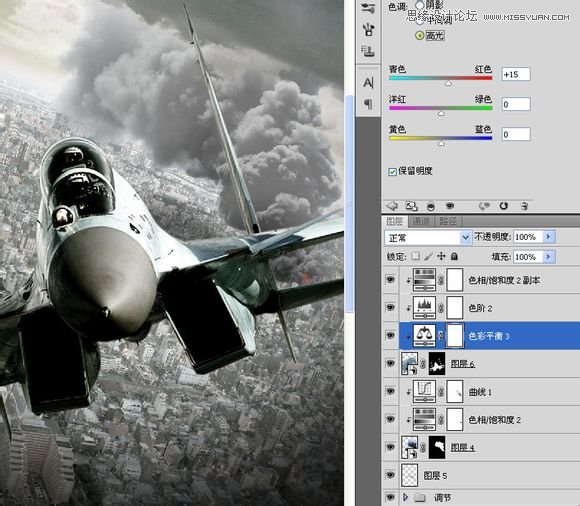
接着我使用了一大堆的调节层来让整个画面显得更加的压抑和颓废,表现战争时的残酷和无情。
继续新建一层,用黑色画笔在四周涂一些,让各个角落再暗一点。
当主色调完成后,你可以把上面几个调节层和四角暗色层打包成组,让界面简洁点。
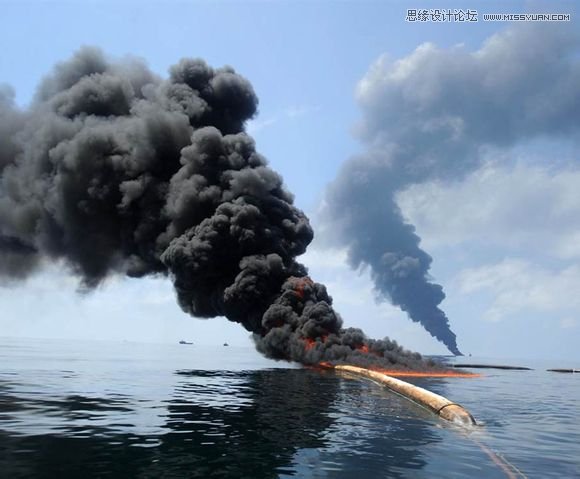
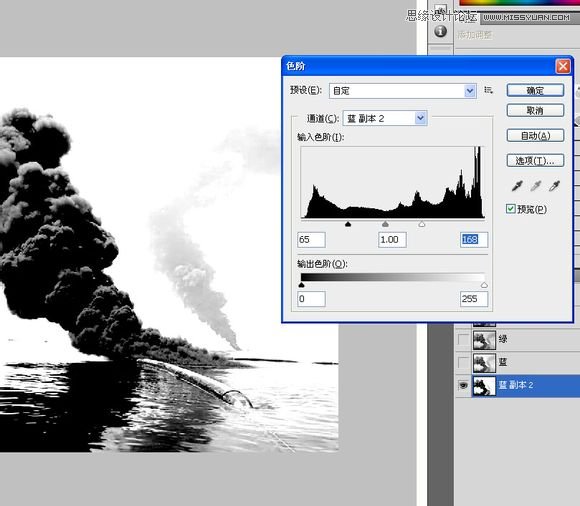
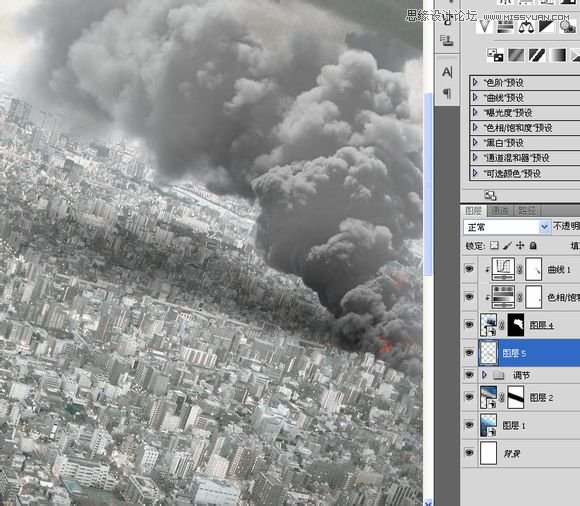
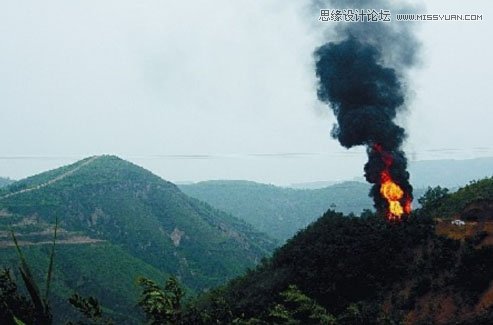
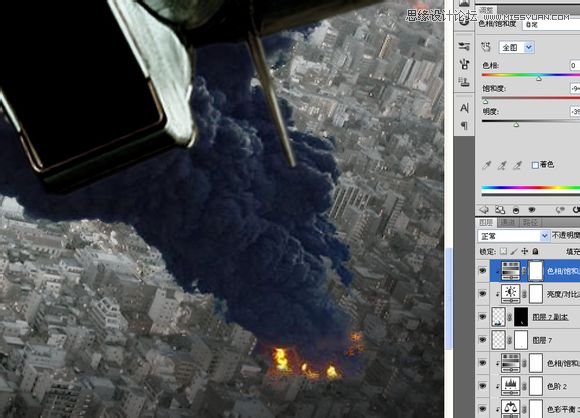
之后我花了很多时间到处去寻找那种当建筑物遭到轰炸之后冒起的浓烟图片,这张很合我的标准,不用理会海面,你可以在通道里只选择烟雾。
复制蓝色通道,我认为蓝色通道最适合来处理。现在我有个总结:通道就是对比度。不知道有没有人表示反对。
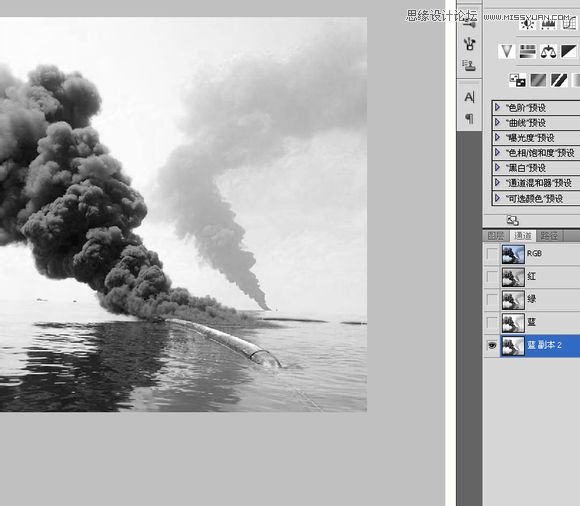
几乎只用色阶或者曲线稍微处理一下就可以了。
按CTRL+I反色,用黑色画笔把海面波浪和远处的烟雾涂黑,烟雾中透明色则用白色涂白。
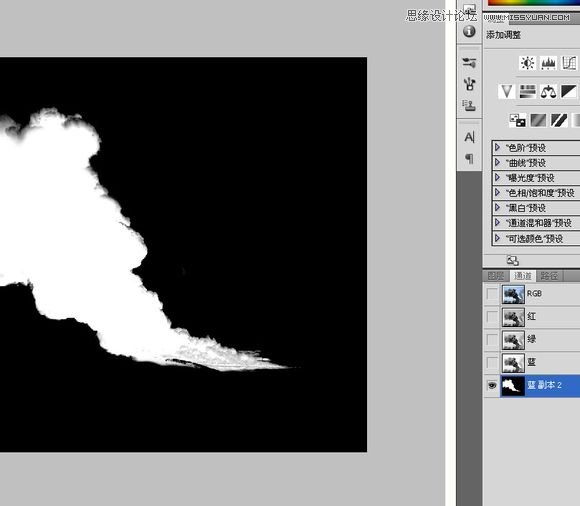
CTRL+鼠标左键取得选区,在烟雾图层里添加蒙版。
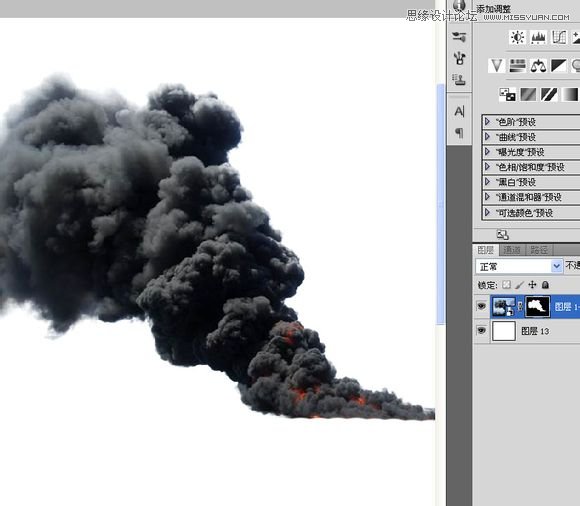
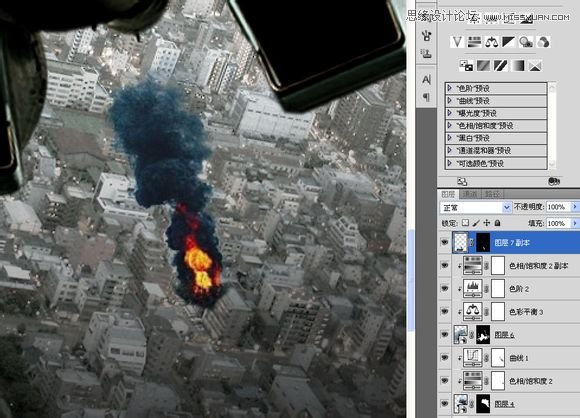
把这个复制过来的烟雾层调整一下大小和角度。
在烟雾层下面再新建一层,用黑色画笔按烟雾飘散的方向画一些阴影,鉴于当时光照有限,这个遮天蔽日的烟雾投下的阴影也应该不是很明显。
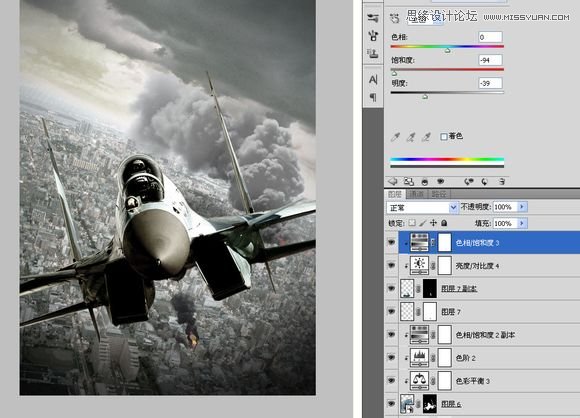
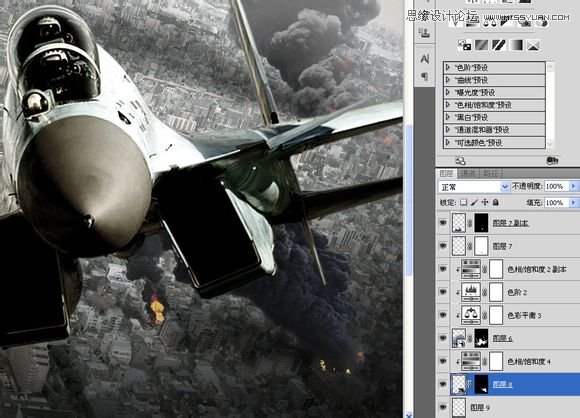
找到一架歼11,我们天朝山寨过来的俄罗斯SU27,当大家看到这种性质的图时,别去纠结什么通道到底怎么抠之类让人头疼的问题,肯定是钢笔来抠来得快。
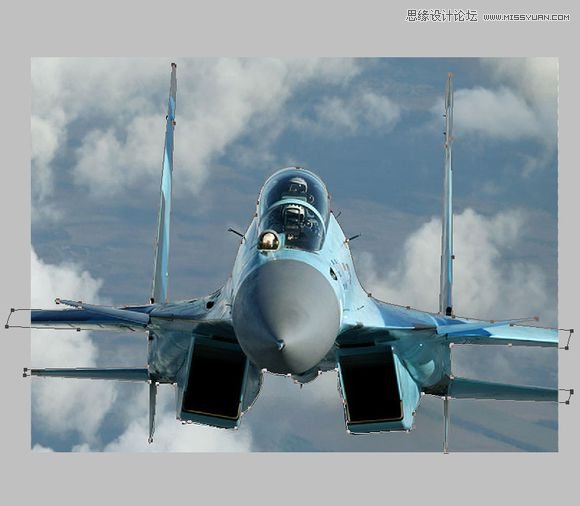
复制到“空战”画布中,调整好位置和大小。
像前面处理烟雾一样,给它添加几个调节层,降低饱和度。用色阶增加对比度,而且还用了色彩平衡让飞机的色彩接近整体色调。
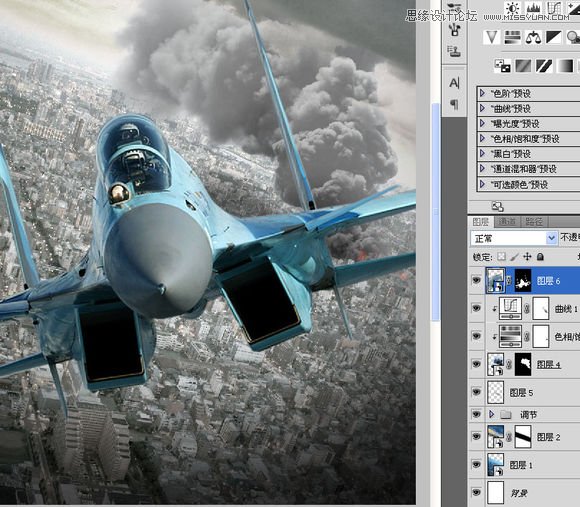
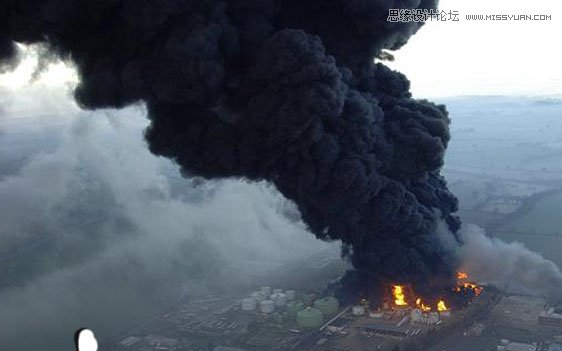
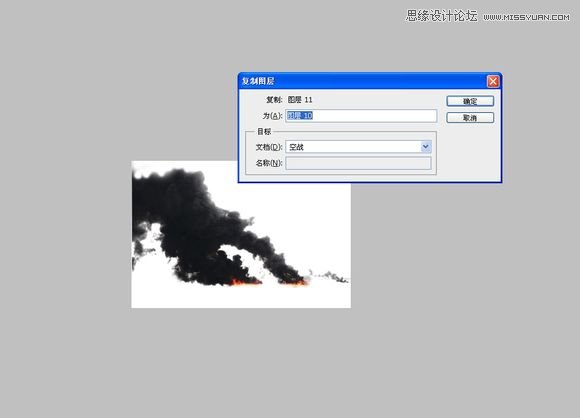
为了表现战斗的激烈程度,我到处寻找烟雾图。
通道处理一下,复制到“空战”中,摆好位置。
调整一下烟雾的颜色和对比度,跟刚才的烟雾一样,它也应该有些阴影。
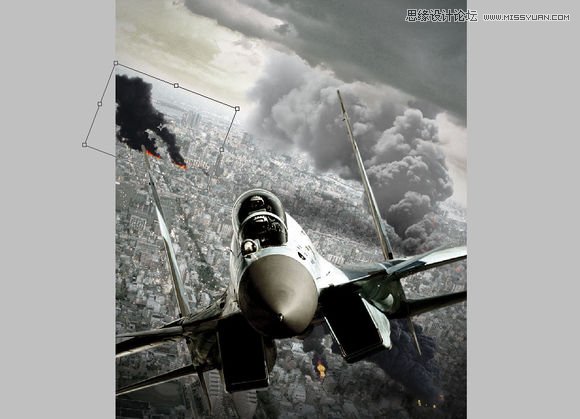
我需要更多的轰炸。
处理好后复制到“空战中”,局限于这张烟雾范围有限,我把它放在飞机机翼遮盖的后面,位置简直天衣无缝。
调节一下颜色,当然还有阴影。
继续轰炸。

在通道处理后复制到“空战”中。
调整位置,大小。

 Photoshop: Investigating Free Trials and Discount OptionsApr 14, 2025 am 12:06 AM
You can get the access to Photoshop in the most economical way: 1. Experience the software features with a 7-day free trial; 2. Find student or teacher discounts, as well as seasonal promotions; 3. Use coupons on third-party websites; 4. Subscribe to Adobe CreativeCloud's monthly or annual plan.
 Photoshop for Designers: Creating Visual ConceptsApr 13, 2025 am 12:09 AM
Creating visual concepts in Photoshop can be achieved through the following steps: 1. Create a new document, 2. Add a background layer, 3. Use the brush tool to draw basic shapes, 4. Adjust colors and brightness, 5. Add text and graphics, 6. Use masks for local editing, 7. Apply filter effects, these steps help designers build a complete visual work from scratch.
 Is Photoshop Free? Understanding Subscription PlansApr 12, 2025 am 12:11 AM
Photoshop is not free, but there are several ways to use it at low cost or free: 1. The free trial period is 7 days, and you can experience all functions during this period; 2. Student and teacher discounts can cut costs by half, and school proof is required; 3. The CreativeCloud package is suitable for professional users and includes a variety of Adobe tools; 4. PhotoshopElements and Lightroom are low-cost alternatives, with fewer functions but lower prices.
 Photoshop's Value: Weighing the Cost Against Its FeaturesApr 11, 2025 am 12:02 AM
Photoshop is worth the investment because it provides powerful features and a wide range of application scenarios. 1) Core functions include image editing, layer management, special effects production and color adjustment. 2) Suitable for professional designers and photographers, but amateurs may consider alternatives such as GIMP. 3) Subscribe to AdobeCreativeCloud can be used as needed to avoid high one-time spending.
 The Core Purpose of Photoshop: Creative Image DesignApr 10, 2025 am 09:29 AM
Photoshop’s core use in creative image design is its powerful functionality and flexibility. 1) It allows designers to transform creativity into visual reality through layers, masks and filters. 2) Basic usages include cropping, resizing and color correction. 3) Advanced usages such as layer styles, blend modes and smart objects can create complex effects. 4) Common mistakes include improper layer management and excessive use of filters, which can be solved by organizing layers and using filters reasonably. 5) Performance optimization and best practices include rational use of layers, regular saving of files, and using shortcut keys.
 Photoshop for Web Design: Advanced Techniques for UI/UXApr 08, 2025 am 12:19 AM
Photoshop can be used in web design to create high-fidelity prototypes, design UI elements, and simulate user interactions. 1. Use layers, masks and smart objects for basic design. 2. Simulate user interaction through animation and timeline functions. 3. Use scripts to automate the design process and improve efficiency.
 Newbie's article: Use the ps brush to add crack effects to the font (share)Apr 07, 2025 am 06:21 AM
In the previous article "Teaching you step by step to add printing effects to plate images using ps (Favorites)", I introduced a small trick to use ps to add printing effects to plate images using ps. The following article will introduce to you how to use the ps brush to add crack effects to the font. Let’s take a look at how to do it.
 Photoshop Advanced Typography: Creating Stunning Text EffectsApr 07, 2025 am 12:15 AM
In Photoshop, you can create text effects through layer styles and filters. 1. Create a new document and add text. 2. Apply layer styles such as shadows and outer glow. 3. Use filters such as wave effects and add bevel and relief effects. 4. Use masks to adjust the effect range and intensity to optimize the visual impact of the text effect.


Hot AI Tools

Undresser.AI Undress
AI-powered app for creating realistic nude photos

AI Clothes Remover
Online AI tool for removing clothes from photos.

Undress AI Tool
Undress images for free

Clothoff.io
AI clothes remover

AI Hentai Generator
Generate AI Hentai for free.

Hot Article
Hot Tools

MantisBT
Mantis is an easy-to-deploy web-based defect tracking tool designed to aid in product defect tracking. It requires PHP, MySQL and a web server. Check out our demo and hosting services.

Atom editor mac version download
The most popular open source editor

SublimeText3 Linux new version
SublimeText3 Linux latest version

DVWA
Damn Vulnerable Web App (DVWA) is a PHP/MySQL web application that is very vulnerable. Its main goals are to be an aid for security professionals to test their skills and tools in a legal environment, to help web developers better understand the process of securing web applications, and to help teachers/students teach/learn in a classroom environment Web application security. The goal of DVWA is to practice some of the most common web vulnerabilities through a simple and straightforward interface, with varying degrees of difficulty. Please note that this software

mPDF
mPDF is a PHP library that can generate PDF files from UTF-8 encoded HTML. The original author, Ian Back, wrote mPDF to output PDF files "on the fly" from his website and handle different languages. It is slower than original scripts like HTML2FPDF and produces larger files when using Unicode fonts, but supports CSS styles etc. and has a lot of enhancements. Supports almost all languages, including RTL (Arabic and Hebrew) and CJK (Chinese, Japanese and Korean). Supports nested block-level elements (such as P, DIV),

