今天给大家推荐的这篇PS教程是一个非常棒的教程,教程教脚本之家的朋友们使用PS给奔跑的超人打造超炫的科技速度光感效果,这种效果非常能给画面增加科技感和速度感,教程是来自国外的翻译教程,但是非常值得我们学习。推荐过来和脚本之家的朋友们一起分享,一起学习了。下面我们先来看看最终的效果图吧:
效果图
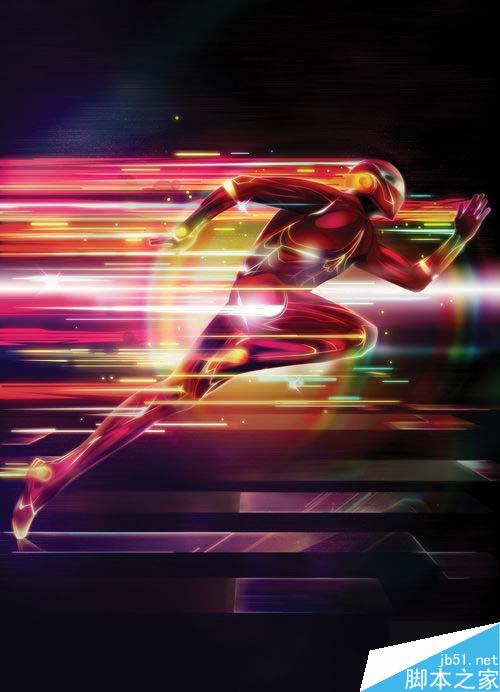
图00
具体的制作步骤如下:
第一步
首先点击这里下载illus.psd。打开illus.psd文件,这个文件由"linework"、"ground" 和"figure"图层组成,将"ground"图层隐藏起来。
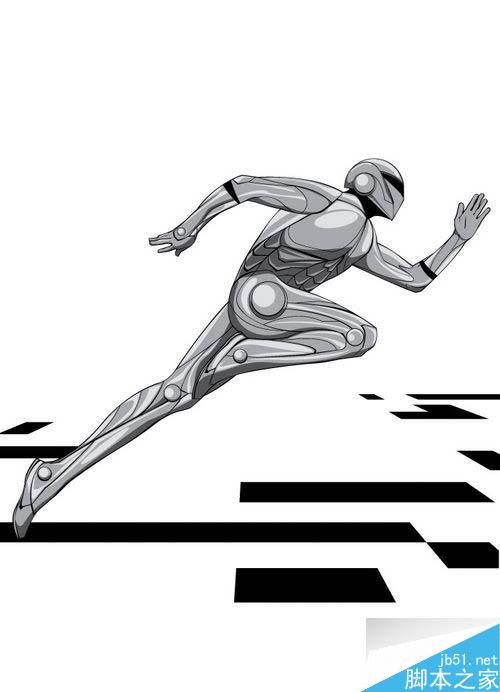
图01
第二步
新建一个图层,然后按Shift+F5用油漆桶将整块画布填充为黑色,接着将黑色背景图层移放到其他的图层后。效果如下图所示。
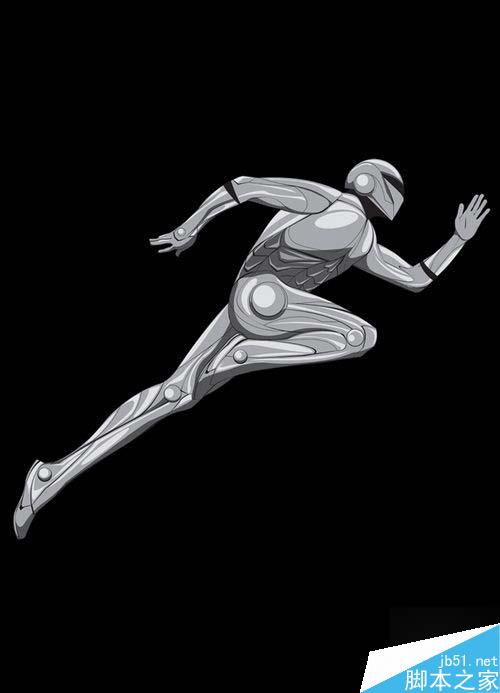
图02
第三步
下面要为"figure"图层的超级英雄上色,执行"图层>新调整图层>渐变映射",渐变颜色设置为由黑到红,然后按Ctrl+Alt+G添加剪贴蒙版(图层面板右击选择创建剪贴蒙版同样可行)。效果图下图所示。
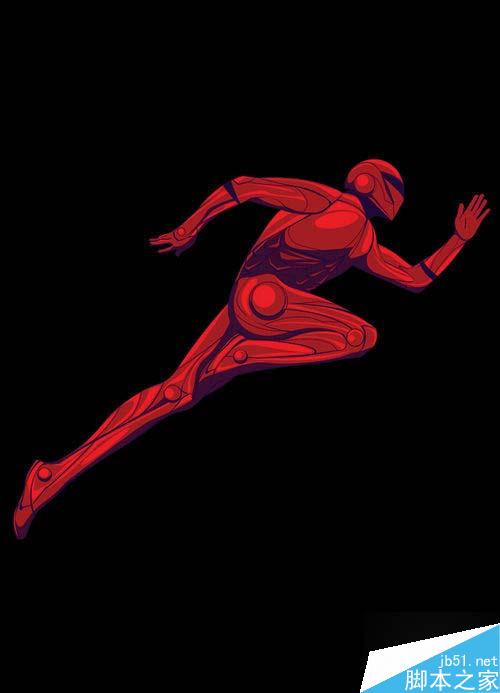
图03
第四步
下面要为超级英雄服装添加线条,以增强人物的运动感。选择"linework"图层,右击选择混合选项,勾选颜色叠加和外发光效果,叠加颜色和外发光选用黄色。这里作者没有给出具体的设置参数,可根据自己的感觉调整。效果应如下图所示。
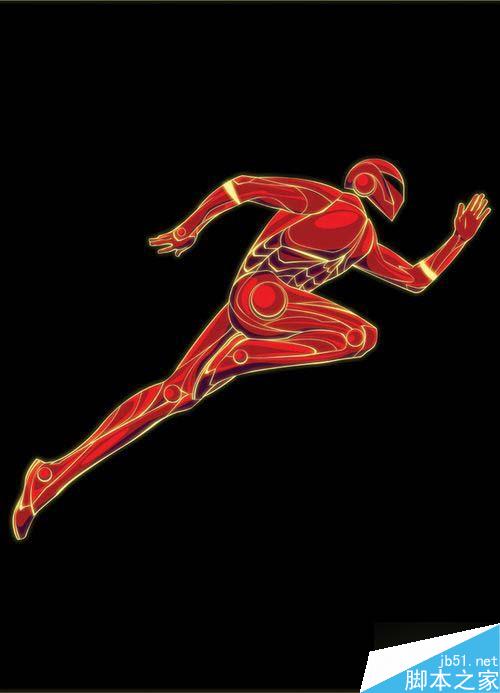
图04
第五步
选择"linework"图层,添加图层蒙版,调整色板的前后景色分别为黑白,然后选择画笔工具将部分线条隐藏起来。隐藏的效果可以通过调整画笔的不透明度和流量进行控制。效果如下图所示。
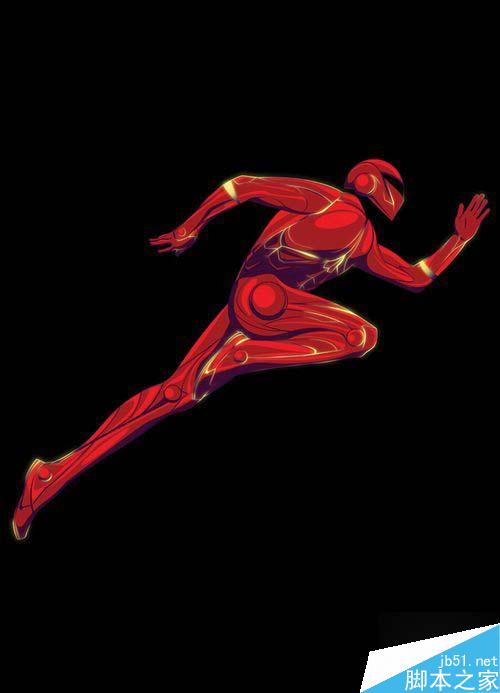
图05
第六步
按Ctrl+J复制"linework"图层4至5次,重复上一步的操作,添加颜色叠加和外发光,然后通过图层蒙版和画笔调整在画面出现的色彩。这个过程有点复杂,需要熟练掌握图层蒙版和画笔的操作方法,出来的效果非常炫!效果请看下图。
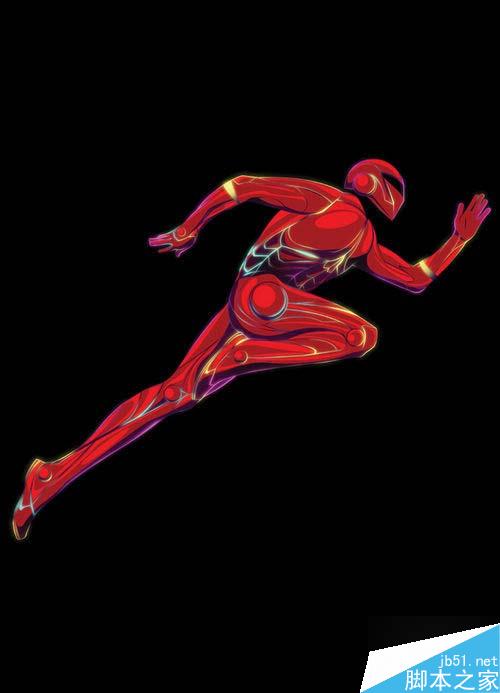
图06
第七步
服装线条调整好以后,就要对人物的某些部分进行光强化,令画面看起来更具质感。可以通过添加"figure"图层的图层样式,或者用喷枪画笔进行,这里是需要结合蒙版,令光有强弱之分,从而使画面质感化。效果如下图所示。
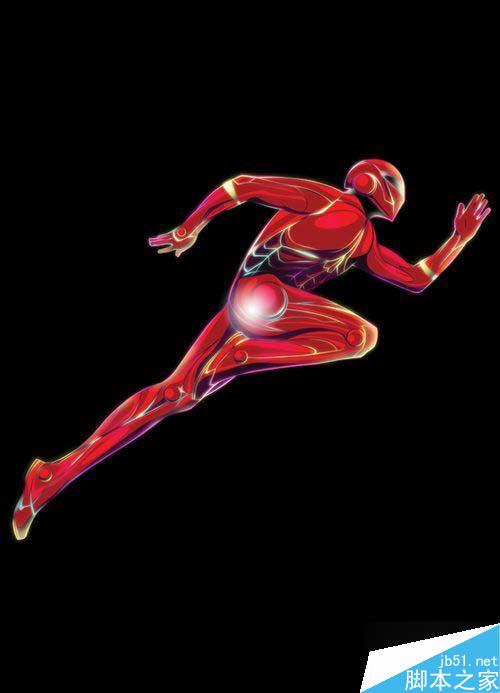
图07
第八步
在"figure"图层上添加色阶调整图层,并创建剪切蒙版到"figure"图层(按Ctrl+Alt+G),然后设置白色输出为150,接着用橡皮刷将部分色阶调整效果淡化,令人物的光暗对比更加明显。效果如下图所示。
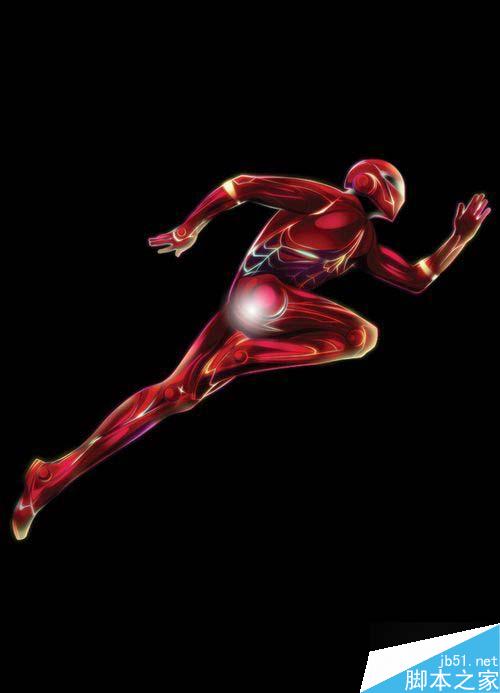
图08
第九步
作品的主题是超级英雄在高速飞奔,所以下面就增加横向线条,以体现飞奔的"速度"。在选择矩形选框工具或者钢笔工具,描绘出矩形的横条,并填充为红色。效果如下图所示。

图09
第十步
对描绘的红色横条添加图层蒙版,并利用笔刷将部分屏蔽,以制造出流光幻影的效果。这个应该跟晚上街头长曝光拍摄的效果类似。完了以后,再添加颜色叠加、内发光和外发光等图层样式。效果如下图所示。

图10
第十一步
重复第九步和第十步,不过这次的横条间断更多、更细小,颜色方面选用跟超级英雄相似的黄色还有蓝绿色等。黄色横条绘制的效果如下图所示,就如街头的霓虹灯残影……
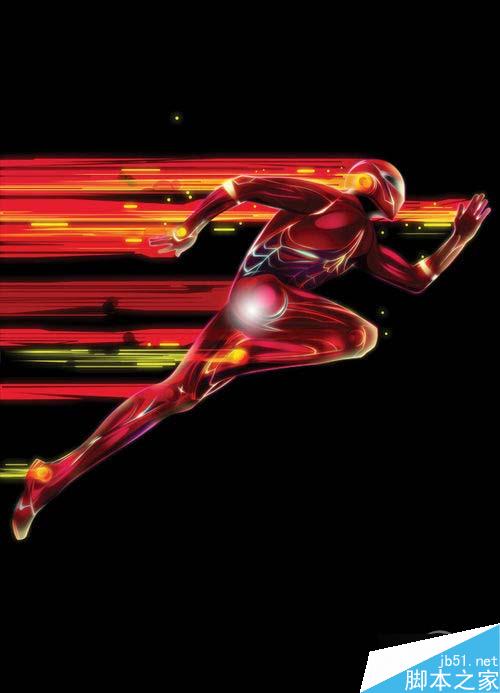
图11
第十二步
继续增强画面的动感。这里需要先制作一个背景。新建"noise"图层,执行"滤镜>杂色>添加杂色",设置数量20%,选择高斯分布和单色,回车确定。
按Ctrl+L调出图层的色阶调整面板,调整色阶参数为0、0.4、180,这样就能令噪点增加,如下图所示的密集。
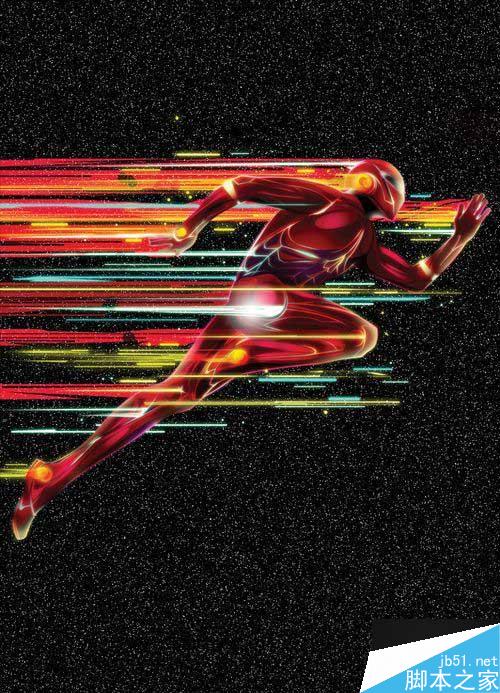
图12
第十三步
按Ctrl+J复制"noise"图层,然后改变复制图层的混合模式为变亮,再执行"滤镜>模糊>动感模糊"。在动感模糊对话框中,设置角度0°、距离30像素,回车确定,是不是有种雪中飞奔的感觉呢。按Ctrl+L,设置色阶0、8、90,令飞速的效果更加明显。
效果如下图所示。
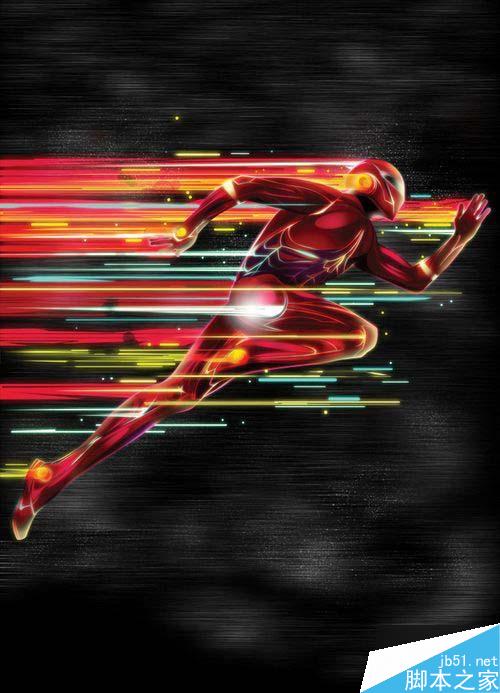
图13
第十四步
下面在画布的中间增加光点,执行"图层>新建填充图层>渐变",渐变样式选择径向模式,将图层调整至"noise"图层和"figure"图层之间。增加渐变映射调整图层可达到同样效果!效果如下图所示。
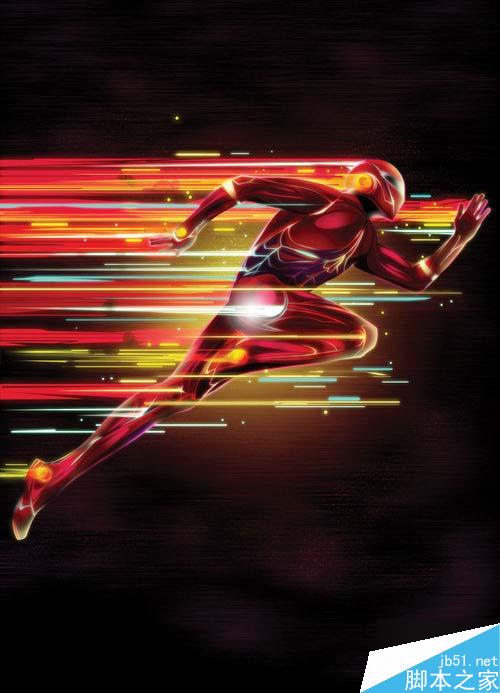
图14
第十五步
取消隐藏"ground"图层,重复前面的操作将它附加同样的颜色、发光和动感效果。效果如下图所示。
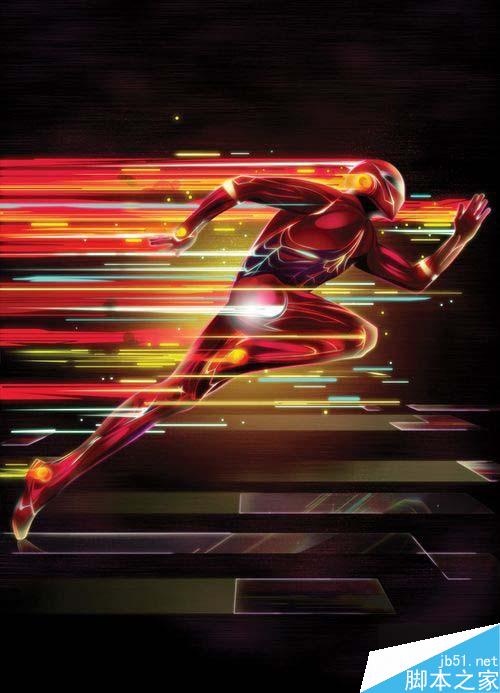
图15
第十六步
画面的整体感觉差不多就出来了。下面再用径向渐变添加环形彩虹效果,同时再用渐变调整图层进行调整。效果如下图所示。
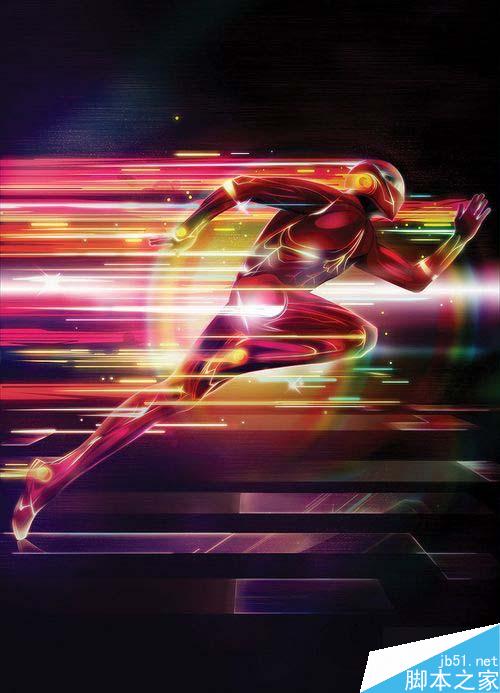
图16
最终效果图
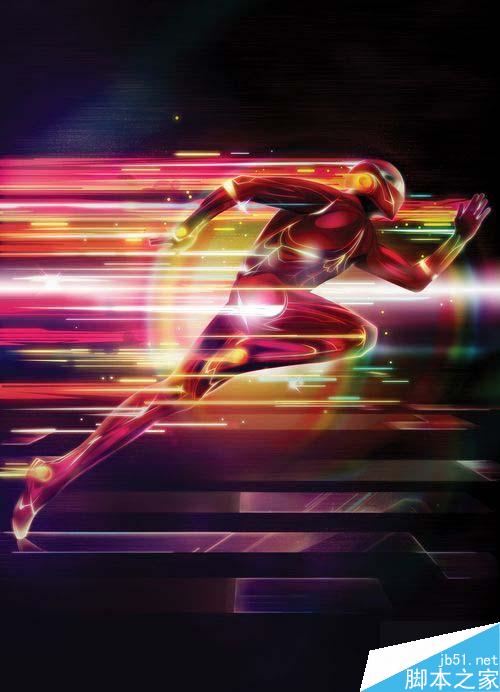
图17
小结
到这里这次的PS翻译教程就结束了。由于作者已直接将超级英雄的人物草图、轮廓线条和背景给出,只要按照步骤,操作起来应该问题不大。而对于PS初学者可考虑先补习图层蒙版、笔刷等工具的使用方法,这样练习起来更加得心应手。最后,希望网友从这篇PS翻译教程有所收获,比如作者处理人物质感、速度、画面焦点、整体画面色调的手法,同时早日制作出自己的理想作品。
教程结束,以上就是PS给奔跑的超人打造超炫的科技速度光感效果方法,教程很不错,喜欢的朋友快快来学习吧!
 Beyond Editing: Photoshop's Creative CapabilitiesMay 03, 2025 am 12:12 AM
Adobe Photoshop goes beyond simple editing and becomes a creative tool for artists and designers. 1) It provides a wealth of tools such as brushes, stamp tools, blend modes and layer styles, supporting adjustments from basic images to complex digital paintings and 3D designs. 2) These tools implement functions through pixel-level operations, allowing users to create unique visual effects.
 Photoshop: Exploring Pricing Models and OptionsMay 02, 2025 am 12:12 AM
Photoshop offers two pricing models: single purchase and subscription service. 1. Single purchase: Pay $699 in one lump sum, permanent use, but no updates and cloud services. 2. Subscription service: $20.99 per month or $239.88 per year, and the latest version and cloud services are available. 3. Enterprise plan: $33.99 per user per month, including team management and additional cloud storage. 4. Educational Offer: Students and teachers are $19.99 per month, including multiple CreativeCloud applications.
 Photoshop: Mastering Layers and CompositionMay 01, 2025 am 12:05 AM
The method to create a new layer in Photoshop is: 1. Click the "New Layer" button at the bottom of the layer panel; 2. Use the shortcut keys Ctrl Shift N (Windows) or Command Shift N (Mac). The layers are like transparent sheets on canvas, allowing design elements to be managed separately, non-destructive editing and experimenting, and improving design levels.
 Photoshop Applications: From Photo Editing to Digital ArtApr 30, 2025 am 12:10 AM
Photoshop is widely used in the fields of image processing and digital art, and is suitable for photo editing and digital art creation. 1. Photo editing: Adjust brightness and contrast Use the "Brightness/Contrast" tool. 2. Digital art: Use brush tools to create paintings. 3. Basic usage: Use the "Red Eye Tool" to remove red eyes. 4. Advanced usage: Use layers and masks for image synthesis. 5. Debug: Recover the lost layers by checking the layer panel. 6. Performance optimization: Adjust memory usage to improve running speed.
 Photoshop's Core Function: Image Editing and ManipulationApr 29, 2025 am 12:17 AM
Photoshop's core functions are image editing and operation, including adjusting the color, brightness, contrast of images, applying filter effects, cropping and adjusting image size, performing image synthesis, etc. 1. Adjust brightness and contrast: Open the image, select the "Adjust" option in the "Image" menu, select "Brightness/Contrast", and adjust the slider. 2. Use the color level adjustment layer and layer mask: Click the "Create a new fill or adjust layer" button, select "Scale", adjust the color level, add a layer mask, and use the brush tool to control the adjustment effect.
 Photoshop: The Power of Raster Graphics EditingApr 28, 2025 am 12:13 AM
Photoshop is a powerful tool for handling raster graphics, and its core functions include layers and masks, filters and adjustments. 1. Layers and masks allow independent editing and non-destructive modifications. 2. Filters and adjustments can quickly change the appearance of the image, but they should be used with caution to avoid affecting the image quality. By mastering these functions and advanced skills, you can greatly improve your image editing and creative abilities.
 Photoshop: A Versatile Tool for Image ManipulationApr 27, 2025 am 12:13 AM
Photoshop is so powerful in the field of image processing because of its versatility and intuitive operating interface. 1) It can handle various tasks from basic adjustment to complex synthesis, such as adjusting brightness and contrast. 2) Working based on layers and masks allows non-destructive editing. 3) Examples of usage include adjusting color balance and creating layer masks. 4) Common errors such as excessive editing can be avoided through the History panel. 5) Performance optimization suggestions include the use of smart objects and shortcut keys.
 Photoshop Trials and Alternatives: Exploring Free AccessApr 26, 2025 am 12:23 AM
Photoshop offers a free 7-day trial period. To maximize the use of the trial period, 1) sign up for multiple Adobe accounts, 2) use the student or education version, and 3) subscribe to Adobe CreativeCloud. Free alternatives include: 1) GIMP, 2) Photopea, 3) Krita, these software can meet daily image editing needs.


Hot AI Tools

Undresser.AI Undress
AI-powered app for creating realistic nude photos

AI Clothes Remover
Online AI tool for removing clothes from photos.

Undress AI Tool
Undress images for free

Clothoff.io
AI clothes remover

Video Face Swap
Swap faces in any video effortlessly with our completely free AI face swap tool!

Hot Article

Hot Tools

mPDF
mPDF is a PHP library that can generate PDF files from UTF-8 encoded HTML. The original author, Ian Back, wrote mPDF to output PDF files "on the fly" from his website and handle different languages. It is slower than original scripts like HTML2FPDF and produces larger files when using Unicode fonts, but supports CSS styles etc. and has a lot of enhancements. Supports almost all languages, including RTL (Arabic and Hebrew) and CJK (Chinese, Japanese and Korean). Supports nested block-level elements (such as P, DIV),

DVWA
Damn Vulnerable Web App (DVWA) is a PHP/MySQL web application that is very vulnerable. Its main goals are to be an aid for security professionals to test their skills and tools in a legal environment, to help web developers better understand the process of securing web applications, and to help teachers/students teach/learn in a classroom environment Web application security. The goal of DVWA is to practice some of the most common web vulnerabilities through a simple and straightforward interface, with varying degrees of difficulty. Please note that this software

Dreamweaver Mac version
Visual web development tools

SecLists
SecLists is the ultimate security tester's companion. It is a collection of various types of lists that are frequently used during security assessments, all in one place. SecLists helps make security testing more efficient and productive by conveniently providing all the lists a security tester might need. List types include usernames, passwords, URLs, fuzzing payloads, sensitive data patterns, web shells, and more. The tester can simply pull this repository onto a new test machine and he will have access to every type of list he needs.

SublimeText3 Mac version
God-level code editing software (SublimeText3)


