这篇教程是向脚本之家的朋友介绍Photoshop设计悬浮起来的立体APP展示效果,教程制作出来的效果非常地逼真的,很真实,推荐到脚本之家,大家一起来学习吧
想学会高大上地展示你的APP作品,来看今天这篇Photoshop设计悬浮起来的立体APP展示效果教程,ETESY作者提供的方法中,操作步骤更为详细,正越升同学的细节处理更为丰富,各有长处,新手可以都练一遍,来收。、
先看看效果图

步骤:
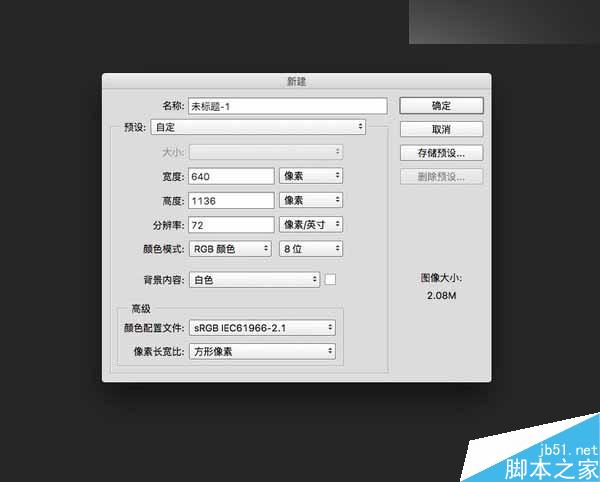
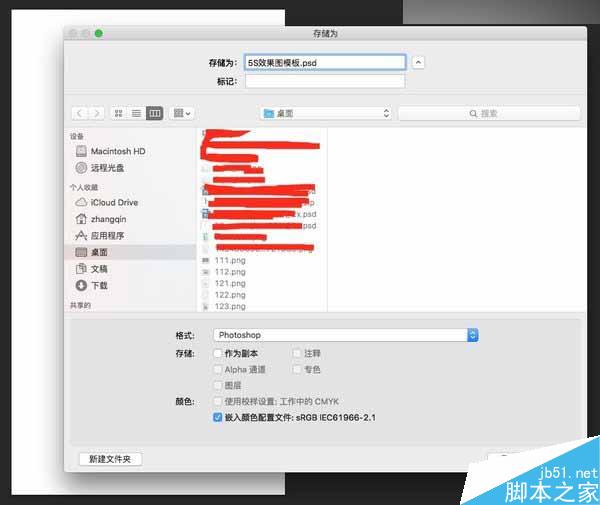
1、新建一个画布尺寸为:640*1136,然后保存,命名如:5S效果图模板
2、再新建一个画布,命名如:效果图展现
2、再新建一个画布,命名如:效果图展现
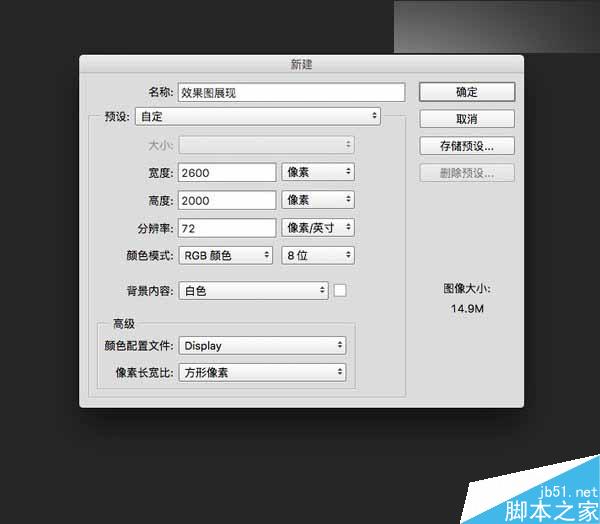
尺寸随意,可以大点,自己看情况吧。
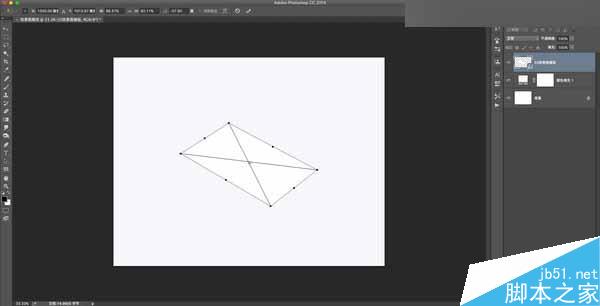
3、将刚才保存的那个5S效果图模板.psd拖到这个画布中。

Ctrl+T变换到合适的尺寸,倾斜到合适的透视效果。
4、然后双击”5S效果图模板”这个图层。
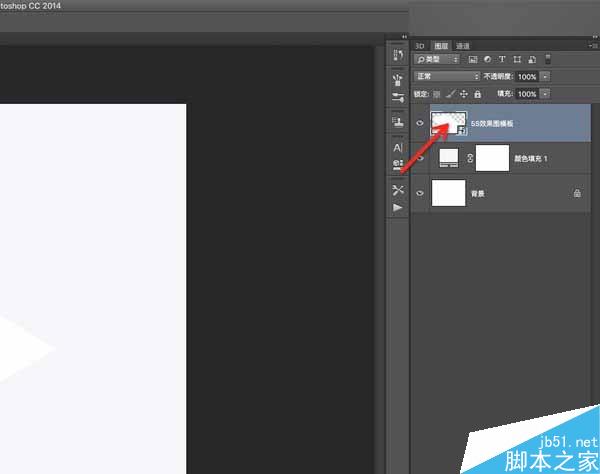
这就是智能对象的好处。跳到这个画面后
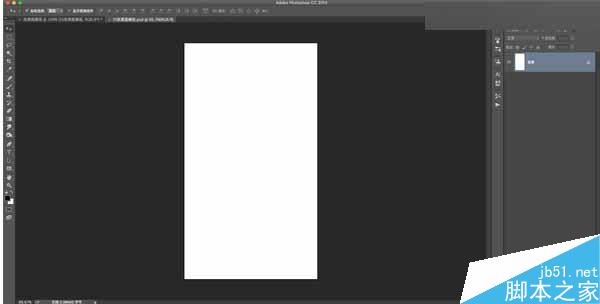
拖入你想要做的界面:
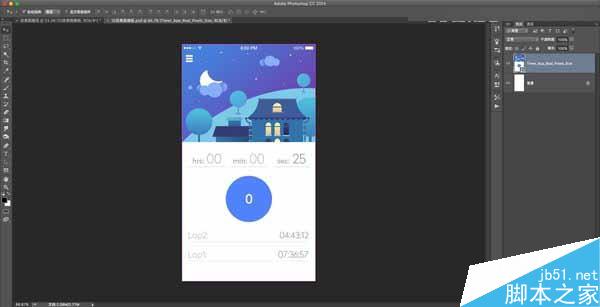
图片来自Dribbble:Dribbble – GIF for the Timeline App by Sergey Valiukh
然后保存:Command(Ctrl)+ S,关闭:Command(Ctrl)+ W
5、回到这个展示页面
注:这儿忽略了一步,把刚才保存的图层拖过来。同学们应该都懂吧 – -
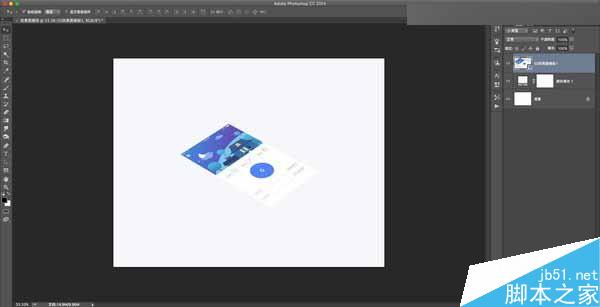
复制一个图层:
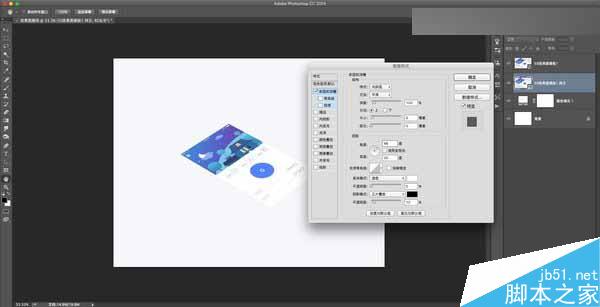
按住Option(Alt)+ 鼠标左键拖动图层往下拽,或者Command(Ctrl)+J,选下面的一个图层,双击图层进入图层样式,选择斜面和浮雕,设置一下参数:
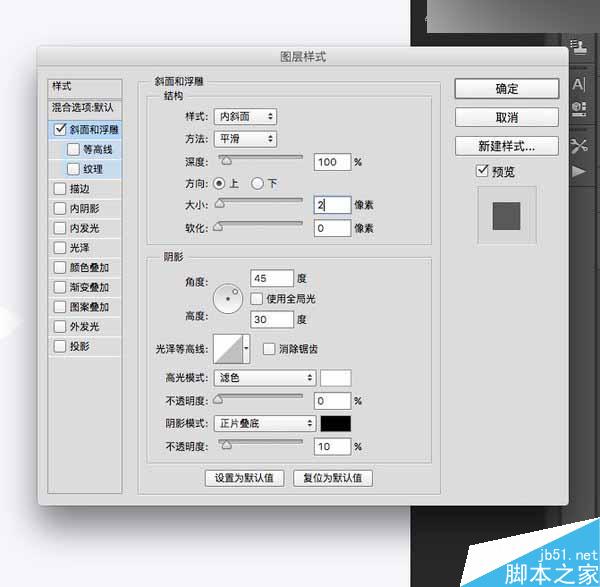
参数自行调整,其中,阴影角度45°可随大环境光线可根据情况自行调整,阴影模式透明度随意,自己看情况调整。
6、然后,从第二个图层开始连续复制多个该图层,每复制的一个图层都在上一个图层的下方,每复制一个图层都往下移一个像素,按住option(Alt)+鼠标左键拖动图层往下拽,可使用键盘上的下方向键来控制。
然后,在最后一个图层上设置一个投影
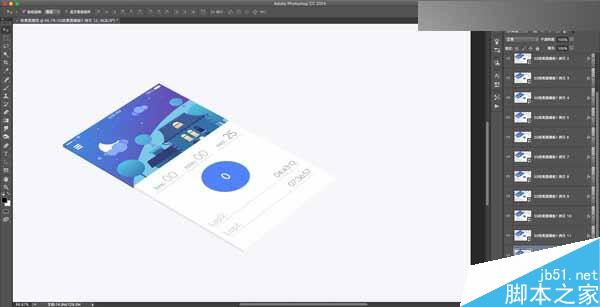
然后,在最后一个图层上设置一个投影,参数自行解决。
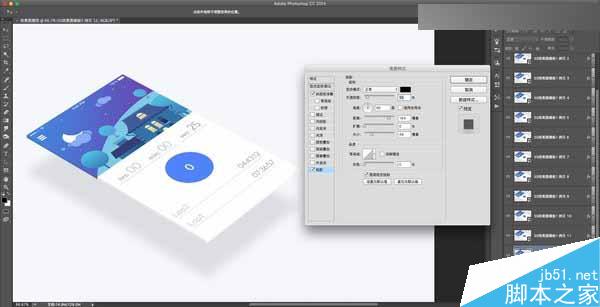
最后调整下整体环境。
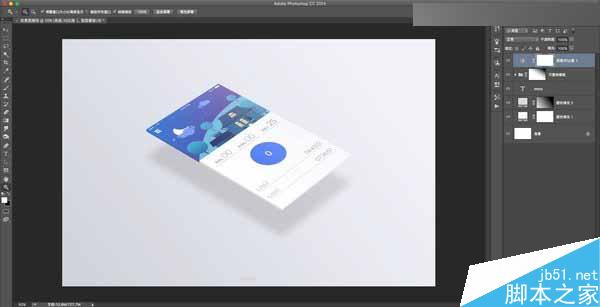
以上的好处便是使用了智能对象,它可以让你想展示的界面可以随意替换。
如需展示多个界面的效果,只要多拖进几次那个PSD,然后平面排好后,统一调整透视效果。
当然表现的手法很多,以上只是一种。
比如,也可以再建好的大画布上,画一个矩形的尺寸为640×1136,然后转成智能对象,再双击智能对象,进入调整。
附上正越升同学的方法,原理相同,细节上处理更加丰富。
一个效果有千万种实现的办法,在这里只提供一个最简单的思路,用PS纯做。
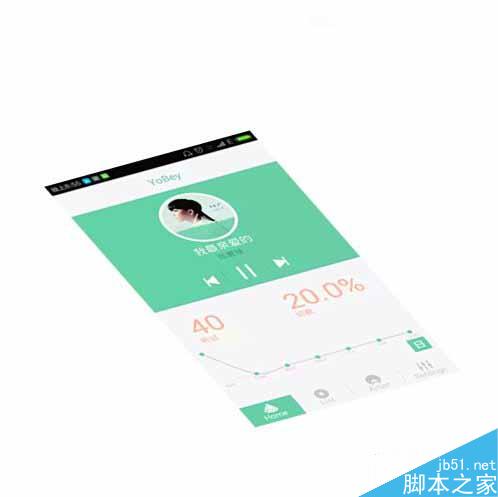
一、扭曲&旋转
导入界面图,然后编辑-扭曲,再旋转,做到如下效果:
二、制作厚度
这一步最关键,选中界面图层,[Ctrl+Alt+T],然后按一下方向键[↑],再按回车。这样就复制了一个图层,并且新的图层在原来基础上往上移动一个像素。
来了,狂按[Ctrl+Alt+Shift+T],这是重复之前的变换操作,这样就会复制出很多个图层,每一个都在之前基础上往上移动一个像素。从而做出厚度效果。

三、改变亮度
保留最上面那个图层,将其他所有界面的图层,合并成一个图层,命名为[厚度]。
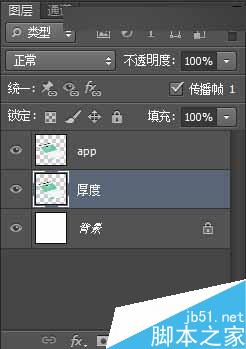
然后选中[厚度]图层,使用矩形选框工具+[图像-调整-亮度对比度],对厚度的左边面和右边面分别进行降低亮度20和50处理。
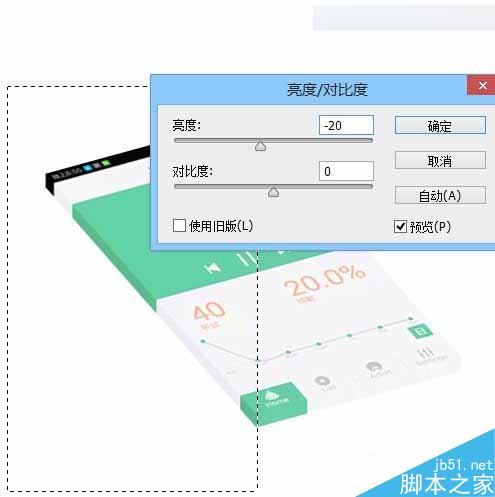
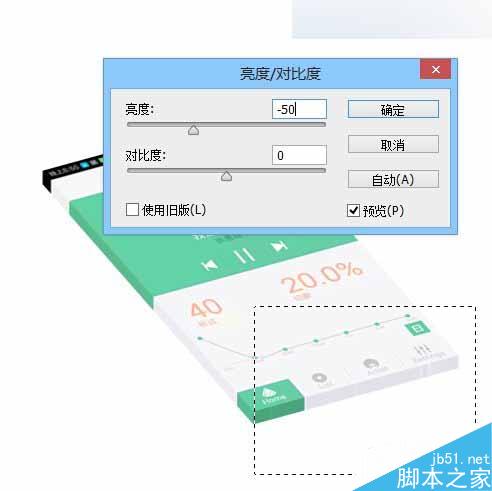
四、阴影
复制[app]图层,改变图层顺序到[厚度]下面,然后使用[高斯模糊]+颜色叠加为黑色+改变不透明度为30%。完工!

教程结束,以上就是Photoshop设计悬浮起来的立体APP展示效果方法介绍,大家学会了吗?操作很简单的,大家可以按照上面步骤进行操作!
 How do I use Photoshop for creating social media graphics?Mar 18, 2025 pm 01:41 PM
The article details using Photoshop for social media graphics, covering setup, design tools, and optimization techniques. It emphasizes efficiency and quality in graphic creation.
 How do I use Photoshop's Content-Aware Fill and Content-Aware Move tools effectively?Mar 13, 2025 pm 07:35 PM
Article discusses using Photoshop's Content-Aware Fill and Move tools effectively, offering tips on selecting source areas, avoiding mistakes, and adjusting settings for optimal results.
 How do I prepare images for web use in Photoshop (file size, resolution, color space)?Mar 13, 2025 pm 07:28 PM
Article discusses preparing images for web use in Photoshop, focusing on optimizing file size, resolution, and color space. Main issue is balancing image quality with quick loading times.
 How do I prepare images for web using Photoshop (optimize file size, resolution)?Mar 18, 2025 pm 01:35 PM
Article discusses optimizing images for web using Photoshop, focusing on file size and resolution. Main issue is balancing quality and load times.
 How do I use Photoshop's video editing capabilities?Mar 18, 2025 pm 01:37 PM
The article explains how to use Photoshop for video editing, detailing steps to import, edit, and export videos, and highlighting key features like the Timeline panel, video layers, and effects.
 How do I calibrate my monitor for accurate color in Photoshop?Mar 13, 2025 pm 07:31 PM
Article discusses calibrating monitors for accurate color in Photoshop, tools for calibration, effects of improper calibration, and recalibration frequency. Main issue is ensuring color accuracy.
 How do I prepare images for print using Photoshop (resolution, color profiles)?Mar 18, 2025 pm 01:36 PM
The article guides on preparing images for print in Photoshop, focusing on resolution, color profiles, and sharpness. It argues that 300 PPI and CMYK profiles are essential for quality prints.
 How do I create animated GIFs in Photoshop?Mar 18, 2025 pm 01:38 PM
Article discusses creating and optimizing animated GIFs in Photoshop, including adding frames to existing GIFs. Main focus is on balancing quality and file size.


Hot AI Tools

Undresser.AI Undress
AI-powered app for creating realistic nude photos

AI Clothes Remover
Online AI tool for removing clothes from photos.

Undress AI Tool
Undress images for free

Clothoff.io
AI clothes remover

AI Hentai Generator
Generate AI Hentai for free.

Hot Article

Hot Tools

Safe Exam Browser
Safe Exam Browser is a secure browser environment for taking online exams securely. This software turns any computer into a secure workstation. It controls access to any utility and prevents students from using unauthorized resources.

SublimeText3 Mac version
God-level code editing software (SublimeText3)

Atom editor mac version download
The most popular open source editor

PhpStorm Mac version
The latest (2018.2.1) professional PHP integrated development tool

VSCode Windows 64-bit Download
A free and powerful IDE editor launched by Microsoft


