


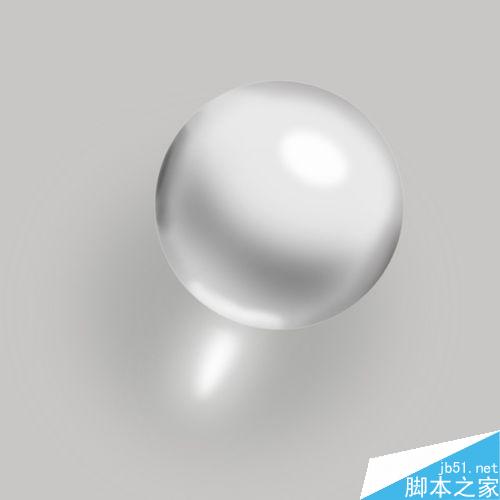
这篇教程是向脚本之家的朋友介绍ps制作一个超逼真质感超强的白色水晶球方法,教程制作出来的白色水晶球非常漂亮,而且很逼真,难道不是很大,一起来看看吧
今天小编为大家分享ps制作一个超逼真质感超强的白色水晶球方法,教程很不错,也很简单,触及到的工具不多,就是新手最常见的椭圆选区工具,钢笔工具,画笔,橡皮檫,变换还有涂抹工具。下面的步骤会有点多,请耐心看完。
方法/步骤
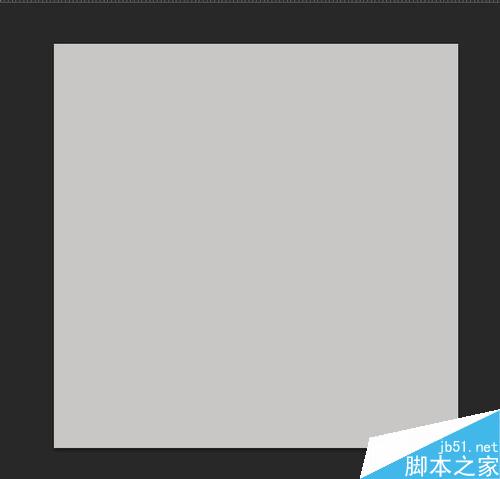
1、新建一个画布为600*600px,其余默认。填充背景色为#c8c7c5 。
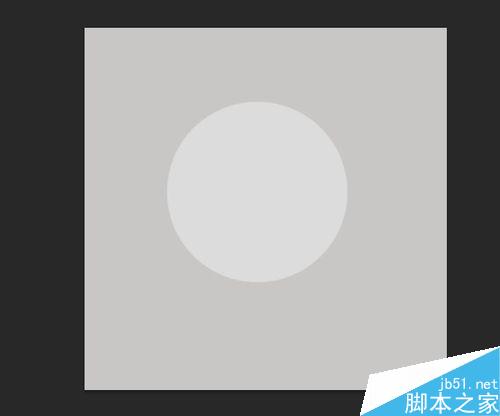
2、新建图层。画一个圆,可以用硬度为100,大小自定的圆形画笔,也可以用椭圆选区工具,按住shift进行鼠标拖动,就可以得到一个圆形选区,大小自定。
填充颜色为#dcdcdc 。
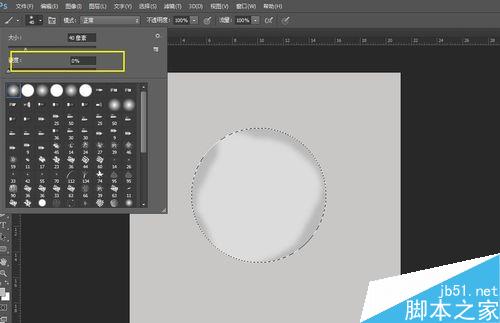
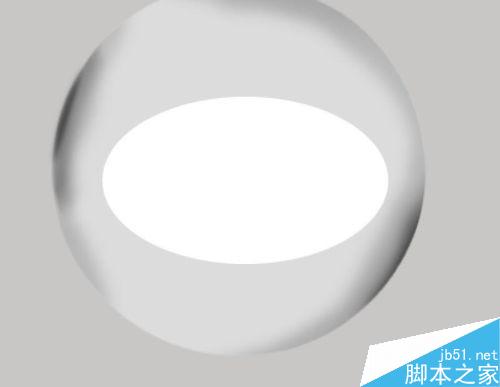
3、新建图层。根据上面圆的周边写阴影。颜色参考为:#bbbaba。
硬度一定要为0哦。
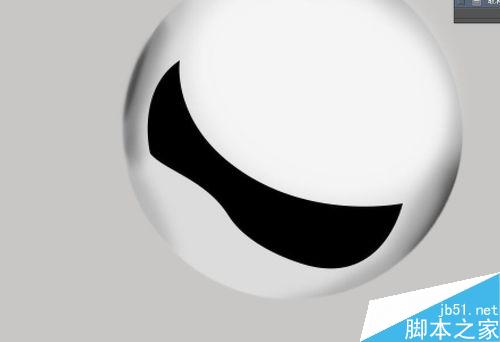
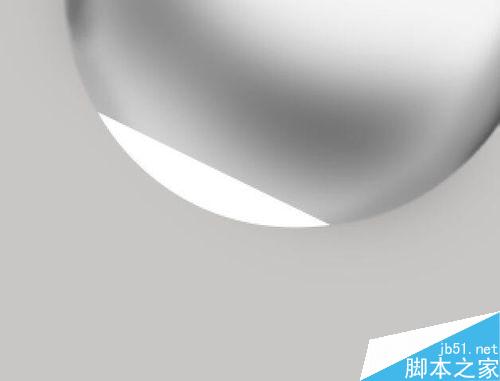
4、新建图层。用钢笔工具围着球画出下面的形状。
按住ctrl+Enter,填充黑色。

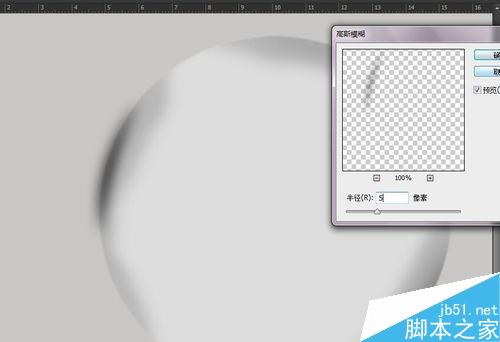
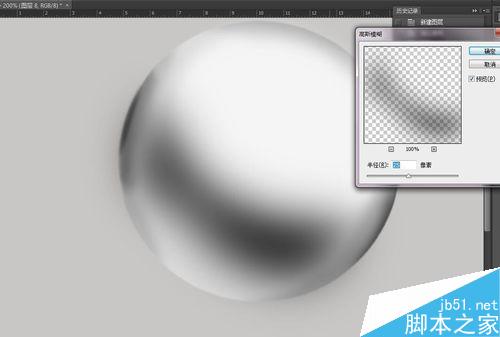
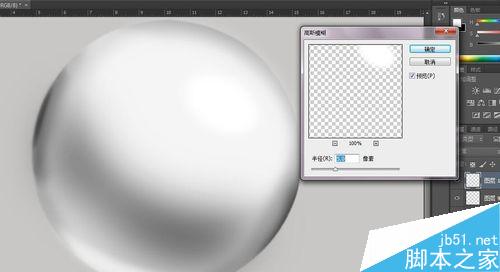
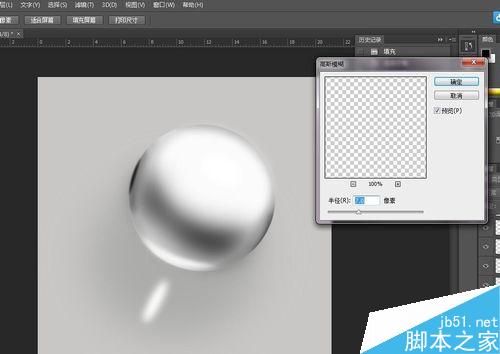
5、阴影这样太生硬了,所以要模糊颜色块。滤镜-模糊-高斯模糊。
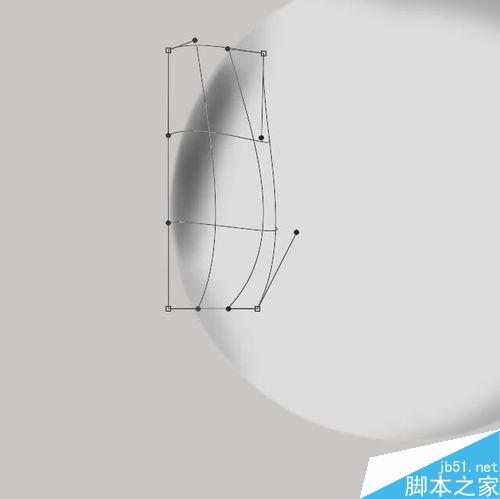
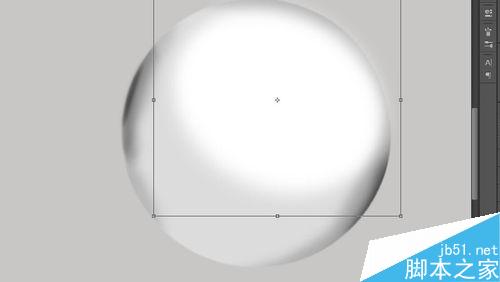
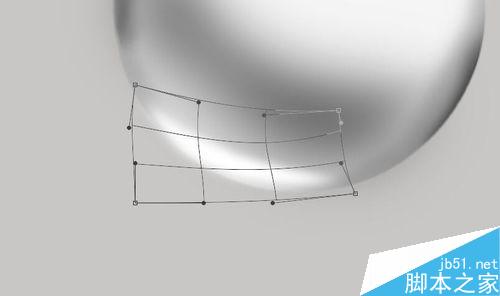
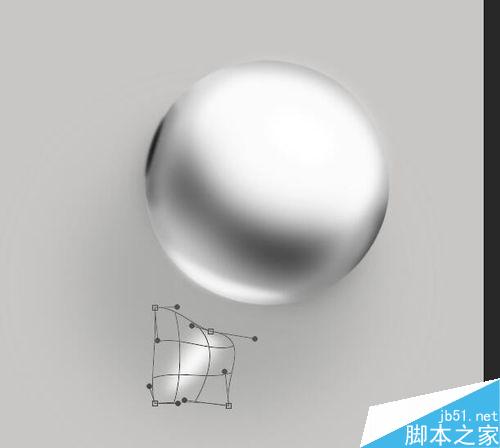
6、阴影好像都点死板,印象中的阴影不是这样的。
所以我选择用了变换工具,ctrl+T,右键,变形。确定
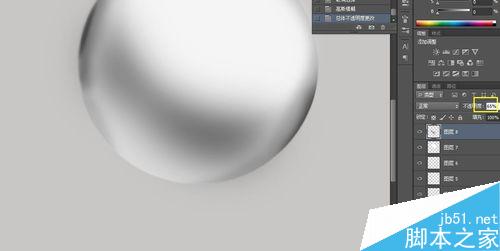
如果还不满意可以,调低一下透明度,用 涂抹工具,是边缘更加的融合。
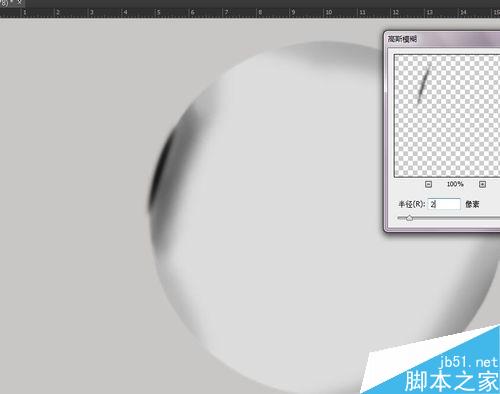
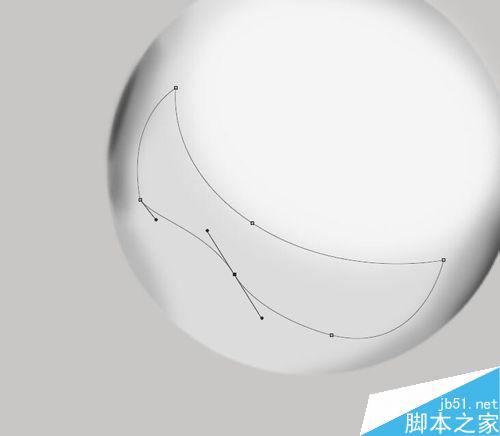
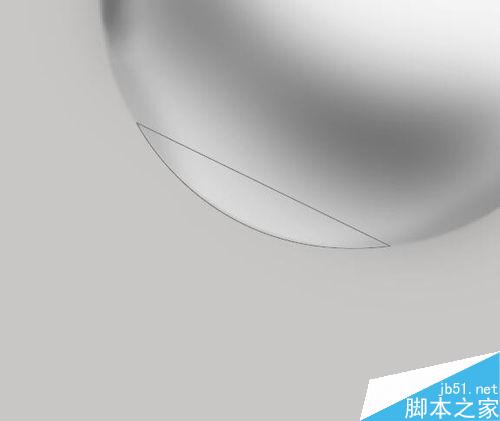
7、新建图层,用钢笔工具画出比刚才还小一点的路径。
颜色填充黑色。

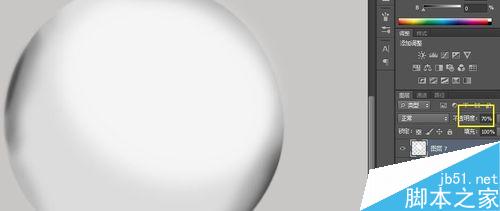
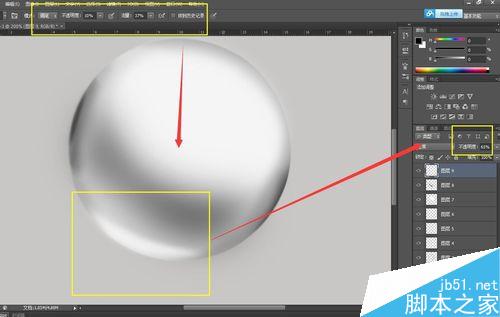
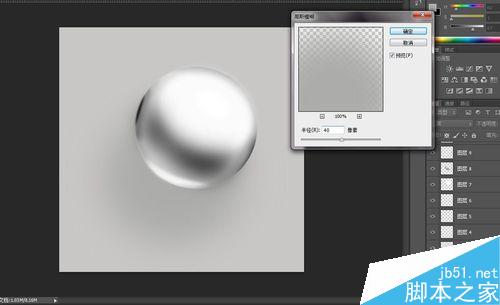
8、进行高斯模糊。调整不透明度。
阴影我做了三层,可以更好的使阴影融合,看起来不会那么的假,当然,这边的颜色,可以在后期整理修改,这就是我为什么每做一步就建立一个图层的原因。
9、新建图层,像前几步一样,弄出阴影。
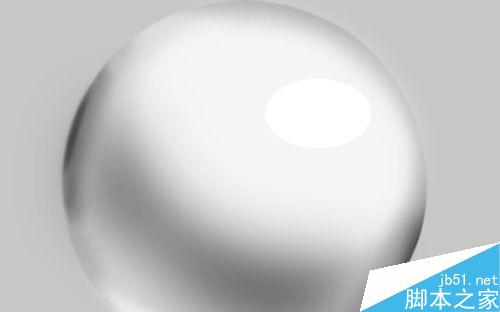
10、新建图层,用椭圆选区工具画一个圆,然后填充白色。
这边给球做高光。
11、滤镜,模糊,高斯模糊。

12、用移动工具和变换选区工具进行移动,大小的调整,然后调整一下不透明度。
13、新建图层。一边的求你都是亮暗亮,所以,我这边用钢笔工具画了一个形状,做一个阴影。
14、填充黑色。然后滤镜-,模糊-高斯模糊。然后根据总体感觉调一下不透明度。
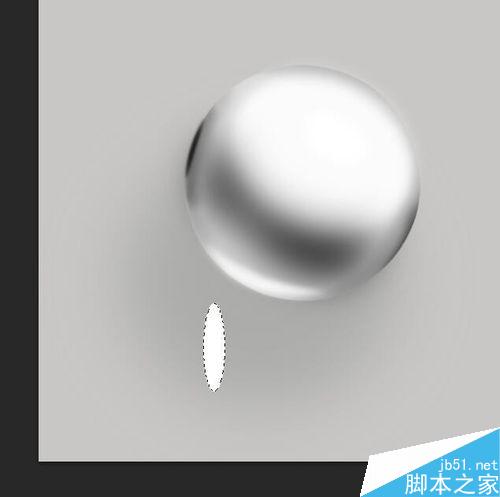
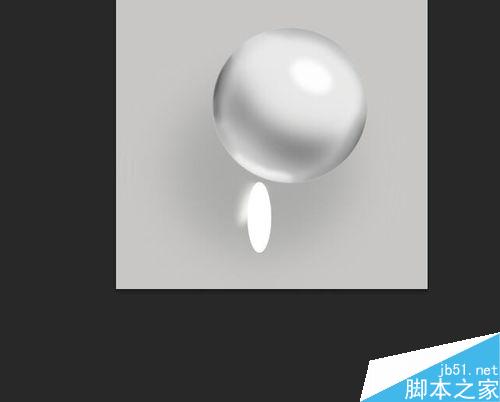
15、新建图层。为球下面做一个高光。用钢笔勾选出来。填充白色,高斯模糊,数值为3。
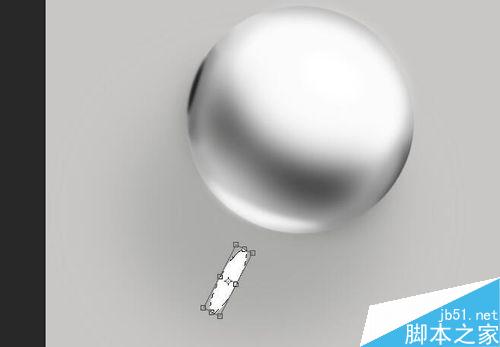
16、调整不透明度,变换或涂抹选区,得到自己要的形状。
17、新建选区,求得上方一般高光还有一个曝光的超级亮点。用椭圆选区工具,再进行模糊。
18、这边我感觉上下的两个白色高光颜色有点相近,所以就调整了两个图层的不透明度。

19、新建图层,给球添加阴影,这边颜色是#bbbaba。然后高斯模糊。这一层要放置在球的主层下面。

20、新建选区,这边做阴影的高光。
还是重复上面的步骤。
21、新建选区,在高光层下面,阴影层上面。做一个光的散发效果。
步骤参考上面的。
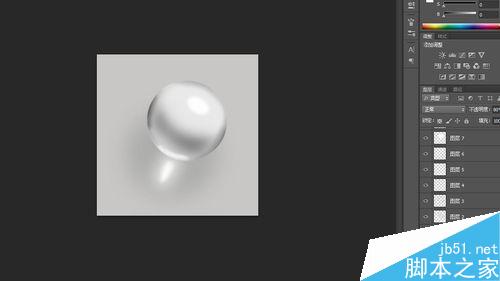
22、这边做调整, 细心的小伙伴会发现,上面的光散发的图层,球 的颜色会比之前好看,这是因为我调整了各个图层之间的不透明度。你要调到 你觉得色值之间融合,该低调的低调,该高调的高调,就行了。
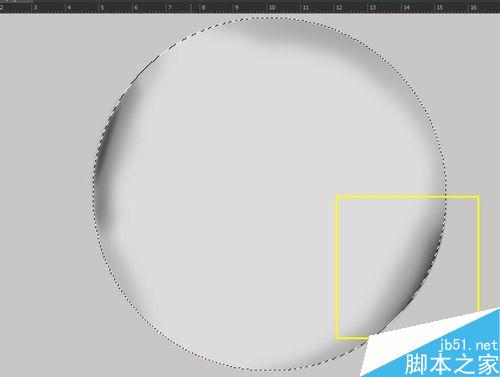
然后我还选择了原本的球的底色的选区,然后反选,在居于球上方的任何一个图层进行删除,这是为了不使做高斯模糊的色光散发在不应该存在的区域。


教程结束,以上就是ps制作一个超逼真质感超强的白色水晶球方法介绍,操作很简单的,大家学会了吗?希望能对大家有所帮助!

 Image Editing Essentials: Key Features of PhotoshopMay 09, 2025 am 12:05 AM
Photoshop's core features include layers, selection tools, and adjustment tools. 1. The layer allows independent editing of image parts and supports layer style. 2. Selection tools such as lasso, magic wand and quick selection tools provide precise editing. 3. Adjustment tools such as color level, curve and hue/saturation can adjust images non-destructively.
 My Purpose: Assisting with Photoshop-Related TasksMay 08, 2025 am 12:18 AM
In Photoshop, the role of layer masks is to allow hidden or displayed portions of layers in a non-destructive manner. 1. The working principle of layer mask is to control the visibility of the layer through black, white and grayscale. 2. The basic usage includes image synthesis, such as synthesising the character image into a new background. 3. Advanced usage can be achieved by using gradient masks to achieve smooth image transition.
 Photoshop and Free Alternatives: A Comparative LookMay 06, 2025 am 12:12 AM
Photoshop's powerful features include smart objects and neural filters, while free alternatives such as GIMP, Krita and Photopea do well in specific fields such as GIMP's layer functionality, Krita's digital paintings and online editing of Photopea.
 Photoshop Color Grading: Elevate Your Images with Pro TechniquesMay 05, 2025 am 12:07 AM
Color adjustment in Photoshop can be achieved through adjustment layers to make the image more professional. 1. Use color level, curve, hue/saturation and other tools to adjust the hue, saturation and brightness. 2. Apply LUT to create unique color effects. 3. Use adjustment layers to avoid image distortion and use the History panel to track adjustment steps.
 Photoshop in the Real World: Examples of Its Diverse UsesMay 04, 2025 am 12:15 AM
Photoshop's applications in the real world include artistic creation, scientific research and commercial marketing. 1) In artistic creation, it is used for digital painting and illustration. 2) In scientific research, it is used for image processing and data visualization. 3) In commercial marketing, it is used for advertising design and brand image shaping. The versatility of this software makes it widely used in various fields.
 Beyond Editing: Photoshop's Creative CapabilitiesMay 03, 2025 am 12:12 AM
Adobe Photoshop goes beyond simple editing and becomes a creative tool for artists and designers. 1) It provides a wealth of tools such as brushes, stamp tools, blend modes and layer styles, supporting adjustments from basic images to complex digital paintings and 3D designs. 2) These tools implement functions through pixel-level operations, allowing users to create unique visual effects.
 Photoshop: Exploring Pricing Models and OptionsMay 02, 2025 am 12:12 AM
Photoshop offers two pricing models: single purchase and subscription service. 1. Single purchase: Pay $699 in one lump sum, permanent use, but no updates and cloud services. 2. Subscription service: $20.99 per month or $239.88 per year, and the latest version and cloud services are available. 3. Enterprise plan: $33.99 per user per month, including team management and additional cloud storage. 4. Educational Offer: Students and teachers are $19.99 per month, including multiple CreativeCloud applications.
 Photoshop: Mastering Layers and CompositionMay 01, 2025 am 12:05 AM
The method to create a new layer in Photoshop is: 1. Click the "New Layer" button at the bottom of the layer panel; 2. Use the shortcut keys Ctrl Shift N (Windows) or Command Shift N (Mac). The layers are like transparent sheets on canvas, allowing design elements to be managed separately, non-destructive editing and experimenting, and improving design levels.


Hot AI Tools

Undresser.AI Undress
AI-powered app for creating realistic nude photos

AI Clothes Remover
Online AI tool for removing clothes from photos.

Undress AI Tool
Undress images for free

Clothoff.io
AI clothes remover

Video Face Swap
Swap faces in any video effortlessly with our completely free AI face swap tool!

Hot Article
Hot Tools

Atom editor mac version download
The most popular open source editor

SublimeText3 Linux new version
SublimeText3 Linux latest version

mPDF
mPDF is a PHP library that can generate PDF files from UTF-8 encoded HTML. The original author, Ian Back, wrote mPDF to output PDF files "on the fly" from his website and handle different languages. It is slower than original scripts like HTML2FPDF and produces larger files when using Unicode fonts, but supports CSS styles etc. and has a lot of enhancements. Supports almost all languages, including RTL (Arabic and Hebrew) and CJK (Chinese, Japanese and Korean). Supports nested block-level elements (such as P, DIV),

MinGW - Minimalist GNU for Windows
This project is in the process of being migrated to osdn.net/projects/mingw, you can continue to follow us there. MinGW: A native Windows port of the GNU Compiler Collection (GCC), freely distributable import libraries and header files for building native Windows applications; includes extensions to the MSVC runtime to support C99 functionality. All MinGW software can run on 64-bit Windows platforms.

SublimeText3 English version
Recommended: Win version, supports code prompts!

