
 Software TutorialComputer SoftwareSpecific steps for creating photo segmentation artistic effects in Photoshop
php Xiaobian Youzi will introduce you to the specific steps of creating photo segmentation artistic effects in Photoshop. As a powerful image processing software, Photoshop provides a wealth of tools and special effects that can help us achieve various creative effects. Photo split art is an effect that splits a photo into multiple small pieces and rearranges them to give a collage-like artistic feel. Next, let’s learn how to use Photoshop to create unique photo split artistic effects.
1. After placing your photo in PS, create a new layer 1 and press the ALT DEL key to quickly fill it with your favorite background color.

2. Then select the shape you like in the shape tool. Here we take a rounded rectangle as an example. Create a rectangle in the picture as a dividing figure.

3. Then double-click on the rectangular layer to enter the layer style, select [Light] in the [Knockout] option, and set the fill opacity to 0. Then add a white stroke effect.

4. The last step is important. Hold down the ALT key to copy the rectangular layer. Copy a few more and adjust the rotation angle of each one to make the entire The photo is messed up.

The final photo segmentation effect is completed
After reading the specific steps of creating photo segmentation artistic effects in Photoshop described above, hurry up and try it yourself. Try it!
The above is the detailed content of Specific steps for creating photo segmentation artistic effects in Photoshop. For more information, please follow other related articles on the PHP Chinese website!

 如何在iOS17或iPadOS17中删除贴纸Feb 05, 2024 pm 01:27 PM
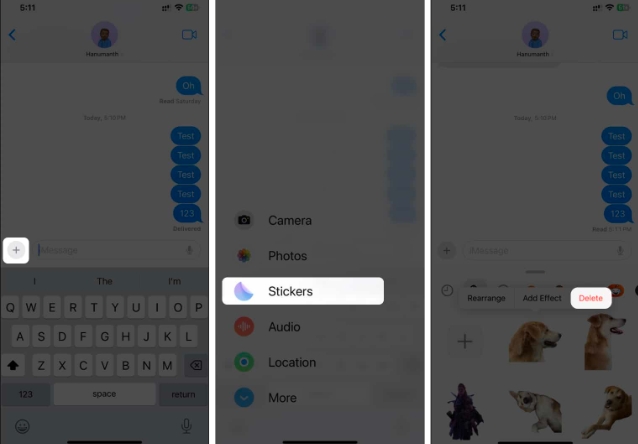
苹果在iOS17中新增了实时贴纸功能,可以让用户在图像中触摸并按住任何物体、人或宠物,然后将其转换为贴纸,以便在“消息”或其他支持的应用程序中使用。然而,如果您不喜欢这些贴纸,最好将其删除,以避免占用存储空间。如果您不知道如何删除,请不要担心,我将向您展示在iOS17中删除贴纸的步骤。注意:如果您从iPhone中删除贴纸,它们也会从其他同步的Apple设备中删除。如何从iPhone上的“消息”应用程序中删除贴纸打开iPhone上的消息应用。点击加号(+)按钮→选择贴纸从选项中选择。您保存的贴纸将
 如何在Mac电脑上移动文件和文件夹?4种方法解释!Feb 05, 2024 pm 06:48 PM
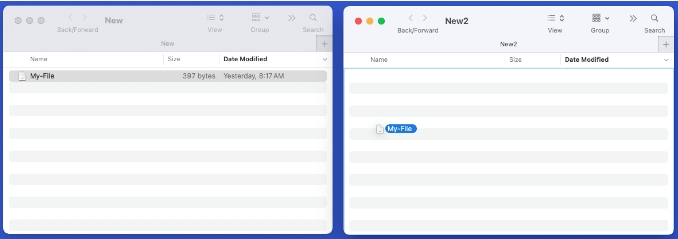
若您希望整理苹果Mac电脑上的文件和文件夹,您可以考虑移动一些内容。通过移动项目,您可以创建一个更有序的文件结构,以提高工作效率或更快地找到所需的内容。我们将向您展示在macOS上如何使用拖放、快捷方式或右键菜单、终端等来移动文件和文件夹,以便您可以使用更有意义或您最习惯使用的方法。方法1:在Mac上使用拖放在苹果Mac电脑上,最简单的移动文件和文件夹的方法是通过拖放操作。无论是重新排列桌面上的图标、小部件和快捷方式,还是将项目移动到macOS上的其他位置,这种方法都非常方便易用。1.在两个打开
 在 Mac 上合并视频的 2 种方法Feb 05, 2024 pm 04:20 PM
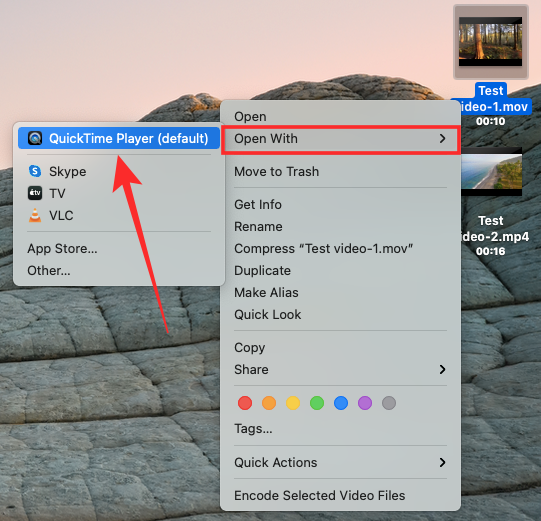
如果您刚刚开始在Mac上进行视频编辑,那么您可能正在处理许多视频剪辑,以便将它们添加、组合和重新排列成一个视频。为了方便管理这么多文件,您需要使用视频编辑器将这些剪辑拼接成一个视频文件。在这篇文章中,我们将帮助您了解如何在Mac上将视频合并为一个文件。如何在Mac上合并视频[2种方法]这里有两种简单的方法可以在Mac上合并两个或多个视频剪辑。方法1:使用QuickTimePlayer应用程序Mac上预装的QuickTimePlayerApp具有基本和轻量级编辑所需的所有功能。虽然它没有像iMov
 如何在 iPhone 上将 Google Drive、OneDrive、DropBox 添加到文件应用程序Feb 02, 2024 pm 04:48 PM
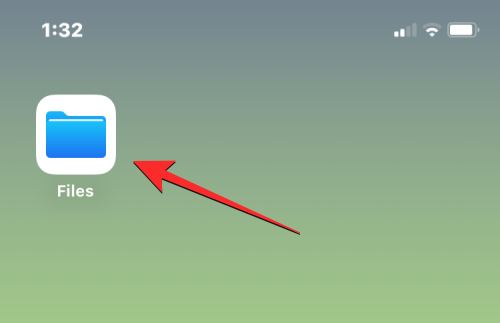
在iOS上的"文件"应用默认显示两个存储位置:iCloud云盘和"我的iPhone上"。此外,当您使用第三方存储应用如Google云端硬盘时,您还可以通过"文件"应用直接浏览这些存储服务中的文件。无论是存储在iCloud还是第三方应用中,"文件"应用提供了便捷的方式来管理和访问您的文件。这为用户带来了更大的灵活性和便利性,使他们能够轻松地浏览和组织他们的文件。无论您选择使用哪个存储服务,"文件"应用都为您提供了一个集中管理文件的地方,使您能够更高效地进行文件管理。本文将介绍如何在iPhone上将
 MT管理器怎么去广告Feb 05, 2024 pm 07:27 PM
MT管理器怎么去广告?MT管理器是一款非常好用的手机应用管理软件,还为用户们提供了一些应用程序管理服务。在MT管理器的帮助下,用户们可以自由修改应用中的布局,让它的广告被自动清除掉,获得无广告的使用体验。各位如果对此感兴趣的话,就随小编一起来看看MT管理器去广告教程吧。MT管理器怎么去广告1、打开一款软件观察一下软件中广告的位置在哪,这边看到广告在最底部2、打开开发助手,点开首页的第二排第一个的布局查看3、返回某圈兔首页查看布局排列,分为多个层面,需要自己点击,框出存在广告的窗口,抓取底部的广告
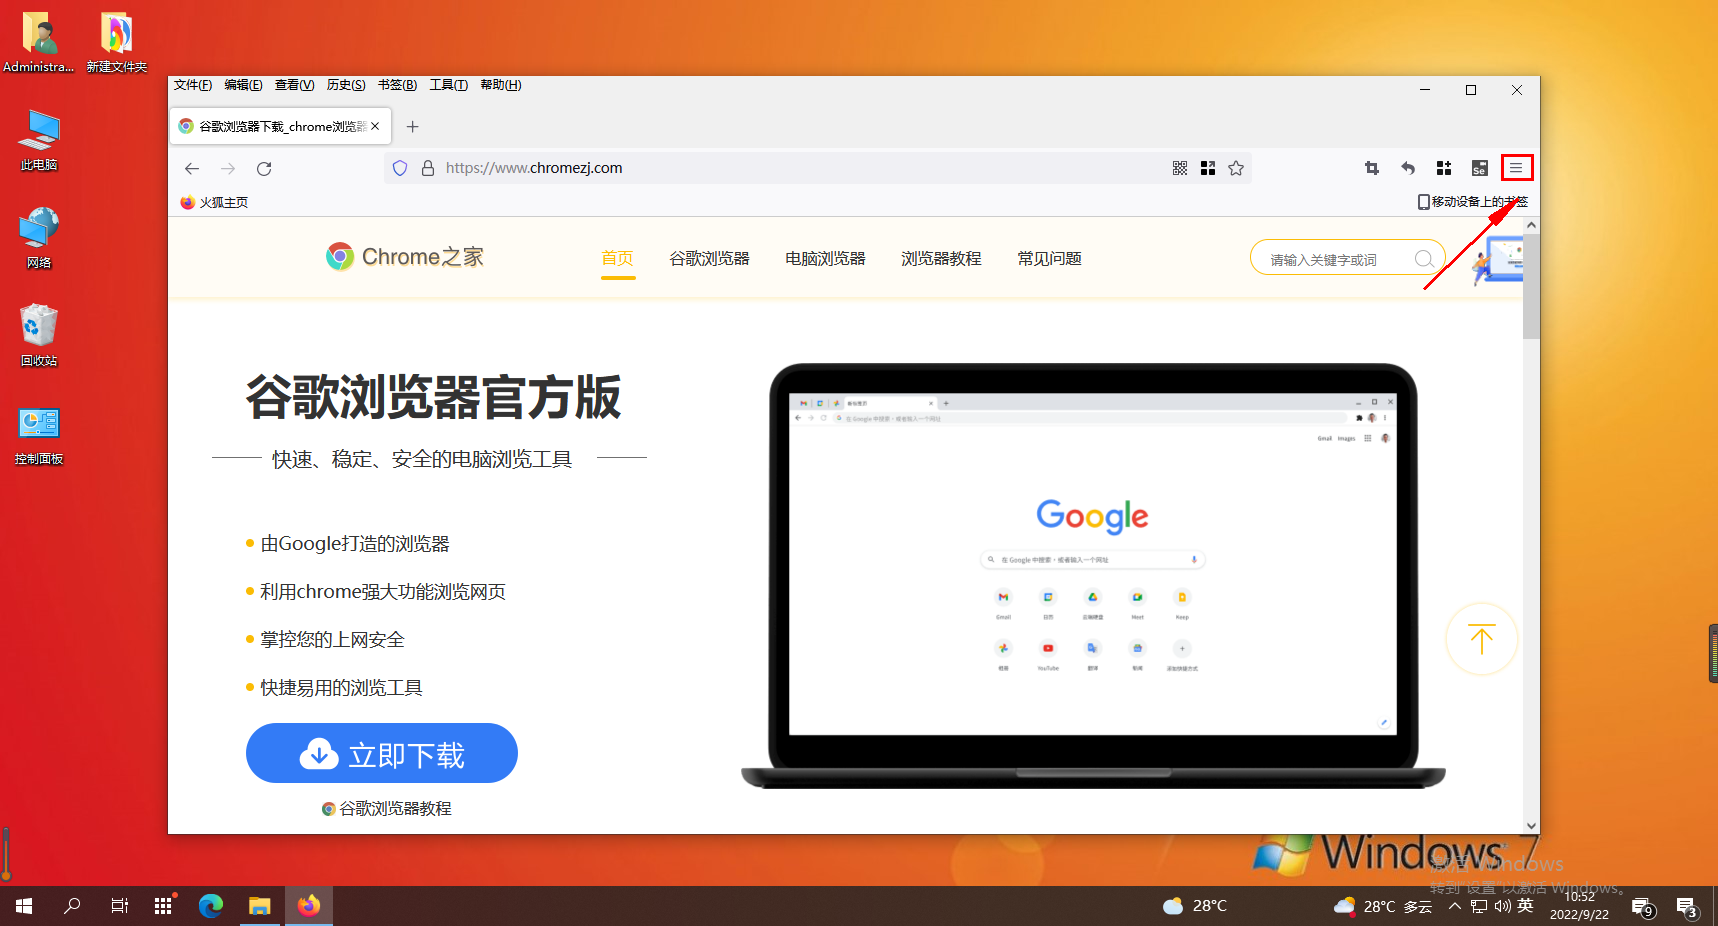 火狐浏览器如何添加书签工具栏Feb 01, 2024 pm 02:18 PM
火狐浏览器如何添加书签工具栏?我们想要在火狐浏览器中添加书签工具栏要如何操作,下面介绍下!我们平时使用火狐浏览器上网的时候会收藏一些需要的书签,这样我们就可以随时使用,比较方便快捷。有些用户想要在火狐浏览器中添加书签工具栏应该如何添加,小编下面整理了火狐浏览器添加书签工具栏具体步骤,不会的话,跟着我一起往下看吧!火狐浏览器添加书签工具栏具体步骤1、首先点击火狐浏览器主界面右上角的按钮2、在下拉菜单栏中,点击更多工具。3、点击定制工具栏3、在定制工具栏中,选择要添加的工具图标然后拖动到右上角排列处
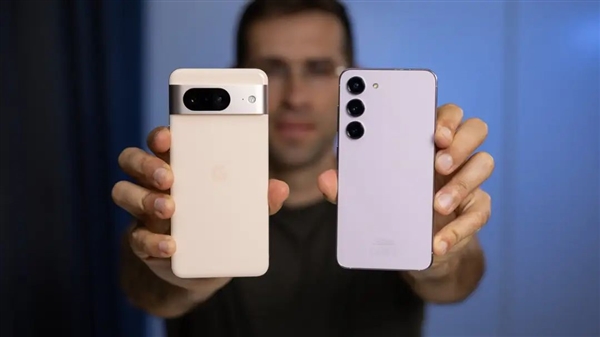 别嫌手机屏幕大了!3寸真小屏手机来了 我怕你把持不住Feb 05, 2024 am 09:10 AM
现在聊起“小屏手机”,你会想到些什么?是苹果在前两年发布的iPhone12/13mini?被称为小屏旗舰的小米13/14?还是三星谷歌的S系列以及Pixel系列的中杯?在我看来,当下这些被大伙儿冠以小屏之名的手机,在体积上其实并没有很小。比如把iPhone13mini和早期的iPhone3G摆在一起,谁是“大屏手机”,一目了然。要知道iPhone3G推出的时候,大家都是在夸它的“3.5英寸大屏”,丝毫不会觉得它是一台“小屏
 如何在iPhone上访问文件Feb 02, 2024 pm 04:25 PM
您可以将文件存储在iPhone上,并通过预装的“文件”应用访问它们。在该应用中,您可以浏览并管理所有文档、文件、图像以及从网络下载的其他内容。以下帖子将详细解释如何在iPhone上查找和访问保存的文件。您将了解如何访问不同的存储位置、同步文件与iCloud,并从其他设备上访问它们。如何在iPhone上查找文件检查保存在iPhone上的文件非常简单。只需使用预装在所有iPhone上的AppleFiles应用程序即可。您可以从应用程序库访问它,或者通过在Spotlight上搜索来打开它。如果您无法在


Hot AI Tools

Undresser.AI Undress
AI-powered app for creating realistic nude photos

AI Clothes Remover
Online AI tool for removing clothes from photos.

Undress AI Tool
Undress images for free

Clothoff.io
AI clothes remover

AI Hentai Generator
Generate AI Hentai for free.

Hot Article
Hot Tools

SublimeText3 Linux new version
SublimeText3 Linux latest version

EditPlus Chinese cracked version
Small size, syntax highlighting, does not support code prompt function

SublimeText3 Chinese version
Chinese version, very easy to use

Notepad++7.3.1
Easy-to-use and free code editor

Dreamweaver Mac version
Visual web development tools

