
Home >Mobile Game Tutorial >Mobile Game Guide >'Honkai Impact: Star Rail' Outsourcer Clearance Guide
'Honkai Impact: Star Rail' Outsourcer Clearance Guide

- WBOYWBOYWBOYWBOYWBOYWBOYWBOYWBOYWBOYWBOYWBOYWBOYWBforward
- 2024-03-30 19:31:271244browse
php editor Strawberry takes you to explore the fascinating shooting game "Honkai: Star Rail"! The game is set in the future world. Players will play the role of an outsourcing customs clearance expert, crossing various dangerous railway levels and completing various exciting tasks. The game not only has a wealth of weapons, equipment and skills to choose from, but also has diverse enemies and level designs, allowing you to experience real combat fun. Come and explore this unique shooting game with me!
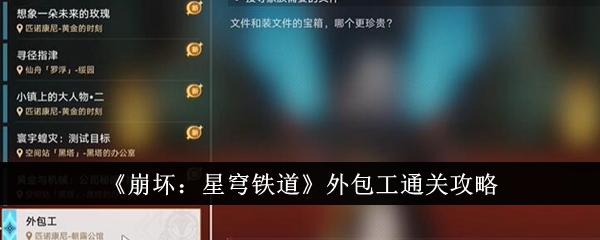
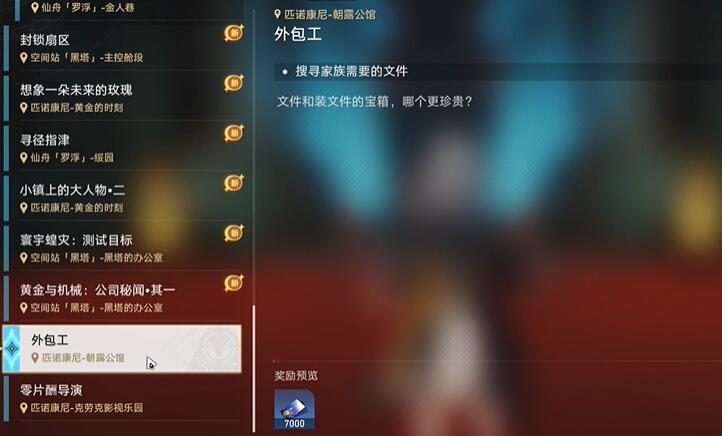
"Honkai: Star Dome Railway" Outsourcer Clearance Strategy
Phase 1:
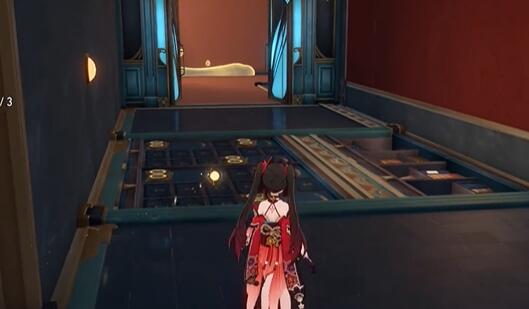
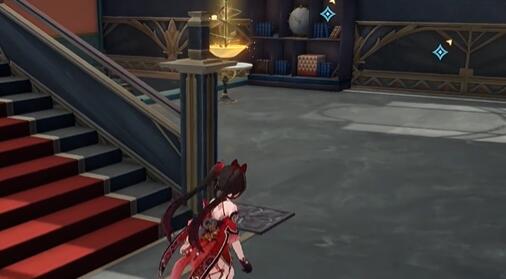
1. First, players need to complete 2.1 After completing the main mission, you can accept this mission, then find a family employee and have a conversation, and then you can enter the mansion to search for documents.
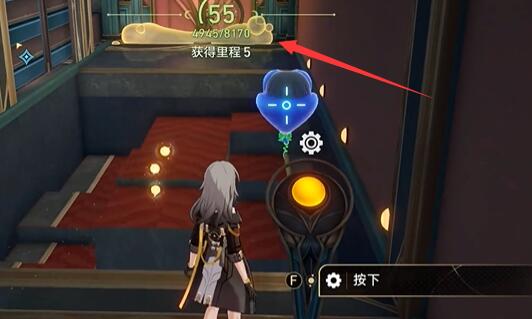
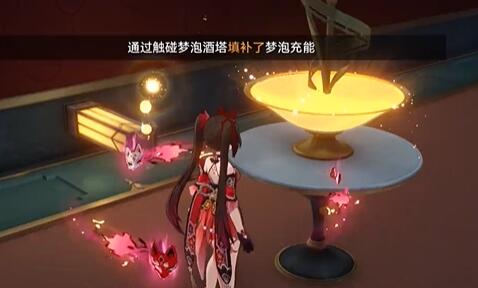
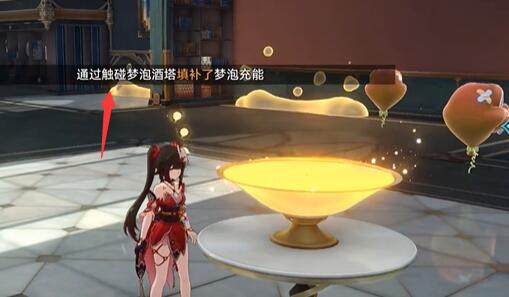
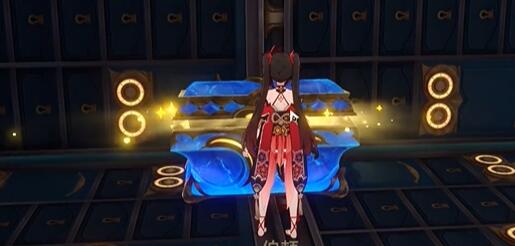
#2. Then go downstairs and find the charging wine pool to recharge.
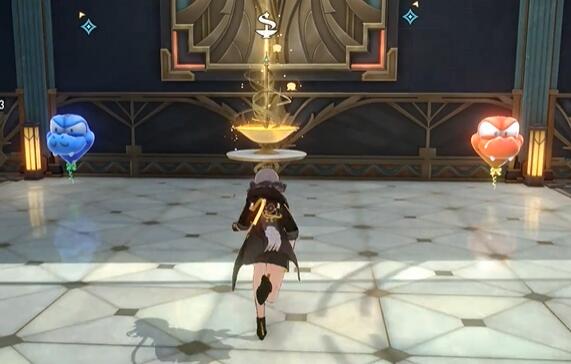
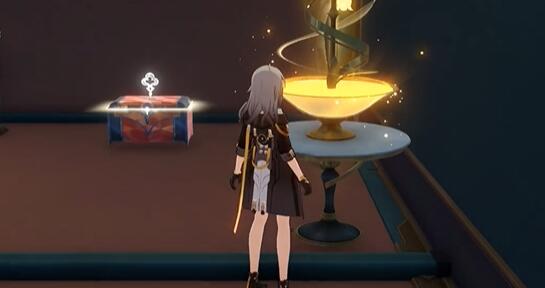
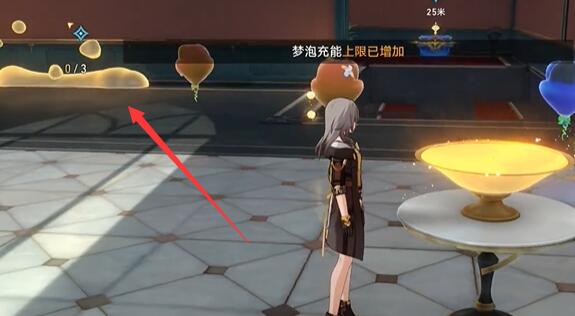
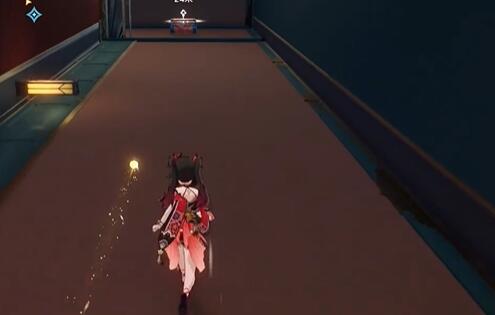
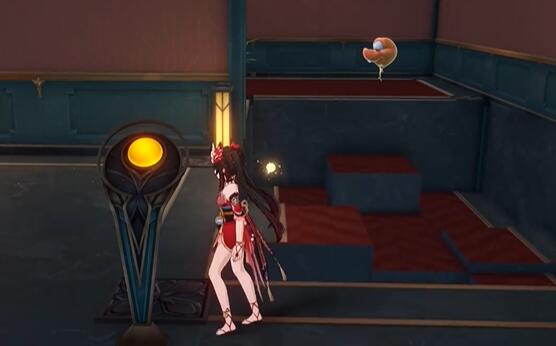
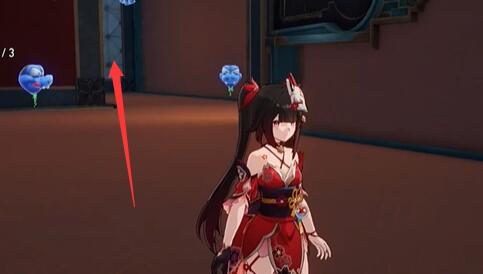
3. Find the location of the red balloon and go up the wall. Go forward along the only path to find props that increase the number of recharges and the first treasure box. .

4. Then press the button on the side, go through this corridor, go up the wall in front and return to the hall, go to 1 first The position of No. 2 is charged, and then it goes to the position of No. 2 and goes up the wall.

5. Turn right at the fork in the road to find the next treasure chest, then turn around and go left, activate the mechanism here and go up the wall. Then go straight, turn left at the arrow position, use the mechanism to go up the wall, find the last treasure box, and then you will be automatically teleported out, talk to the NPC, and you can complete the first stage of the task.
Phase 2:
1. Return to this mansion , return to the hall to recharge, and then go to the red arrow position to go up the wall.
#2. Follow the only road to get the first treasure chest.
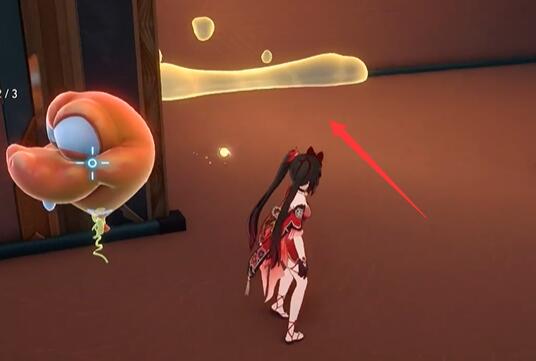
#3. Continue walking forward to get extra recharging, then return to the hall and recharge.
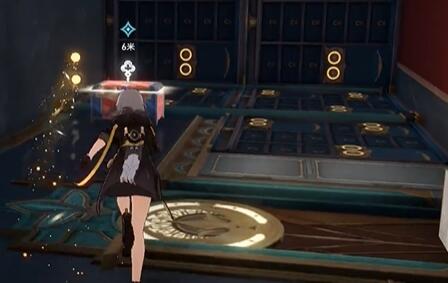
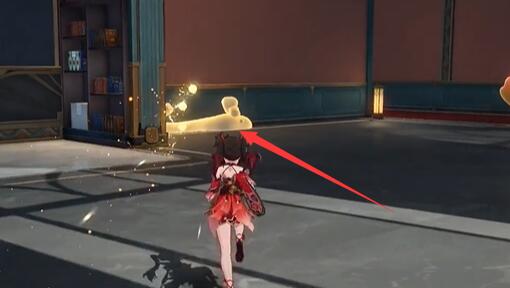
4. Then go up the wall to the location shown in the picture below, come to the fork in the road, go to the location where you first obtained the last treasure box, and you will find the door here. opened.
5. Enter this door, then turn left where the two balloons are, and go to the end to open the second treasure chest.
#6. Return to the position of the two balloons and go down from the position shown in the picture below.
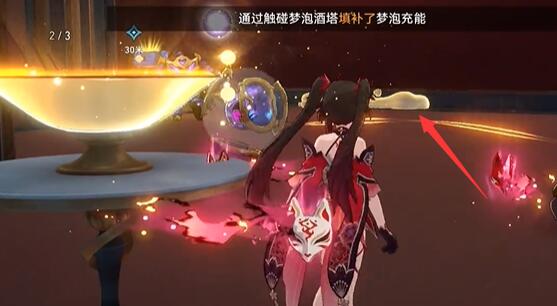
#7. Recharge in this place, then go to the location shown in the picture below and go up the wall to find the last treasure box. Talk to the NPC to complete the second stage. Task.

Phase 3:
1. Return to the hall in the same way and recharge on the left back side of the stairs. able.
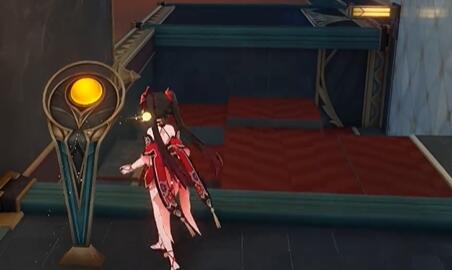
2. Go to the right side to open the mechanism. After activating this mechanism, find the position behind the wall.
3. Behind the three guarding monsters is the first treasure chest.
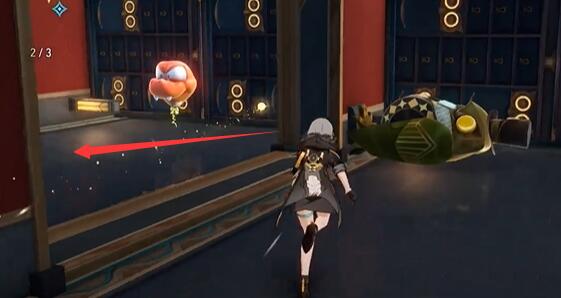
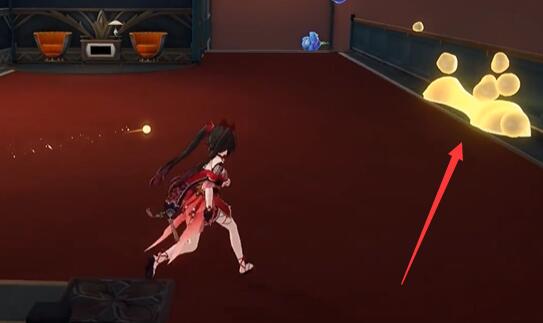
#4. Go to the location of several blue balloons to get recharge, and then return to the lobby along the same path. Do not walk on the wall here.
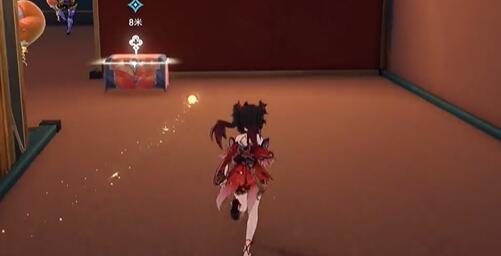
#5. Return to the hall to recharge and go up the wall as shown in the picture below.
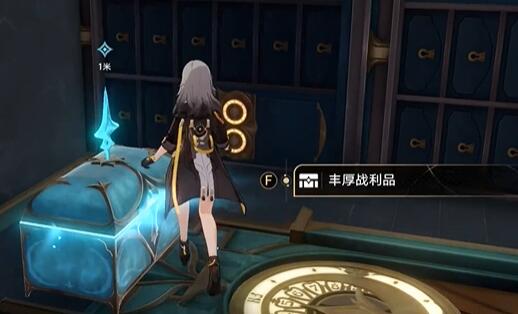
#6. Go along this path to the end to activate the mechanism, then continue forward to find the second treasure box.
7. Then walk into this door, turn right at the fork, go up the wall, find the third treasure box, and This task can be completed after talking to the NPC.

The above is the detailed content of 'Honkai Impact: Star Rail' Outsourcer Clearance Guide. For more information, please follow other related articles on the PHP Chinese website!
Related articles
See more- 'Honkai Impact: Star Rail' My Heart and My Actions Are as Clear as a Mirror Achievement Guide
- 'Honkai Impact: Star Rail' Day 1 Clearance Guide for Void Realm Taste Exploration
- exposure! The sand gold stand-up art of 'Honkai Impact: Star Rail' is revealed
- 'Honkai Impact: Star Rail' Hanahuo Light Cone Recommendation
- 'Honkai Impact: Star Rail' Space Seal Station Obtained Location and Recommended Characters