Home >Software Tutorial >Mobile Application >How to set the approver in DingTalk
How to set the approver in DingTalk
- 王林forward
- 2024-03-29 20:51:331499browse
php editor Yuzai carefully summarizes for you how to set up approvers in DingTalk, without tedious operations, you can get started quickly. Setting up approvers in DingTalk only takes a few simple steps, making your work more efficient and convenient. Next, let’s take a look at how to set up approvers in DingTalk to quickly complete the approval process and improve work efficiency!
1. Open the software and click the work option on the left side of the software interface to enter the work interface.

2. In the work interface, click the [Approval] option.

3. In the approval interface, click the [Approval Management Background] option in the upper right corner.

4. After clicking, you will enter the approval management background interface. Click [Enter the management background] below the interface.

5. Find the approval you want to add the approver and click [Approval Process].

6. Click the [ ] number of the default approver, and click [Supervisor (specified first level)] on the approver page.
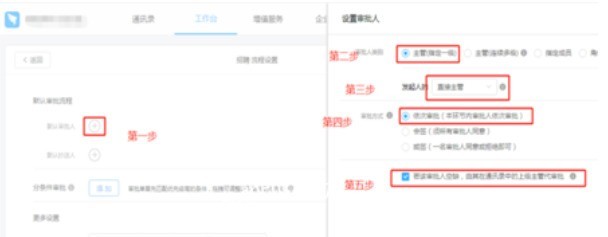
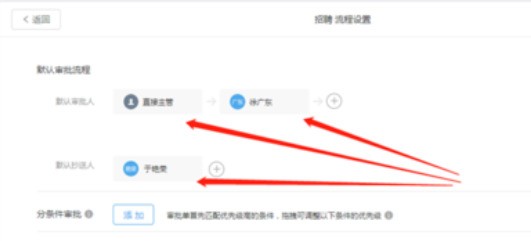
7. Select the sponsor’s [Direct Supervisor], select the approval method [Sequential Approval], and click OK after the settings are completed. At this time, the direct supervisor appears as the default approver.

8. After setting the approvers, you need to select the default carbon copy person, and you can set multiple carbon copy people.
The above is the detailed content of How to set the approver in DingTalk. For more information, please follow other related articles on the PHP Chinese website!

