

Operation tutorial for transferring zones in WIN10 system

php editor Banana brings you a detailed operation tutorial for WIN10 system zone transfer. When using a computer, sometimes we need to change the region where the system is located to meet personalized needs, and the WIN10 system also provides such setting options. This tutorial will give you a detailed introduction to the steps and precautions for transferring the WIN10 system area, allowing you to easily adjust the system area and improve the user experience. Next, let us understand this operation together!
1. Click the win icon in the lower left corner, which is the start button, and select [Settings].

2. After entering settings, click [Time and Language].

3. Select the language in the time and language settings, and select [Manage Language Settings] on the right.

4. Enter [Management], click [Change System Regional Settings], and find the zone you want in the drop-down menu.

5. Click OK and restart the computer.
The above is the detailed content of Operation tutorial for transferring zones in WIN10 system. For more information, please follow other related articles on the PHP Chinese website!

 6 Tasks You Should Do Regularly on Your Windows ComputerApr 19, 2025 am 03:01 AM
Maintaining a Windows computer requires regular upkeep to ensure smooth operation and prevent performance issues, security risks, and unnoticed hardware problems. Here's a routine maintenance checklist to keep your computer running smoothly: 1. Run
 How to Right-Click With No MouseApr 18, 2025 pm 12:03 PM
The mouse is a vital component to getting work done on your PC. But when you’re stuck with a faulty mouse, you can run into a few problems including the inability to right-click. But the good news is that there are definitely ways t
 5 Mistakes That Can Ruin Your Windows ExperienceApr 18, 2025 am 06:01 AM
Maintaining a clean and efficient Windows experience is crucial for optimal performance. Here are some common pitfalls to avoid: 1. Overloading Startup Apps: Too many startup applications significantly slow down boot times and overall system perfor
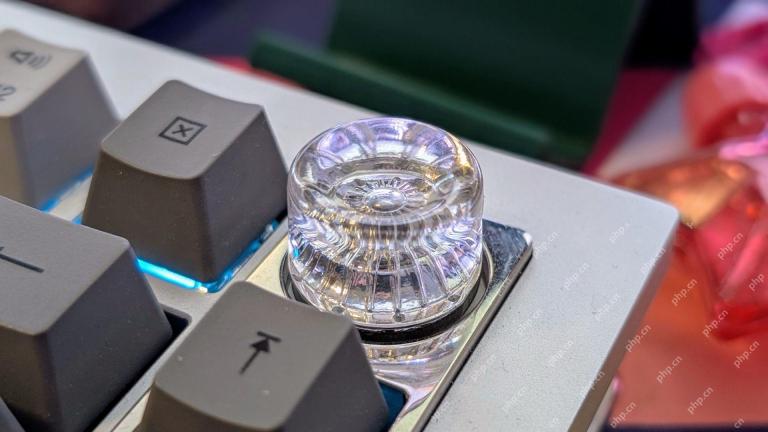 Your Keyboard Needs a Big Ol' Volume KnobApr 18, 2025 am 03:04 AM
In today's touchscreen world, the satisfying tactile feedback of physical controls is a welcome change. That's why a keyboard with a large volume knob is surprisingly appealing. I recently experienced this firsthand, and it's been a revelation. For
 Windows 11 Will Let You Copy Any Text on Your ScreenApr 18, 2025 am 03:01 AM
Windows 11 Snipping Tool Gains Powerful New OCR Feature: Say Goodbye to Manual Text Selection! Windows 11's Snipping Tool just received a major upgrade, adding Optical Character Recognition (OCR) capabilities. This allows users to select text from v
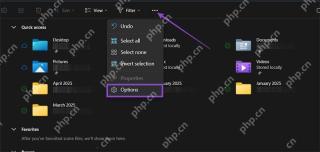 How and Why to Change Default File Explorer FolderApr 17, 2025 pm 10:01 PM
This guide explains how to change the default opening location of File Explorer in Windows 11 and 10. The default "Home" view, while convenient for some, may compromise privacy or workflow efficiency. This tutorial offers three methods to
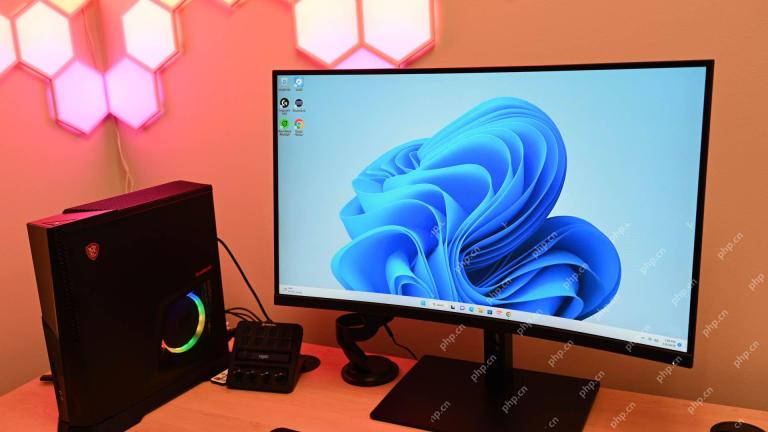
 This Acer Desktop PC Has Laptop Specs, For Some ReasonApr 17, 2025 am 06:03 AM
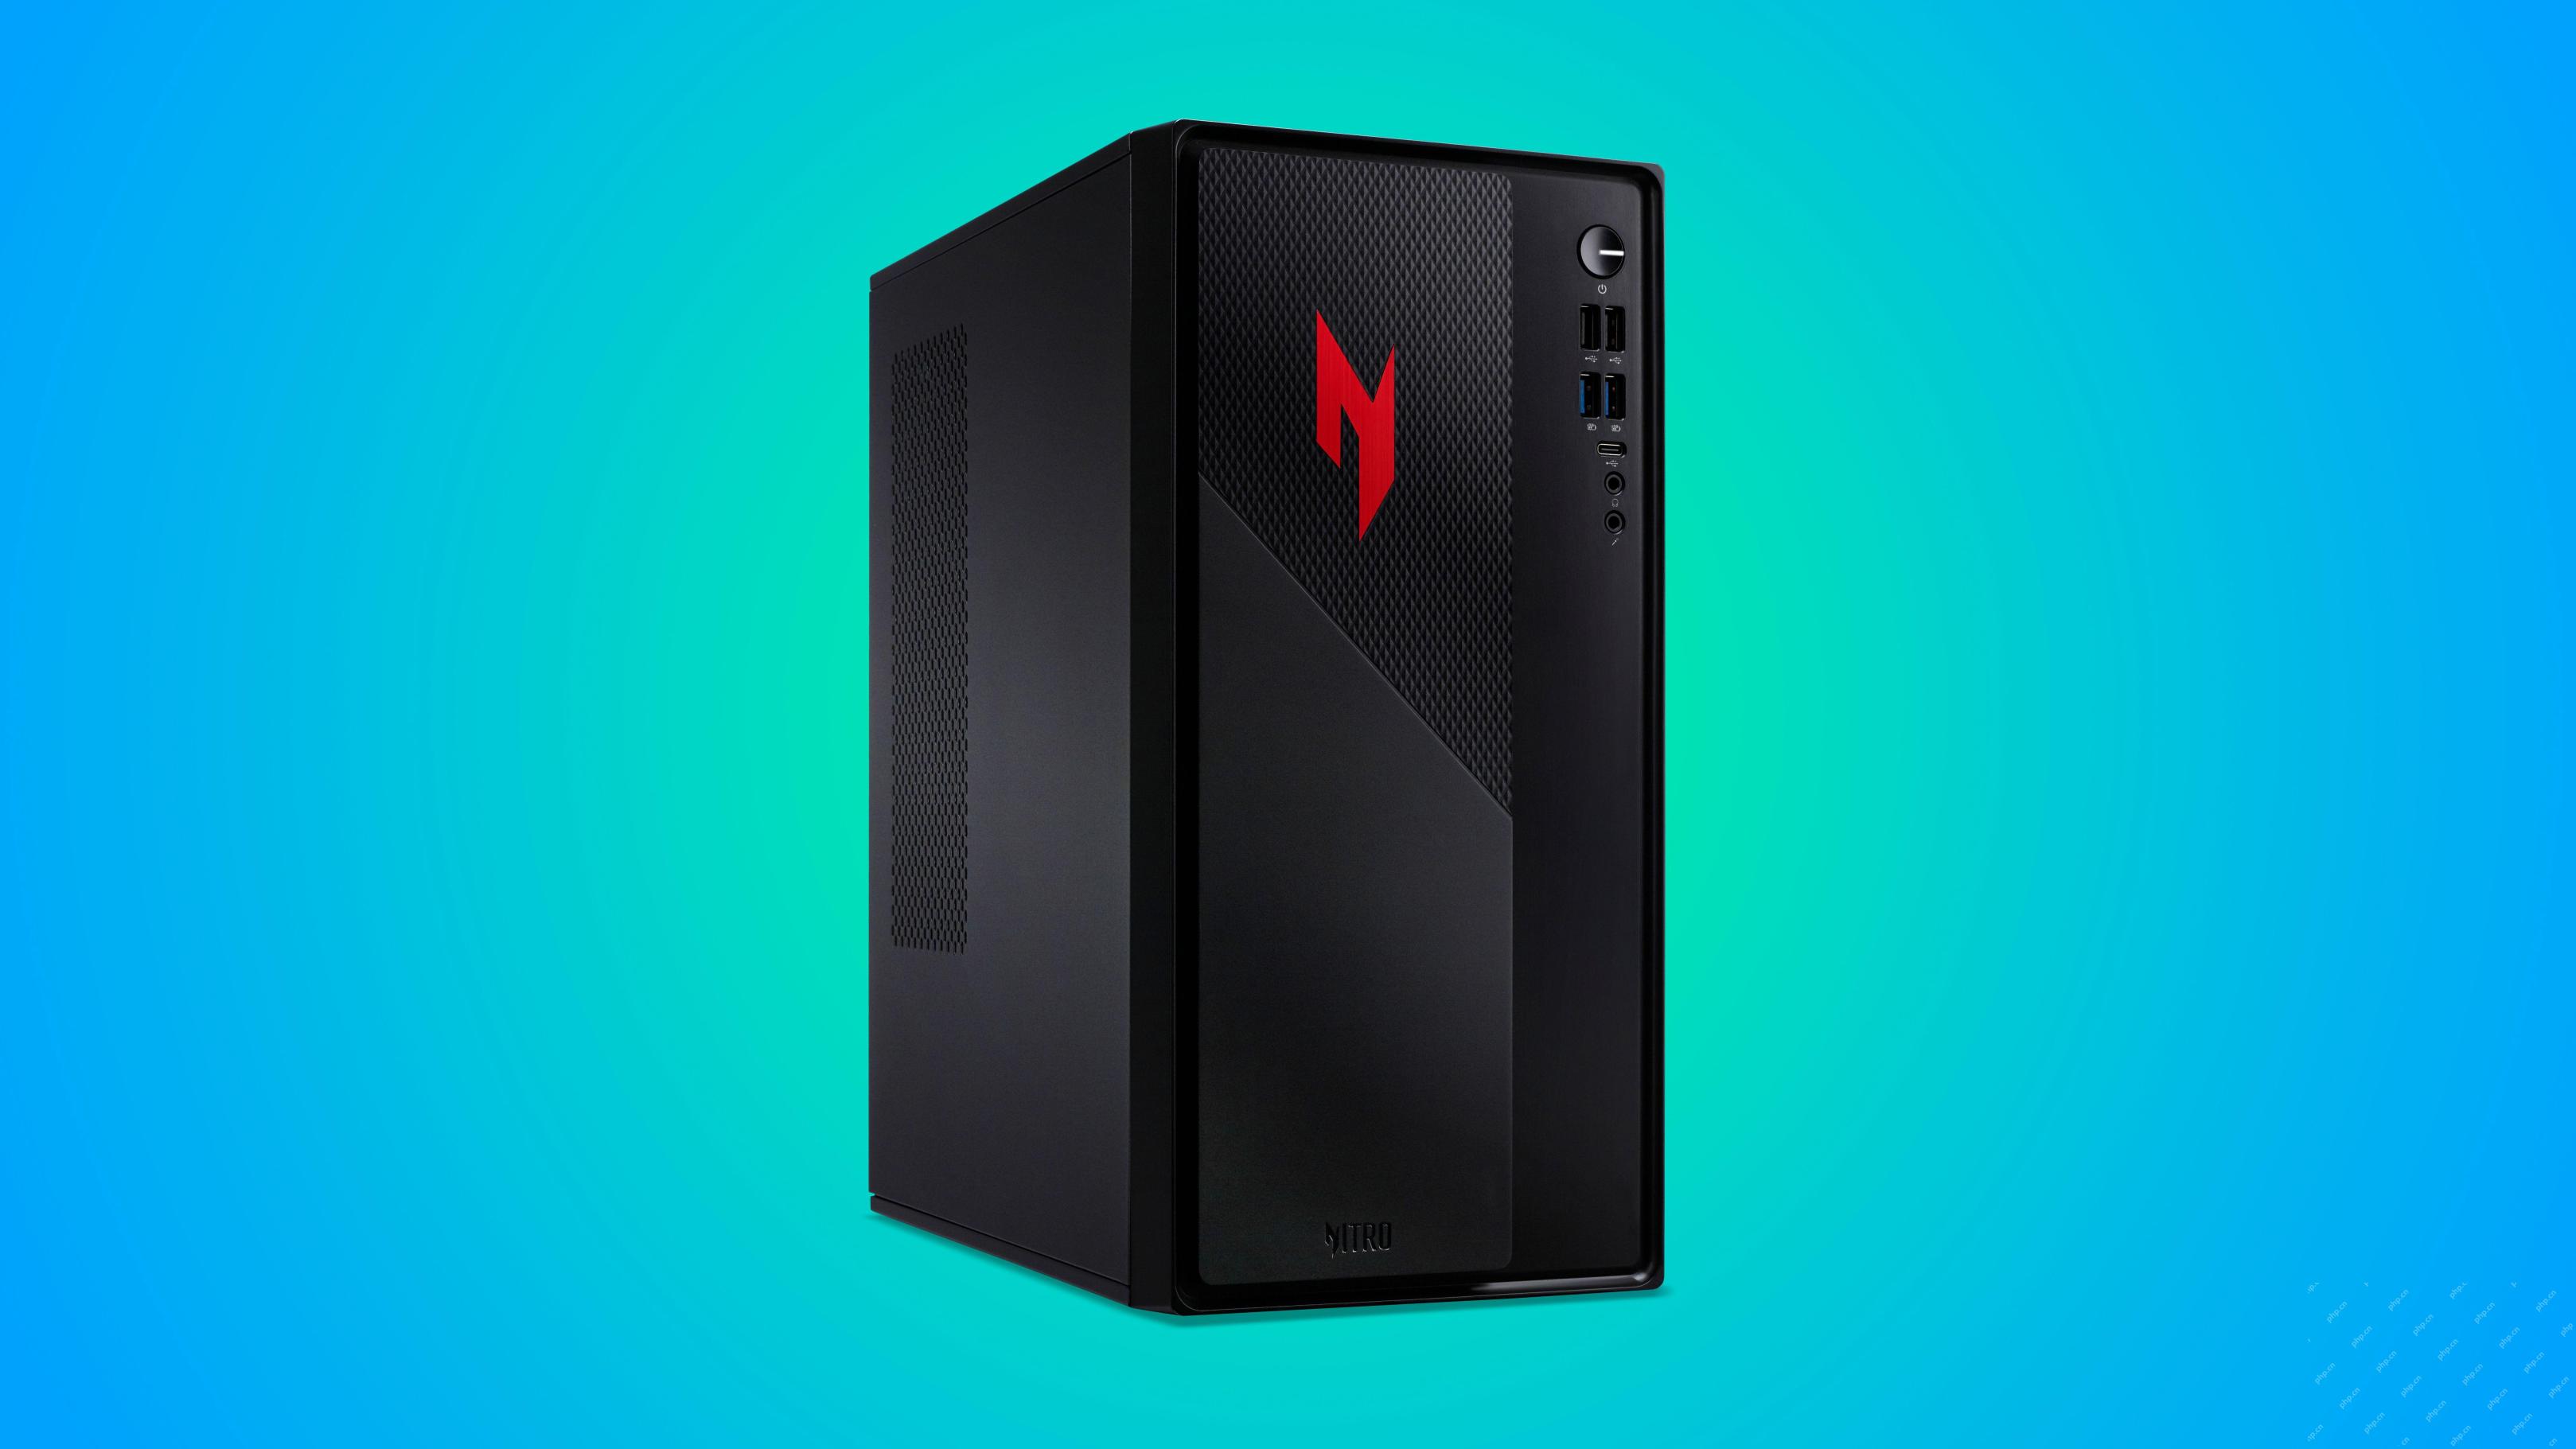
Acer's latest gaming laptop series is stunning, but the company has also launched a desktop computer that is awkward in Acer's product line and has its own advantages and disadvantages compared to other small desktop computers. Acer today added four new laptops and a redesigned compact desktop to its popular Nitro gaming lineup. However, let's talk about desktop computers first, because it's the most unique. What makes it unique is that it uses laptop specifications. The Nitro 20 N20-100 uses an AMD Ryzen AI 9 365 processor, or the Intel Core i5-13420H desktop processor is also available. Graphics card can be equipped with up to
 This Limited-Edition 'DOOM' Release Comes In a Box That Runs 'DOOM'Apr 17, 2025 am 06:02 AM
Limited Run Games is releasing a limited-edition DOOM DOOM II: Will It Run Edition box set, a playful nod to the enduring "Can it run DOOM?" meme. This extravagant set includes remastered versions of the first two DOOM games, playable ac


Hot AI Tools

Undresser.AI Undress
AI-powered app for creating realistic nude photos

AI Clothes Remover
Online AI tool for removing clothes from photos.

Undress AI Tool
Undress images for free

Clothoff.io
AI clothes remover

AI Hentai Generator
Generate AI Hentai for free.

Hot Article
Hot Tools

SecLists
SecLists is the ultimate security tester's companion. It is a collection of various types of lists that are frequently used during security assessments, all in one place. SecLists helps make security testing more efficient and productive by conveniently providing all the lists a security tester might need. List types include usernames, passwords, URLs, fuzzing payloads, sensitive data patterns, web shells, and more. The tester can simply pull this repository onto a new test machine and he will have access to every type of list he needs.

EditPlus Chinese cracked version
Small size, syntax highlighting, does not support code prompt function

Zend Studio 13.0.1
Powerful PHP integrated development environment

SublimeText3 English version
Recommended: Win version, supports code prompts!

PhpStorm Mac version
The latest (2018.2.1) professional PHP integrated development tool

