Home >Software Tutorial >Mobile Application >How to change shortcut keys for NetEase Cloud Music_Operation steps for changing shortcut keys for NetEase Cloud Music
How to change shortcut keys for NetEase Cloud Music_Operation steps for changing shortcut keys for NetEase Cloud Music
- 王林forward
- 2024-03-26 21:36:091219browse
php editor Xinyi will take you to explore the steps to change the shortcut keys of NetEase Cloud Music. As a popular music platform, NetEase Cloud Music provides a wealth of functions and setting options, and changing shortcut keys allows you to operate the music player more conveniently. Through simple settings, you can adjust the shortcut keys according to your personal habits and improve your music playback experience. Next, let us learn how to change the shortcut keys in NetEase Cloud Music!
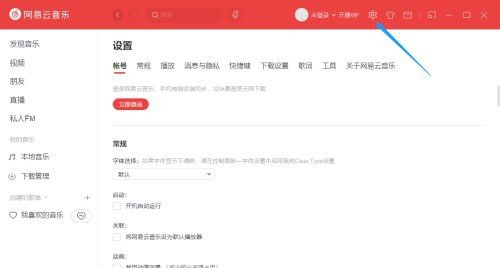
1. First, we double-click NetEase Cloud Music to open the application. We will see this familiar interface. Then, we move to the next step.

2. If we click on the [small gear] icon in the upper column, we will enter the [Settings] interface, which defaults to the [Account] option.

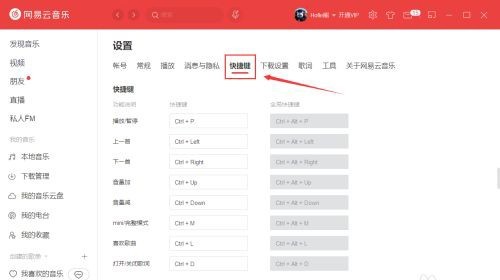
3. We select [Shortcut Keys] from the options under [Settings], and the interface will jump to the [Shortcut Keys] setting interface, and we can perform related settings. already setup.

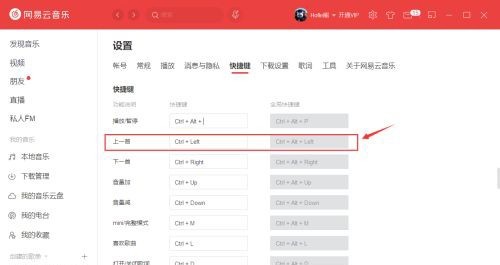
4. This time we want to change the shortcut keys for the previous song, so we go down to find [Shortcut Keys]. We notice that there are multiple input boxes below that can modify the shortcut keys. .

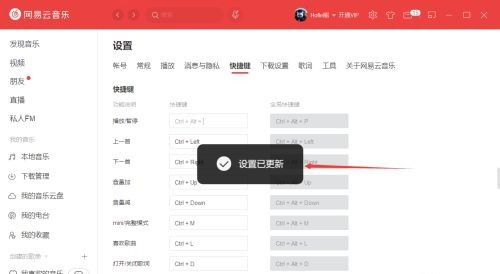
5. We click on the shortcut key input box after [Previous Song], and then we can enter the shortcut key we want to change from the keyboard, and a pop-up will pop up after the modification is completed. [Settings have been updated] prompt.

6. In this way, we have successfully changed the shortcut keys for the previous song function. It is recommended to input the shortcut keys input from the keyboard according to your own needs to avoid forgetting.
The above is the detailed content of How to change shortcut keys for NetEase Cloud Music_Operation steps for changing shortcut keys for NetEase Cloud Music. For more information, please follow other related articles on the PHP Chinese website!
Related articles
See more- Share a Python method to crawl popular comments on NetEase Cloud Music
- Super simple Python crawler for downloading NetEase Cloud Music
- In those years, the WeChat applet imitated the real-time search function of NetEase Cloud Music
- How to download NetEase Cloud Music in mp3 format
- How to cancel automatic renewal of NetEase Cloud Music

