
Home >Software Tutorial >Office Software >Operation steps for designing snowflake graphics in PPT
Operation steps for designing snowflake graphics in PPT

- WBOYWBOYWBOYWBOYWBOYWBOYWBOYWBOYWBOYWBOYWBOYWBOYWBforward
- 2024-03-26 20:10:22789browse
php editor Banana will introduce you in detail how to design snowflake graphics in PPT. First, select the "Shape" option in the "Insert" menu in PPT and select the "Polygon" tool. Then, hold down the Shift key to draw a regular hexagon. Next, select Shape Fill and choose white, and adjust the line color and thickness. Finally, copy and rotate the regular hexagons and arrange them one by one to form a snowflake shape. In this way, you can easily design beautiful snowflake graphics in PPT!
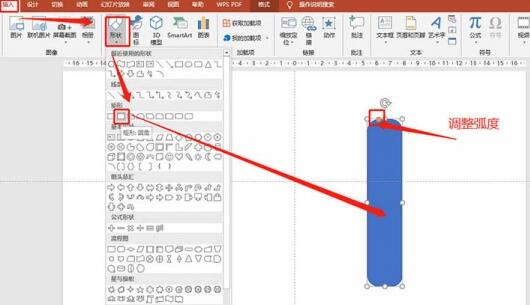
1. Insert a rounded rectangle, adjust the arc to the maximum, and make a copy for later use.
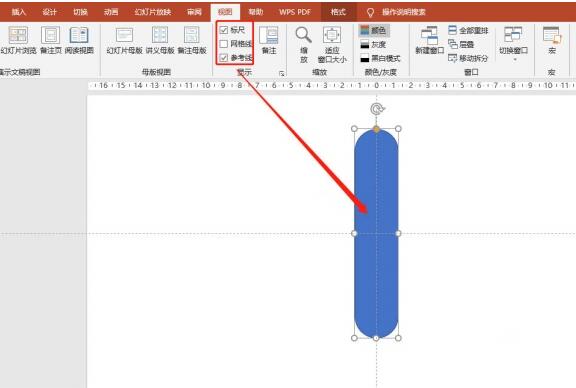
2. Turn on the grid lines and center the rounded rectangle.
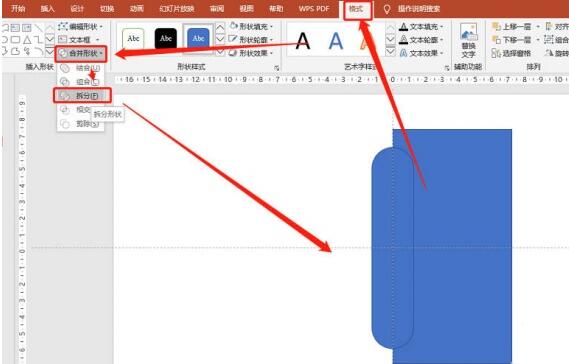
3. Insert the rectangle and place it as shown.

4. Split the rectangle and the rounded rectangle.
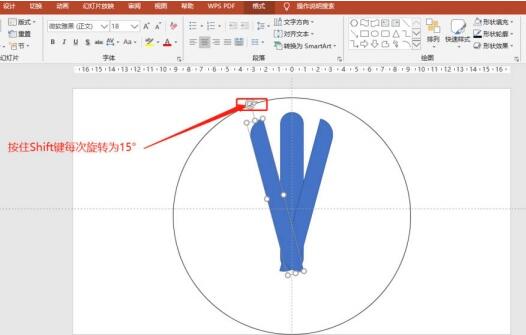
5. Hold down the Shift key, rotate the graphic angle 15°, and place it as shown:.
6. Combine the graphics.
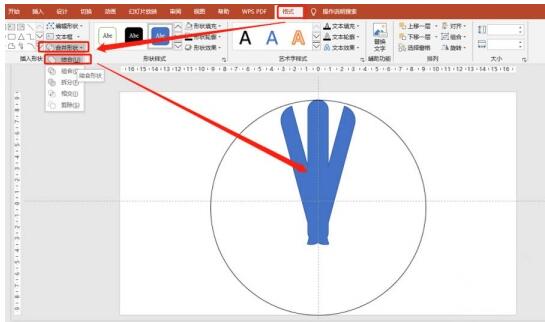
7. Combine each rotation 45° and make it as shown:
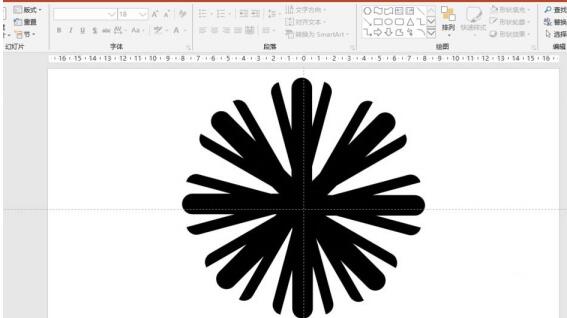
8. Add an unfilled circle in the middle. Just split it.

The above is the detailed content of Operation steps for designing snowflake graphics in PPT. For more information, please follow other related articles on the PHP Chinese website!