


How to use check-ins with home, different locations, and timers

How to let others know that you have arrived at your destination
Informing others that you have arrived at your destination safely is the most common way of "checking in" and it is easy to operate. Here are the steps to set up before you’re ready to embark on the next leg of your journey.
- Open the message
- Have a conversation with the person you want to send the check-in to
- Click the plus sign ( ) icon next to the message field
- Click Sign in
- Click Edit at the bottom of the prompt
- Enter the destination you want to go to
- Select "Done" in the upper right corner and send "Check in"
When entering your destination, you can choose different modes of travel depending on your needs, whether that's driving, taking public transportation, or walking. Make sure you choose the device you're using correctly so your device can accurately estimate how long it will take to get to your destination. This allows you to better plan your trip and get you to your destination more conveniently.
If you realize that your arrival time may be later than your scheduled "check-in" time, you can add extra time to your plan yourself. You can choose to add an extra 15 minutes, 30 minutes or an hour in case you need it. Once scheduled, you can delete these extra hours at any time to better organize your schedule.
If you enter the recipient's location instead of your home address, it will let them know you have arrived to meet them, rather than when you arrive home. This is useful when you want to notify them of your arrival without sending an ETA in Maps.
 Comparison of ETA in Maps and Check-in in iMessage
Check-ins can only be sent to individuals, not in group chats, and you can only send them to individuals at a time There can be one active. If you want other users to know you've arrived at your location, use an ETA in Google Maps.
How to send a check-in timer
Check-ins are not only necessary to send location-based alerts; they can also be sent after a set time. This is useful when you're in a strange place or meeting new people, and your loved ones want to make sure you're safe.
You will receive multiple notifications when the timer is nearing completion. When the time is up, you must manually close the check-in, otherwise the recipient will receive a notification that you have not responded.
 Send check-in when preset timer completes
Here's how to toggle the check-in timer and send it to a friend or family member.
- Open the message
- Have a conversation with the person you want to send the check-in to
- Click the plus sign ( ) icon next to the message field
- Click Sign in
- Click Edit at the bottom of the prompt
- Switch to "After Timer"
- Select the amount of time to pass before the notification is sent
The timer quantity can only be placed in five-minute intervals, which means you cannot place it for 23 minutes. So you can set the timer from 5 minutes to 23 hours and 55 minutes.
You will have 15 minutes to respond to the prompt. After the timer ends, you can end the check-in completely or add another time and be prompted again.
 Add time when check-in timer ends
If you do not respond to the prompt within 15 minutes, the recipient will be notified and will have access to the amount of information you originally granted them.
How to change the amount of information granted to recipients
Whether you are going home or to another location, if you do not respond to the check-in timer or do not arrive at your destination on time, the system will send a message to the recipient. Send notification to recipient. This will allow them to access the information you originally granted them.
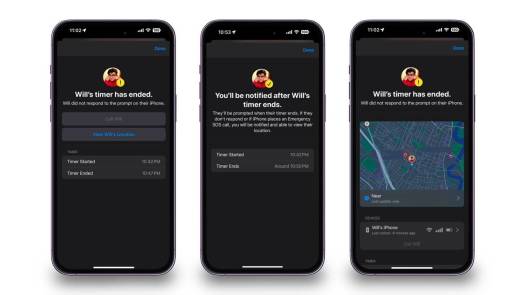 Options available when checking in when timer expires without confirmation
 The information they can access ranges from "Limited" to "Full". Depending on which one you choose will determine how much information the recipient gets.
Limited will let recipients view your recent location, battery and network signal details. These details will apply to your iPhone and Apple Watch.
 Options in Messages settings for how much information to provide to recipients
Full Messages will provide the same information, along with your recent travel routes and the last time you unlocked your iPhone or took off your Apple Watch s position.
Please note that these settings will apply to every check-in you send, no matter who you send it to. However, you can change the amount of information that is accessible.
Here's how to change the amount of information granted when you don't respond to check-in notifications.
- Open settings
- Scroll down to "Messages" and click on it
- Scroll down to the "Data" option under the "Check-in" section
- Choose "Limited" or "Full"
When you send a check-in, the options you selected will be appended. However, you can change it at any time.
When customizing a check-in, you can also be directed to the check-in settings by clicking "Message Settings" under the check-in data.
CHECK EACH OTHER
Checking in is a great way to notify others that you have arrived at your destination or have been delayed by traffic. It also sends important information if you don't respond to check-in notifications.
 Send a check-in notification to the recipient to let them know the send has ended. Check-in
 This is a basic feature that replaces typing a text message or calling someone to check in with them. It does all the necessary work automatically and notifies you and the recipient when you check-in.
You must be on an iPhone running iOS 17 or later to use Check-In. Additionally, both devices must be running at least iOS 17 to send check-ins to each other.
The above is the detailed content of How to use check-ins with home, different locations, and timers. For more information, please follow other related articles on the PHP Chinese website!

 Don't Like the Latest Apple Mail Changes? Here's How to Get Rid of ThemApr 14, 2025 am 12:54 AM
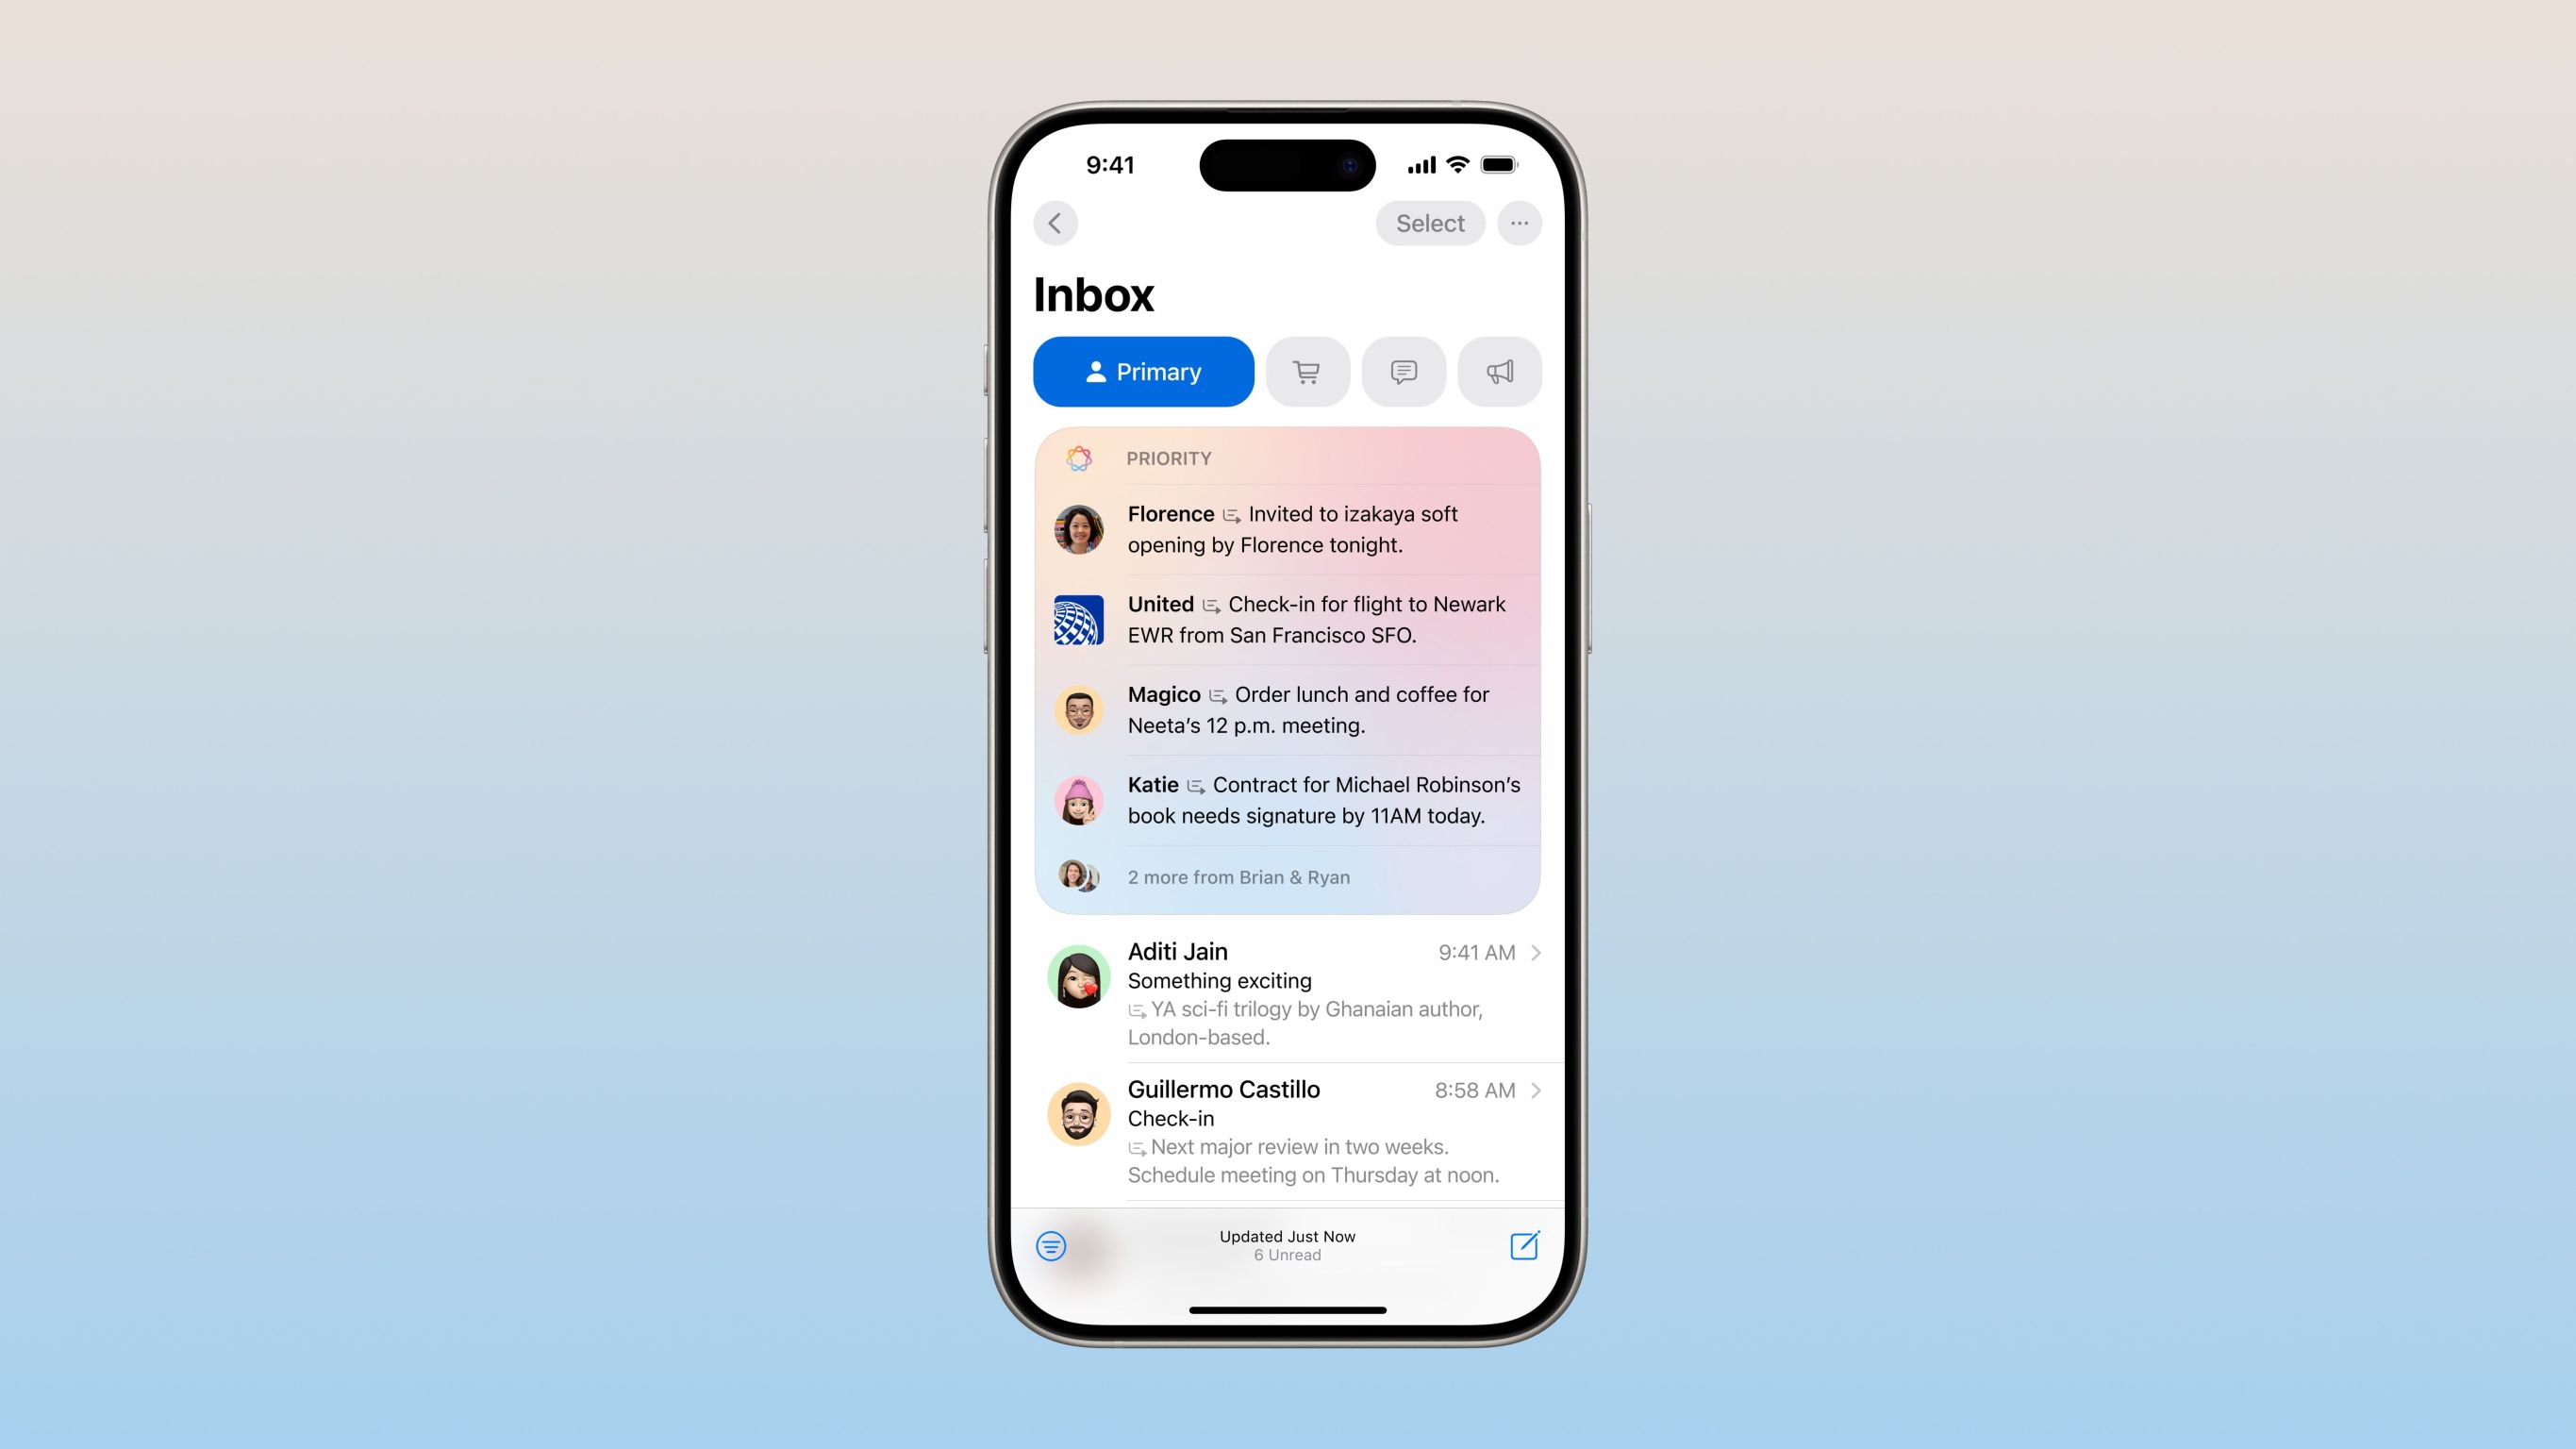
New features of Apple Mail app: Categories, Summary, and Contact Photos The Apple Mail app recently updated its iPhone, iPad and Mac versions, adding features like Gmail-like email classification, notifications and email summary, and contact photos in your inbox. But not everyone likes these new changes. Fortunately, you can disable these new features and restore to a simpler way to use them. Here's how to do it: Disable Apple Mail Classification The email classification feature is designed to sort your inboxes to make it easier to process incoming messages. This feature is suitable for any device running iOS or iPadOS 18.2 and Mac computers with macOS 15.4 installed. Categories include: Main: Mail thinks the most
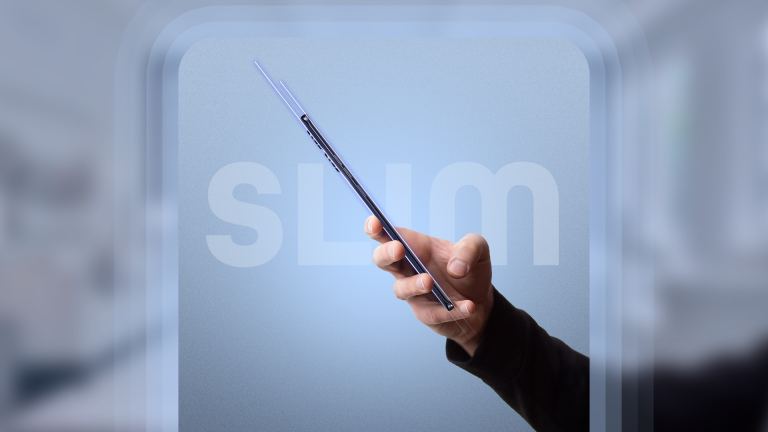 We Don't Need Slimmer Phones, But You Might Want One AnywayApr 13, 2025 am 03:01 AM
Ultra-thin phones: Amazing design or risky? Samsung and Apple are about to release ultra-thin flagship phones Samsung Galaxy S25 Edge and Apple iPhone 17 Air are about to be released, and its ultra-thin design has sparked heated discussions. While many fans are concerned about their design compromises, ultra-thin phones still have some attractive advantages. Ultra-thin design: how much does it cost? First of all, these devices are expensive. Ultra-thin design requires custom parts and improved manufacturing processes, greatly increasing costs and ultimately passing them on to consumers. While prices may change at any time, reliable news shows that the iPhone 17 Air may be priced the same as the $899 iPhone Plus, or even likely to completely replace the latter; while the S25 Edge
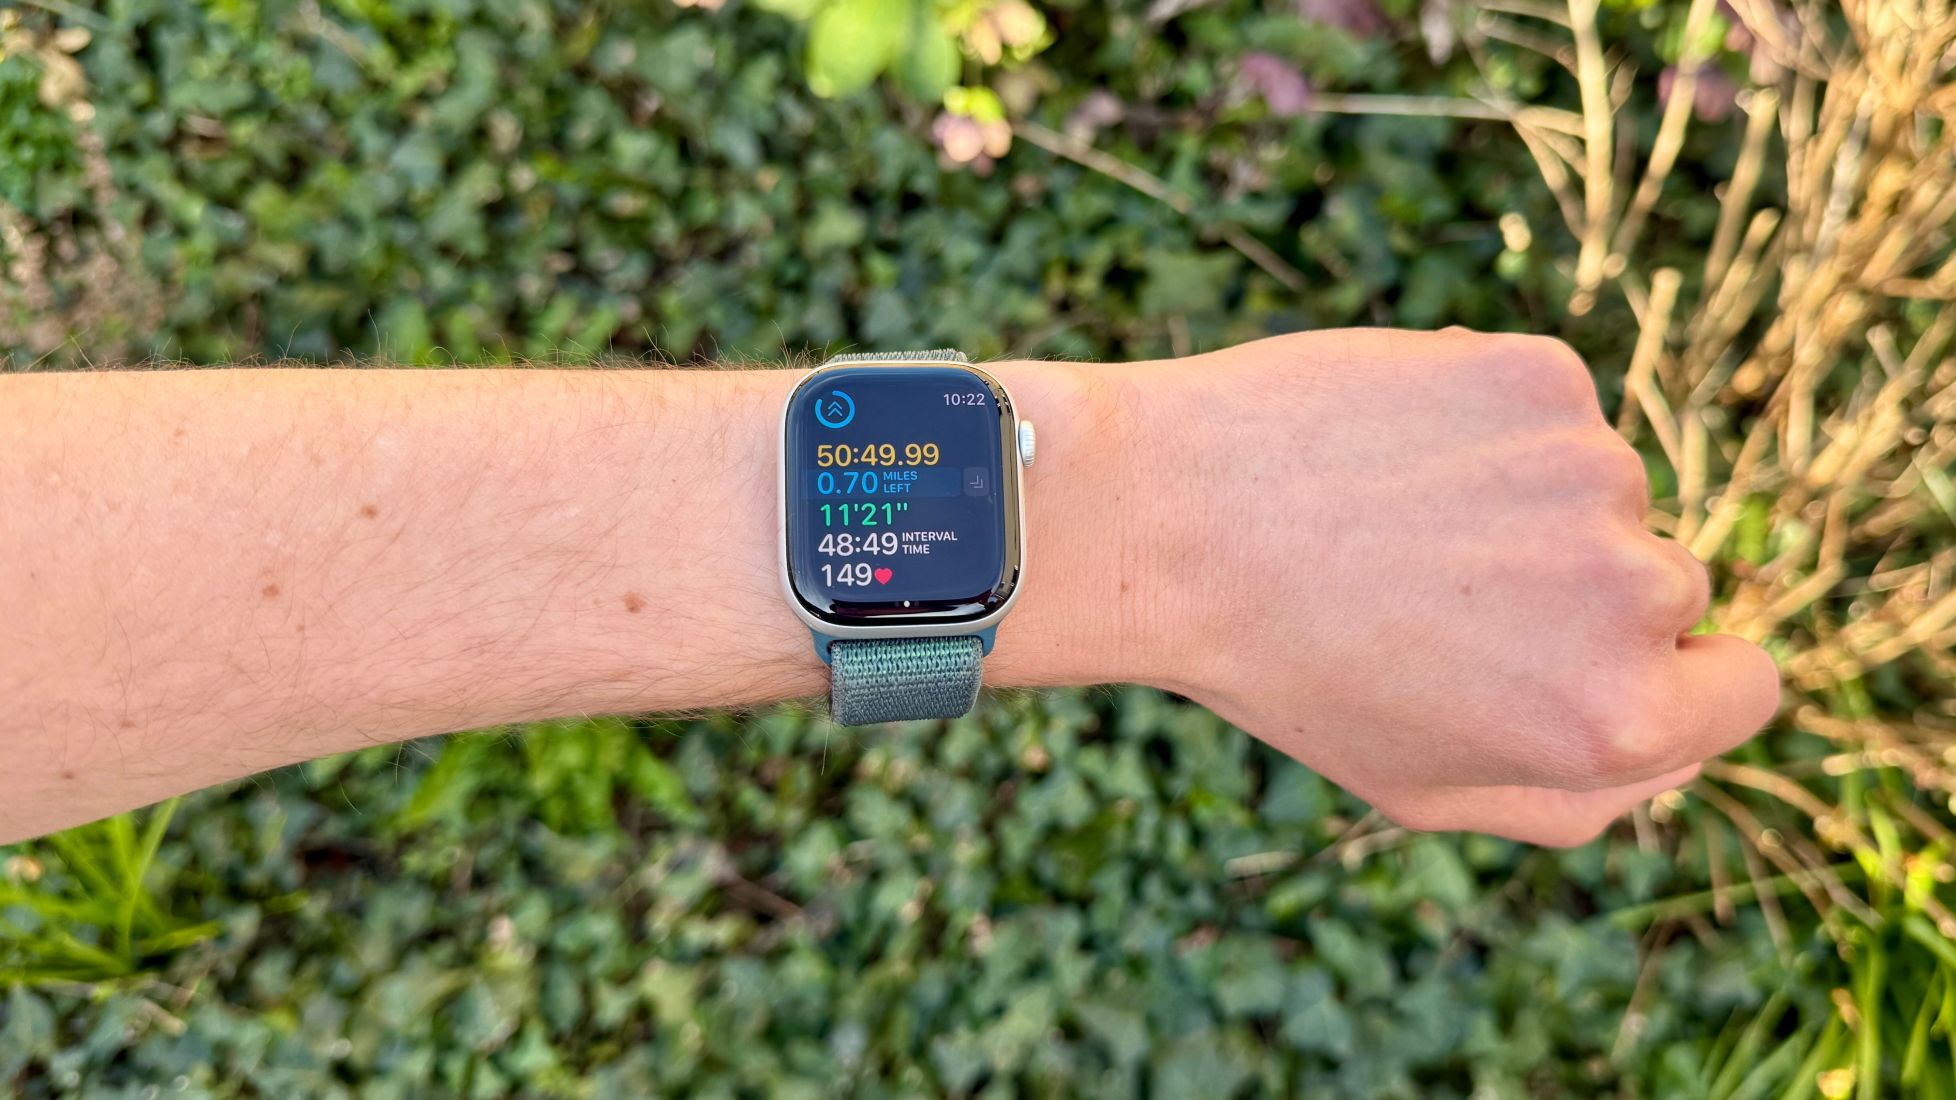 I Regret Ignoring This Apple Watch Running FeatureApr 13, 2025 am 12:58 AM
Take advantage of the Apple Watch running features: From default training to custom planning I've been using default running training I finally found the pacemaker and custom training Easy way to create custom Apple Watch training Make the most of your Apple Watch I'm currently training for a half marathon, which means I'm running three times a week, one to two hours a day, making the most of my Apple Watch. I've been running 142 miles this year, but I've just discovered a game-changing Apple Watch running feature. Related ###### I ran a half marathon with AirPods 4, how effective I'm curious about the new AirPod
 8 Tech Features I Wish Existed in Real LifeApr 12, 2025 am 12:59 AM
Life Hacks We Wish Were Real: Tech Features We Crave in Real Life Modern technology offers incredible conveniences, so much so that we often take them for granted. Pausing live TV, undoing computer errors, or voice-commanding music – these are ever
 Fix the Wait Limit in iPhone Shortcuts With This Simple TrickApr 11, 2025 am 03:05 AM
Apple's Shortcuts app offers a "Wait" action for short pauses, but it's unreliable for longer durations. This limitation stems from iOS's background app restrictions. A clever workaround uses custom Focus modes to achieve extended waits,
 How big is the iPhone 16 Pro Max?Apr 10, 2025 am 09:36 AM
The iPhone 16 ProMax will have a screen size of 6.9 inches, aiming to provide a more immersive visual experience while maintaining a thin and light design to improve user operation comfort.
 Is the iPhone 17 released?Apr 09, 2025 am 12:07 AM
The iPhone 17 has not been released yet and is expected to debut in the fall of 2025. 1. Performance improvement: It may be equipped with a more powerful A17 chip. 2. Camera improvement: Possibly improve pixels and sensors, and advance ProRAW and ProRes formats. 3. Design changes: It may adopt a narrower or borderless design, using new materials. 4. New features are introduced: There may be breakthroughs in health monitoring and AR.
 CarPlay Is Breaking for Some People After iOS 18.4 UpdateApr 08, 2025 pm 09:01 PM
CarPlay failure caused by iOS 18.4 update: connection issues and missing notifications Apple recently released the highly anticipated iOS 18.4 update with new emojis, AI features, priority notifications, and several changes to CarPlay. However, these changes seem to do more harm than good, and many users report that CarPlay is almost unusable. The iOS 18.4 update should fix some major CarPlay issues, especially for EV users. Major CarPlay changes include three-line icons on the home screen, and the option of default navigation apps in the EU (not limited to Apple Maps anymore). It also adds an API that allows sports applications to be pushed in new


Hot AI Tools

Undresser.AI Undress
AI-powered app for creating realistic nude photos

AI Clothes Remover
Online AI tool for removing clothes from photos.

Undress AI Tool
Undress images for free

Clothoff.io
AI clothes remover

AI Hentai Generator
Generate AI Hentai for free.

Hot Article
Hot Tools

Dreamweaver Mac version
Visual web development tools

SublimeText3 English version
Recommended: Win version, supports code prompts!

Notepad++7.3.1
Easy-to-use and free code editor

Atom editor mac version download
The most popular open source editor

SAP NetWeaver Server Adapter for Eclipse
Integrate Eclipse with SAP NetWeaver application server.

