search
HomeSoftware TutorialComputer SoftwareHow to add subtitles and dubbing to movie clipping - video editing video tutorial for beginners

php editor Xigua will introduce you in detail how to add subtitles and dubbing in video editing software. In this beginner's guide to editing video tutorials, we will show you how to use editing software to easily add subtitles and dubbing to make your video content more lively and interesting. Following our steps, you will easily master the operation skills of editing software and add more creative elements to your video production.

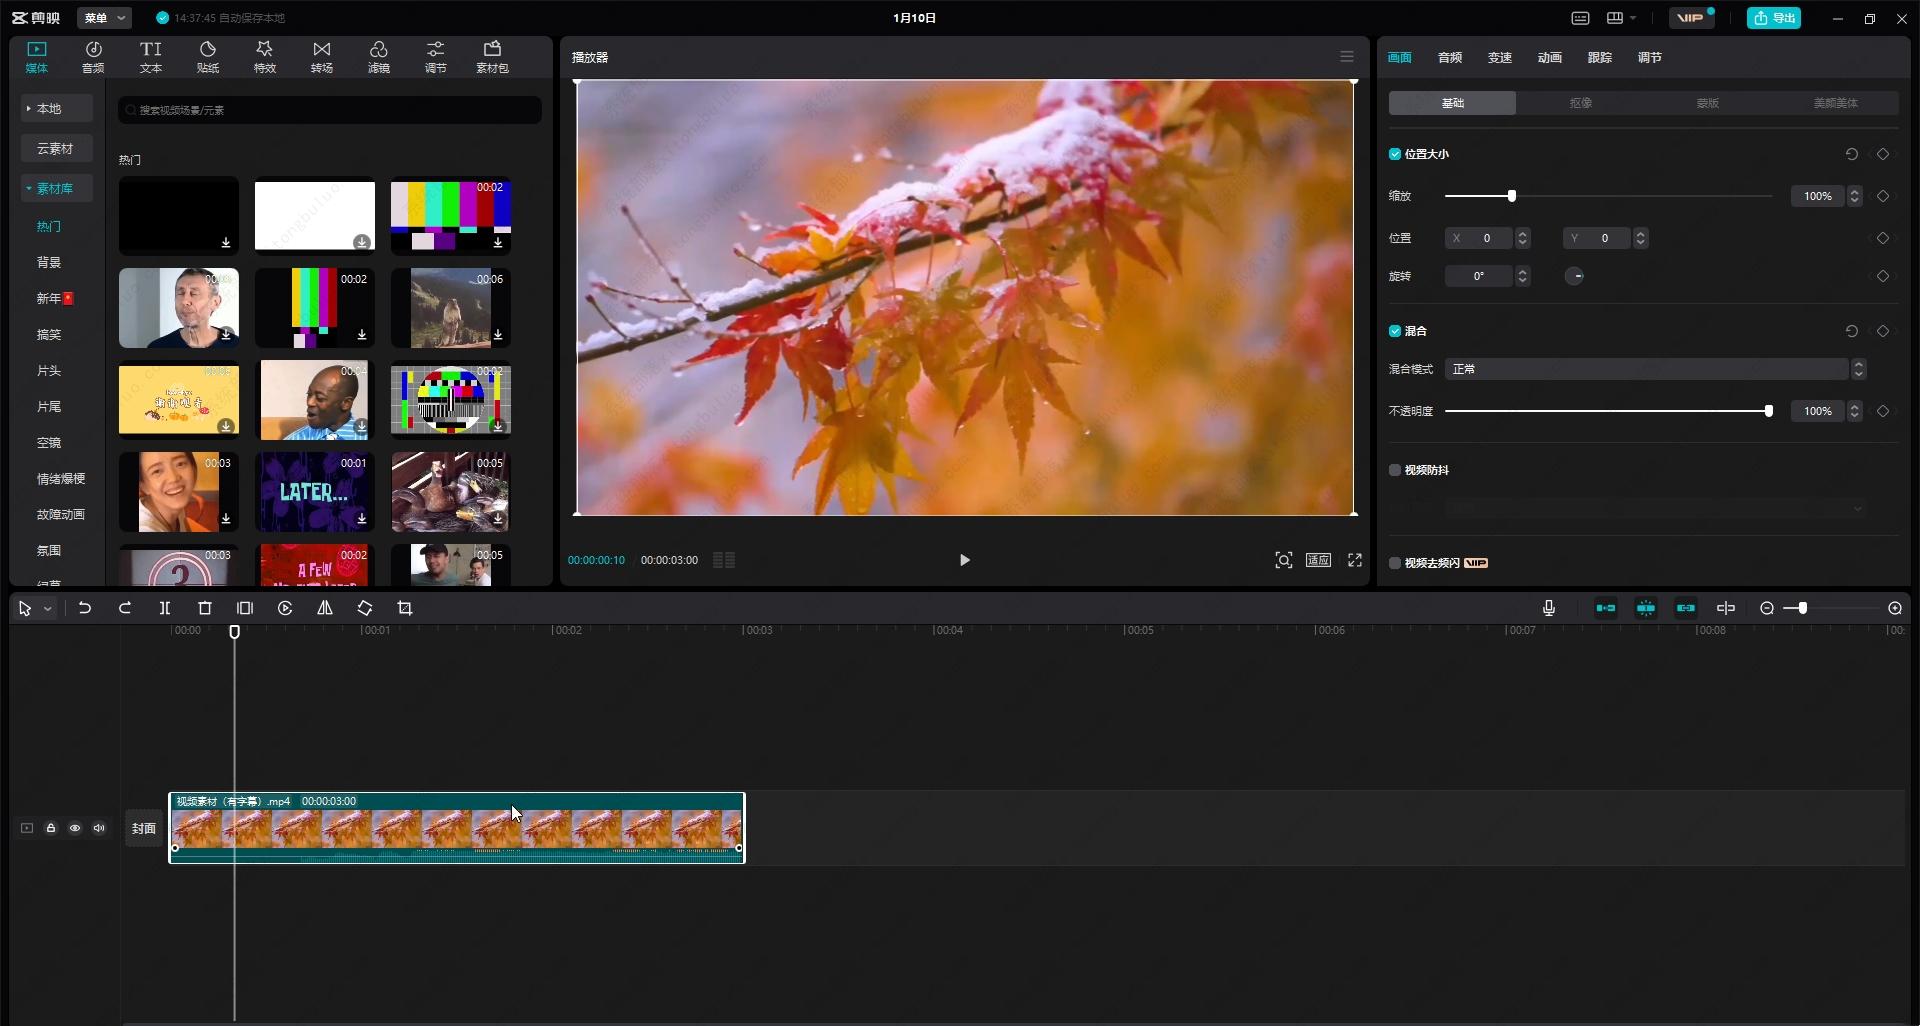
1. Enter the software and click [Start Creating].

How to add subtitles and dubbing to movie clipping - video editing video tutorial for beginners

2. Click [Text] below.

How to add subtitles and dubbing to movie clipping - video editing video tutorial for beginners

3. Select [New Text].

How to add subtitles and dubbing to movie clipping - video editing video tutorial for beginners

4. Enter text, adjust the style and save.

How to add subtitles and dubbing to movie clipping - video editing video tutorial for beginners

5. The addition is completed.

How to add subtitles and dubbing to movie clipping - video editing video tutorial for beginners

Add dubbing:

6. Select [Audio].

How to add subtitles and dubbing to movie clipping - video editing video tutorial for beginners

7. Click [Recording].

How to add subtitles and dubbing to movie clipping - video editing video tutorial for beginners

8. Start recording.

How to add subtitles and dubbing to movie clipping - video editing video tutorial for beginners

Introductory Tutorial on Film Cutting

1. Video segmentation

If you want to learn video editing, you must learn video segmentation. For users who have short video production needs, learning video segmentation can allow us to learn the basic operations of video editing in a short time. Next, we use the Windows 10 version of Silhouette (Shadow) to demonstrate how to split a video. As shown below:
How to add subtitles and dubbing to movie clipping - video editing video tutorial for beginners
The material of the video is a video from a TV series. Novice users can use this type of video material to practice first. We first open the silhouette (film) software, and then add a video material at will. After adding the material, we can split the video. As shown below:
How to add subtitles and dubbing to movie clipping - video editing video tutorial for beginners
The video material in the picture is 1 minute. If we only want the 40 minutes in the middle of the material, then we can click the split button above the video material to split the video at 10 seconds and 50 seconds. You can also press the CTRL O key. Let's perform a quick segmentation operation. After the segmentation is completed, we will find that the 1-minute material video is divided into three segments. Then we select the 10-second videos that need to be deleted, and then press DEL to delete them. As shown below:
How to add subtitles and dubbing to movie clipping - video editing video tutorial for beginners
After deleting the videos on both sides, the 40-second clip we just captured is left in the editing box. This is just a simple use of the segmentation function. We can also use it to "frame-level" it. Split and then stitch together multiple video clips.
2. Add video subtitles
After we divide the video and leave the clips we need, the next step is to add subtitles to the TV series clips. The method of adding subtitles is relatively simple. Just click on the text in the upper left corner of the software. Then select "Recognize Subtitles", as shown below:
How to add subtitles and dubbing to movie clipping - video editing video tutorial for beginners
After clicking to start recognition, subtitles will be automatically generated. However, the generation of subtitles relies on artificial AI. There may be errors in the subtitles, so we need to modify them manually. As shown below:
How to add subtitles and dubbing to movie clipping - video editing video tutorial for beginners
When we select the subtitles, the subtitle modification bar will be displayed in the upper right corner of the software. In the modification bar, the text style, special effects, display mode, etc. of the subtitles can be set. However, it should be noted that after selecting the subtitles, a border will appear on the video screen, and the size of the border can be adjusted. Users can use their mobile phone to drag these borders to adjust the position and size of the subtitles on the screen, as follows picture:
How to add subtitles and dubbing to movie clipping - video editing video tutorial for beginners
After we adjust the subtitles, we will have the three elements that a short video should have, namely subtitles, sound, and video.
3. Export video
After we edit the imported material into the clips we need, add subtitles using the subtitle recognition function, and add various special effects according to our needs, the next step is to export the video. As shown below:
How to add subtitles and dubbing to movie clipping - video editing video tutorial for beginners
Find the word "Export" in the upper right corner of the software, click it and select the save path, then modify the parameters of the exported video according to your needs, and then click Export. Don't rush to close the software after exporting. Browse the finished video first, and you can see the previous operations on the video.
This completes the simplest "short video production", and the short video we produced can be published on the platform.

The above is the detailed content of How to add subtitles and dubbing to movie clipping - video editing video tutorial for beginners. For more information, please follow other related articles on the PHP Chinese website!

Statement
This article is reproduced at:华军软件园. If there is any infringement, please contact admin@php.cn delete
剪映怎么去水印 怎么去除剪映水印剪映怎么去水印 怎么去除剪映水印Feb 22, 2024 pm 05:16 PM

打开剪映并选择模板,编辑好视频以后点击导出,点击无水印保存并分享。教程适用型号:iPhone13系统:iOS15.3.1版本:剪映6.8.0解析1打开剪映并选择一个剪辑模板。2点击打开模板后,点击右下角的剪同款选项。3从相册中选择照片填充片段并点击下一步。4如何点击页面右上角的导出选项。5最后点击无水印保存并分享就可以了。补充:剪映是什么软件1剪映是一款视频编辑软件,拥有全面的剪辑功能,可以变速、有滤镜和美颜效果,还有着丰富的曲库资源。自2021年2月起,剪映支持在手机移动端,Pad端,Mac电

剪映支持的视频格式有哪些剪映支持的视频格式有哪些Nov 15, 2023 pm 03:33 PM

剪映支持的视频格式有MP4、MOV、AVI、MKV、WMV、HD、Full HD、2K、4K、HEVC、HEIF、ProRes、DNxHD和MXF等。详细介绍:1、常见的视频格式包括MP4、MOV、AVI、MKV、WMV等;2、高清视频格式包括HD、Full HD、2K、4K等;3、手机拍摄的视频格式包括HEVC、HEIF等;4、广播级视频格式等等。

剪映怎么单独导出音频呢?剪映音频mp3保存到手机方法!剪映怎么单独导出音频呢?剪映音频mp3保存到手机方法!Mar 15, 2024 pm 10:49 PM

一、剪映怎么单独导出音频呢?剪映音频mp3保存到手机方法!1.进入主页后,点击开始创作按钮。2.到创作中心,通过相册上传想要提取音频的视频素材。3.完成视频上传后,进入编辑界面点击下方音频选项。4.进入音频界面,点击提取音乐选项。5.跳转到提取音乐界面,再次勾选刚才的视频。6.点击仅导入视频的声音选项后,即可将声音成功提取,要是想单独保存需要再加一个素材。7.返回编辑界面,点击右下方+号,进入素材库。8.找到任一图片进行添加。9.完成添加后,将分割线移动到原来的视频处将它删除掉。10.删除原来的

剪映如何自动识别语音生成字幕 自动生成字幕方法介绍剪映如何自动识别语音生成字幕 自动生成字幕方法介绍Mar 14, 2024 pm 08:10 PM

  我们在这款平台上面是怎么来进行一些语音生成字幕的功能的呢,我们在制作一些视频的是,为了能够更加的有质感,或者是在叙述一些故事的时候,都是需要来添加上我们的字幕,这样大家们也能够更好的读懂上面的一些视频的信息了。也是起到了表达的作用,但是很多用户们对于自动识别语音生成字幕方面都不是非常的了解,不管是在哪一些方位我们都能很轻松的让你们更好的进行多方面的一些选择都是可以的,如果你也喜欢的话,一定不能够错过对于一些功能方面的技巧等,都是需要我们来慢慢的了解的,赶紧和小编一起来看看吧,不要错过了。  

剪映怎么剪辑视频呢?剪映新手入门剪辑视频教程!剪映怎么剪辑视频呢?剪映新手入门剪辑视频教程!Mar 15, 2024 pm 10:10 PM

最近有用户在问剪映怎么剪辑视频呢?剪映是一款专业的手机短视频剪辑软件,可以对视频进行基础操作,包括分割、变速、旋转、倒放、删除多余部分、去水印等,让用户能够轻松制作出高质量的视频。有小伙伴不知道通常使用剪映剪辑视频的步骤是怎样的?小编现在为大家整理了剪映新手入门剪辑视频教程!有帮助到你就快来下载软件使用吧!一、剪映怎么剪辑视频呢?剪映新手入门剪辑视频教程!1.首先要在本站下载并安装好剪映app官方新版。剪映app官方新版类别:拍摄美化下载剪映app官方新版是一款免费的视频编辑软件,提供了丰富的视

剪映怎么制作脚本?剪映制作脚本的方法教程剪映怎么制作脚本?剪映制作脚本的方法教程Mar 13, 2024 pm 12:46 PM

  剪映是一款视频编辑工具,带有全面的剪辑功能,支持变速,有多样滤镜和美颜的效果,还有丰富的曲库资源。在这款软件中,可以直接对视频进行剪辑,也可以创建剪辑脚本,但是应该怎么操作呢?本篇教程小编就来介绍一下剪映制作脚本的方法。  制作方法  1、在电脑中点击打开剪映软件,然后找到“创作脚本”选项,点击打开。  2、在创作脚本页面中,输入“脚本标题”,然后在大纲中输入拍摄内容的简介。  3、如何在大纲中就能看到“分镜描述”选项,在框内可以

电脑版剪映怎么调整视频尺寸大小?剪映调整视频尺寸大小方法电脑版剪映怎么调整视频尺寸大小?剪映调整视频尺寸大小方法Mar 13, 2024 pm 08:34 PM

  电脑版剪映怎么调整视频尺寸大小?在剪映中剪辑视频时,如果有需要我们可以点击设置想要的视频尺寸。接下来,由于还有很多小伙伴不熟悉,下面小编就来和小伙伴们分享具体的操作步骤了,有需要或者是感兴趣的小伙伴们不要错过哦!  调整方法  1、点击进入电脑版剪映编辑界面,在左上方导入视频素材后,拖动到下方时间轨。  2、在时间轨中点击选中视频素材后,可以在右上方切换到不同的栏进行想要的编辑设置。  3、点击视频预览处右下角的“适应”按钮,接着在子选项中点击“自定义”

剪映的关键帧在哪?剪映Windows版关键帧使用教程剪映的关键帧在哪?剪映Windows版关键帧使用教程Mar 13, 2024 pm 10:04 PM

  很多小伙伴在使用剪映的时候想要设置视频关键帧,但是一直没找到剪映的关键帧在哪,无法设置?那么今天小编就给大家带来剪映Windows版添加关键帧的详细教程,有需要的用户快看过来!  一、电脑版关键帧在哪个位置?  1、点击时间线需要添加关键帧的视频,将帧头放置需要添加关键帧的位置:  2、来到右侧,通常不需要手动选择,会默认在画面面板,第一个基础选项卡,每一项,比如果缩放、位置、旋转等地方,最后方有一个菱形图标,点击即可添加关键帧:  3、点击即可在刚才帧头所在位置完成关键帧的添加。  二、如

See all articles

Hot AI Tools

Undresser.AI Undress

Undresser.AI Undress

AI-powered app for creating realistic nude photos

AI Clothes Remover

AI Clothes Remover

Online AI tool for removing clothes from photos.

Undress AI Tool

Undress AI Tool

Undress images for free

Clothoff.io

Clothoff.io

AI clothes remover

AI Hentai Generator

AI Hentai Generator

Generate AI Hentai for free.

Hot Article

R.E.P.O. Energy Crystals Explained and What They Do (Yellow Crystal)
3 weeks agoBy尊渡假赌尊渡假赌尊渡假赌
R.E.P.O. Best Graphic Settings
3 weeks agoBy尊渡假赌尊渡假赌尊渡假赌
R.E.P.O. How to Fix Audio if You Can't Hear Anyone
3 weeks agoBy尊渡假赌尊渡假赌尊渡假赌

Hot Tools

SublimeText3 Mac version

SublimeText3 Mac version

God-level code editing software (SublimeText3)

SAP NetWeaver Server Adapter for Eclipse

SAP NetWeaver Server Adapter for Eclipse

Integrate Eclipse with SAP NetWeaver application server.

MinGW - Minimalist GNU for Windows

MinGW - Minimalist GNU for Windows

This project is in the process of being migrated to osdn.net/projects/mingw, you can continue to follow us there. MinGW: A native Windows port of the GNU Compiler Collection (GCC), freely distributable import libraries and header files for building native Windows applications; includes extensions to the MSVC runtime to support C99 functionality. All MinGW software can run on 64-bit Windows platforms.

Dreamweaver CS6

Dreamweaver CS6

Visual web development tools

WebStorm Mac version

WebStorm Mac version

Useful JavaScript development tools