


By default, iPhone takes photos from the camera in HEIC format. HEIC stands for High Efficiency Image Container and can hold more pixel data than a PNG or JPG file, taking up significantly less space on iPhone storage compared to other formats. These files work best on iPhones, but are not widely accepted on the internet because they often result in blurry/grainy pictures when you share them with non-Apple devices.
To ensure that HEIC images are compatible on other devices, you may need to convert them to JPG format. This article will introduce how to convert HEIC images to JPG on Mac.
How to Convert HEIC Photos to JPG on Mac [3 Methods]
Method 1: Using Preview on Mac
The easiest way to convert HEIC files to JPG is to use your Mac’s native Machine Image Viewer – Preview application.
1. Open the Finder application and find the HEIC file you want to convert.
2. Once found, right-click or Control-click the file and go to Open With > Preview.

3. The selected file will now be loaded into the preview application. To convert a file, go to File > Export on the menu bar.

4. A new pop-up window will appear on the screen. Here, select JPEG as the file format instead of "HEIC".

Additionally, you can change the name, save location and image quality of the converted file in the same window.
5. After confirming all changes, you can click "Save" to save the file in JPEG format.
The newly created JPEG file will now be saved in the location of your choice. This method can also be used to convert images to other formats such as PNG, TIFF, and PDF.
Method 2: Using Automator on Mac
The method we explained above works for converting a single image to a JPEG file, but what if you want to convert a large number of images at once? Enter the automaton. It is a native macOS program that allows you to automate built-in actions and change multiple files your way. You can use the program's "Change Image Type" feature to convert multiple images to different formats at the same time.
The selected HEIC image will now be converted to a JPG file and saved to the desktop on your Mac.
Method 3: Using Photos on Mac
One app that comes pre-installed on iPhone and Mac is the Photos app, which not only allows you to interact with HEIC files, but also allows you to convert them as JPG or other image format.
The newly created JPG file will now appear within the selected location.
This is how to convert HEIC photos to JPG files on Mac.
The above is the detailed content of 3 Ways to Convert HEIC Photos to JPG on Mac. For more information, please follow other related articles on the PHP Chinese website!

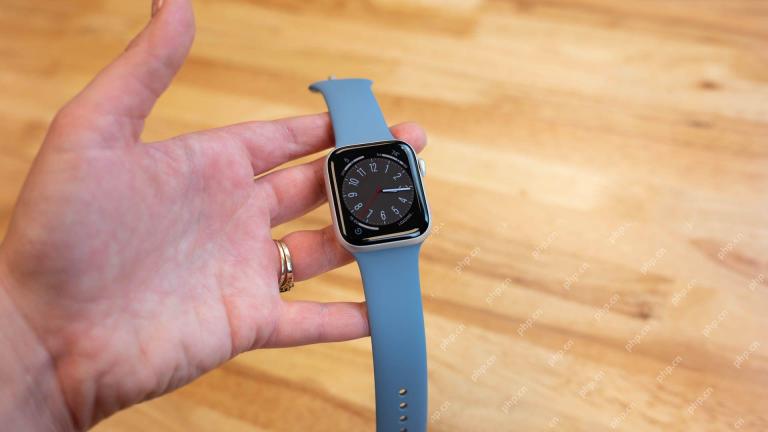 The Apple Watch Is 10 Years Old. Here's Why I Never Bought OneApr 15, 2025 am 06:09 AM
The Apple Watch: Still Not Convinced After a Decade Despite over 200 million units sold since 2015, the Apple Watch remains absent from my wrist. While its health and fitness features are impressive, they don't appeal to someone like me who doesn't
 Don't Like the Latest Apple Mail Changes? Here's How to Get Rid of ThemApr 14, 2025 am 12:54 AM
New features of Apple Mail app: Categories, Summary, and Contact Photos The Apple Mail app recently updated its iPhone, iPad and Mac versions, adding features like Gmail-like email classification, notifications and email summary, and contact photos in your inbox. But not everyone likes these new changes. Fortunately, you can disable these new features and restore to a simpler way to use them. Here's how to do it: Disable Apple Mail Classification The email classification feature is designed to sort your inboxes to make it easier to process incoming messages. This feature is suitable for any device running iOS or iPadOS 18.2 and Mac computers with macOS 15.4 installed. Categories include: Main: Mail thinks the most
 We Don't Need Slimmer Phones, But You Might Want One AnywayApr 13, 2025 am 03:01 AM
Ultra-thin phones: Amazing design or risky? Samsung and Apple are about to release ultra-thin flagship phones Samsung Galaxy S25 Edge and Apple iPhone 17 Air are about to be released, and its ultra-thin design has sparked heated discussions. While many fans are concerned about their design compromises, ultra-thin phones still have some attractive advantages. Ultra-thin design: how much does it cost? First of all, these devices are expensive. Ultra-thin design requires custom parts and improved manufacturing processes, greatly increasing costs and ultimately passing them on to consumers. While prices may change at any time, reliable news shows that the iPhone 17 Air may be priced the same as the $899 iPhone Plus, or even likely to completely replace the latter; while the S25 Edge
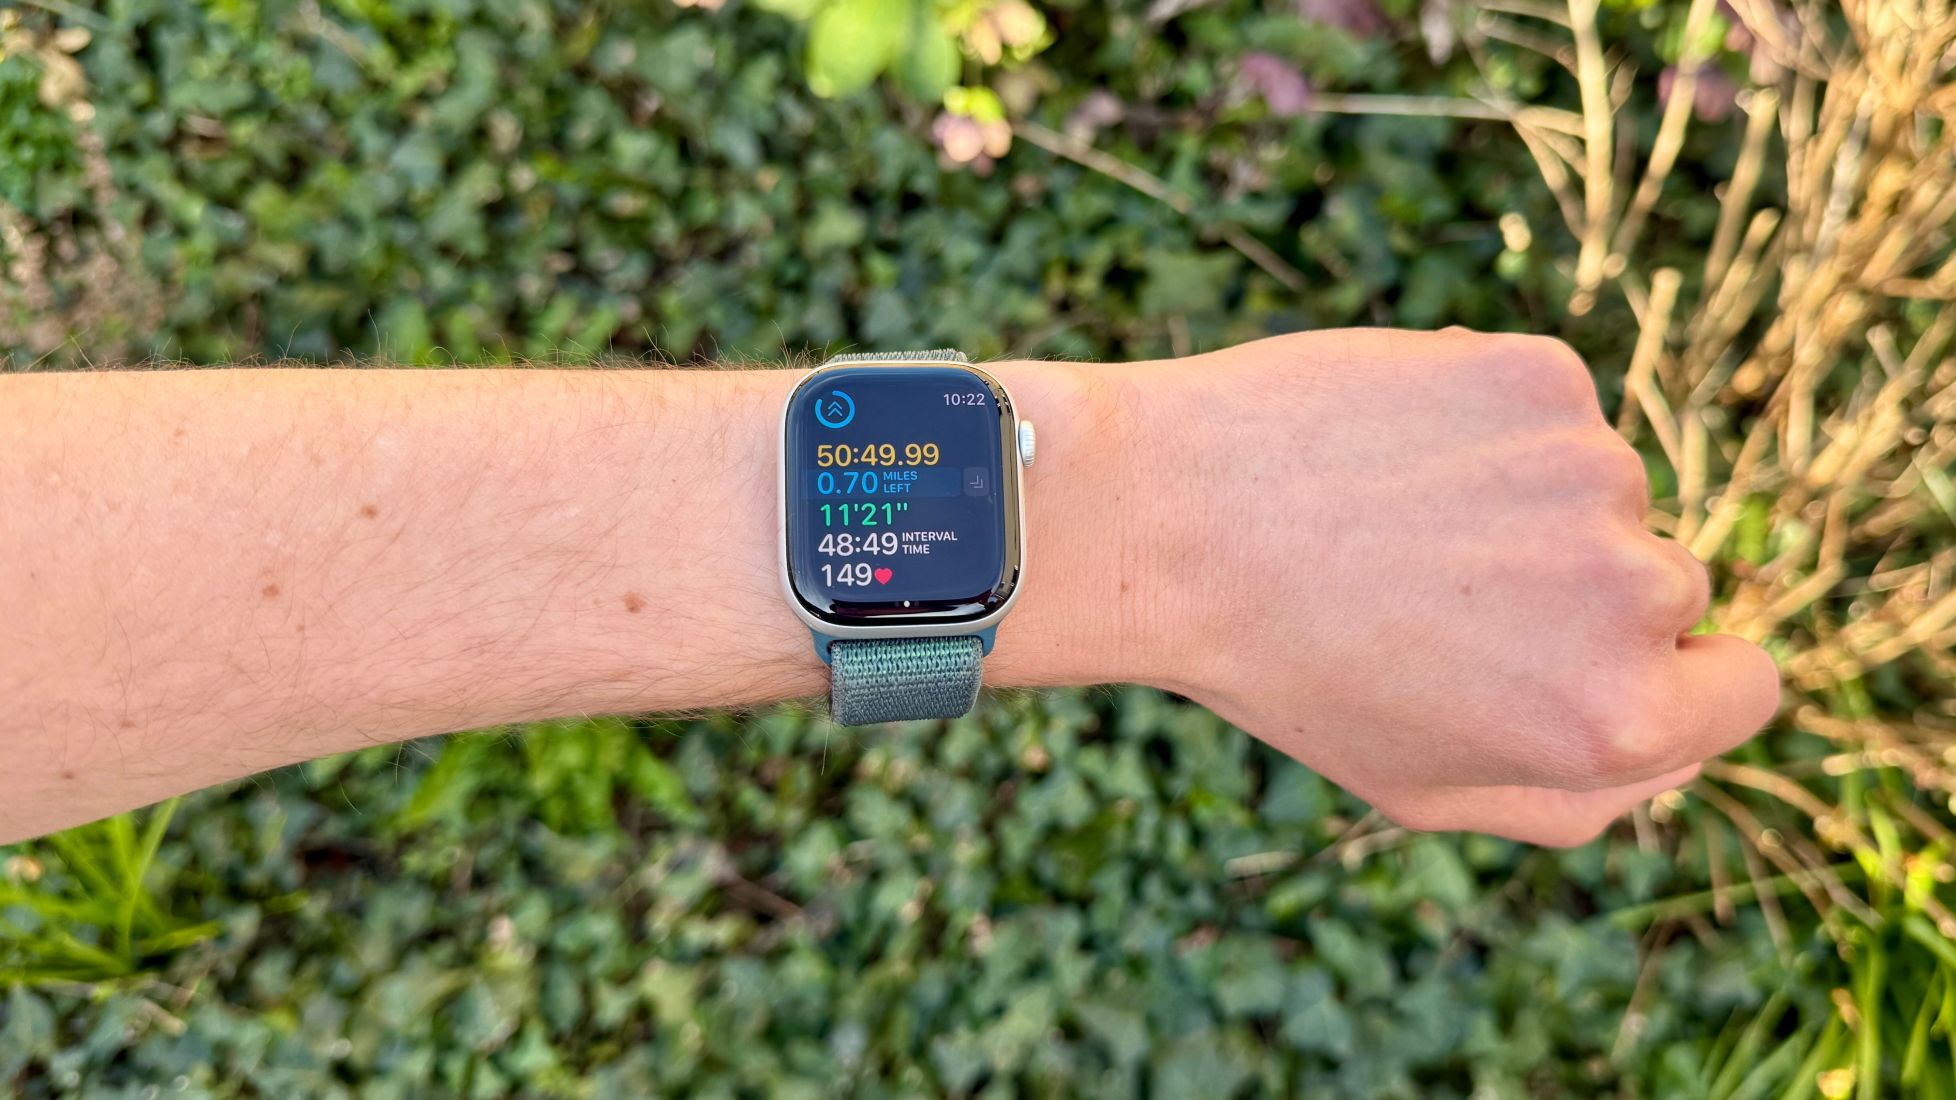 I Regret Ignoring This Apple Watch Running FeatureApr 13, 2025 am 12:58 AM
Take advantage of the Apple Watch running features: From default training to custom planning I've been using default running training I finally found the pacemaker and custom training Easy way to create custom Apple Watch training Make the most of your Apple Watch I'm currently training for a half marathon, which means I'm running three times a week, one to two hours a day, making the most of my Apple Watch. I've been running 142 miles this year, but I've just discovered a game-changing Apple Watch running feature. Related ###### I ran a half marathon with AirPods 4, how effective I'm curious about the new AirPod
 8 Tech Features I Wish Existed in Real LifeApr 12, 2025 am 12:59 AM
Life Hacks We Wish Were Real: Tech Features We Crave in Real Life Modern technology offers incredible conveniences, so much so that we often take them for granted. Pausing live TV, undoing computer errors, or voice-commanding music – these are ever
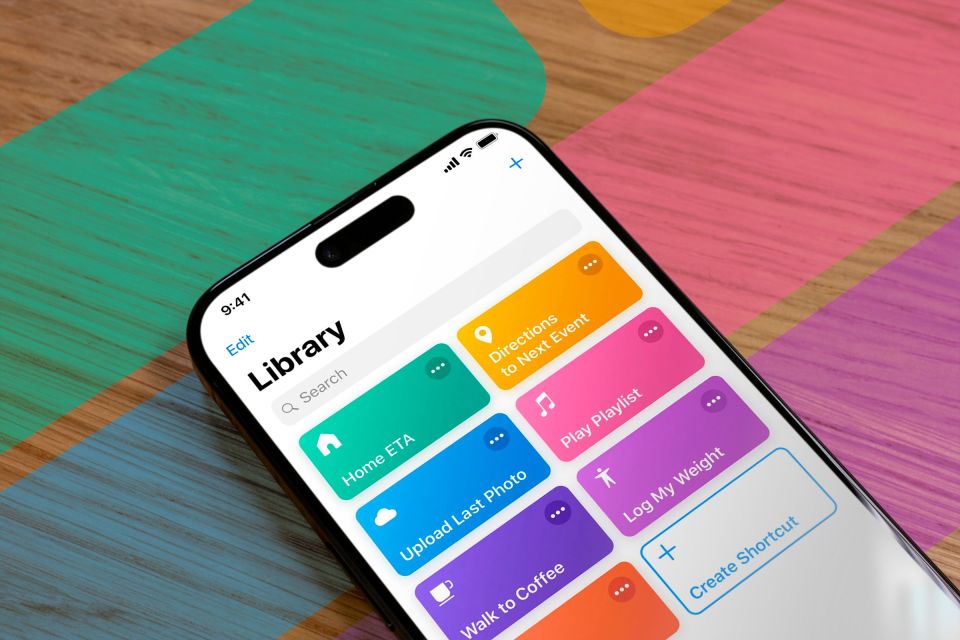 Fix the Wait Limit in iPhone Shortcuts With This Simple TrickApr 11, 2025 am 03:05 AM
Apple's Shortcuts app offers a "Wait" action for short pauses, but it's unreliable for longer durations. This limitation stems from iOS's background app restrictions. A clever workaround uses custom Focus modes to achieve extended waits,
 How big is the iPhone 16 Pro Max?Apr 10, 2025 am 09:36 AM
The iPhone 16 ProMax will have a screen size of 6.9 inches, aiming to provide a more immersive visual experience while maintaining a thin and light design to improve user operation comfort.
 Is the iPhone 17 released?Apr 09, 2025 am 12:07 AM
The iPhone 17 has not been released yet and is expected to debut in the fall of 2025. 1. Performance improvement: It may be equipped with a more powerful A17 chip. 2. Camera improvement: Possibly improve pixels and sensors, and advance ProRAW and ProRes formats. 3. Design changes: It may adopt a narrower or borderless design, using new materials. 4. New features are introduced: There may be breakthroughs in health monitoring and AR.


Hot AI Tools

Undresser.AI Undress
AI-powered app for creating realistic nude photos

AI Clothes Remover
Online AI tool for removing clothes from photos.

Undress AI Tool
Undress images for free

Clothoff.io
AI clothes remover

AI Hentai Generator
Generate AI Hentai for free.

Hot Article
Hot Tools

Dreamweaver CS6
Visual web development tools

Safe Exam Browser
Safe Exam Browser is a secure browser environment for taking online exams securely. This software turns any computer into a secure workstation. It controls access to any utility and prevents students from using unauthorized resources.

SublimeText3 Linux new version
SublimeText3 Linux latest version

MantisBT
Mantis is an easy-to-deploy web-based defect tracking tool designed to aid in product defect tracking. It requires PHP, MySQL and a web server. Check out our demo and hosting services.

WebStorm Mac version
Useful JavaScript development tools

