Home >Software Tutorial >Computer Software >How to cut in Adobe Premiere Pro CS6-How to cut in Adobe Premiere Pro CS6
How to cut in Adobe Premiere Pro CS6-How to cut in Adobe Premiere Pro CS6
- PHPzforward
- 2024-03-04 21:49:061225browse
php Editor Baicao will introduce you to the cutting method of Adobe Premiere Pro CS6 in detail. Adobe Premiere Pro CS6 is a professional video editing software through which we can easily realize functions such as cutting, cropping, and merging videos. The following will explain in detail how to perform video cutting operations in Adobe Premiere Pro CS6, allowing you to easily master this technique and improve video editing efficiency.
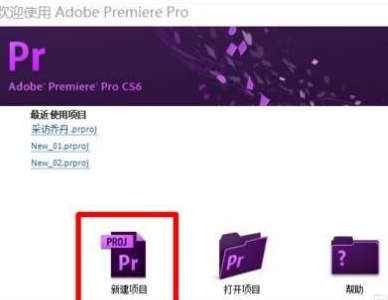
Step 1: First we open the Adobe Premiere Pro CS6 software, then select New and enter a name (as shown in the picture).
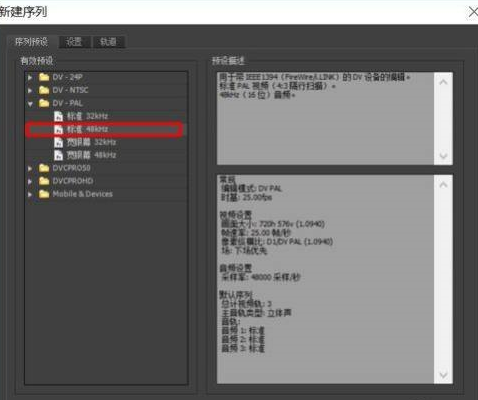
Step 2: Now let’s check the settings of the new sequence. Typically, software will have preset default settings that can be adjusted if you want to customize them. After completing the settings, just click OK to proceed to the next step (refer to the picture above).
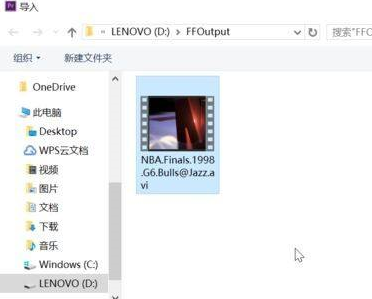
Step 3: After creating a new one, we need to import the video that needs to be cut. Find [File] - [Import], select the video file you need to cut and import it, and select Open to import (as shown in the picture) .
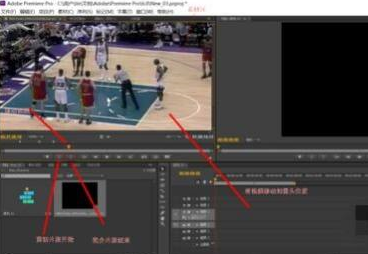
Step 4: After the video is successfully imported, you can find the [Start Cut Sequence] button and select [End Cut Sequence] in the part you want to end. Move the video to the appropriate area and click [Change Sequence Settings] ( as the picture shows).
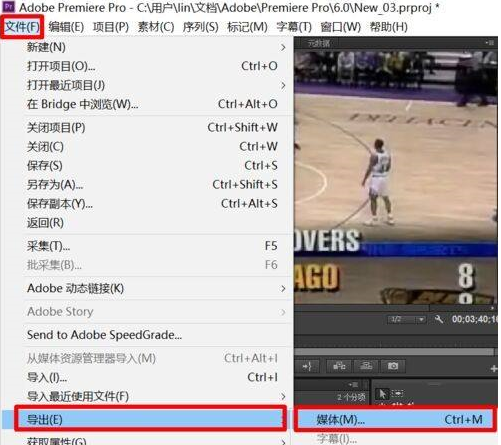
Step 5: After the video is successfully cut and edited, it needs to be exported. Click [File] - [Export] - [Media] and then set the export format information (as shown in the picture).
The above is the detailed content of How to cut in Adobe Premiere Pro CS6-How to cut in Adobe Premiere Pro CS6. For more information, please follow other related articles on the PHP Chinese website!

