Home >Software Tutorial >Computer Software >How to key out images in Adobe Premiere Pro CS6 - How to key out images in Adobe Premiere Pro CS6
How to key out images in Adobe Premiere Pro CS6 - How to key out images in Adobe Premiere Pro CS6
- WBOYWBOYWBOYWBOYWBOYWBOYWBOYWBOYWBOYWBOYWBOYWBOYWBforward
- 2024-03-04 14:10:42793browse
Adobe Premiere Pro CS6 is a powerful video editing software. Keying technology plays a vital role in video production. PHP editor Strawberry introduces to you the keying method of Adobe Premiere Pro CS6, allowing you to easily learn how to perform keying processing and add more creativity and effects to your video production. Through the guidance of this article, you will master the skills of keying quickly and efficiently in Adobe Premiere Pro CS6, making your video production more professional and exciting.
Step one: Open Adobe Premiere Pro CS6 software and create a new project (as shown in the picture).

Step 2: Name the project (as shown in the picture).
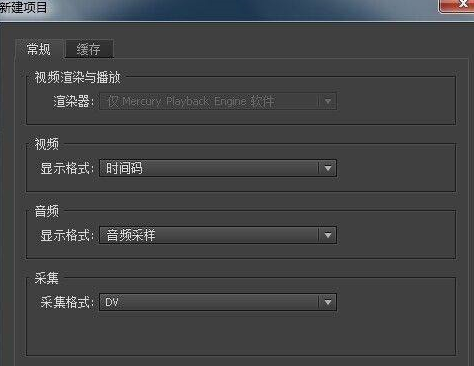
Step 3: Set the project parameters as you like here (as shown in the picture).
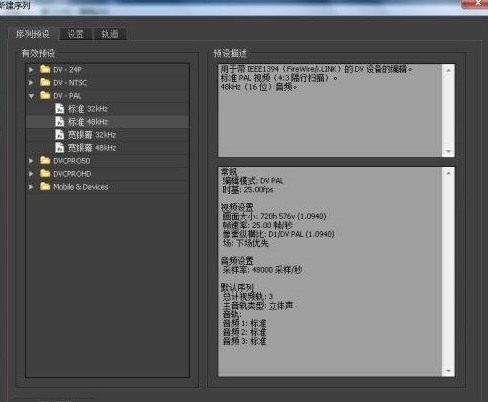
Step 4: Import the material you want to key. Here is a sequence. You can also use pictures to practice (as shown in the picture).
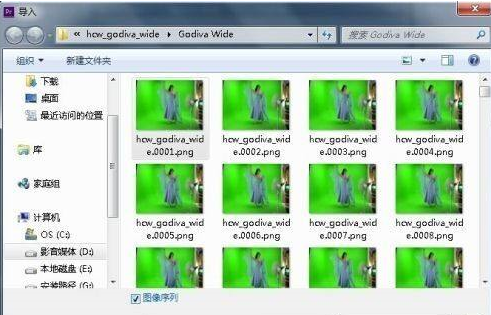
Step 5: Drag the imported material to the timeline (as shown in the picture).
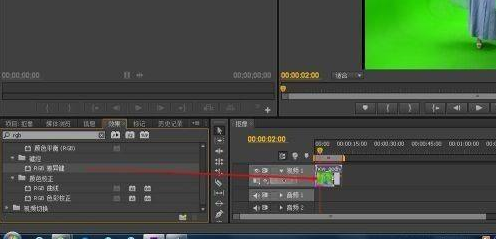
Step 6: Find the RGB difference key in the video effects and drag it to the material (as shown in the picture).
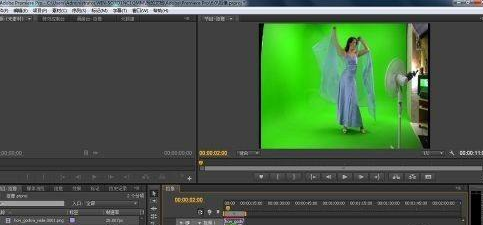
Step 7: Set parameters in the special effects control and preview the effect in the window on the right (as shown in the picture).
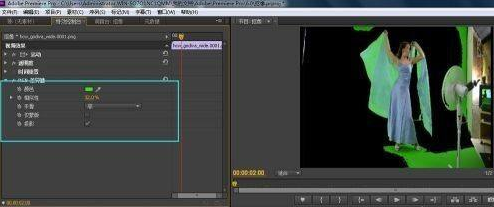
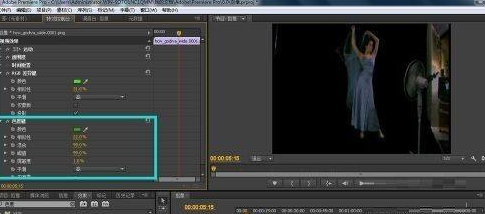
Step 8: Then search for the brightness key, follow steps 6 and 7, and you can basically achieve the effect you want (as shown in the picture).
The above is the detailed content of How to key out images in Adobe Premiere Pro CS6 - How to key out images in Adobe Premiere Pro CS6. For more information, please follow other related articles on the PHP Chinese website!

